Manage users
Managing user accounts
There are two ways to manage user accounts: on the organization level and on the environment level. A user can have other personal settings and roles in different environments. For example, the Admin role in one environment and the Editor role in another. Check out the Roles and permissions doc for more details about Role-based access control for users. We recommend managing your user accounts on the organization level.
User accounts on the organization level
To create a user account on the organization level, complete the following steps:
-
Click the environment dropdown at the top right, choose your organization and click to open the environments overview.
-
Click User management at the top to open a list of all users in the environments of your organization.
-
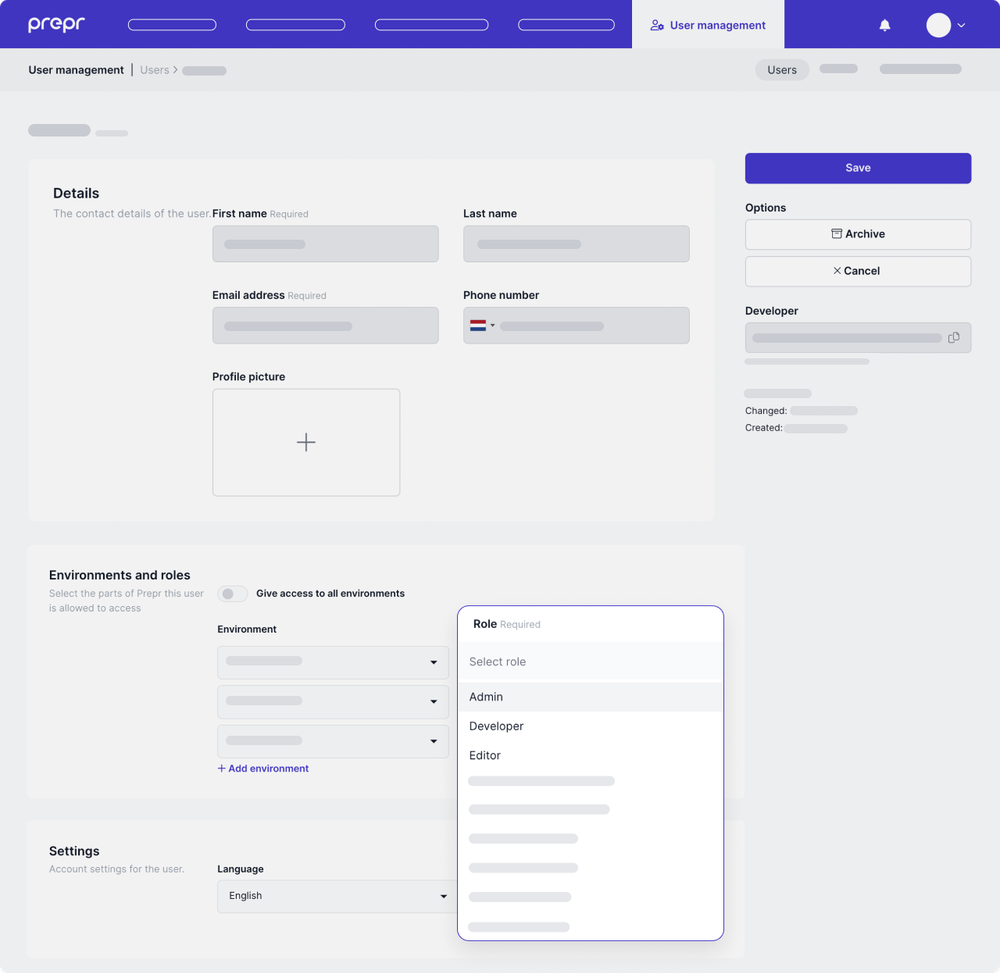
Simply click the Add User button and fill in the user details. The first name and email address are required.
Info
-
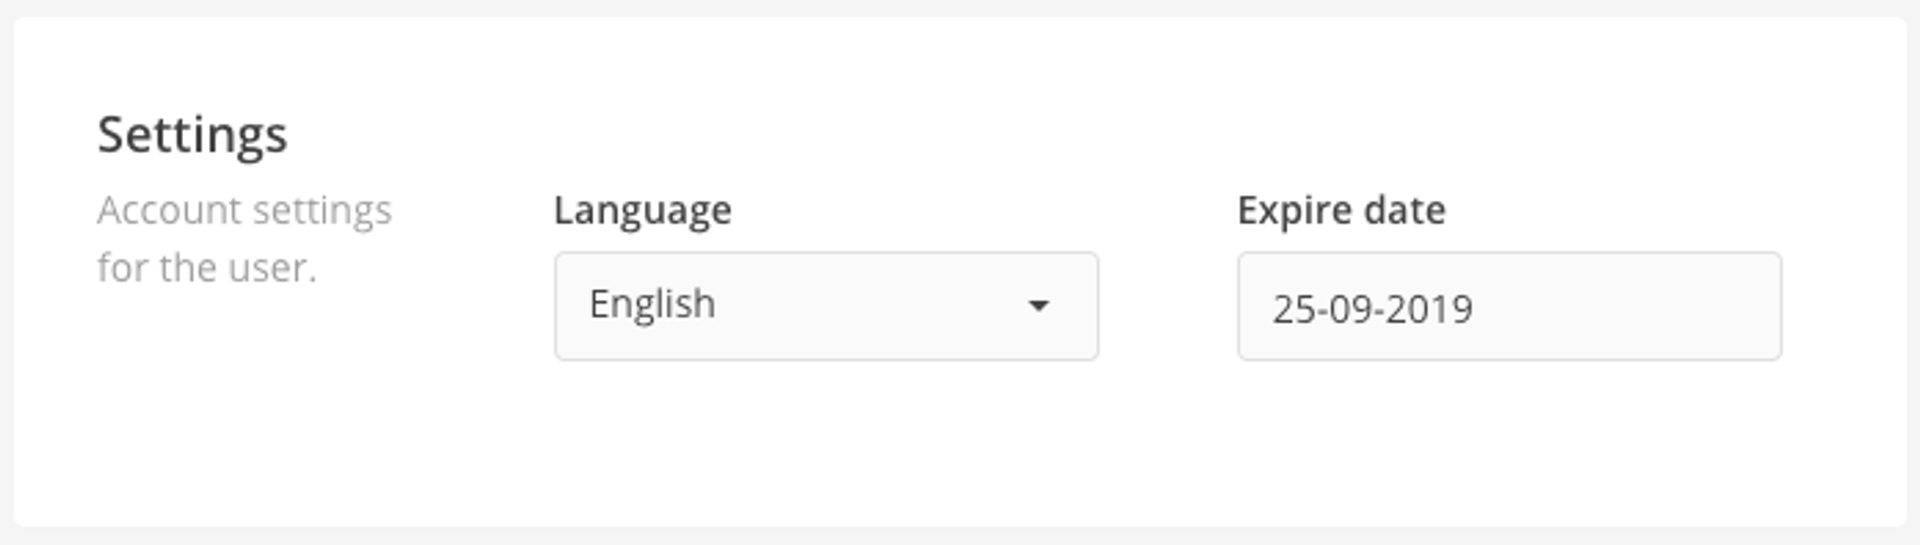
Fill in the language of this user (default English) and choose the expire date of this user account (facultative). See also the User expire date section.
-
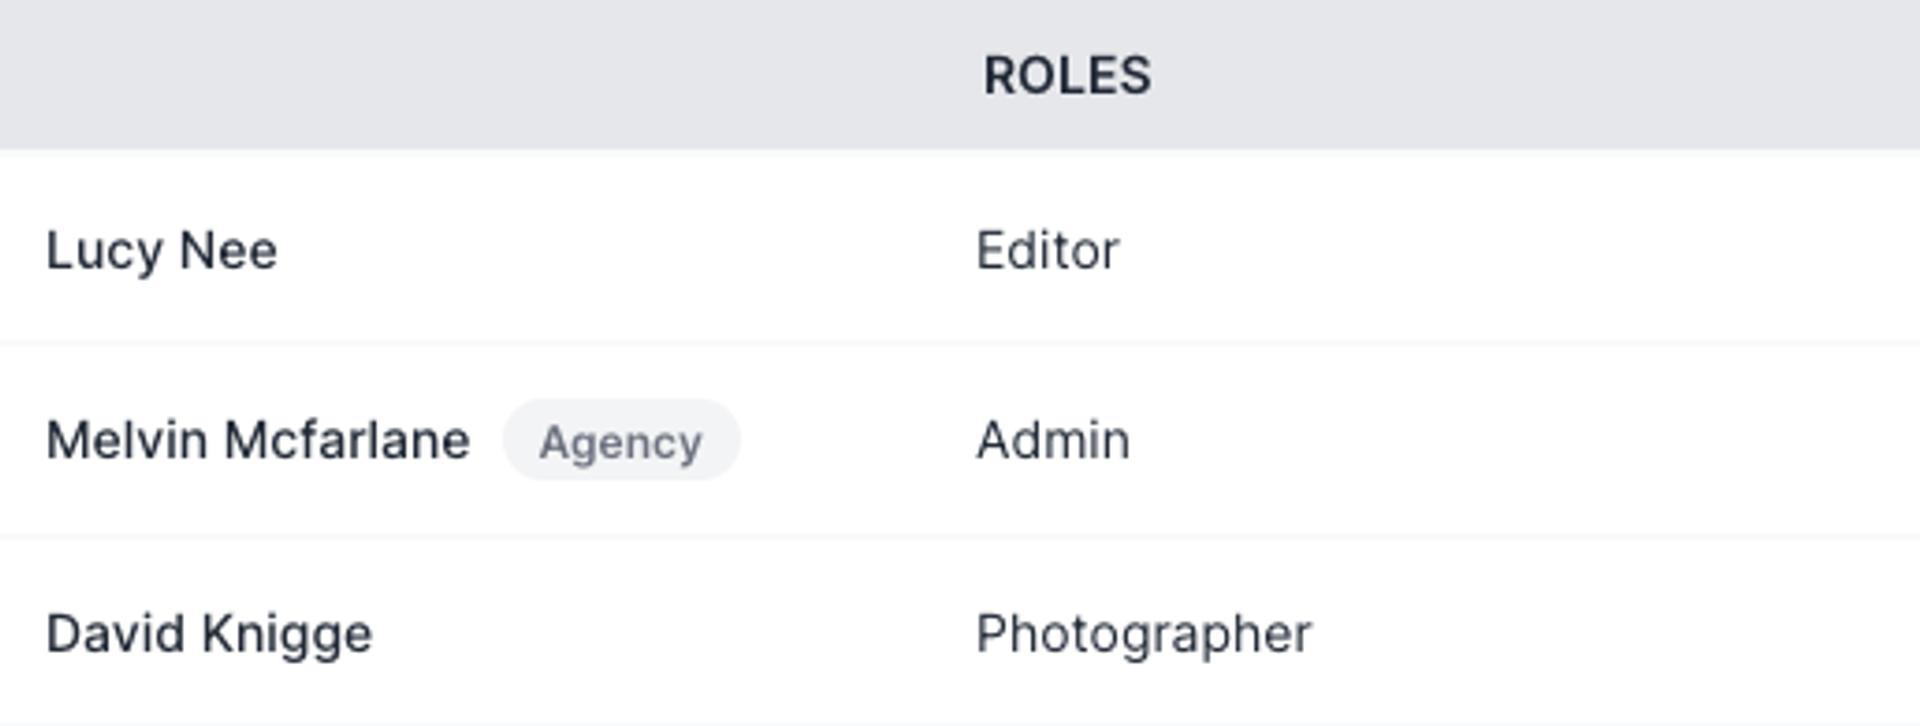
And lastly, choose the requested environment and the corresponding role(s) of this user. See also Managing user roles. Fill in at least one role per environment, more roles are possible. When saving a new user, an invite will be sent to the given email address. When saving an existing user, its account will be updated immediately with the changed permissions or roles.
User accounts on the environment level
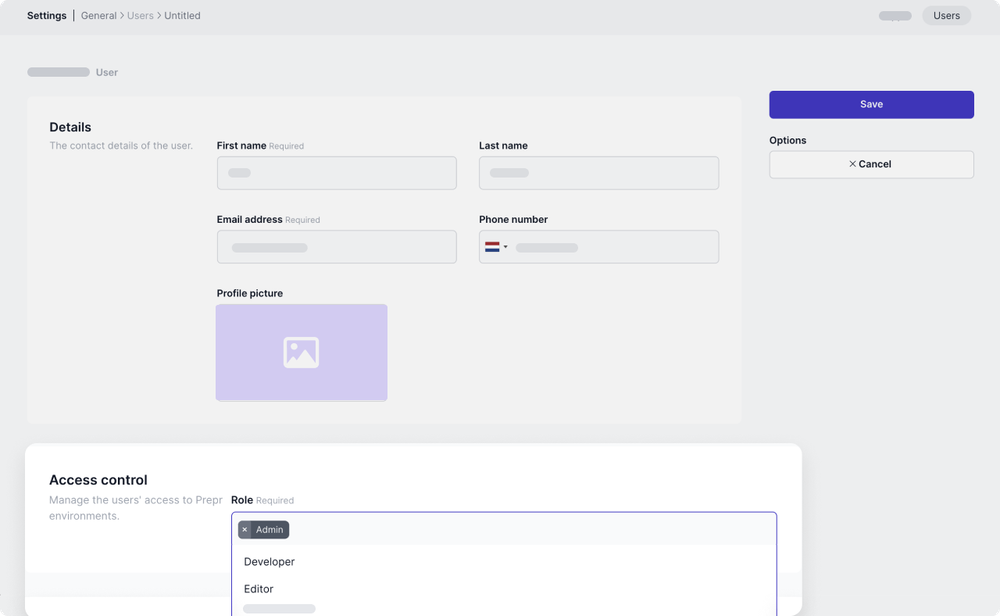
To create a user account, go to Settings > Users. Here's a list of all users of this environment. Simply click on Add user and fill in a few user details. The first name and email address are required.
Fill in the language of this user (default English) and choose the expire date of this user account (optional). See also User expire date.
And last, choose the requested Role of this user. See also Managing user roles. Fill in at least one role, more roles are possible. When saving a new user, an invite will be sent to the given email address. When saving an existing user, its account will be updated immediately with the changed permissions or roles.
Send invitation
Click Save to send the Prepr invitation. The user will receive an email with sign-in instructions. Please note that an invitation link is only clickable once.
Expired activation link
A Prepr invitation expires after 7 days. If you forget to accept the invitation and want to set your password after these 7 days, you need to click on lost password on the Prepr sign-in page. A reset password link will be provided.
Resend invitations
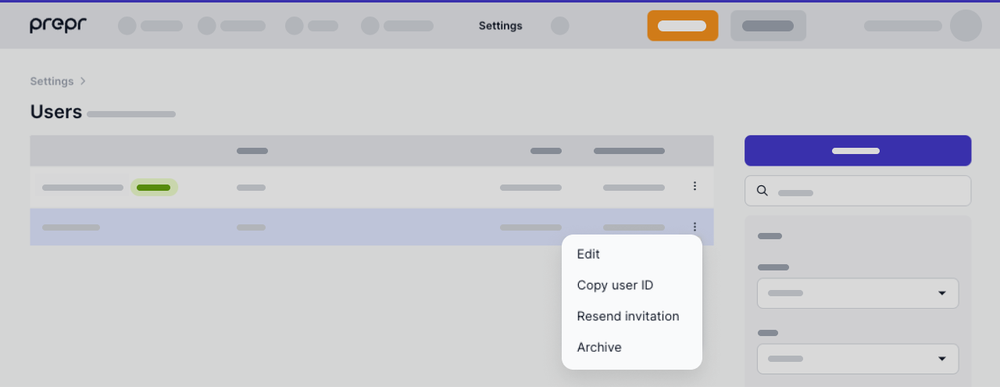
You can resend invitations as long as the user has never signed in. A not-logged-in user can be recognized by the invited label behind his name. To resend an invitation, click the button for the applicable user in the user list and click Resend invitation.
Agency accounts
Agency accounts are user accounts of (web) agencies that take care of the implementation of your website or app. These accounts do not count towards the number of users you can add within your license. You, therefore, do not pay for agency accounts. Contact Prepr Support if you want to add an agency user account to your Prepr account.
Understanding user expiration
You can manage the period a user can have Prepr access. That can be done with the Expire date option on a user detail page (via Settings > Users). Select the date an account needs to expire. Leave empty to give a user life time access.
Seven days before the user account expires, a notification will be shown to the user. Two days before this expiring date, the owner of the environments receives a notification email.
After this period, the user access will be revoked. When a user tries to log in, the following message is shown to this user: Your account has expired. Contact your admin if you need access.
All users with the User permission (such as owner and admins) can grant access again.

Logging in for the first time
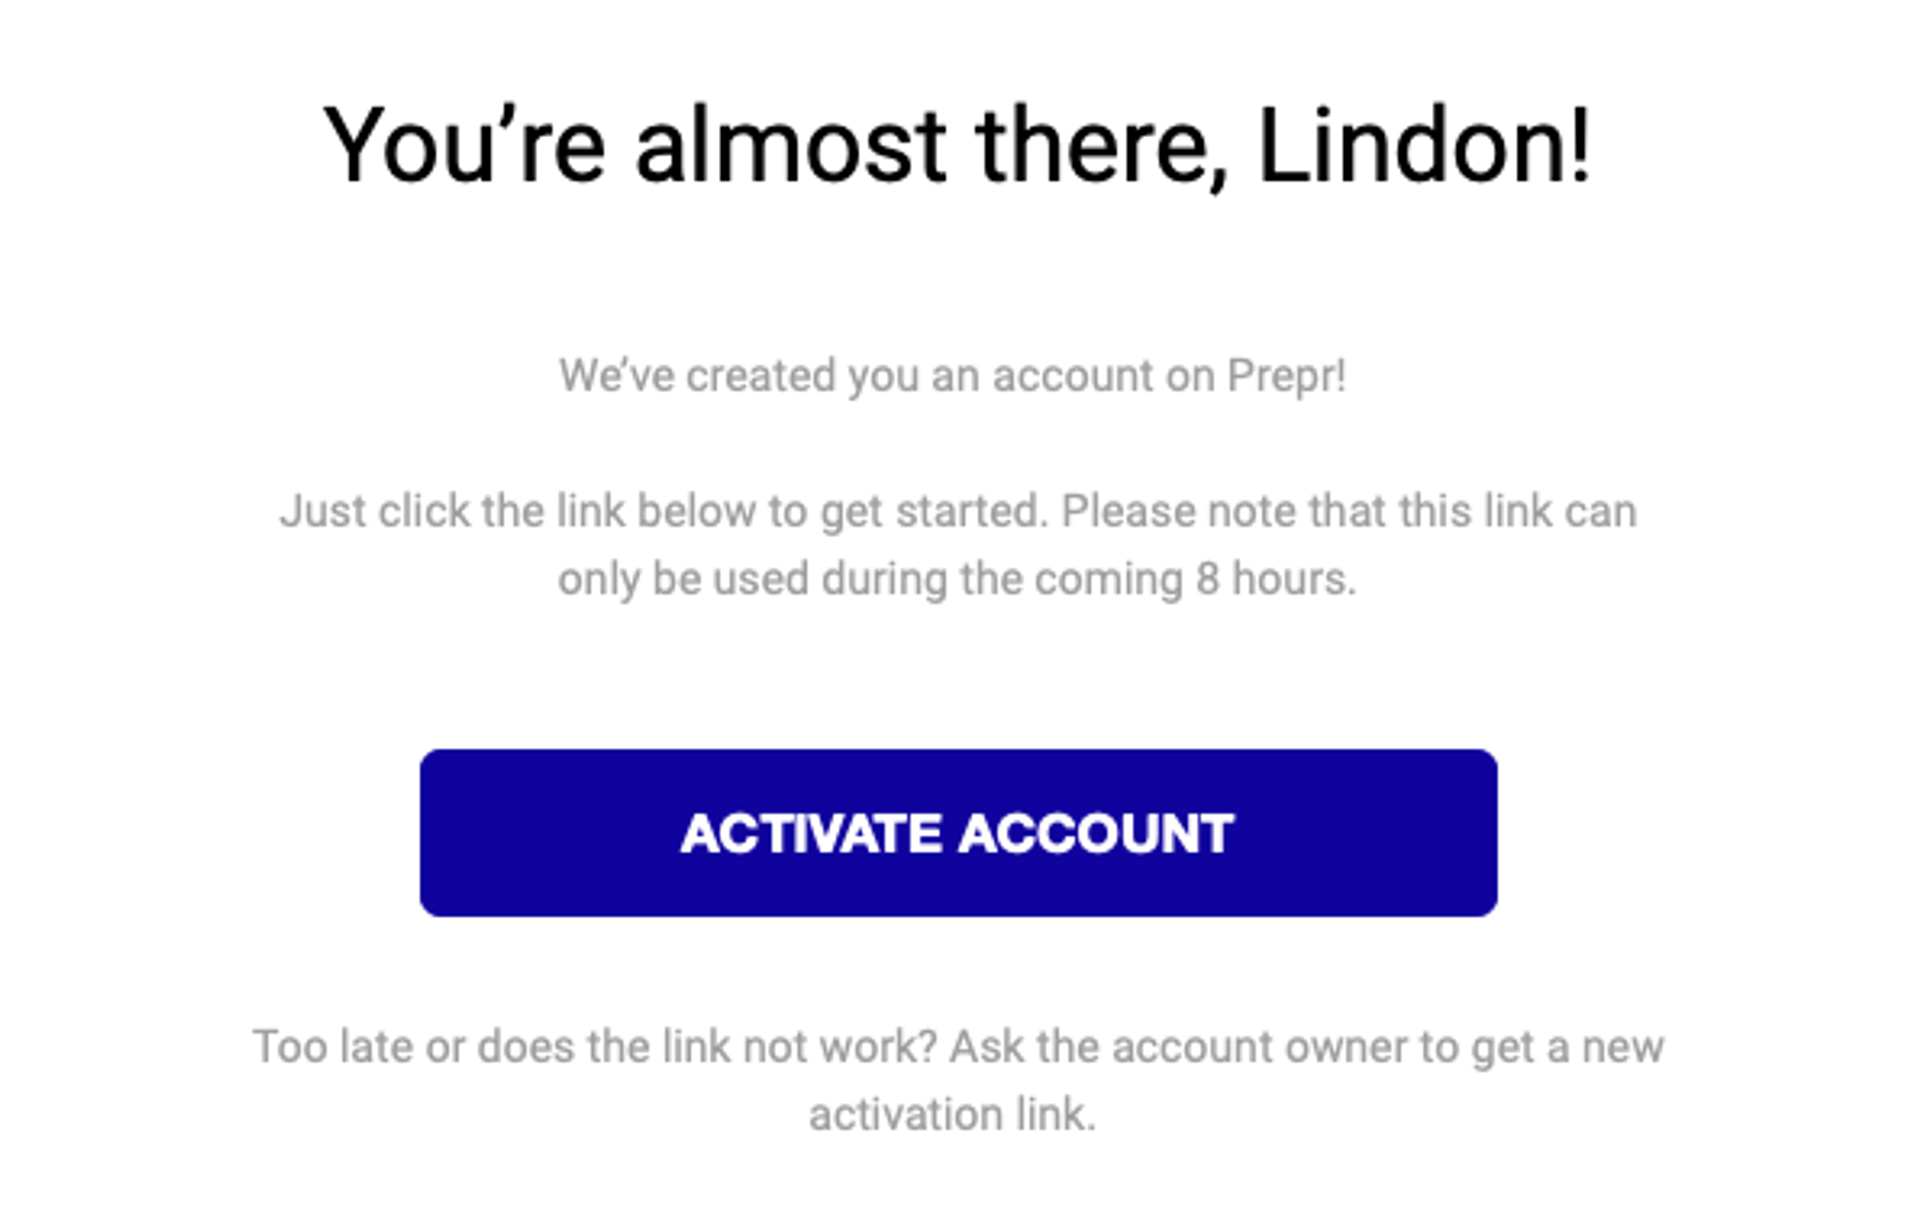
Prepr user accounts can be managed by all users with the User permission. Once your user account is created, you will receive a Prepr invite in your email.

Prepr emails might be delivered in your SPAM box. The invitation expires after 7 days. If you have an active email SPAM filter, the link expires after 12 hours. Click Activate account to go through the Prepr three-step onboarding flow.
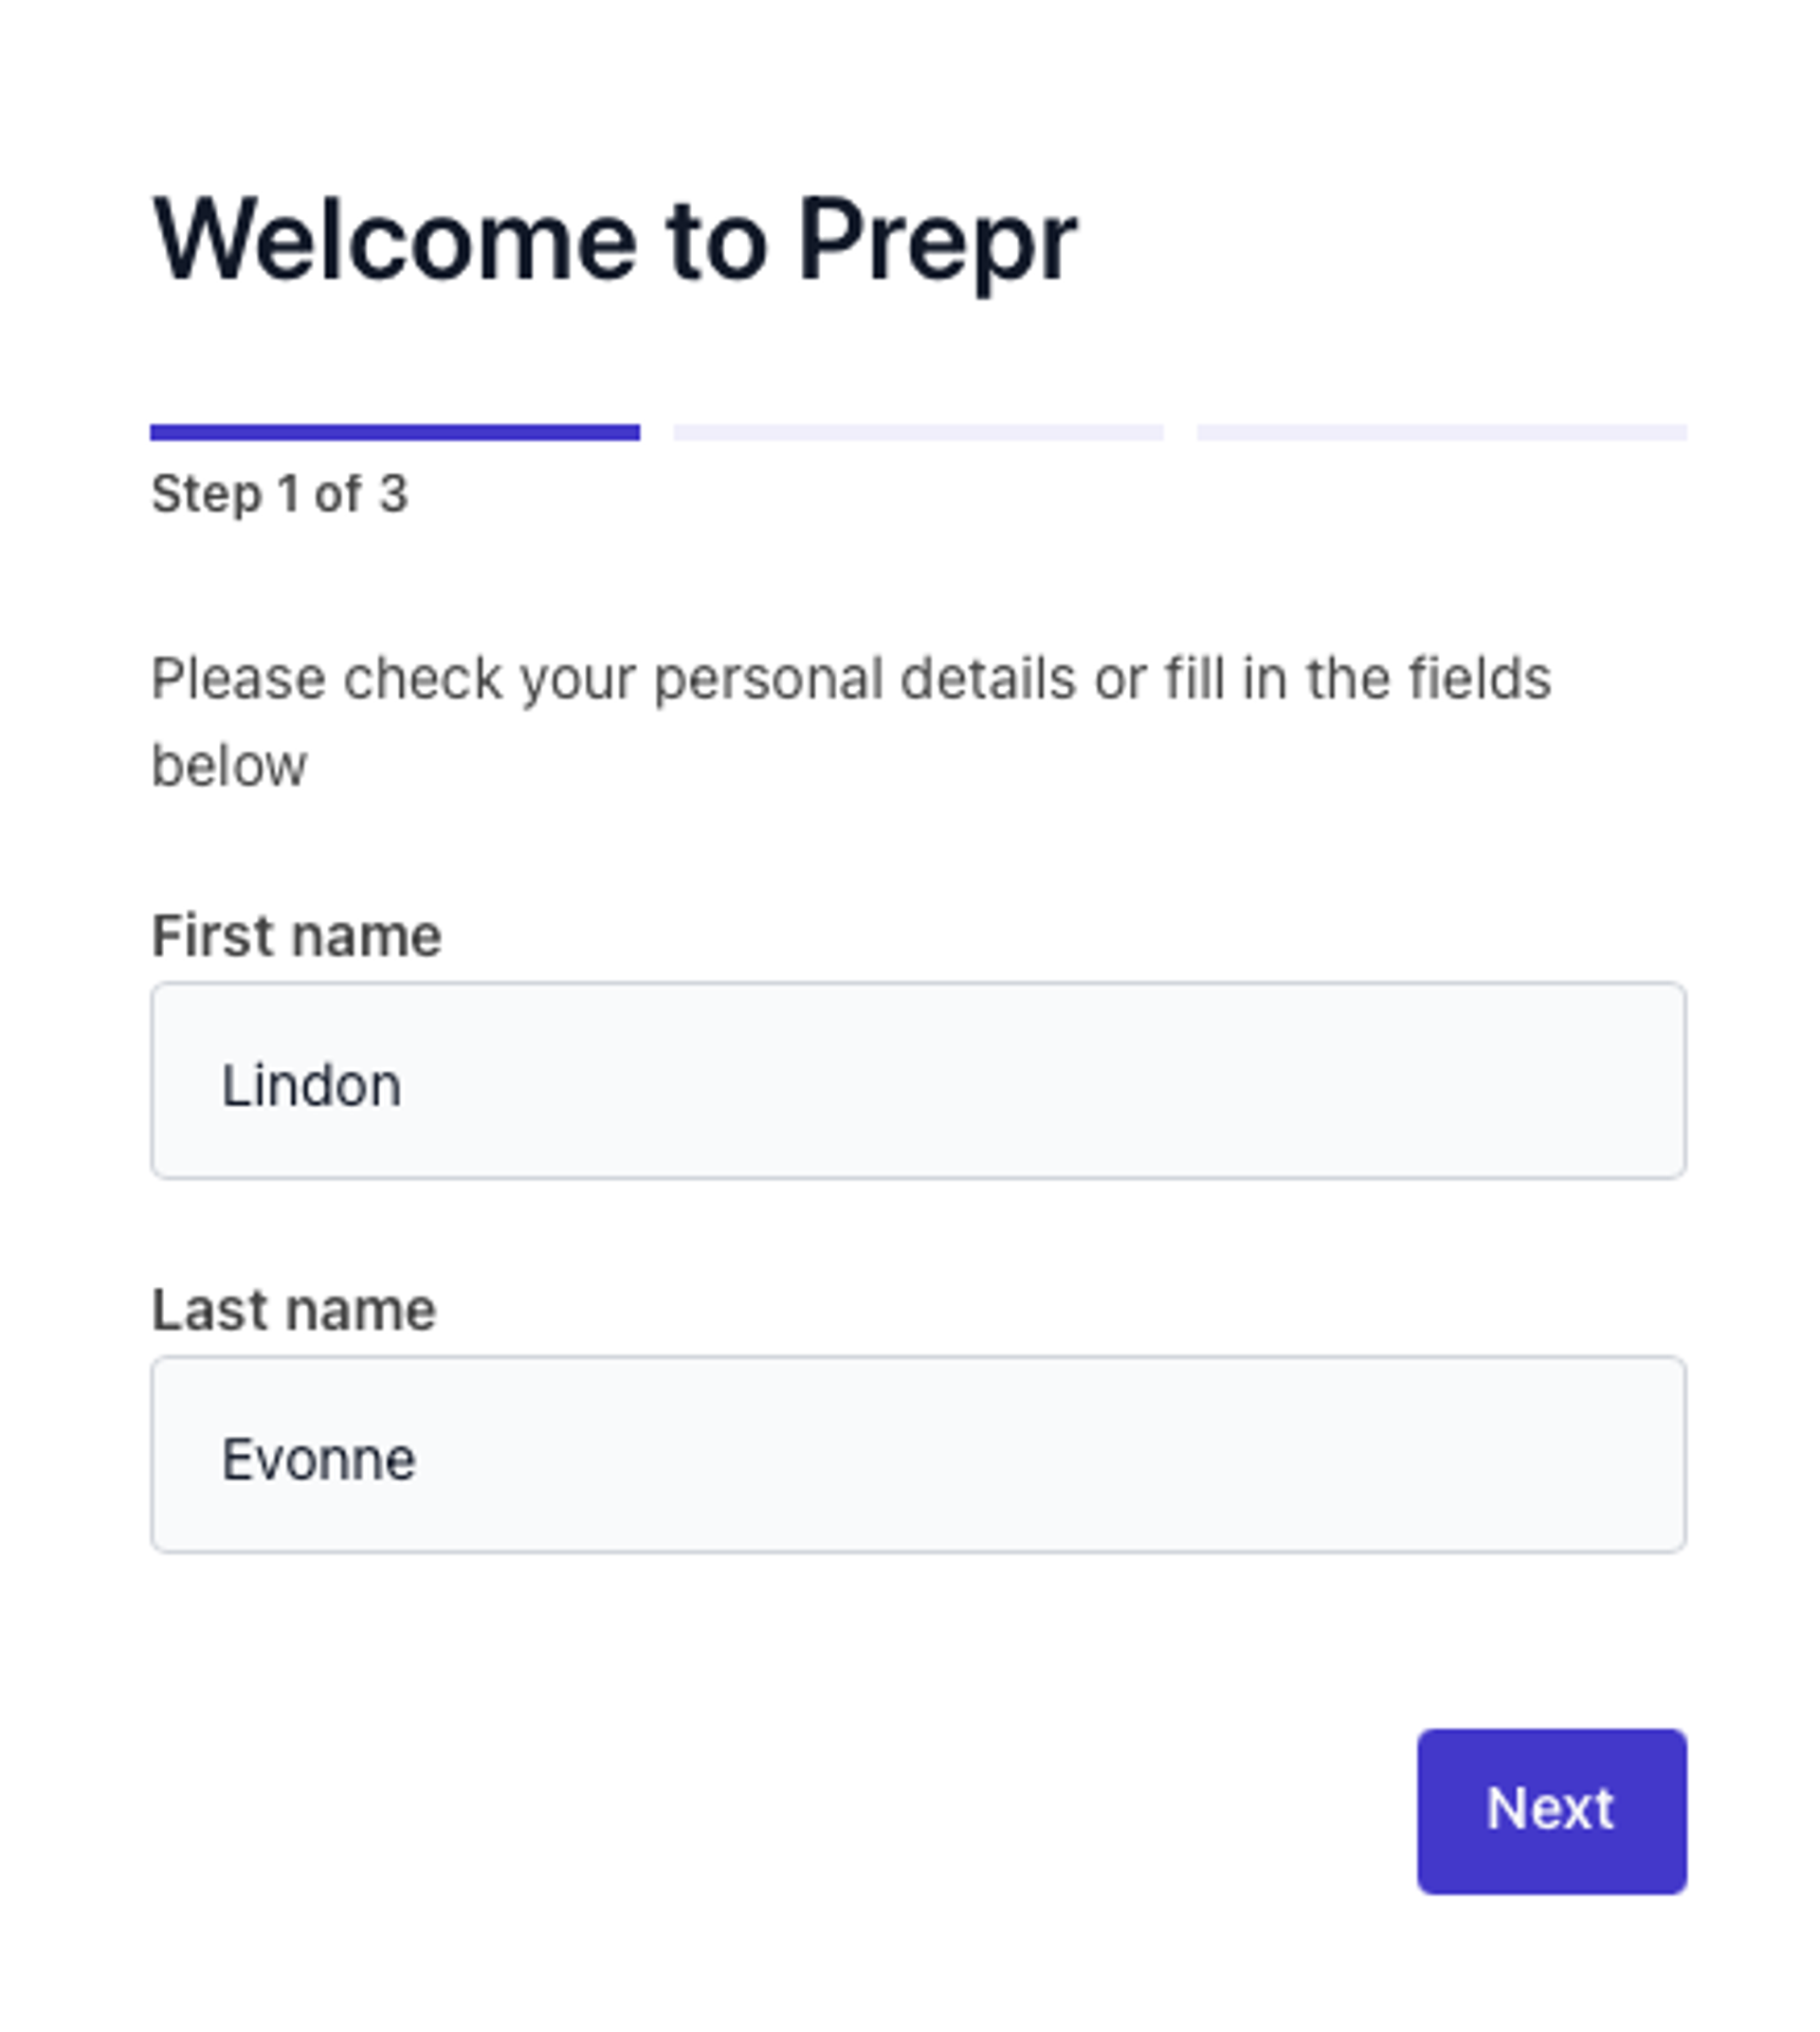
1. Enter your personal details
Enter your personal details to complete the onboarding. Please note that your first name and your password are required. Submit your personal details with the button Next.
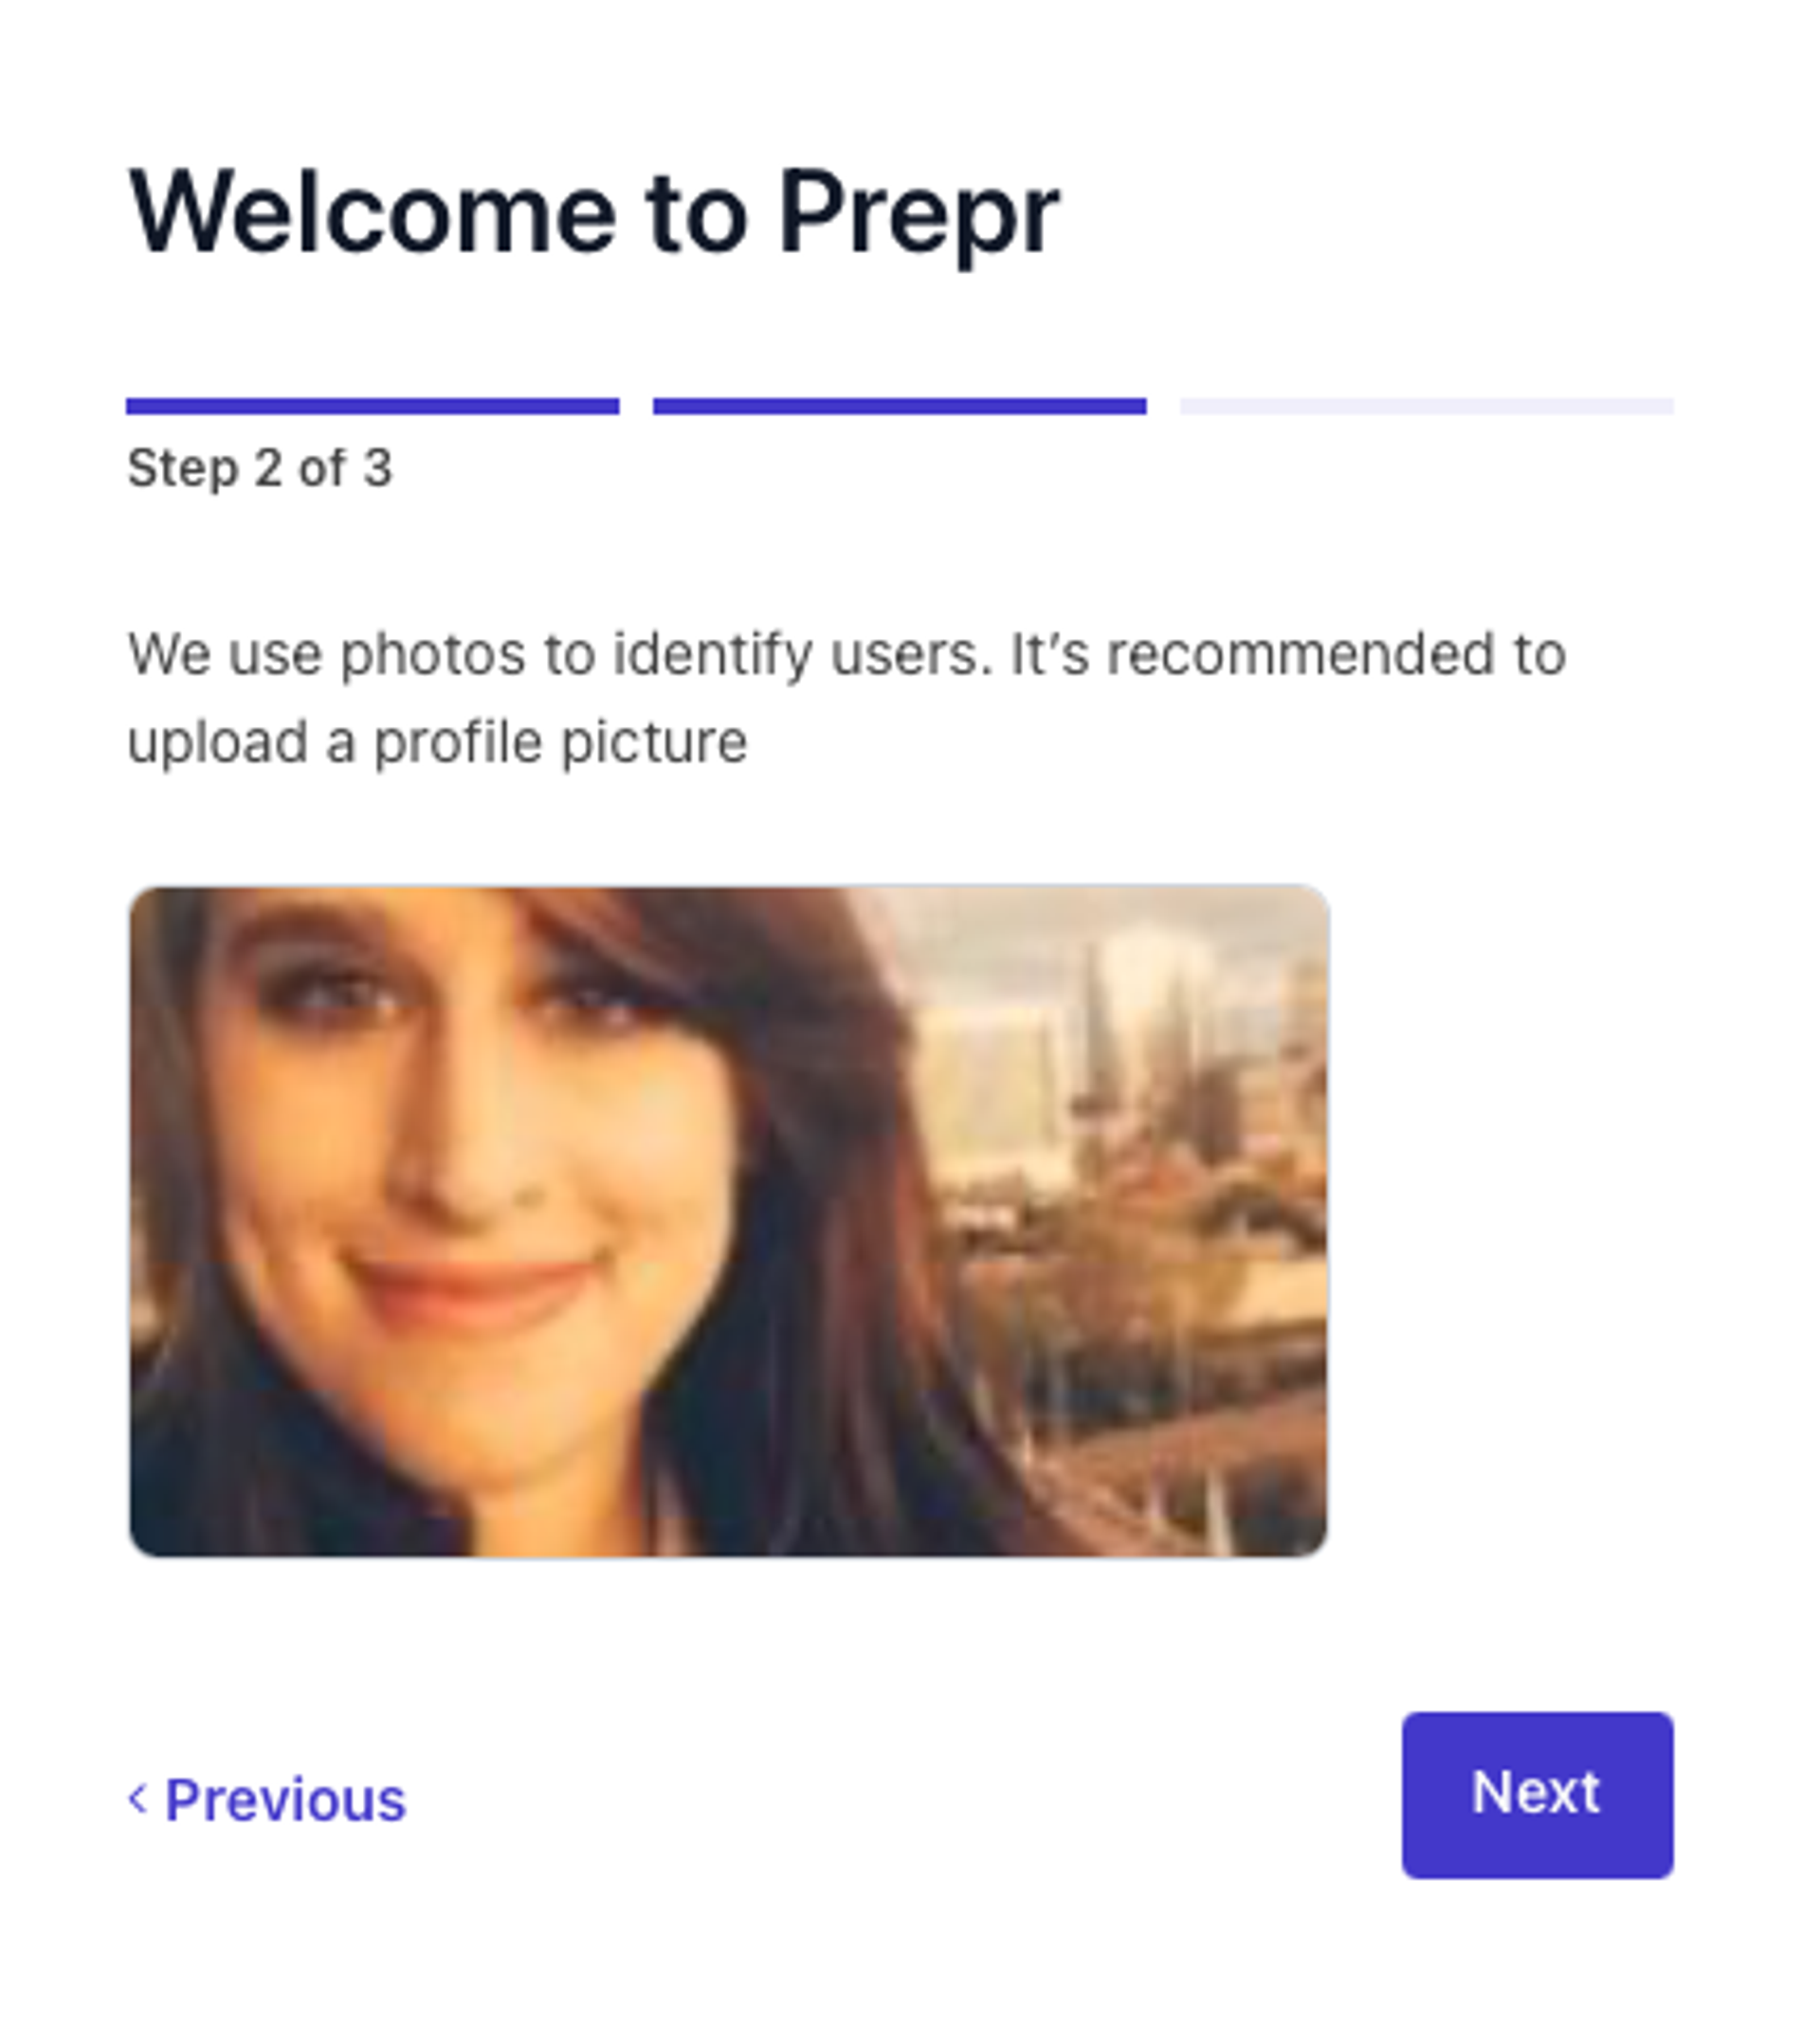
2. Select an avatar
Prepr uses photos to identity users. It is recommended, but not required, to upload a profile picture.
3. Choose a password
Passwords must be at least 10 characters and contain at least one letter and number. Passwords are case-sensitive. To finalize your Prepr account, click Next. You are now logged in Prepr.
Signing in using two-factor authentication
Two-factor authentication (2FA) adds a second layer of login security to your Prepr account. Each user can set up 2FA individually from their profile page. With 2FA enabled, you'll be asked to provide a 6-digit code after you've signed in with your login credentials. Each code is unique, and can only be used once to log in.
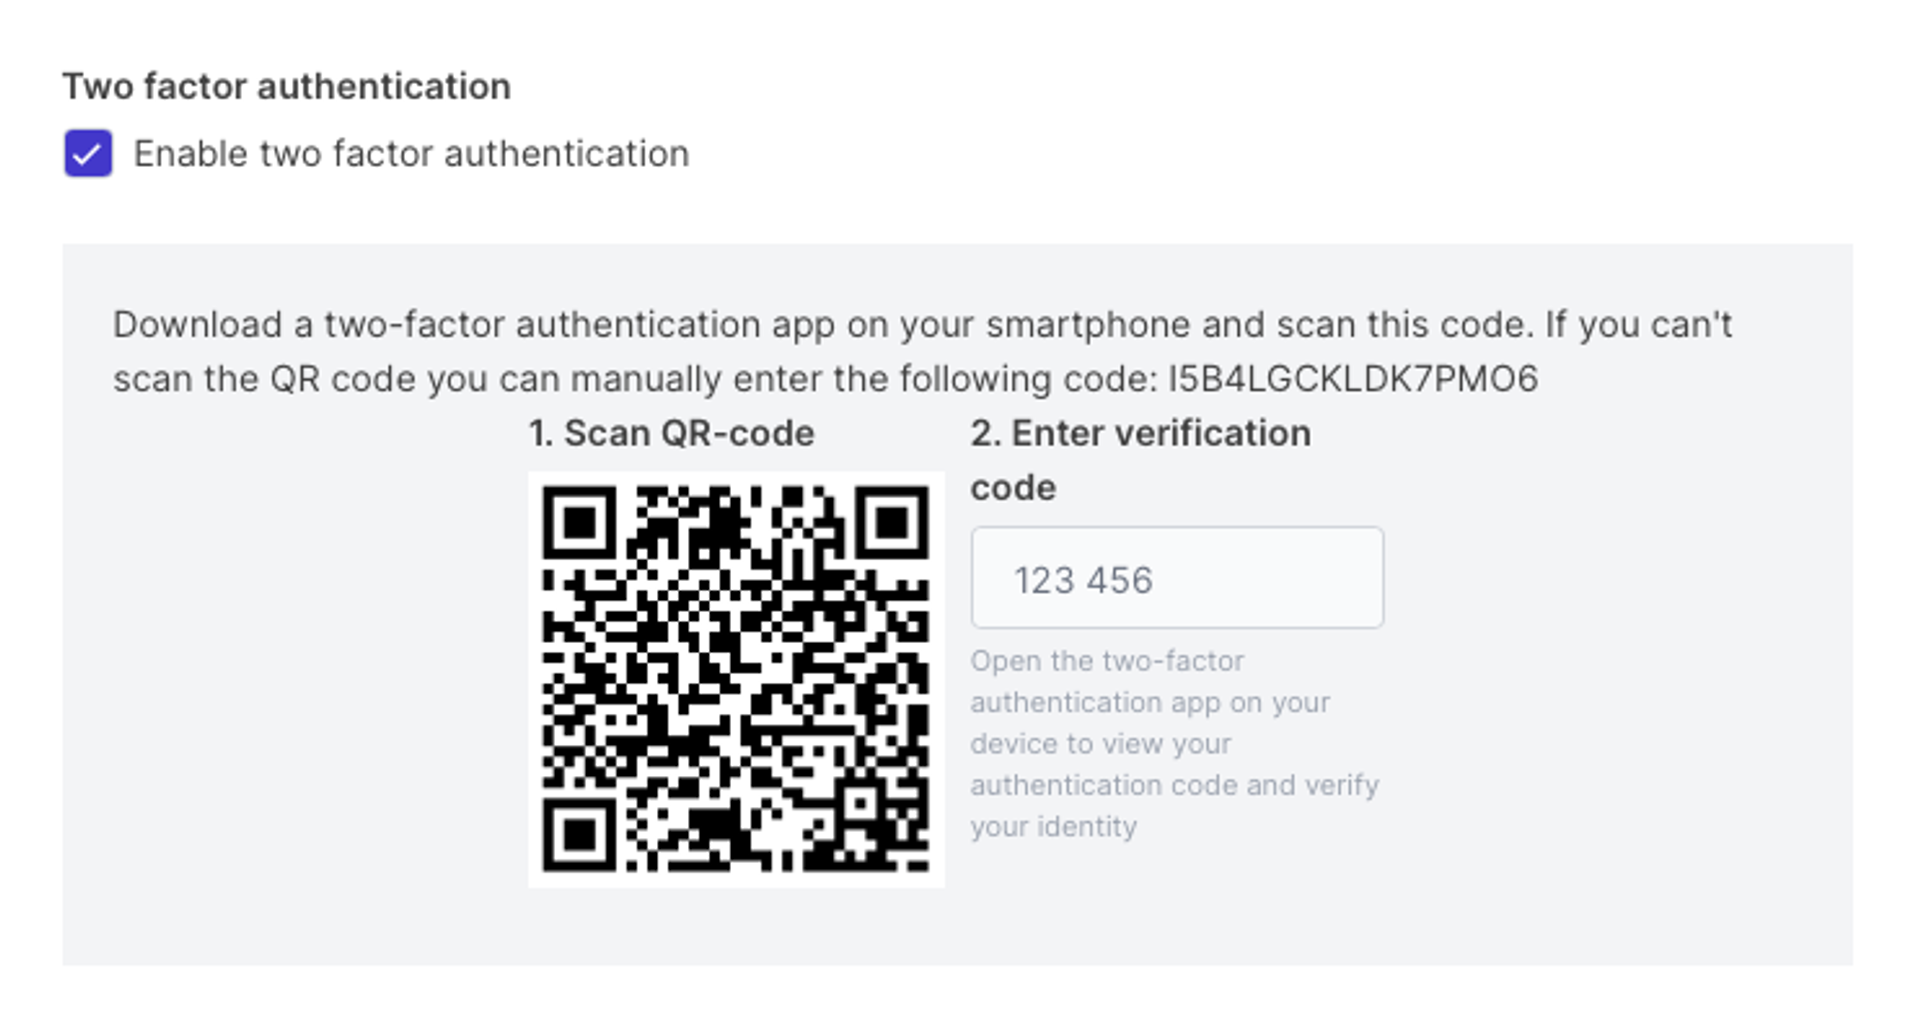
Enable two-factor authentication
To proceed, you'll need to download an authenticator app, such as Google Authenticator or Authy for your mobile device.
Log in to Prepr and go to your personal profile page. To activate two-factor, click on Enable two-factor authentication. Scan the QR code with your smartphone. If you can't scan the QR code you can manually enter the 6-digit verification code generated by your authenticator app. Two-factor authentication is now enabled for your account.
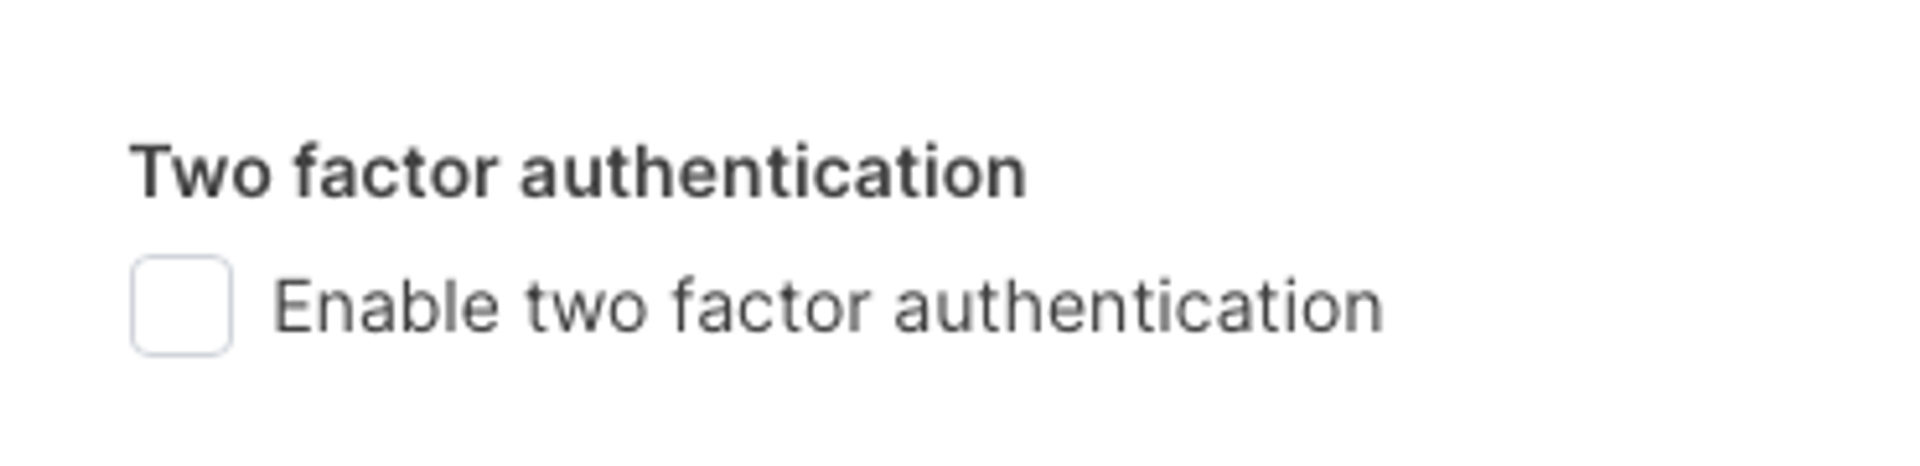
Disable two-factor authentication
If you're logged in to your own account you can simply deactivate 2FA by disabling the checkbox in your account settings.
Info
Sign in with two-factor authentication
With 2FA enabled, you'll enter your normal Prepr password when logging in. Once you enter your password, we'll deliver a special verification code in the authenticator app. Each code is unique, and can only be used once to log in. Enter the given code and click Sign in. Now you are logged in.

Managing profile notifcations
Prepr offers the possibility to be notified of events in the application. This way you are always aware of events that are relevant to you. You can receive notifications via the Prepr application, via browser notifications, and via email.
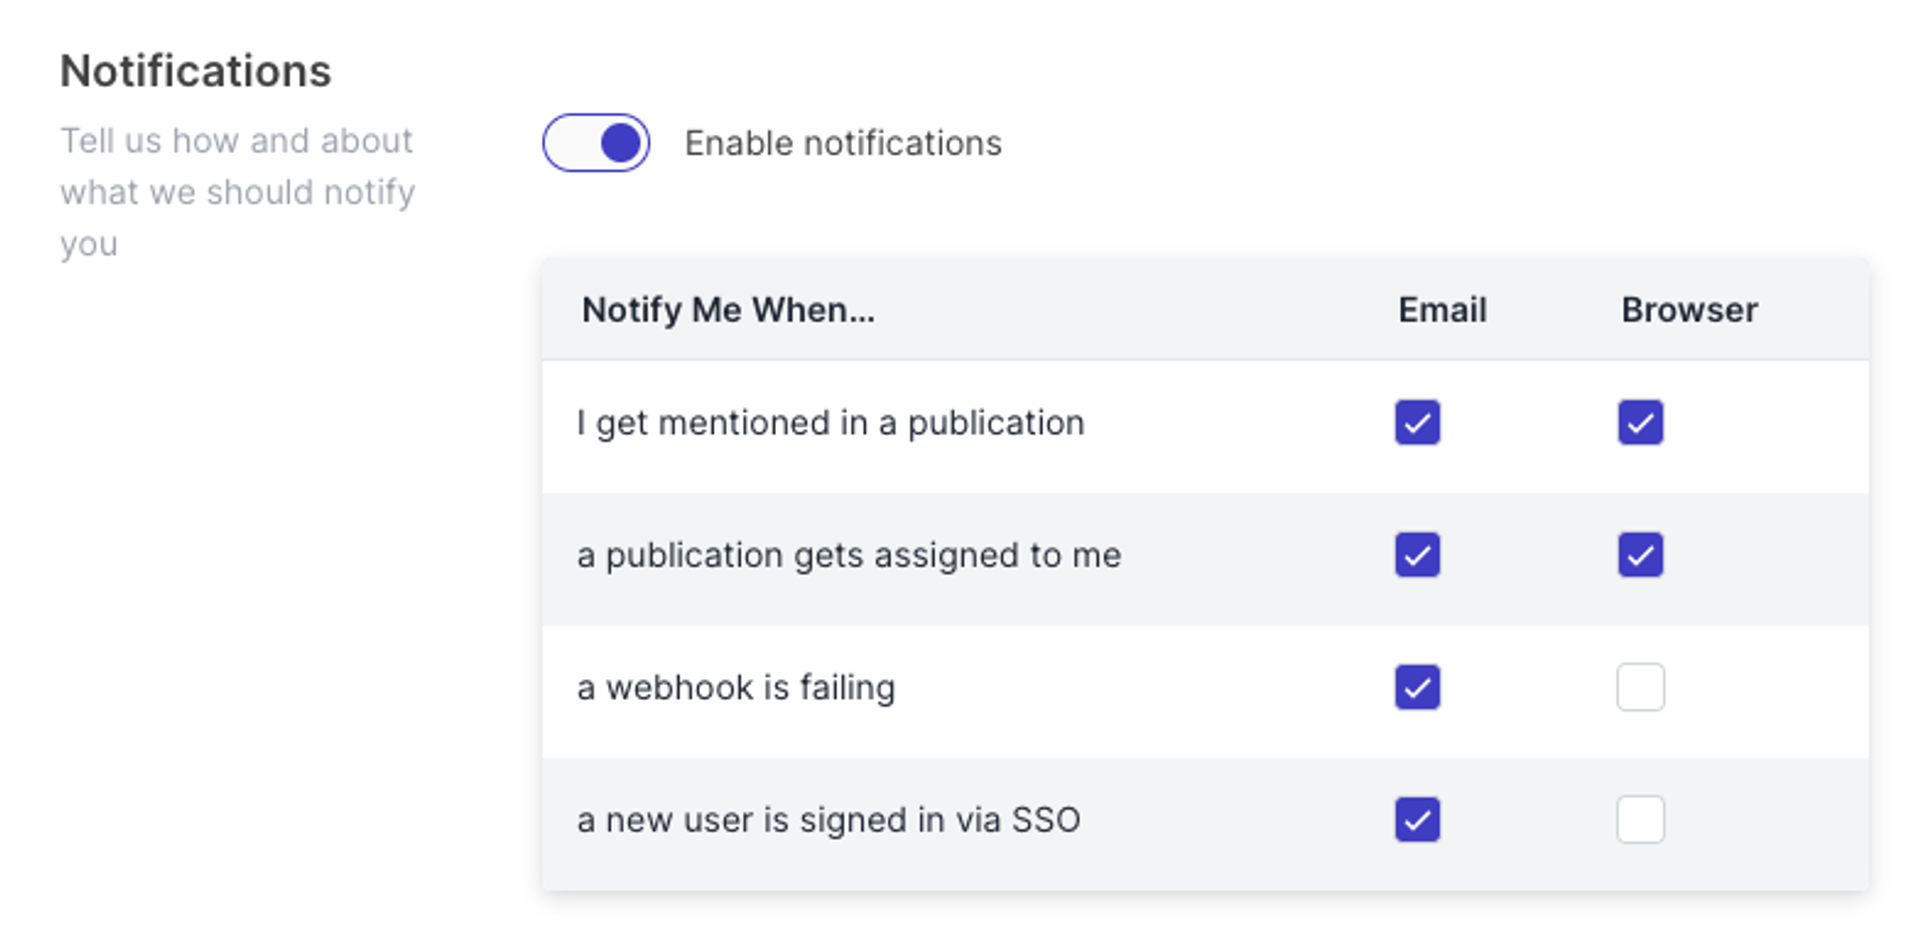
Manage your personal notifications
To activate personal notifications, enable notifications on your profile page. Click on your profile picture and choose Profile. Select the triggers and choose if you want to receive the notification via email or in the browser.
Types of notifications
There are three types of notifications you can receive.
Application notifications
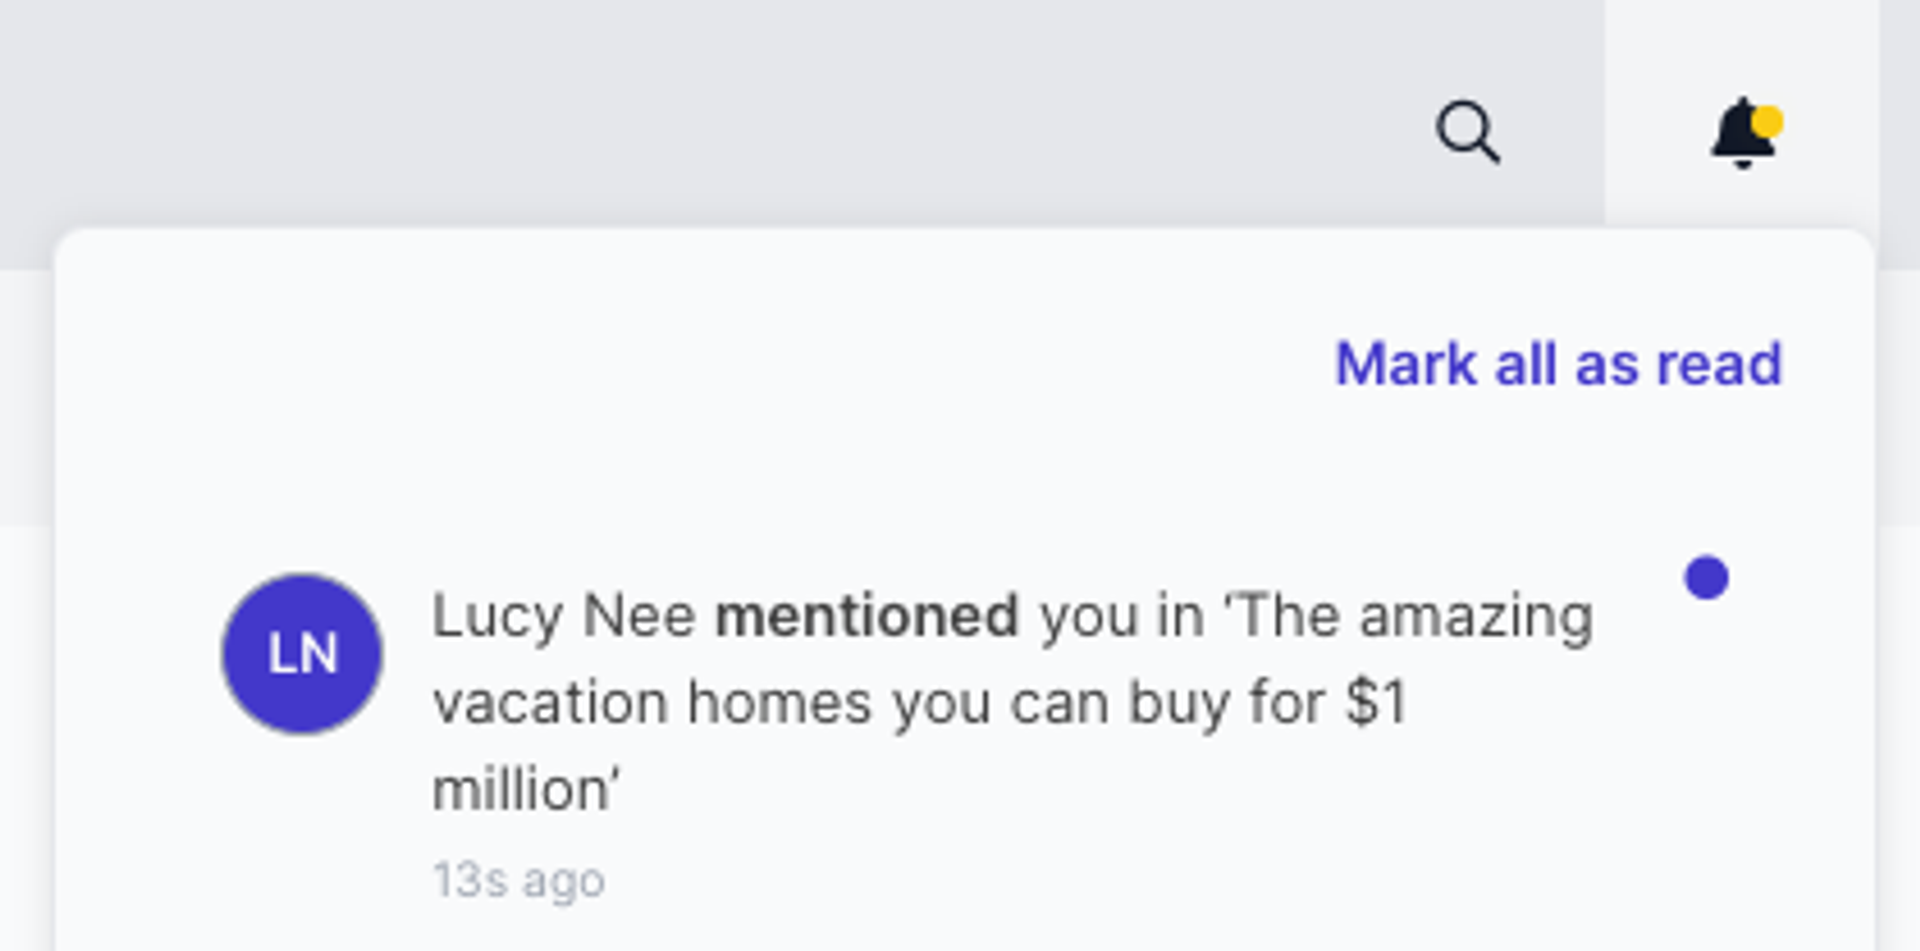
You will always see the notifications in the Prepr application. The notification can be found on the right side of the menu bar. Mark all as read to empty the notification list.
Email notifications
You can also receive notifications via email. The email always contains an action button, so that you can immediately read the comment, go to the user list or check the webhook edit page.

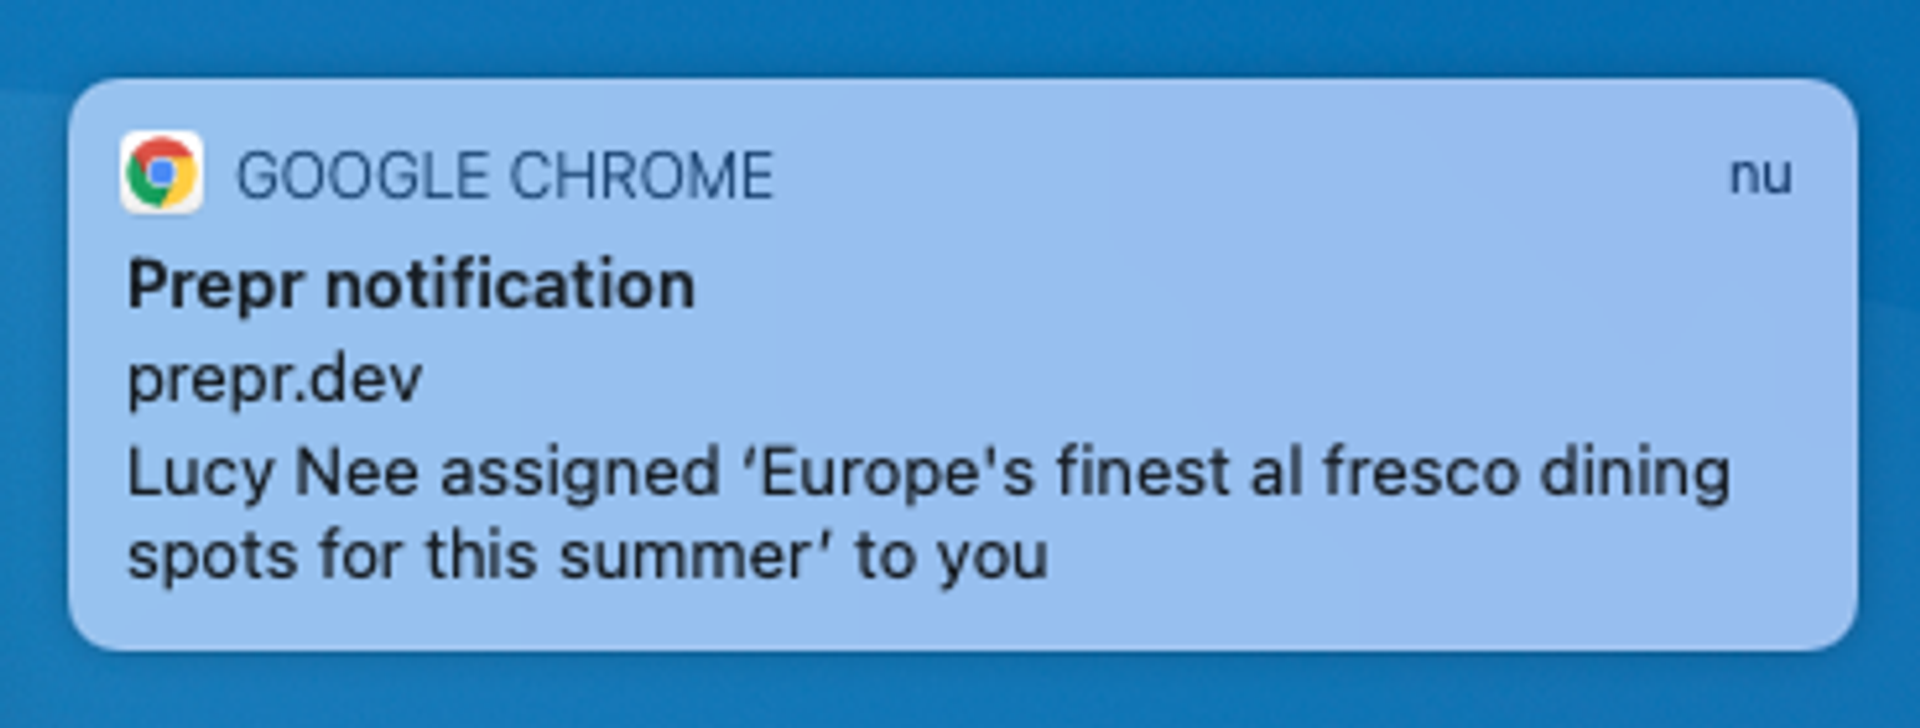
Browser notifications
The third way to receive system notifications is via your web browser. To receive browser notifications, you need to allow notifications in your browser and your Operating System. Please be sure the Do Not Disturb is disabled.
Notification triggers
There are four triggers on which you can receive notifications.
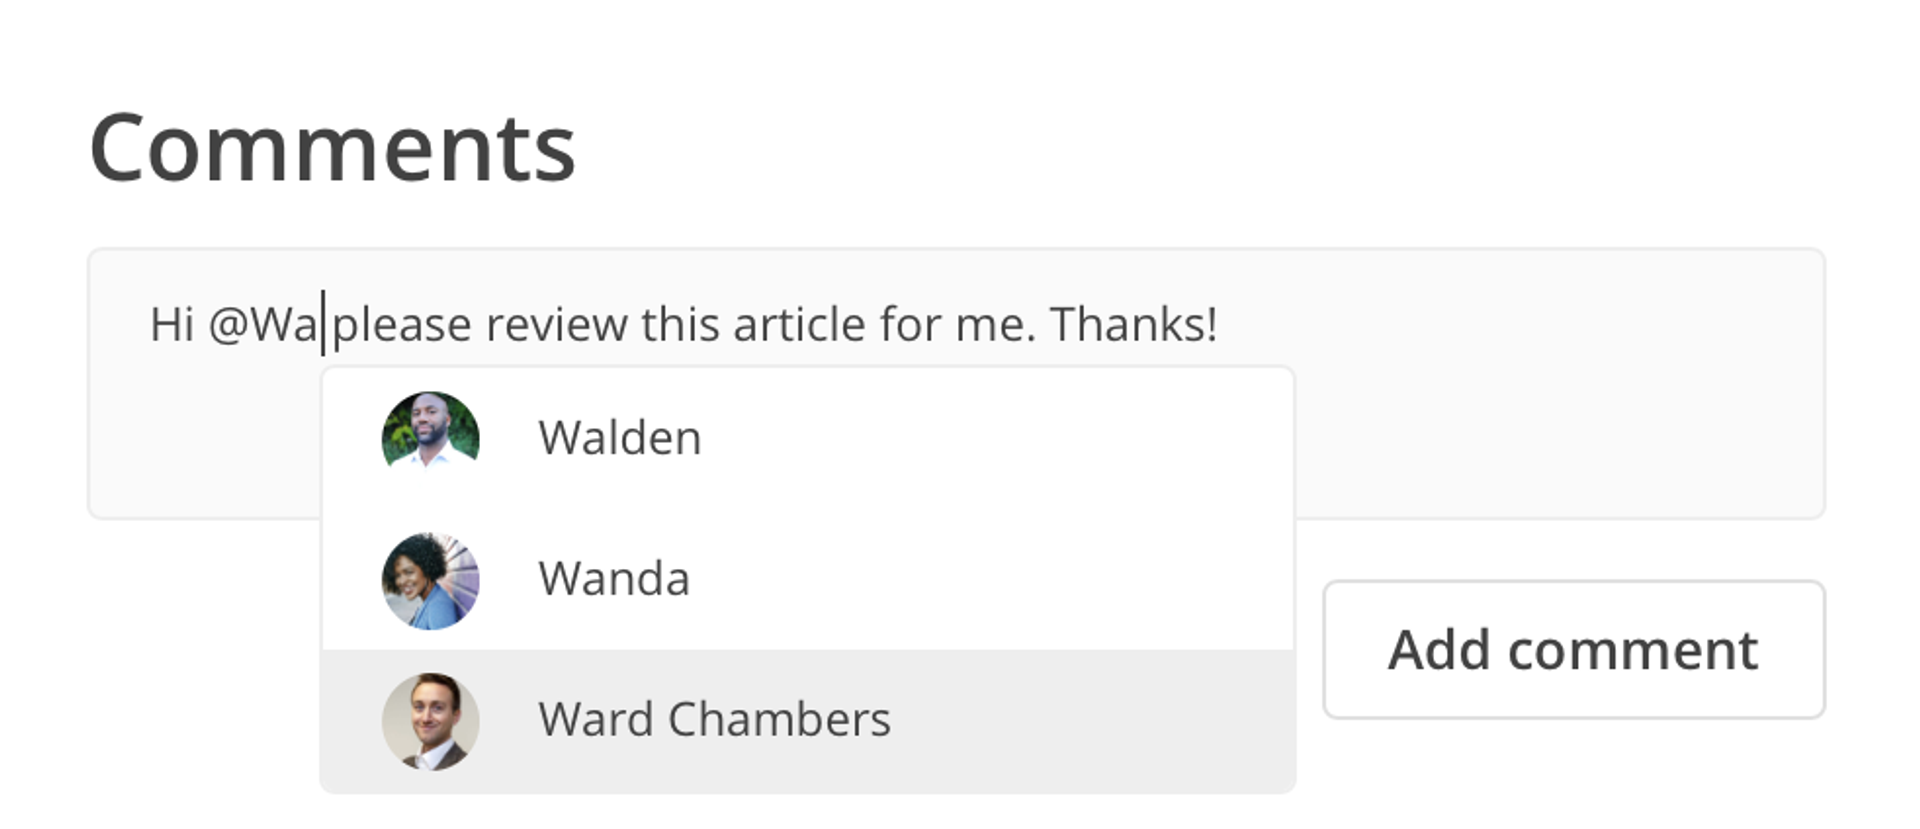
When I get mentioned
In the case you want to notify someone about a comment in a content item, just type @ and (a part of) the name to mention him. Click Add comment to send to notification to your team member.
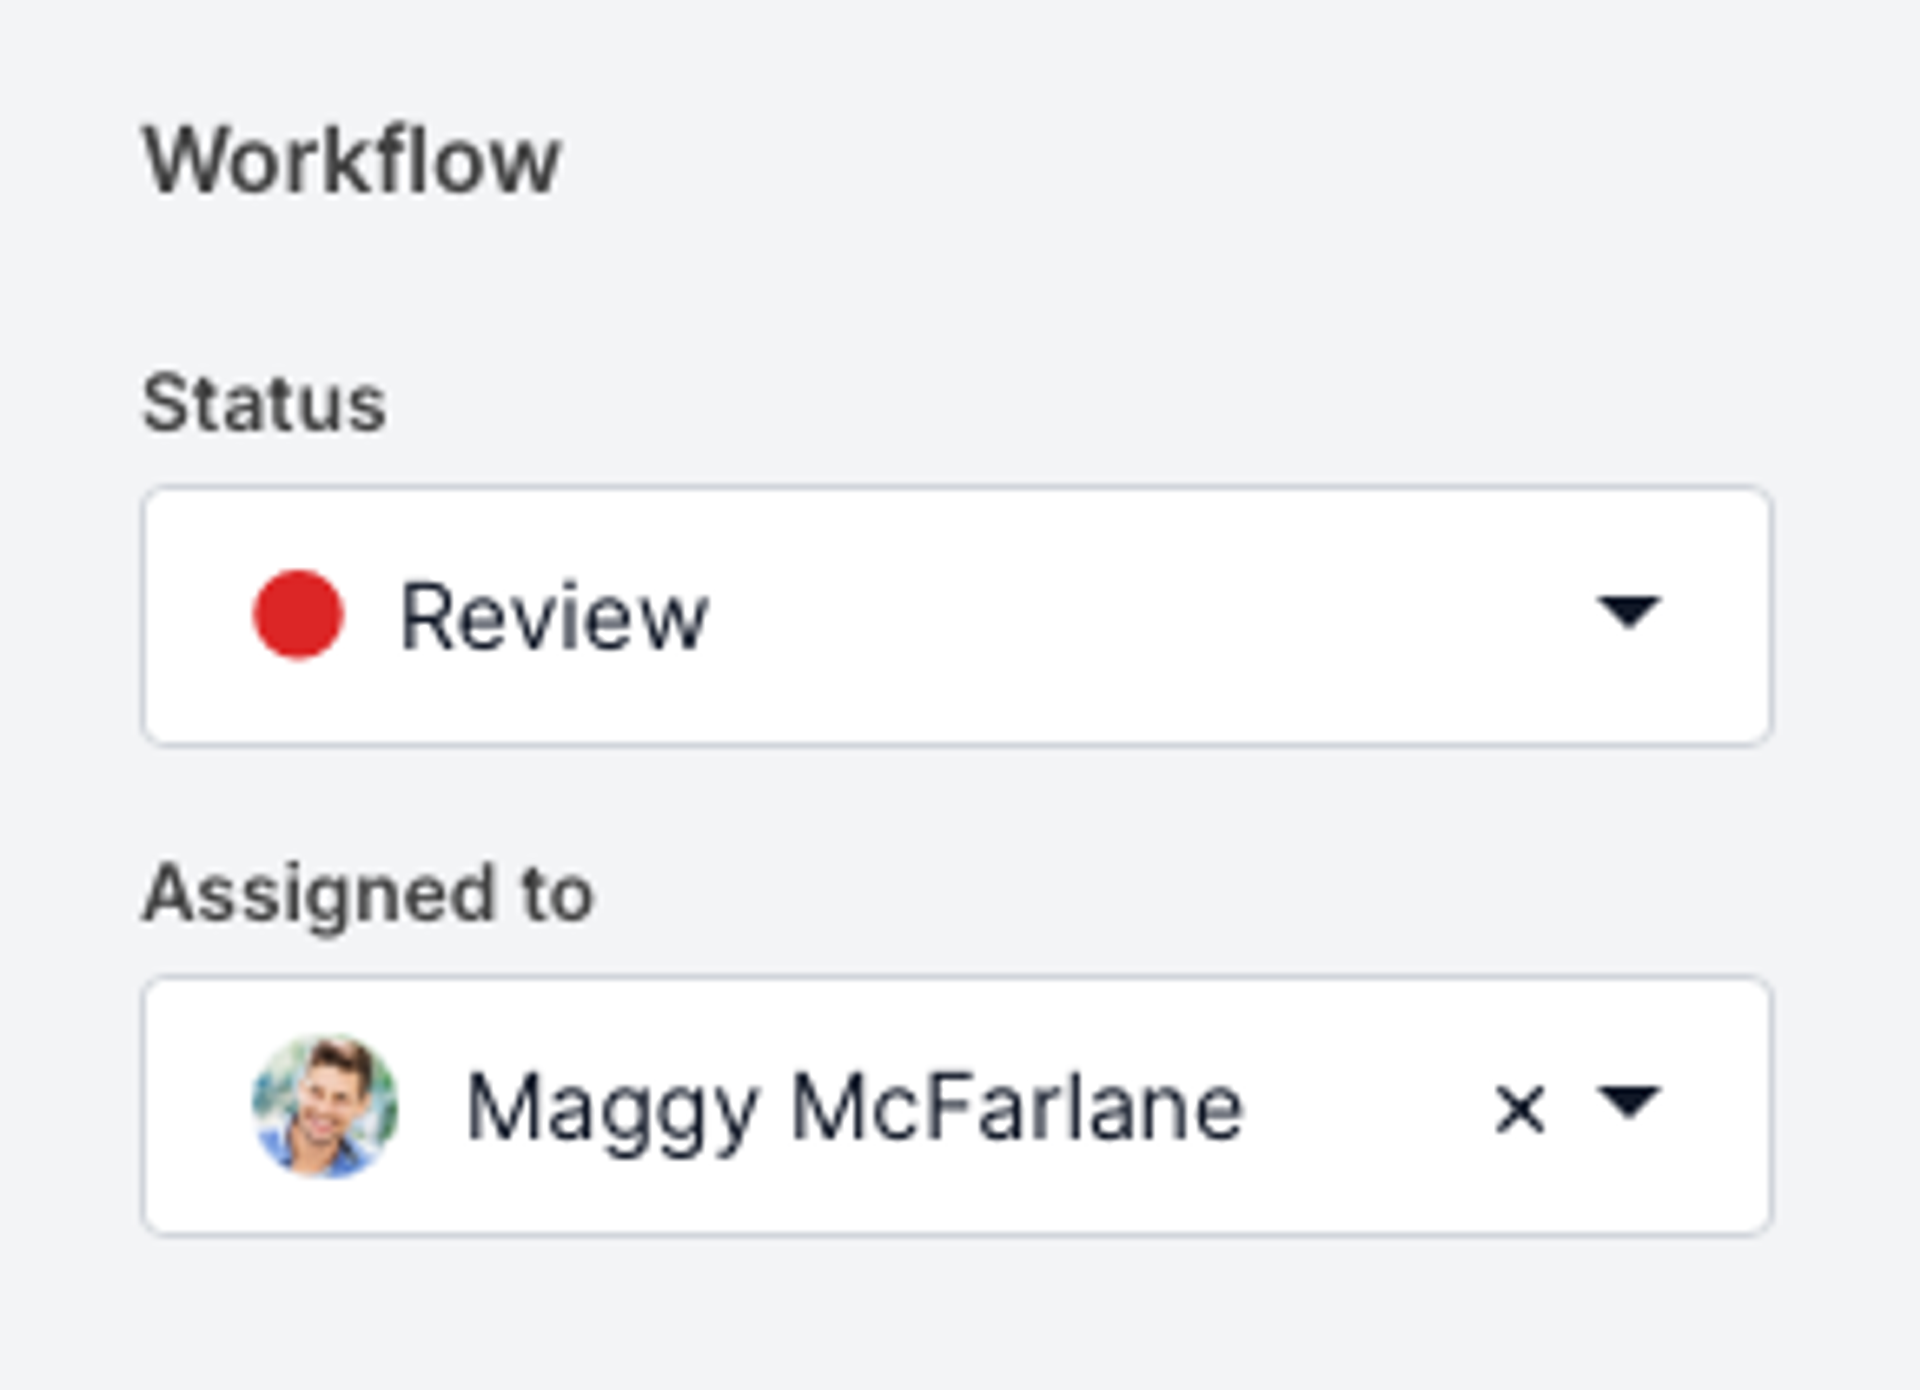
When a content item gets assigned to me
You can assign content items to a user and filter the content item list by assignee, making it easier to focus on the items you need to work on. To assign a content item, or change the assignee, choose assignee in the content item sidebar. You can assign the content item to yourself as well as to one other user. Check out the Workflow doc for more details.
When a webhook is failing
Webhooks allows your app to easily receive notifications whenever there are updates to a chosen set of events. Webhooks with more errors than usual will be switched off after 24 hours. All the subscribers to this notification are notified. We advise all developers to subscribe to this notification.

When a new user is signed in via SSO
A new Prepr user who logs in to the application for the first time via Single-Sign On will not yet have permissions. The owner, or another Prepr user with access to the user management, must provide him with the correct permissions. You can receive a notification in case of someone logs in via SSO for the first time.
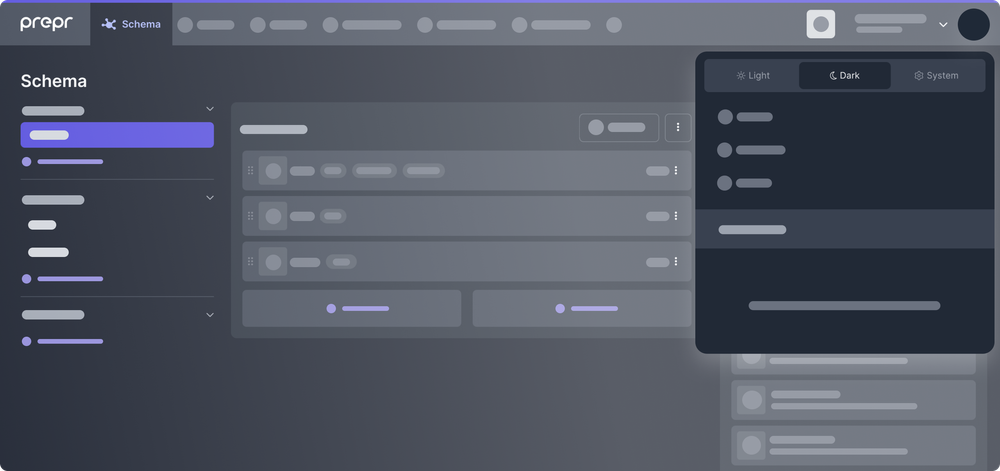
Manage Prepr appearence
Each user in Prepr can manage their Prepr appearance. You can hover over your Prepr profile icon and pick your preferred display setting:
-
Light - the standard theme with a white background.
-
Dark - uses dimmer background colors and brighter foreground colors to ensure the interface has sufficient contrast and to help reduce eye strain.
-
System - depends on your system settings (Windows, OS).