Environment-to-environment content export
This article explains how to export content from one environment to another, for example, when you want to do system testing in your development environment with realistic content from the production environment.
The Content Export is in beta, so we'd love to get your feedback (opens in a new tab) on your experience with this feature.
Prerequisites
Make sure that the Allow Developer actions and Allow bulk update content items and assets permissions are enabled for users who need to export content. The Export to action is available in the Content items list page for Developer users only.
Export content from one environment to another
The process below shows you how to export content from one environment to another in the same organization.
Update the schema in the target environment
Before exporting content from one environment to another, we recommend that you trigger a Schema Sync to make sure that the target schema is similar to the source schema.
For example, if you want to export content from the Production environment to the Development environment, then update your Development schema first.
This will reduce the risk of errors during the Content Export. Once your target schema is ready, continue with the next step to trigger a test export.
Run the test export
Follow the steps below to start the Content Export by running a test export.
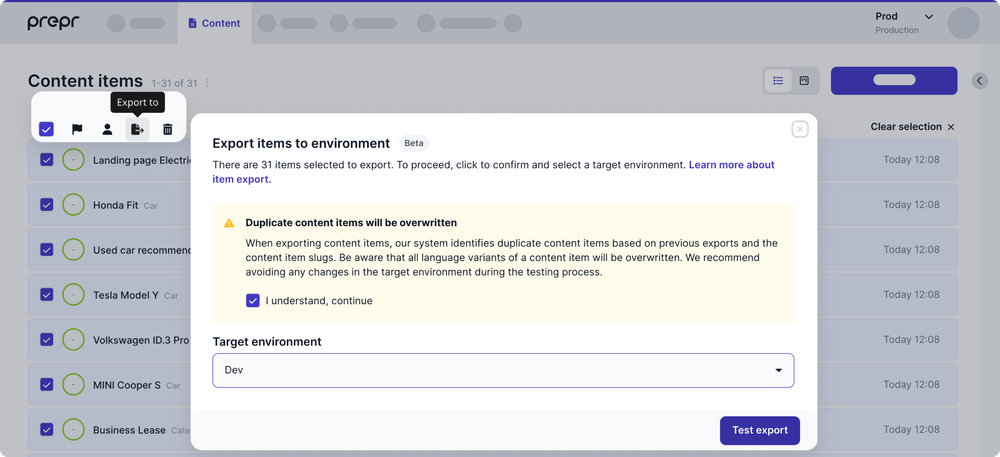
- First, navigate to the source environment from where you want the content exported. For example, the
Productionenvironment. - Go to the Content tab.
- Hover over the content items and select the ones that you want to export.
- If you want to select all content items, click the icon at the top of the content item list.
- Click the icon at the top of the content item list to trigger the test export.
- Select the target environment, for example,
Development, and click the Test export button.
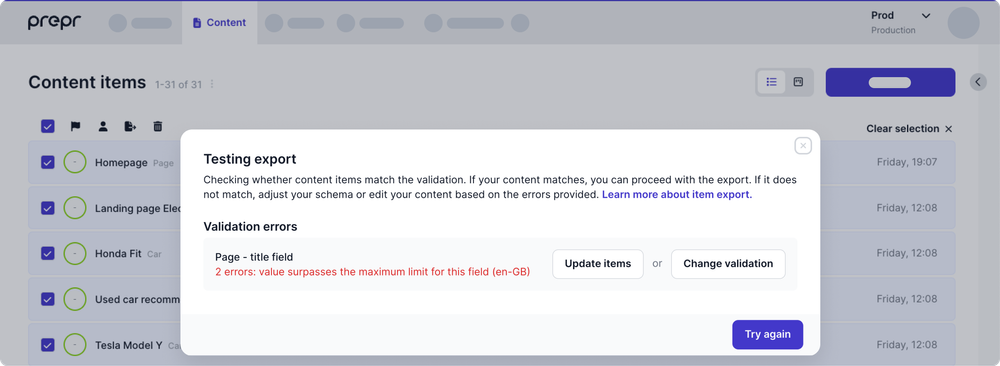
Fix errors
If there are inconsistencies between the target and source schema such as extra validations in the target schema, or missing models, the test export will display a report with a list of descriptive errors. If errors are displayed, you can fix them directly from this modal.
-
Fix content items. When you click the Update items button, you will automatically be directed to a filtered list of the content items in the source environment which failed the validation.
The Update items button will be disabled when more than 50 content items are in error.
-
Fix the target schema.
- If you click the Change validation button, you will automatically be directed to the model in the target environment where the applicable validation rule is enabled. If the error is related to validations in a component then you will automatically be directed to the model that includes the component.
- In the case of a missing model, click the Update schema button to add the missing model to the schema. Use the sync schema process to ensure consistency.
Once fixed, click the Try again button to rerun the test export.
This field is required validation is not triggered during the export.
Export the content
When the test export is completed without any errors, click the Export items button to run the actual export.
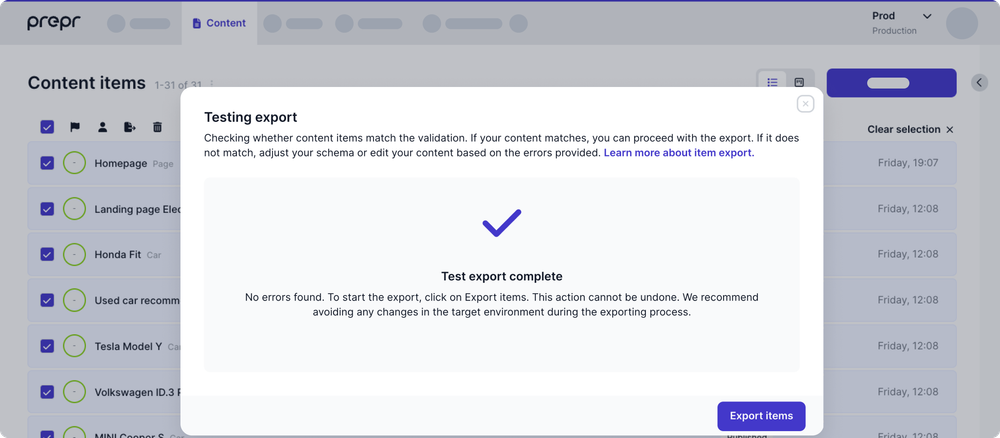
Once done, navigate to the target environment to find the exported content items.
- If the target environment was completely empty then the source content items and related assets are simply copied to the target environment.
- If content items already existed in the target environment the export finds matching content items and assets and overwrite these.
Matching content items have the same
slugvalue, while assets are matched by theirURL.
Make sure that users are not updating content items in the target environment during the actual content export.
Was this article helpful?
We’d love to learn from your feedback