Algolia
From this guide, you’ll learn how to index Prepr content with the Algolia search engine for an optimized and performant search experience in your web app.
The Algolia integration is available as a paid option on top of your regular subscription. Please contact our Sales team for more details.
Introduction
Prepr supports integration with Algolia , an AI-powered search service with a high-performance API. This integration enables your Prepr content items to be indexed using the Algolia algorithm, maximizing the search speed and content discovery in your web app.
In other words, it allows your web app visitors to search across your app, easily find what they are looking for, and receive the most up-to-date content.
Record size limits
There are record size limits based on your Algolia plan. Make sure you understand the impact of exceeding these limits before setting up the Algolia integration.
How you define the search indexes in your setup has a direct influence on the size of your data records.
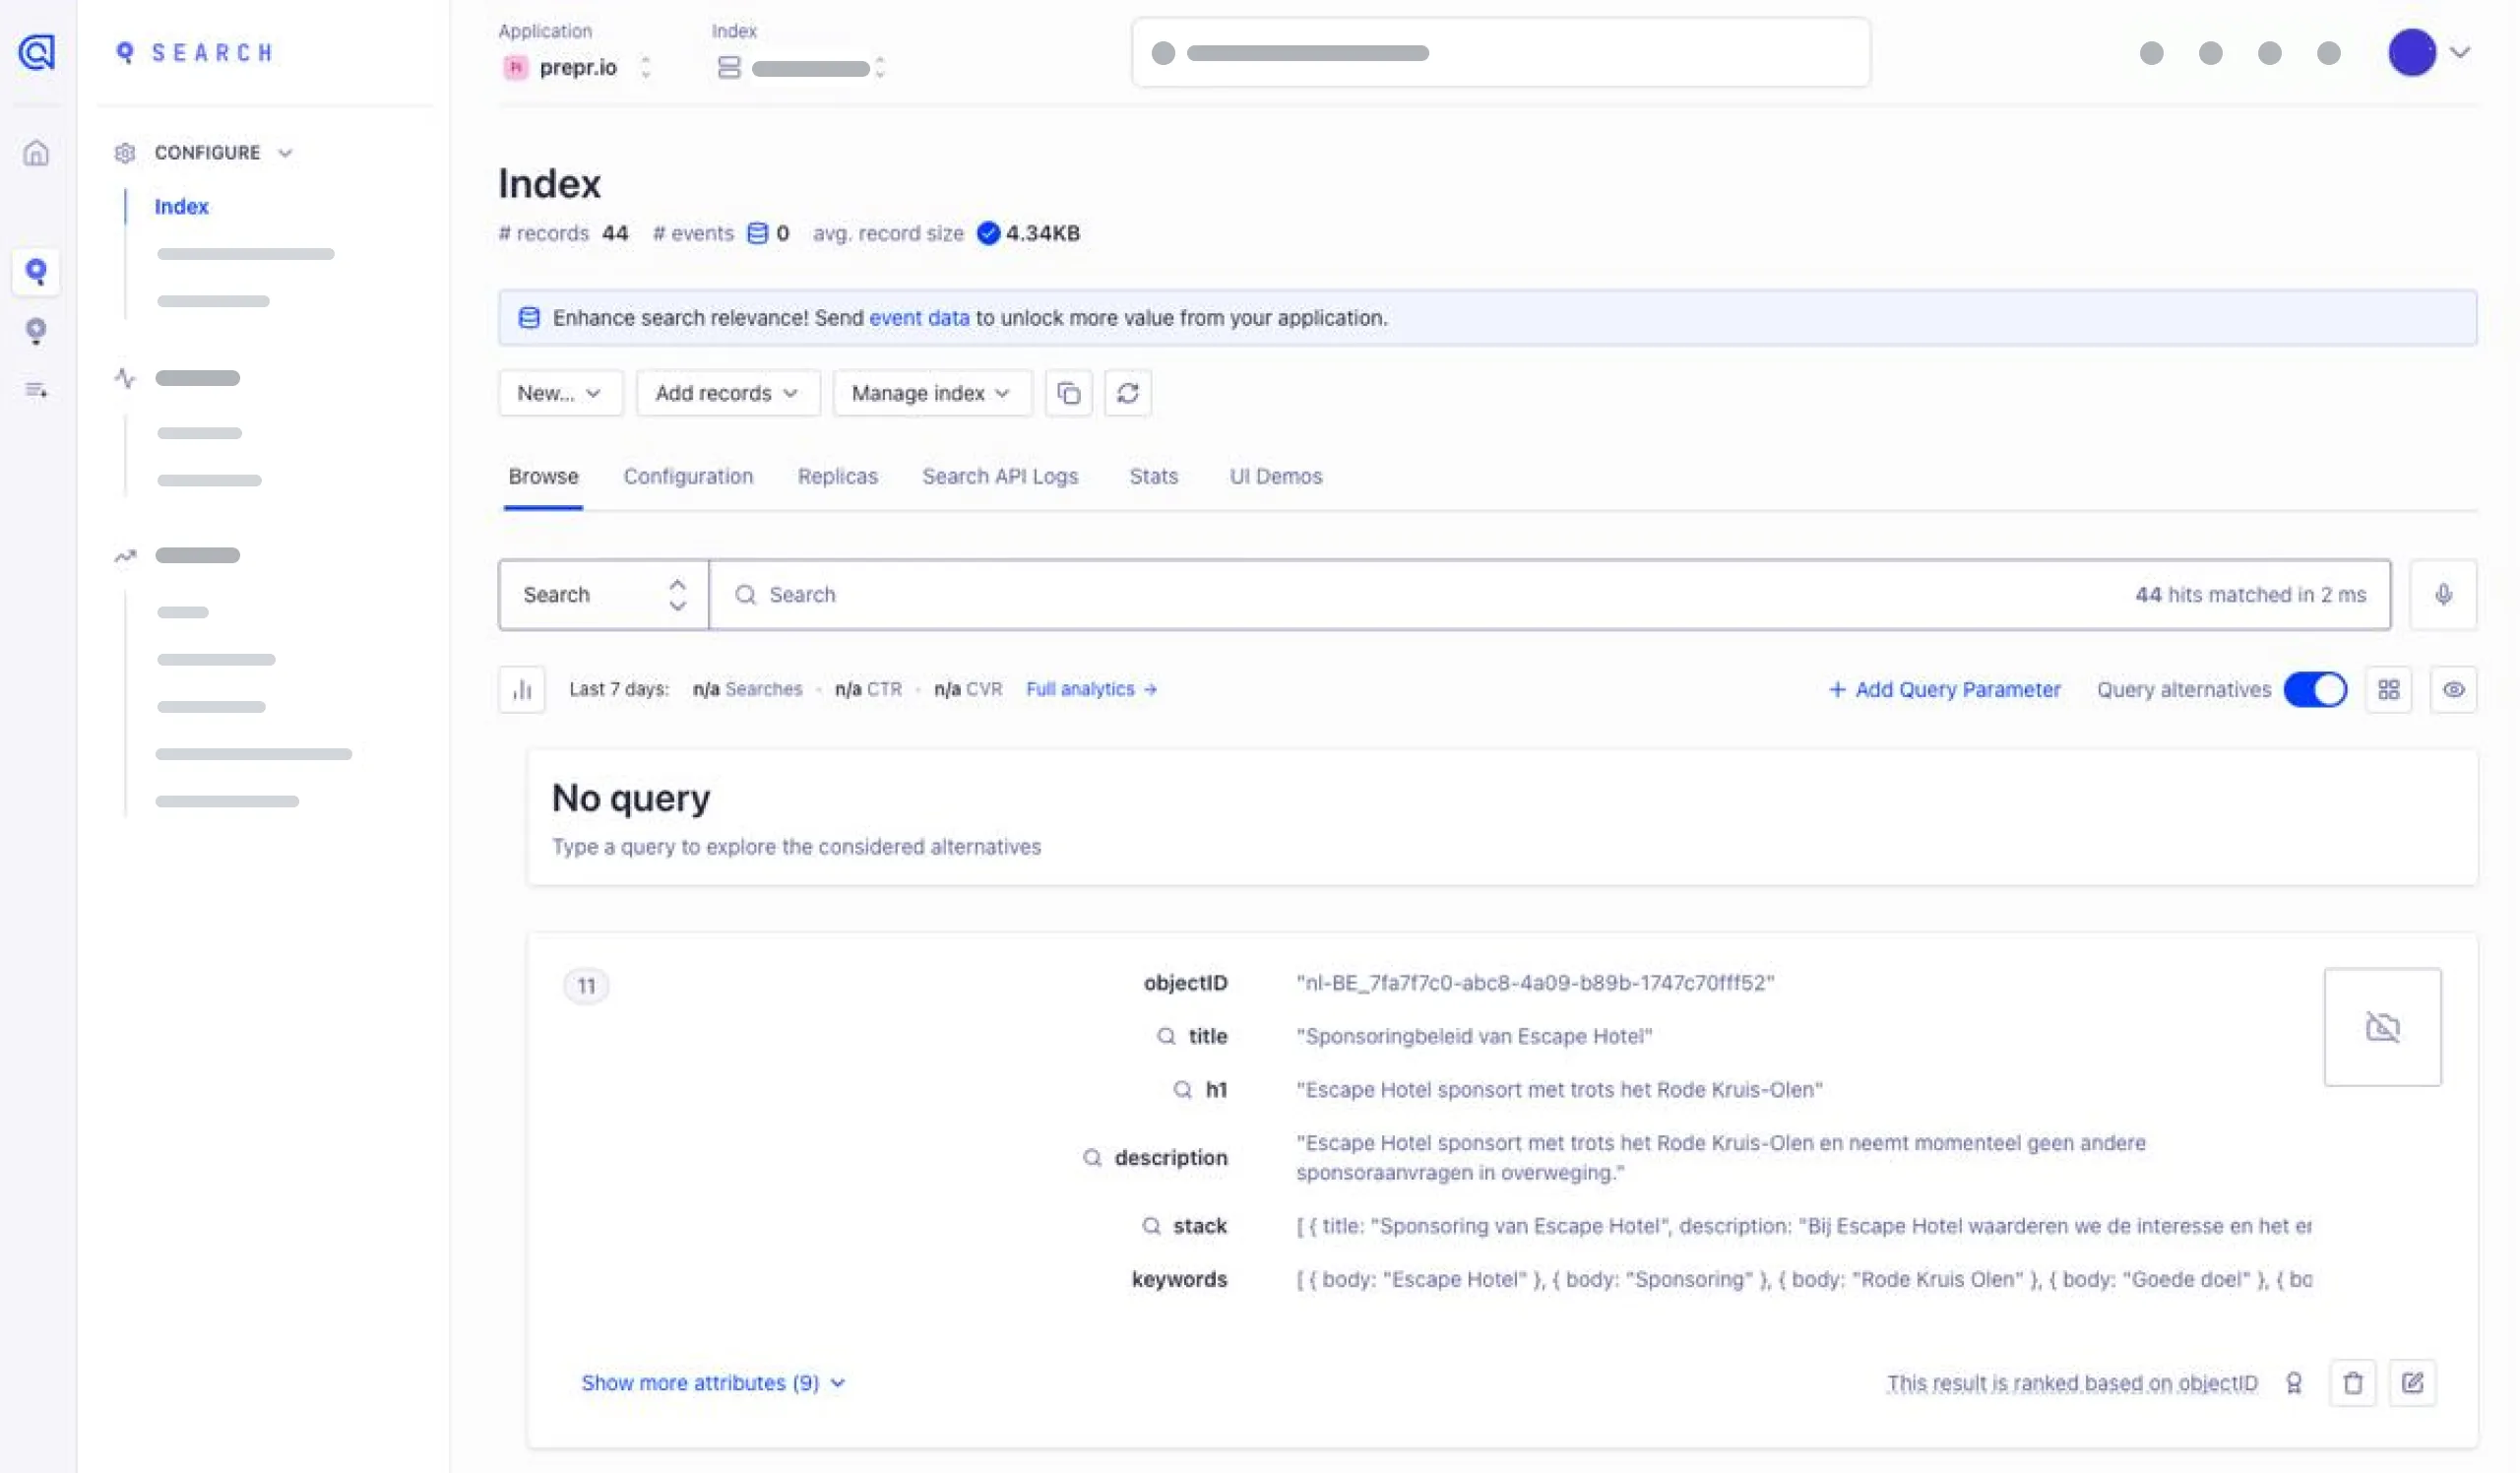
Algolia integration setup
Follow the steps below to set up your Algolia integration to search Prepr content in your web app. The basic steps show you how to connect Prepr to Algolia and to sync content items to create indexed records.
Get the API credentials from your Algolia app
To connect Prepr to Algolia, you need an Application ID and a valid API key with the following ACL permissions:
settings: Used to verify if the index exists before performing operations.editSettings: Used to edit the index before performing operations.addObject: Used to add new records to your Algolia index.deleteObject: Used to delete outdated or incorrect records in the Algolia index.search: Used to find related records that also need to be updated in the Algolia index.
For more details, check out Rights and restrictions in Algolia docs. Algolia uses these credentials to identify your Prepr application and control access to Algolia’s API.
To get the credentials, navigate to the API Keys section in your Algolia app settings.
Connect Prepr to Algolia
Now that you have the required credentials, you can set up the Algolia integration in Prepr as follows:
-
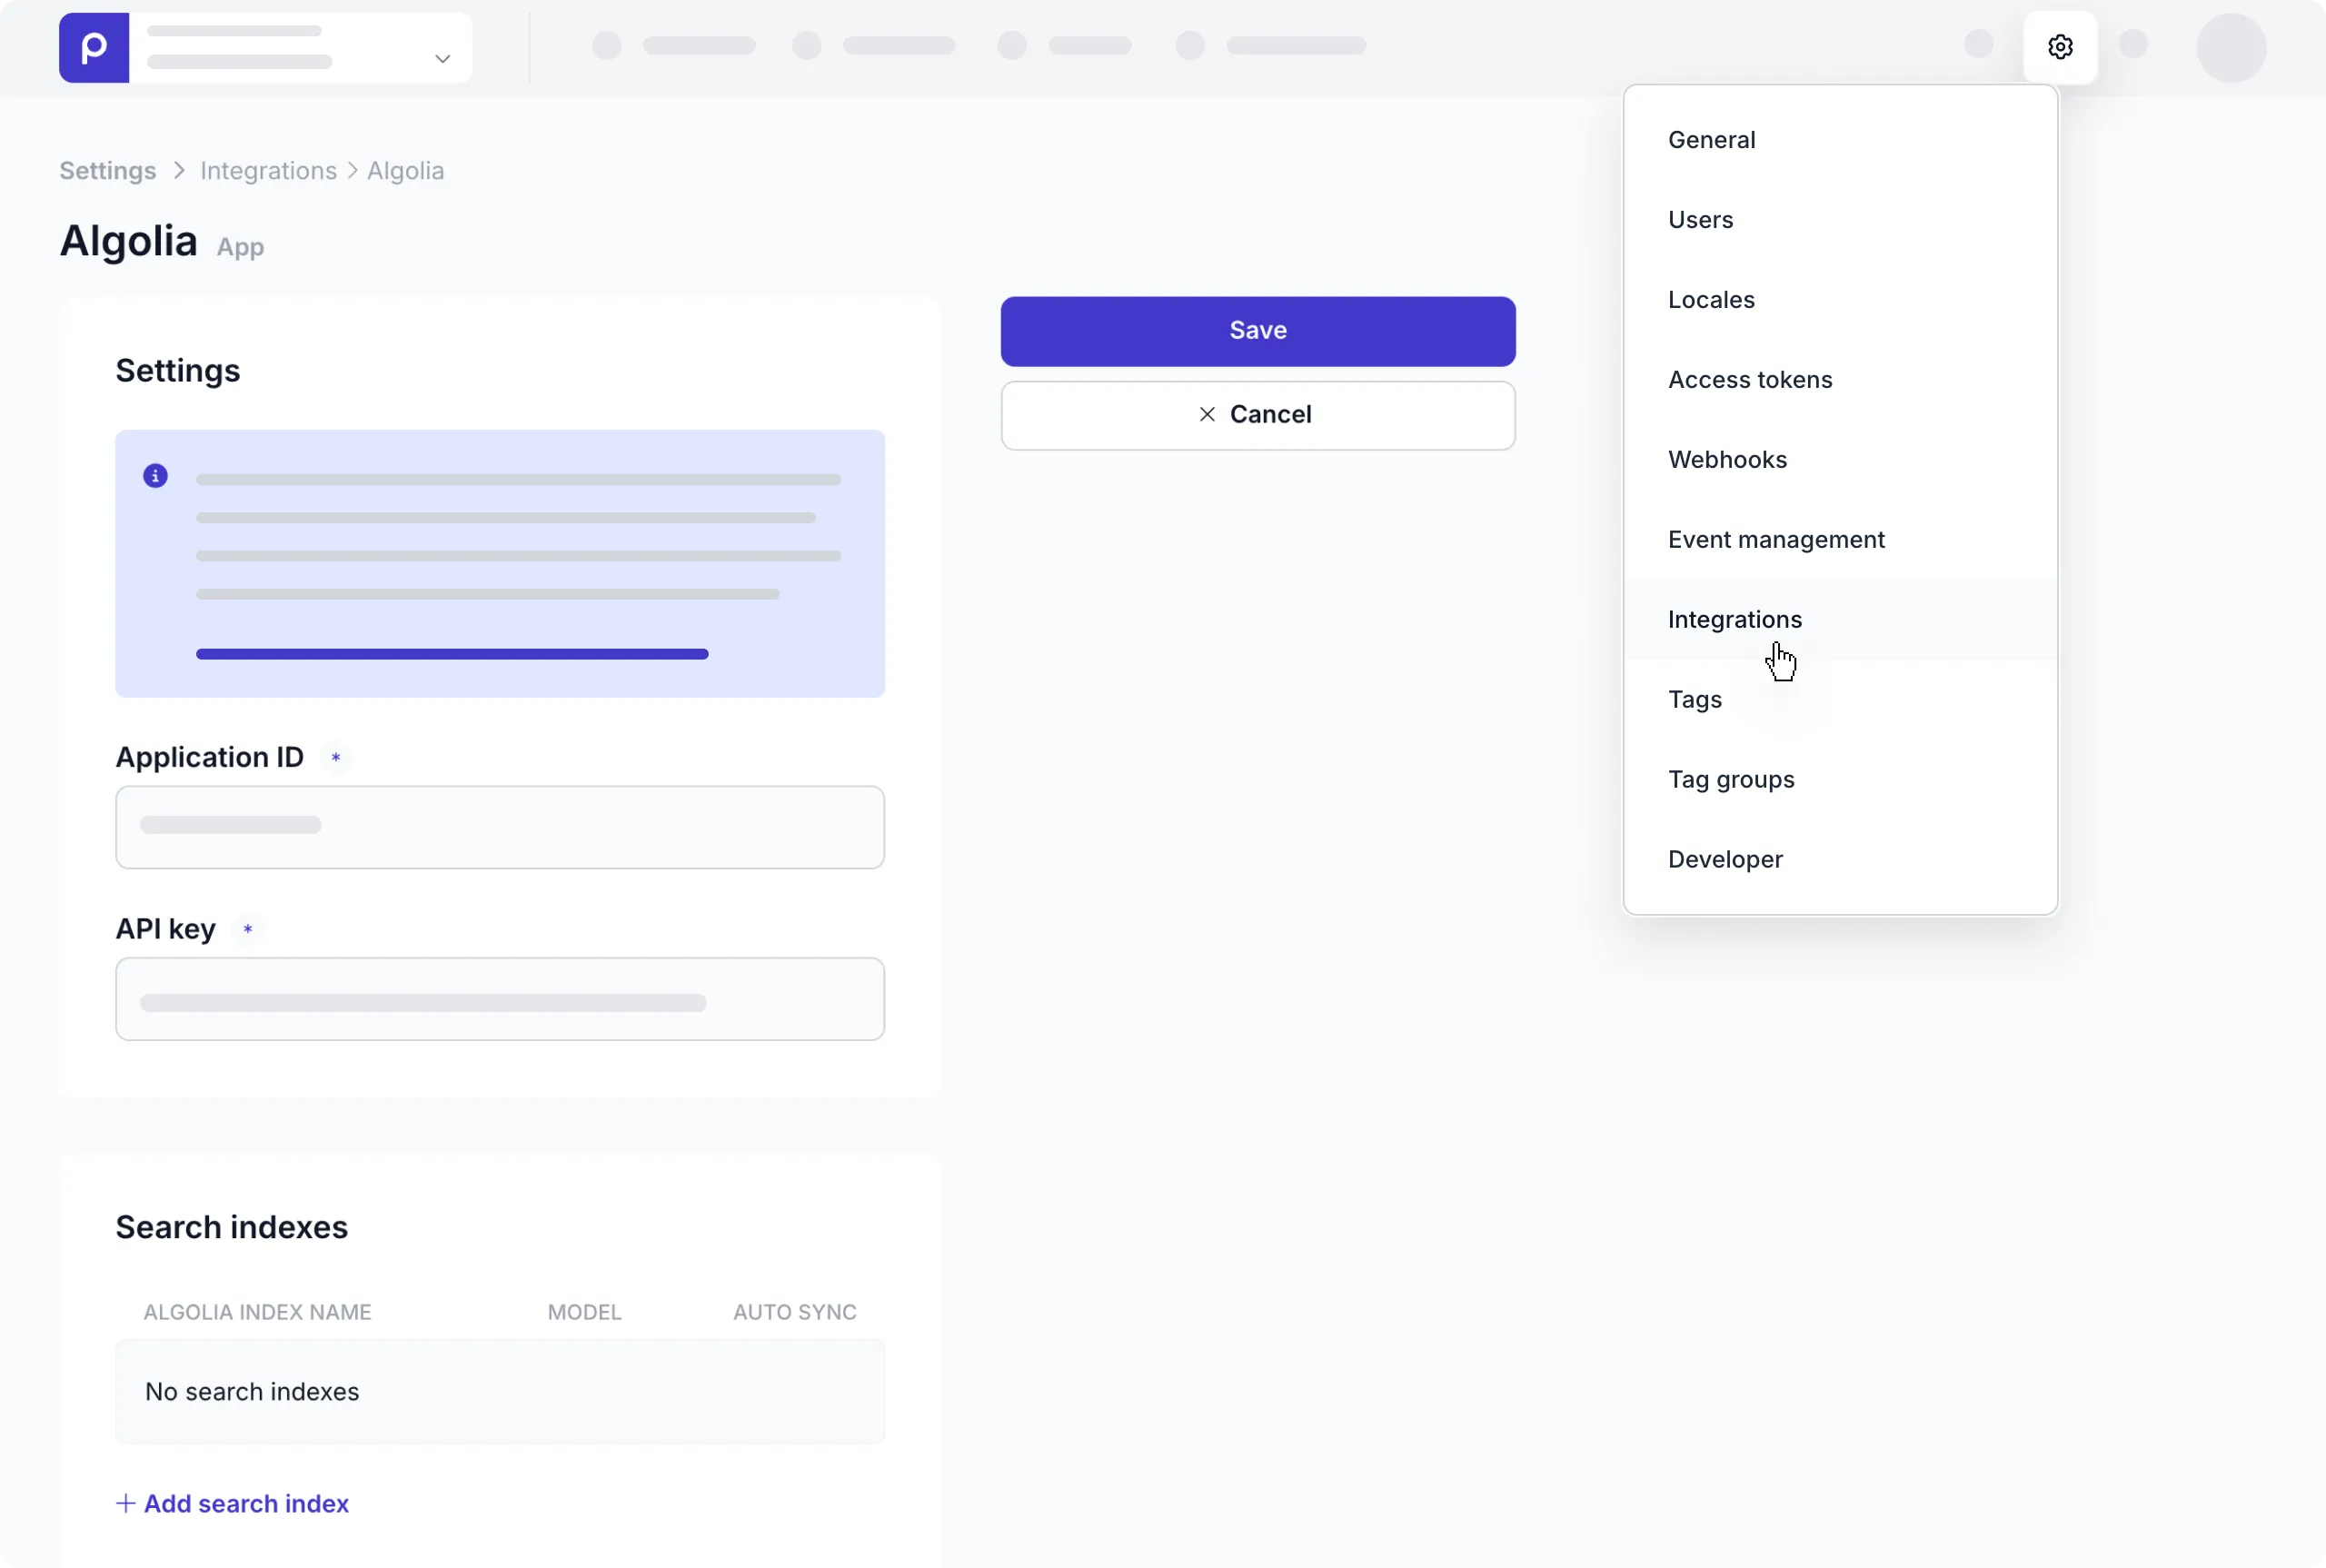
Click the icon and choose the Integrations option to open the integrations page.
-
Hover over the Algolia card and click the Activate button.
If you do not have access to the Algolia integration yet, click Request activation to contact our Sales team.
-
In the Algolia app page, enter the Algolia credentials you got in the previous step.
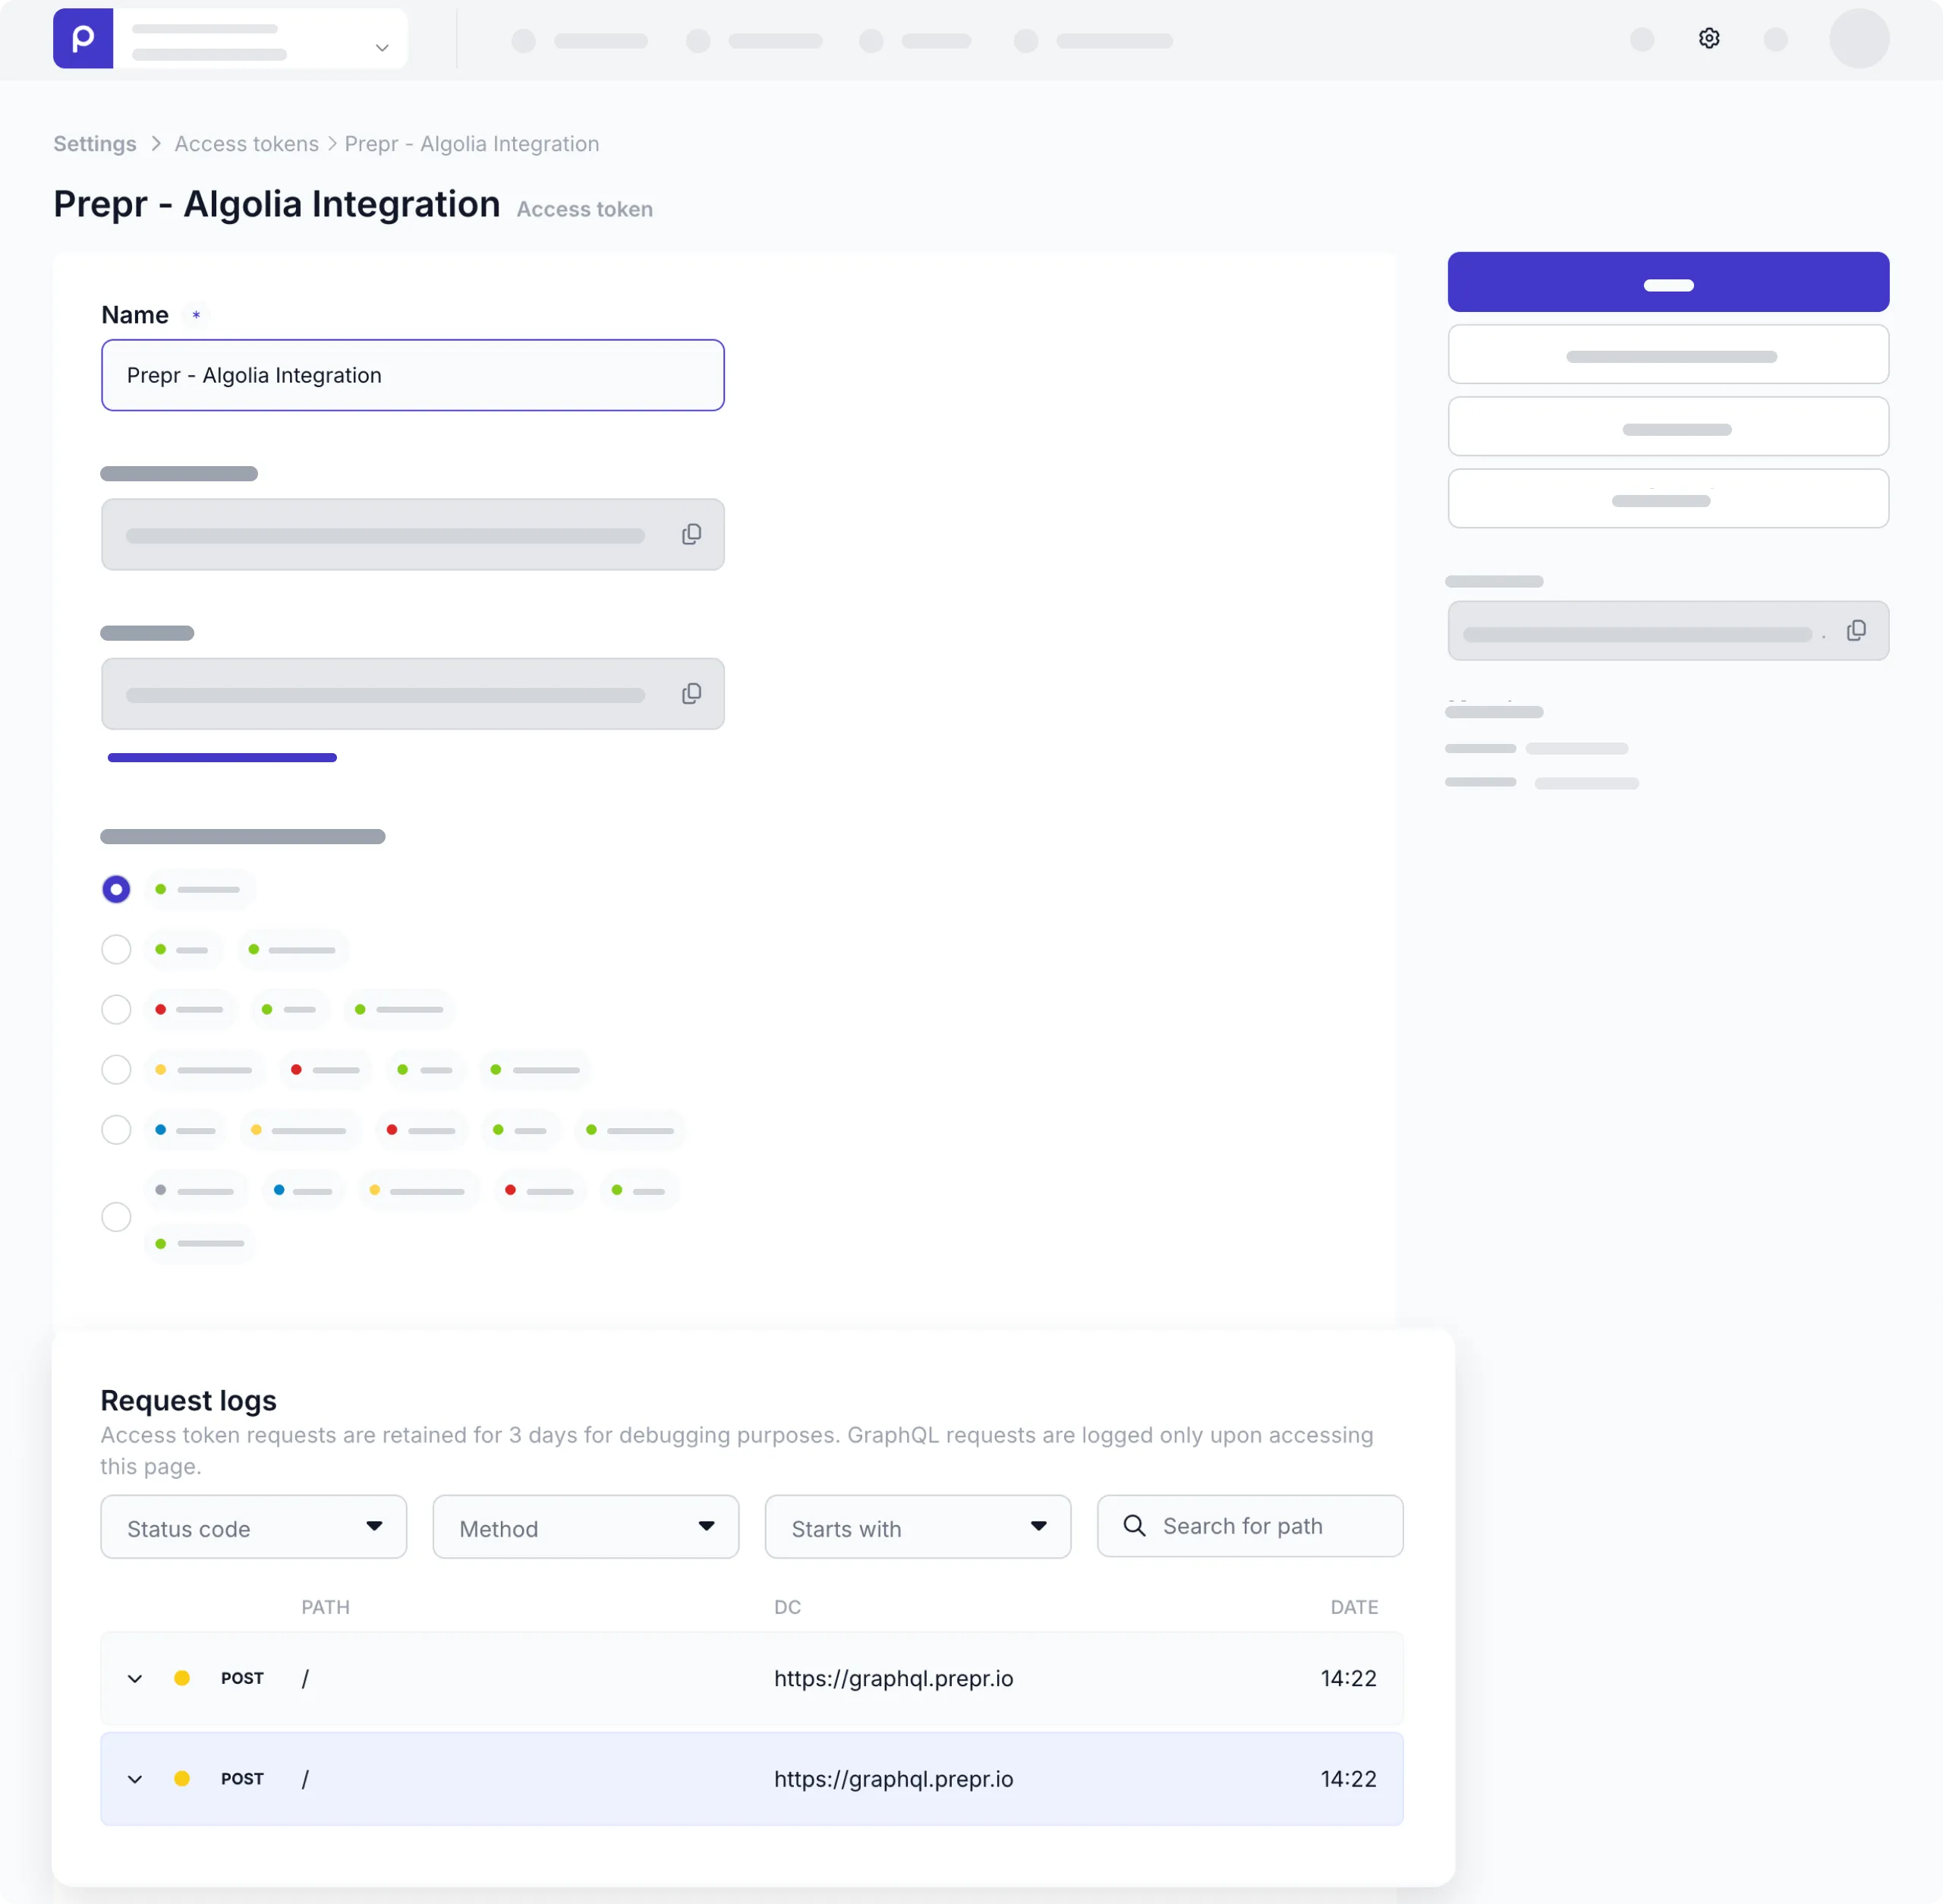
Once you save the Algolia integration in Prepr, an access token is generated automatically. Simply click the Debug button in the Algolia app page to open the Prepr - Algolia integration access token. Prepr will use this token as a credential when making API requests during the content sync to Algolia.
Define Algolia search indexes
You’ve set up a basic connection to Algolia, but before you can sync any content to Algolia for indexing, you need to define at least one search index:
-
Go to the Search indexes section and click the + Add search index link to define the model and fields to be used for indexing.
-
Enter a name for the index that easily identifies what Algolia needs to index, for example: post. This name will be used to identify indexes in Algolia. Check out the Algolia index naming guide to avoid problematic names. Read more to understand how Algolia indexing works .
-
Then, select a model to be included in Algolia searches.
-
Add a well-defined query to the GraphQL query section.
Tip
For the GraphQL query box, you can simply copy the GraphQL query you’ve set up for that model in your front end and update it according to the guidelines below.
To create a valid query and ensure the Algolia index is performant and relevant, follow these query guidelines:
-
Return a single item: The query needs to return a single content item. For example, query
BlogPostand notBlogPosts. In other words, there should be noitemsarray wrapper. -
Include required filters: Add the
localeandidarguments to the query. If the query is for a single-item model then you only need to add thelocale. -
Include relevant fields only: Only include fields that are searchable, filterable, or strictly required for rendering your search results UI (such as image URLs for search box thumbnails). Avoid system or presentational fields like
background_color. You can use the mapping table below to help you decide which fields to include in your Algolia index query based on their types and intended search functionality.GraphQL Type Examples String Include fields users search by, like titleanddescription. Don’t include presentational fields likebackground_color.Boolean Include indicators used for filtering search results, such as premium_contentoris_featured. Don’t include system fields likeis_external_link.Float Include for numerical filtering or sorting, such as product priceorreview_rating.Integer Include for sorting or filtering, such as word_countorinventory_stock.Asset In the asset object, include fields users search by, like captionor properties required for your search UI, for example,urlto render search thumbnails for an SEO OG image or product images.Tag Typically, you would include the bodyof the tag field.Date and time You can include fields like an event_datefor instance. -
Strip comments: Make sure there are no comment lines (lines starting with
#).
-
See an example of a valid query below with the required locale and id arguments.
query Query($locale: String!,$id: String) {
  BlogPost(locale: $locale, id: $id) {
      title
      cover {
        caption
      }
      description
      author {
        name
      }
      category
      elements {
        ... on ImageText {
          description
          title
        }
      }
      video {
        description
        name
        caption
      }
      keywords {
        body
        _id
      }
  }
}-
If your query doesn’t match the expected format, for example, if there’s no
localeargument, you’ll see a validation error below the query.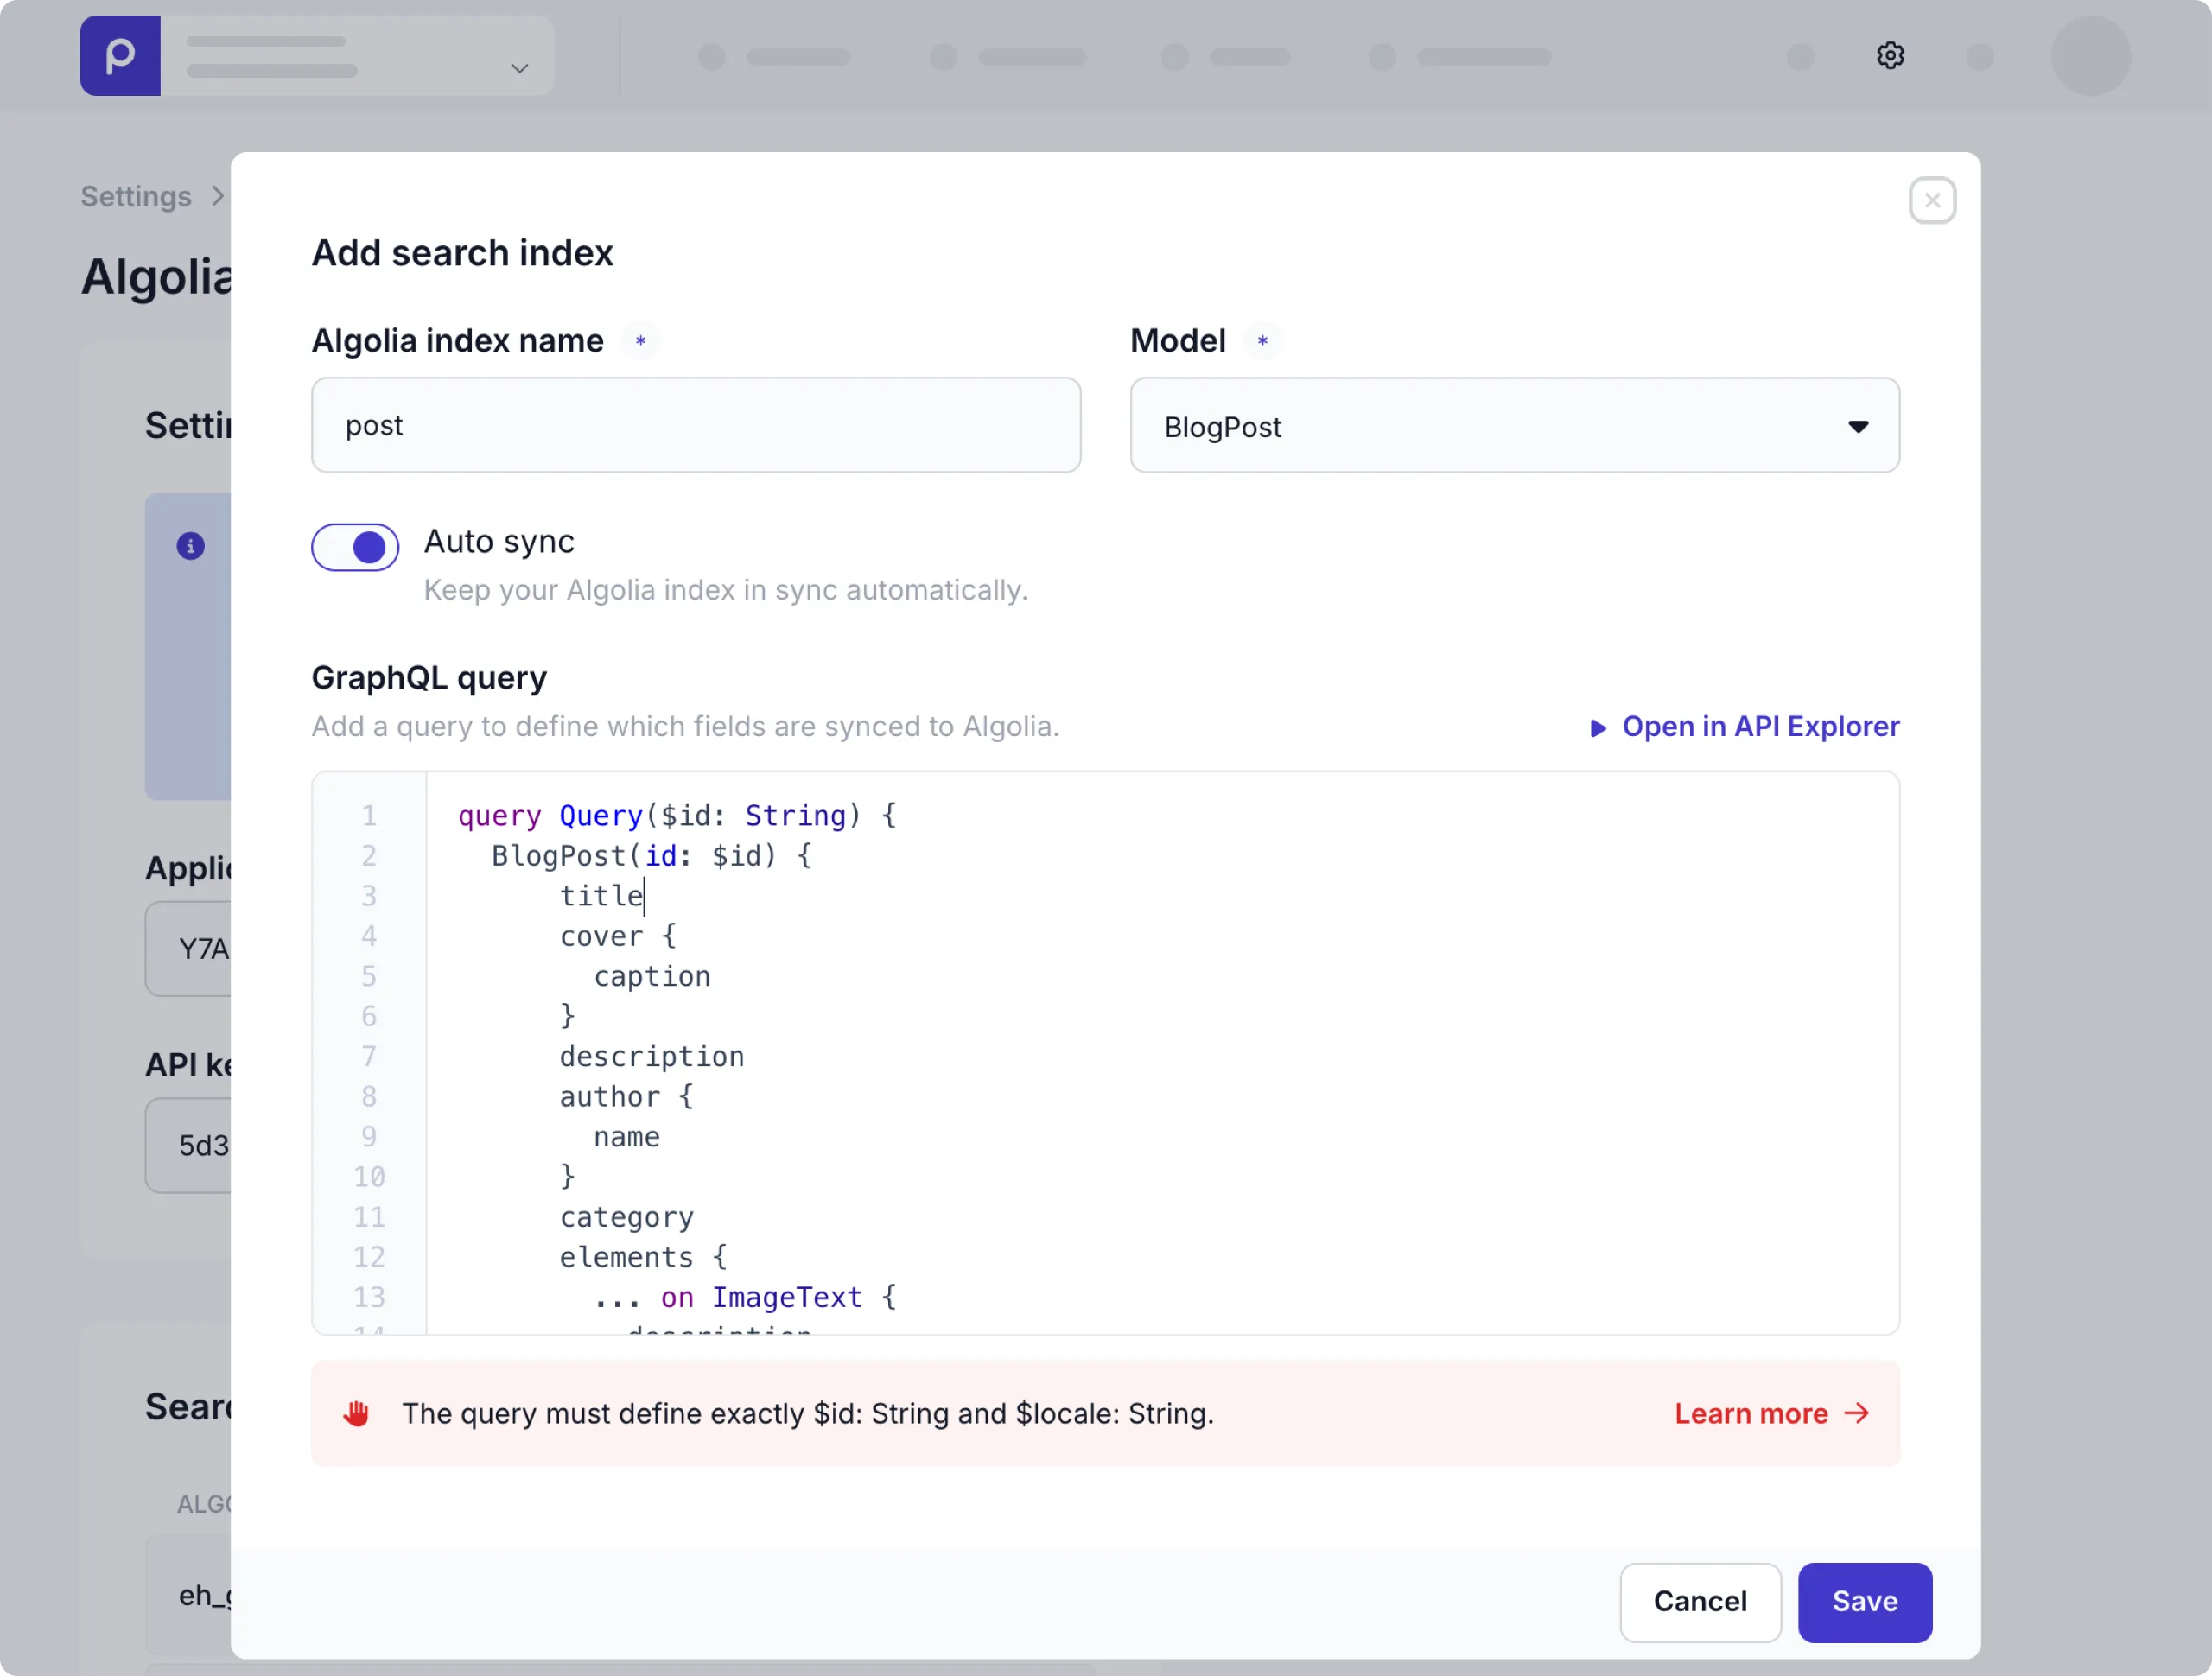
-
To have more control over syncing content to Algolia, you can disable the Auto sync option per model.
If Auto sync is enabled for a model, Prepr will automatically keep syncing related content items to Algolia for indexing. This means, when a new content item for this model is published, one or more records will be created in Algolia. And any changes to the published content item result in updating the corresponding Algolia records. Once the content item is unpublished, the Algolia records will be removed. So you can be sure your data is always-in-sync, and that the most up-to-date content is available to your web app visitors.
-
Click Save to confirm the settings.
That’s it. You’ve connected Prepr and successfully added search indexes to Algolia.
Before sending your content item data to Algolia, Prepr automatically transforms it into a JSON format that Algolia recognizes. Once data is prepared and synced, the corresponding records are created and stored in an Algolia index you specified.
Trigger content sync to Algolia
To sync content items to Algolia directly, follow the steps below.
-
First create a new access token with REST API scopes
content_itemsandcontent_items_publishand bind a user to this token under Settings → Access tokens.⚠️Access tokens with write permissions must not be visible client-side. Read more in the Mutation API Authorization doc.
-
Get a model ID by going to Schema → Model → → Copy Model ID.
-
Trigger the following API request and provide the model ID you copied to sync content items to Algolia:
GET: https://mutation.prepr.io/publications/algolia/sync{
"model": {
"id": "YOUR_MODEL_ID"
}
}Content items are synced in batches, and the overall time depends on the number of content items you have.
This request allows you to index all new content created after enabling the Algolia integration. If you need to index any content you already have, or after a schema update, simply run this sync action again.
Test setup directly in Algolia
When you run the content sync for Algolia indexing, you can view the logs by clicking the Debug button in your Algolia integration.
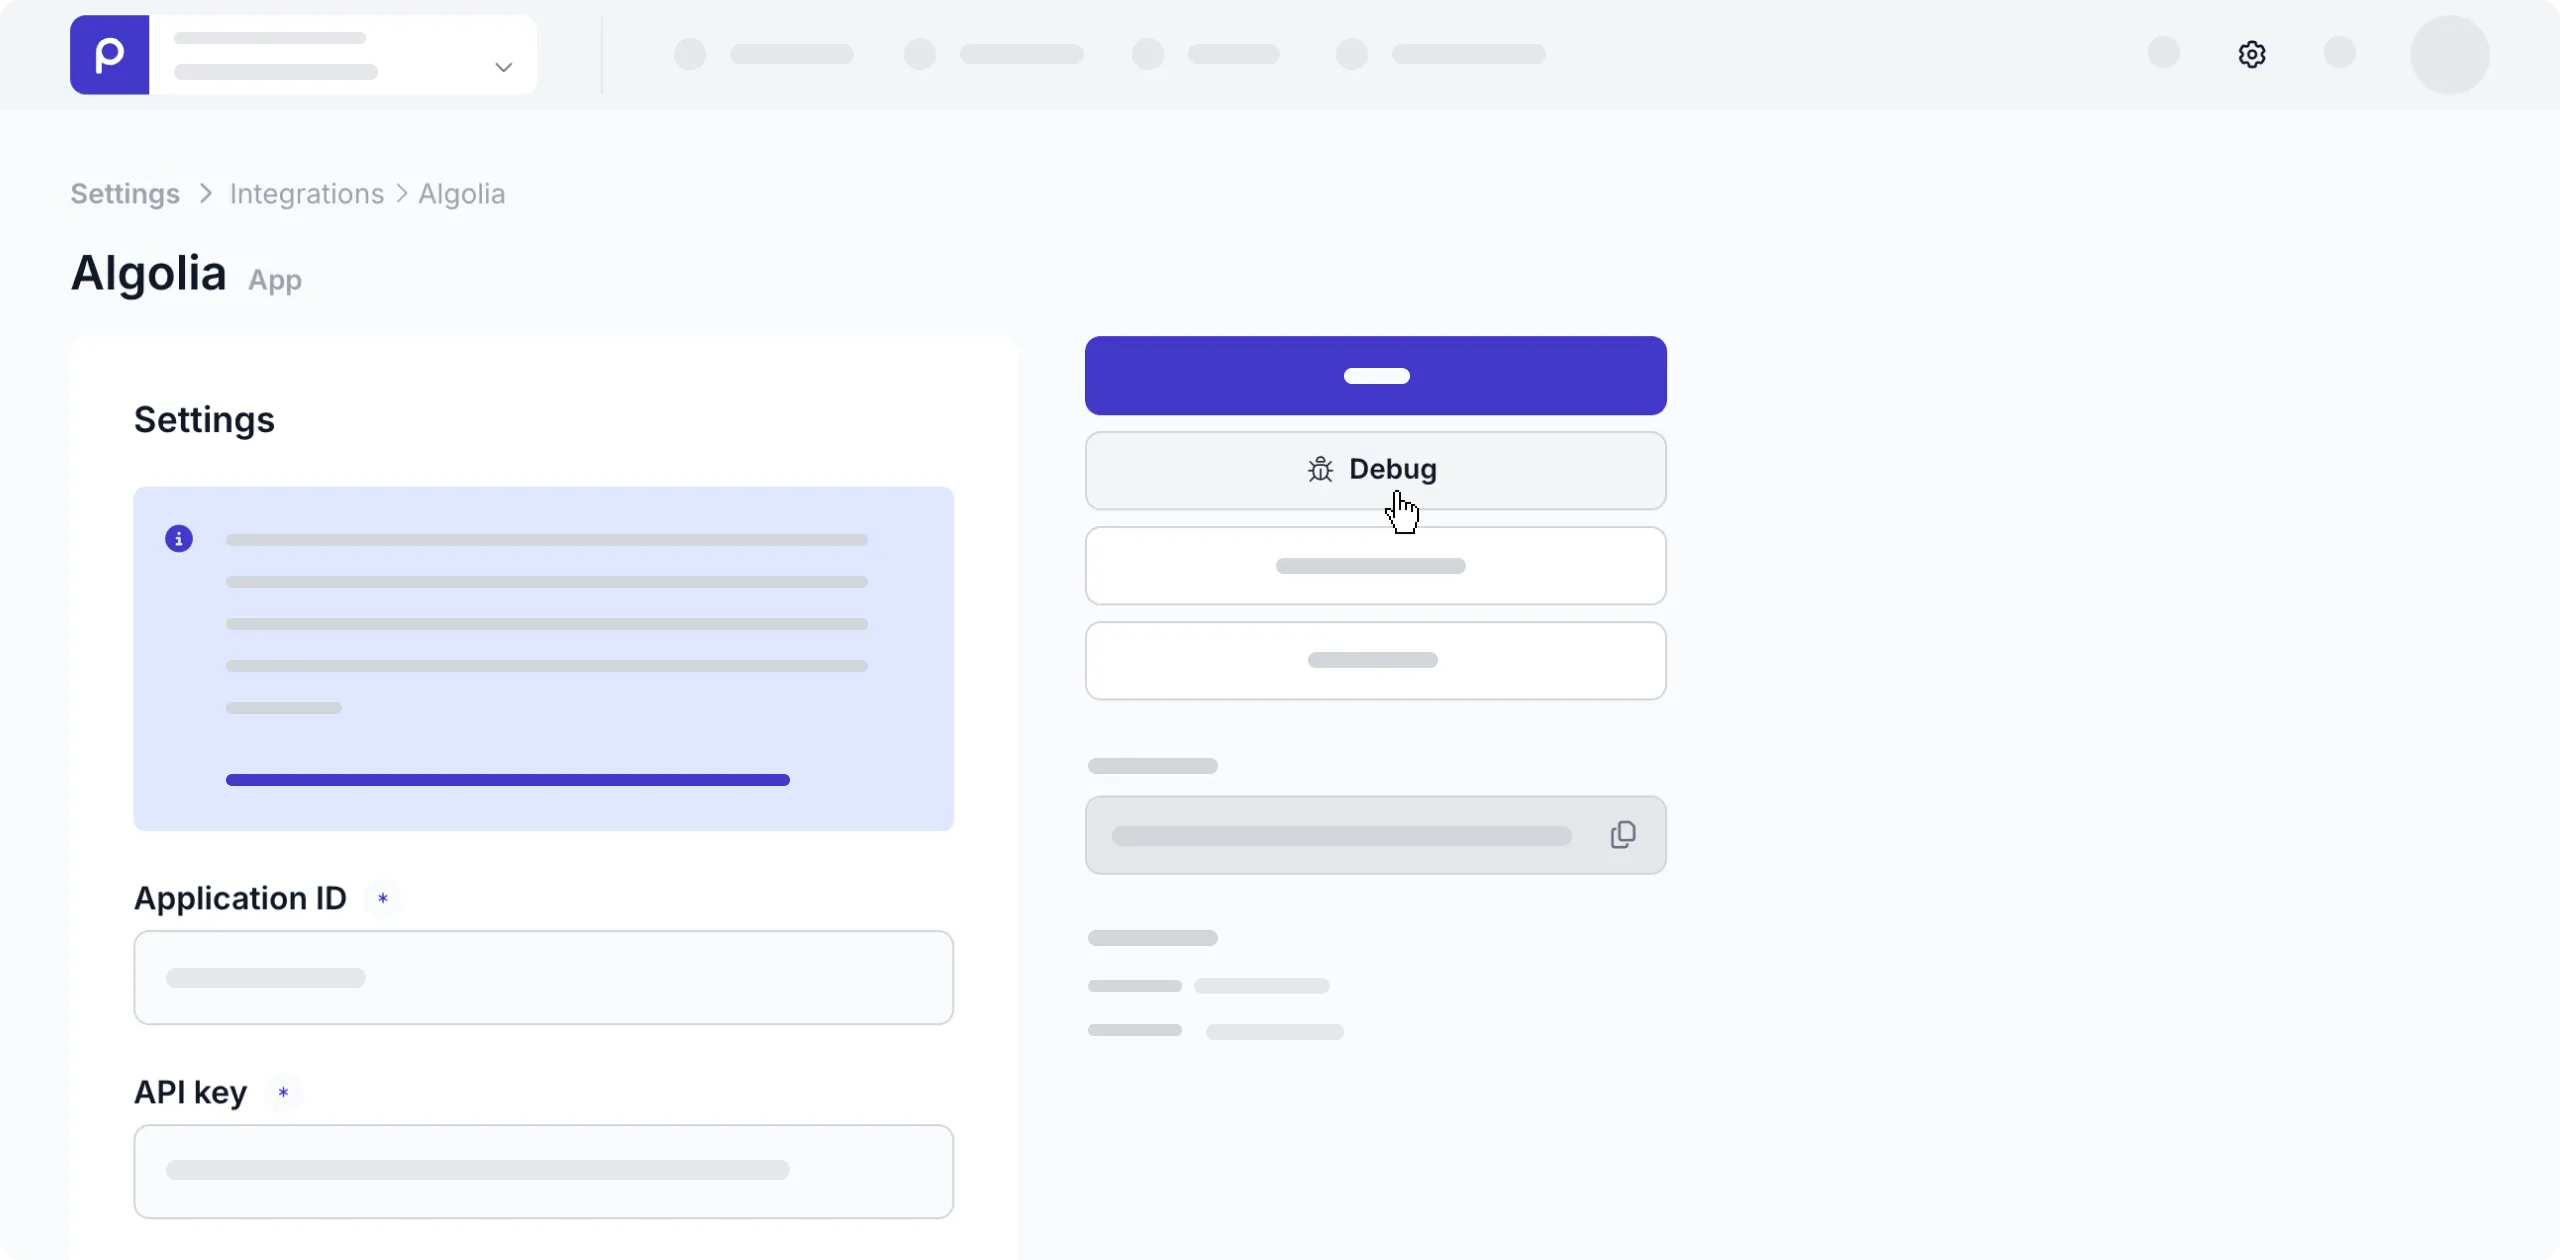
This takes you to the Algolia access token where you can view the Request logs at the bottom of the page.
Once your Prepr content is synced to Algolia for indexing, you can test the search directly in Algolia.
- Log in to the Algolia Dashboard and go to Search in the left sidebar.
- In the Index page, enter example search keywords and check the results.
You can then see which entries are returned first in the search and if they match your expected test results.
To improve search results and performance, make sure to set up Algolia searchable attributes for the searchable fields, such as the title and body.
To fine-tune the search results set up attributes for custom ranking .
Connect your front end to Algolia
Now that your Prepr data is indexed with Algolia, and you’re happy with the test results, you’re ready to implement Algolia in your web app.
Follow the Algolia instructions to set up the API client for your programming language. After setting up the API client, you can initialize and connect it to Algolia.
Also, check out how to build a search UI with Algolia .
Number of Algolia records
The example index query above results in a single Algolia record per content item. In the case that your content items are very large and result in exceeding the Algolia record size limit, you need to create additional Algolia records per content item as shown below.
Handling big record sizes
If you have large content items that exceed the Algolia record size limit, then you need to split up your content item records. You can do this by updating the index query you defined.
Add aliases to your index query
Update the search index query to fetch a content item multiple times using aliases for each record you want to create.
In this example, the blog post is being split up. The dynamic content (content) object is split up into the main post and testimonial, and the seo component is also queried separately.
This results in three Algolia records per content item instead of one.
    query ($locale: String!,$id: String) {
        post: BlogPost (locale: $locale, id: $id) {
            title
            excerpt
            content {
                __typename
                ... on Text {
                    body
                    text
                }
                ... on Assets {
                    items {
                        name
                        description
                    }
                }
            }
        }

        testimonial: BlogPost (locale: $locale, id: $id) {
            content {
                __typename
                ... on Quote {
                    body
                }
            }
        }

        seo: BlogPost (locale: $locale, id: $id) {
            seo {
                meta_title
                meta_description
            }
        }
    }
Algolia service limits
Depending on your Algolia plan, take note of the Algolia service limits when increasing the number of records you set up like in the above example.
Add _id attribute to group records
Now that your query results in multiple Algolia records per content item, you need to make sure that Algolia groups these records for the same web page.
Do this by setting up the _id attribute for grouping records in Algolia.
_id is the ID of each content item, and prevents multiple search results for the same page.
- Log in to your Algolia account, and navigate to Search in the sidebar.
- Select your index at the top.
- Click the Configuration tab.
- Scroll down, click the Deduplication and Grouping side menu.
- Important: Change the setting of Distinct to true or 1.
- Type
content_item_idto Attribute for Distinct and press enter. - Click the Review and Save Settings button to save your changes.
Now that you’ve set up the _id attribute, retest your Algolia search.
FAQs
Answers to some common questions or issues when implementing the Algolia integration.
Why do I get the following error in Algolia: Record at the position … is too big size=… bytes.`?
Your algolia record size is too big.
To resolve this, add aliases to your index query to split each content item into separate Algolia records and add an _id attribute in Algolia to group the records for the same content item (web page).
For more details, check out the section above on handling big records.
How do I create an index query for a single-item model?
When you want to make a single-item model searchable, such as an overview page, you can simply omit the id argument in the query like in the example below.
query Query($locale: String!) {
  EventOverview(locale: $locale) {
    _slug
    title
    seo {
      meta_title
      meta_description
      meta_image {
        url
      }
      audience
    }
  }
}
What happens when I create multiple search indexes with the same name?
In some cases you may want to create a single Algolia index for multiple models. You do this by creating multiple queries by clicking the + Add search index link each time and giving each entry the same Algolia index name.
When you run the content sync for one of the models that share an index name, content items for all the models in the index are synced. This means you only need to run the content sync for one model.
Click the Debug button to see the request logs for all the models related to a single index..
In Algolia, the results of all the queries are merged into a single index automatically.
If you need help with fine tuning your setup, contact our Algolia integration expert .