The Prepr Next.js package
The Prepr Next.js package offers some helper functions and the Prepr preview toolbar for easier personalization and A/B testing implementation. This guide introduces you to the Prepr Next.js package and shows you how to use it.
Help shape Prepr by sharing your Prepr development experience, asking questions and learning from other developers in our developer roundtable .
Prerequisites
- You need to have a Next.js project connected to Prepr before installing the package.
If this is the first time that you’re connecting your Next.js project to Prepr CMS, we recommend you go through the Next.js complete guide .
Introduction
The Prepr Next.js package includes the following features:
- It provides API request headers for the following values:
- Each visitor’s ID. You need this API request header,
Prepr-Customer-Id, when you query adaptive content and content with A/B testing. - Any UTM parameters, if applicable. This is useful to identify visitors who enter your website through a social media campaign, for example.
- HubSpot cookie, if it exists. This is useful for identifying visitors who are tracked in HubSpot as a lead, for example.
- The visitor’s IP address. This is useful for localization.
- Each visitor’s ID. You need this API request header,
- The Prepr preview toolbar includes the following features:
- Provides an easy way to test adaptive content and content with A/B test variants
- Allows content editors to edit content through a link from the preview page.
-
The package also allows you to enable Visual editing in your Prepr environment. Check out the visual editing guide for more details.
-
The package auto detects stega-encoding to prevent misaligned layout elements in the preview version of the web app.
For additional implementation options and technical details, check out the Prepr Next.js package repo directly in GitHub.
Installation
To install the Prepr Next.js package, follow the steps below.
-
Run the following command in your Next.js project:
npm install @preprio/prepr-nextjs -
Add the
PREPR_ENVvariable to the.envfile. You can enable the Prepr preview toolbar for a staging environment by setting the value topreview.Set this variable to
productionwhen you deploy your website to production../.envPREPR_GRAPHQL_URL=<YOUR-PREPR-GRAPHQL-URL> PREPR_ENV=preview -
To manage request headers for adaptive and A/B test content you need to implement the
createPreprMiddlewarefunction. Go to yourproxy.tsor theproxy.jsfile and add the code below. If you don’t have this file, you can create it in the root of your project.TypeScript
proxy.tsimport type { NextRequest } from 'next/server' import createPreprMiddleware from '@preprio/prepr-nextjs/middleware' export function proxy(request: NextRequest) { return createPreprMiddleware(request, { preview: true }) }
Behind the scenes
-
The
createPreprMiddlewarefunction accepts a request and optional response property and returns aNextRequestobject. It does this so you can chain your own middleware to it. -
The
createPreprMiddlewarefunction checks every request if the__prepr_uidcookie is set. If it isn’t, the function generates a new UUID and sets the cookie with this new value. Then it returns aPrepr-Customer-Idheader with the value of the__prepr_uidcookie to simplify your personalization and A/B testing implementation. -
If the
PREPR_ENVenvironment variable is set topreview, thecreatePreprMiddlewarefunction also checks for searchParamssegmentsanda-b-testingin the URL. If these searchParams are set, it sets thePrepr-SegmentsandPrepr-AB-Testingheaders with the values of the searchParams, and stores its value in a cookie.
Now that you’ve successfully installed the package, let’s see how to use it.
Usage
Setting your API request headers
When requesting adaptive content or A/B testing content you need to send an ID for the visitor in the request header.
The getPreprHeaders() helper function simplifies this by setting the API request headers for you. Simply call the getPreprHeaders() helper function like in the example code below for a typical web page.
It returns an list of headers that you can include in the request.
TypeScript
import { getClient } from '@/lib/client'
import { GetPageBySlugDocument, GetPageBySlugQuery } from '@/gql/graphql'
import { getPreprHeaders } from '@preprio/prepr-nextjs/server'

const getData = async () => {
    // Fetching the data using Apollo Client
    const {data} = await getClient().query < GetPageBySlugQuery > ({
        query: GetPageBySlugDocument,
        variables: {
            slug: '/',
        },
        context: {
            // Call the getPreprHeaders function to get the appropriate headers
            headers: await getPreprHeaders(),
        },
        fetchPolicy: 'no-cache',
    })
}Installing the Prepr preview toolbar component
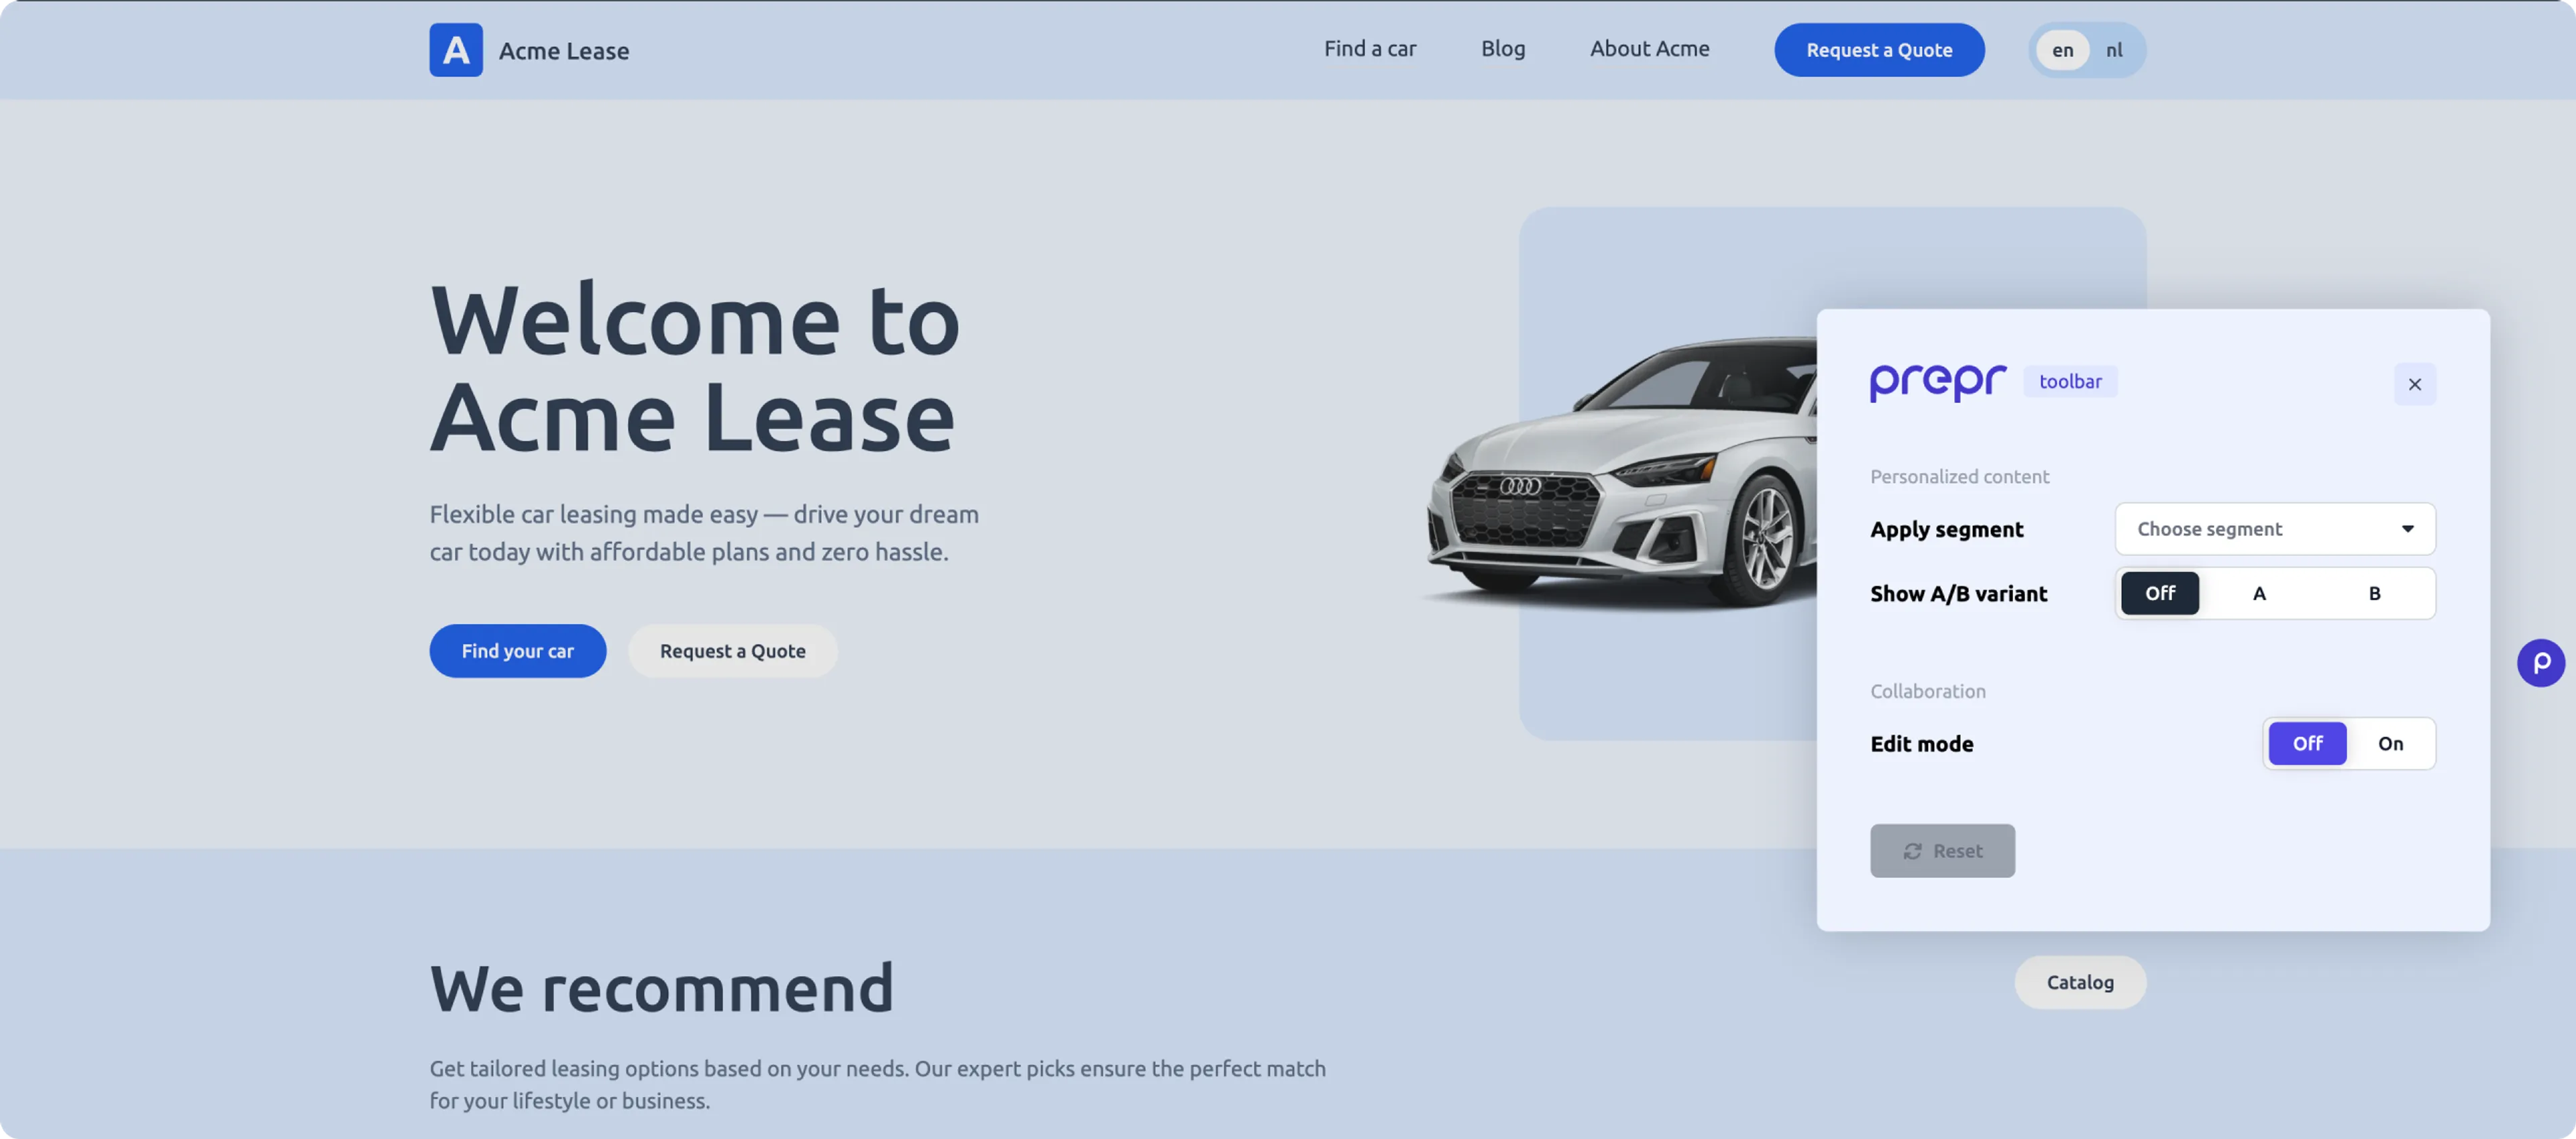
The Prepr preview toolbar is a small component that appears as the Prepr icon in the page of your preview website.
Don’t load the preview toolbar component defined in the steps below if you’re deploying your production website, in other words when the environment variable PREPR_ENV is set to production.
It allows editors to quickly switch between A/B testing variants and personalization segments and to select a section of the page to open the corresponding content item directly in Prepr. The instructions below show you how to set it up.
The component fetches all segments from the Prepr API. So, you need to give it access to do this as follows:
-
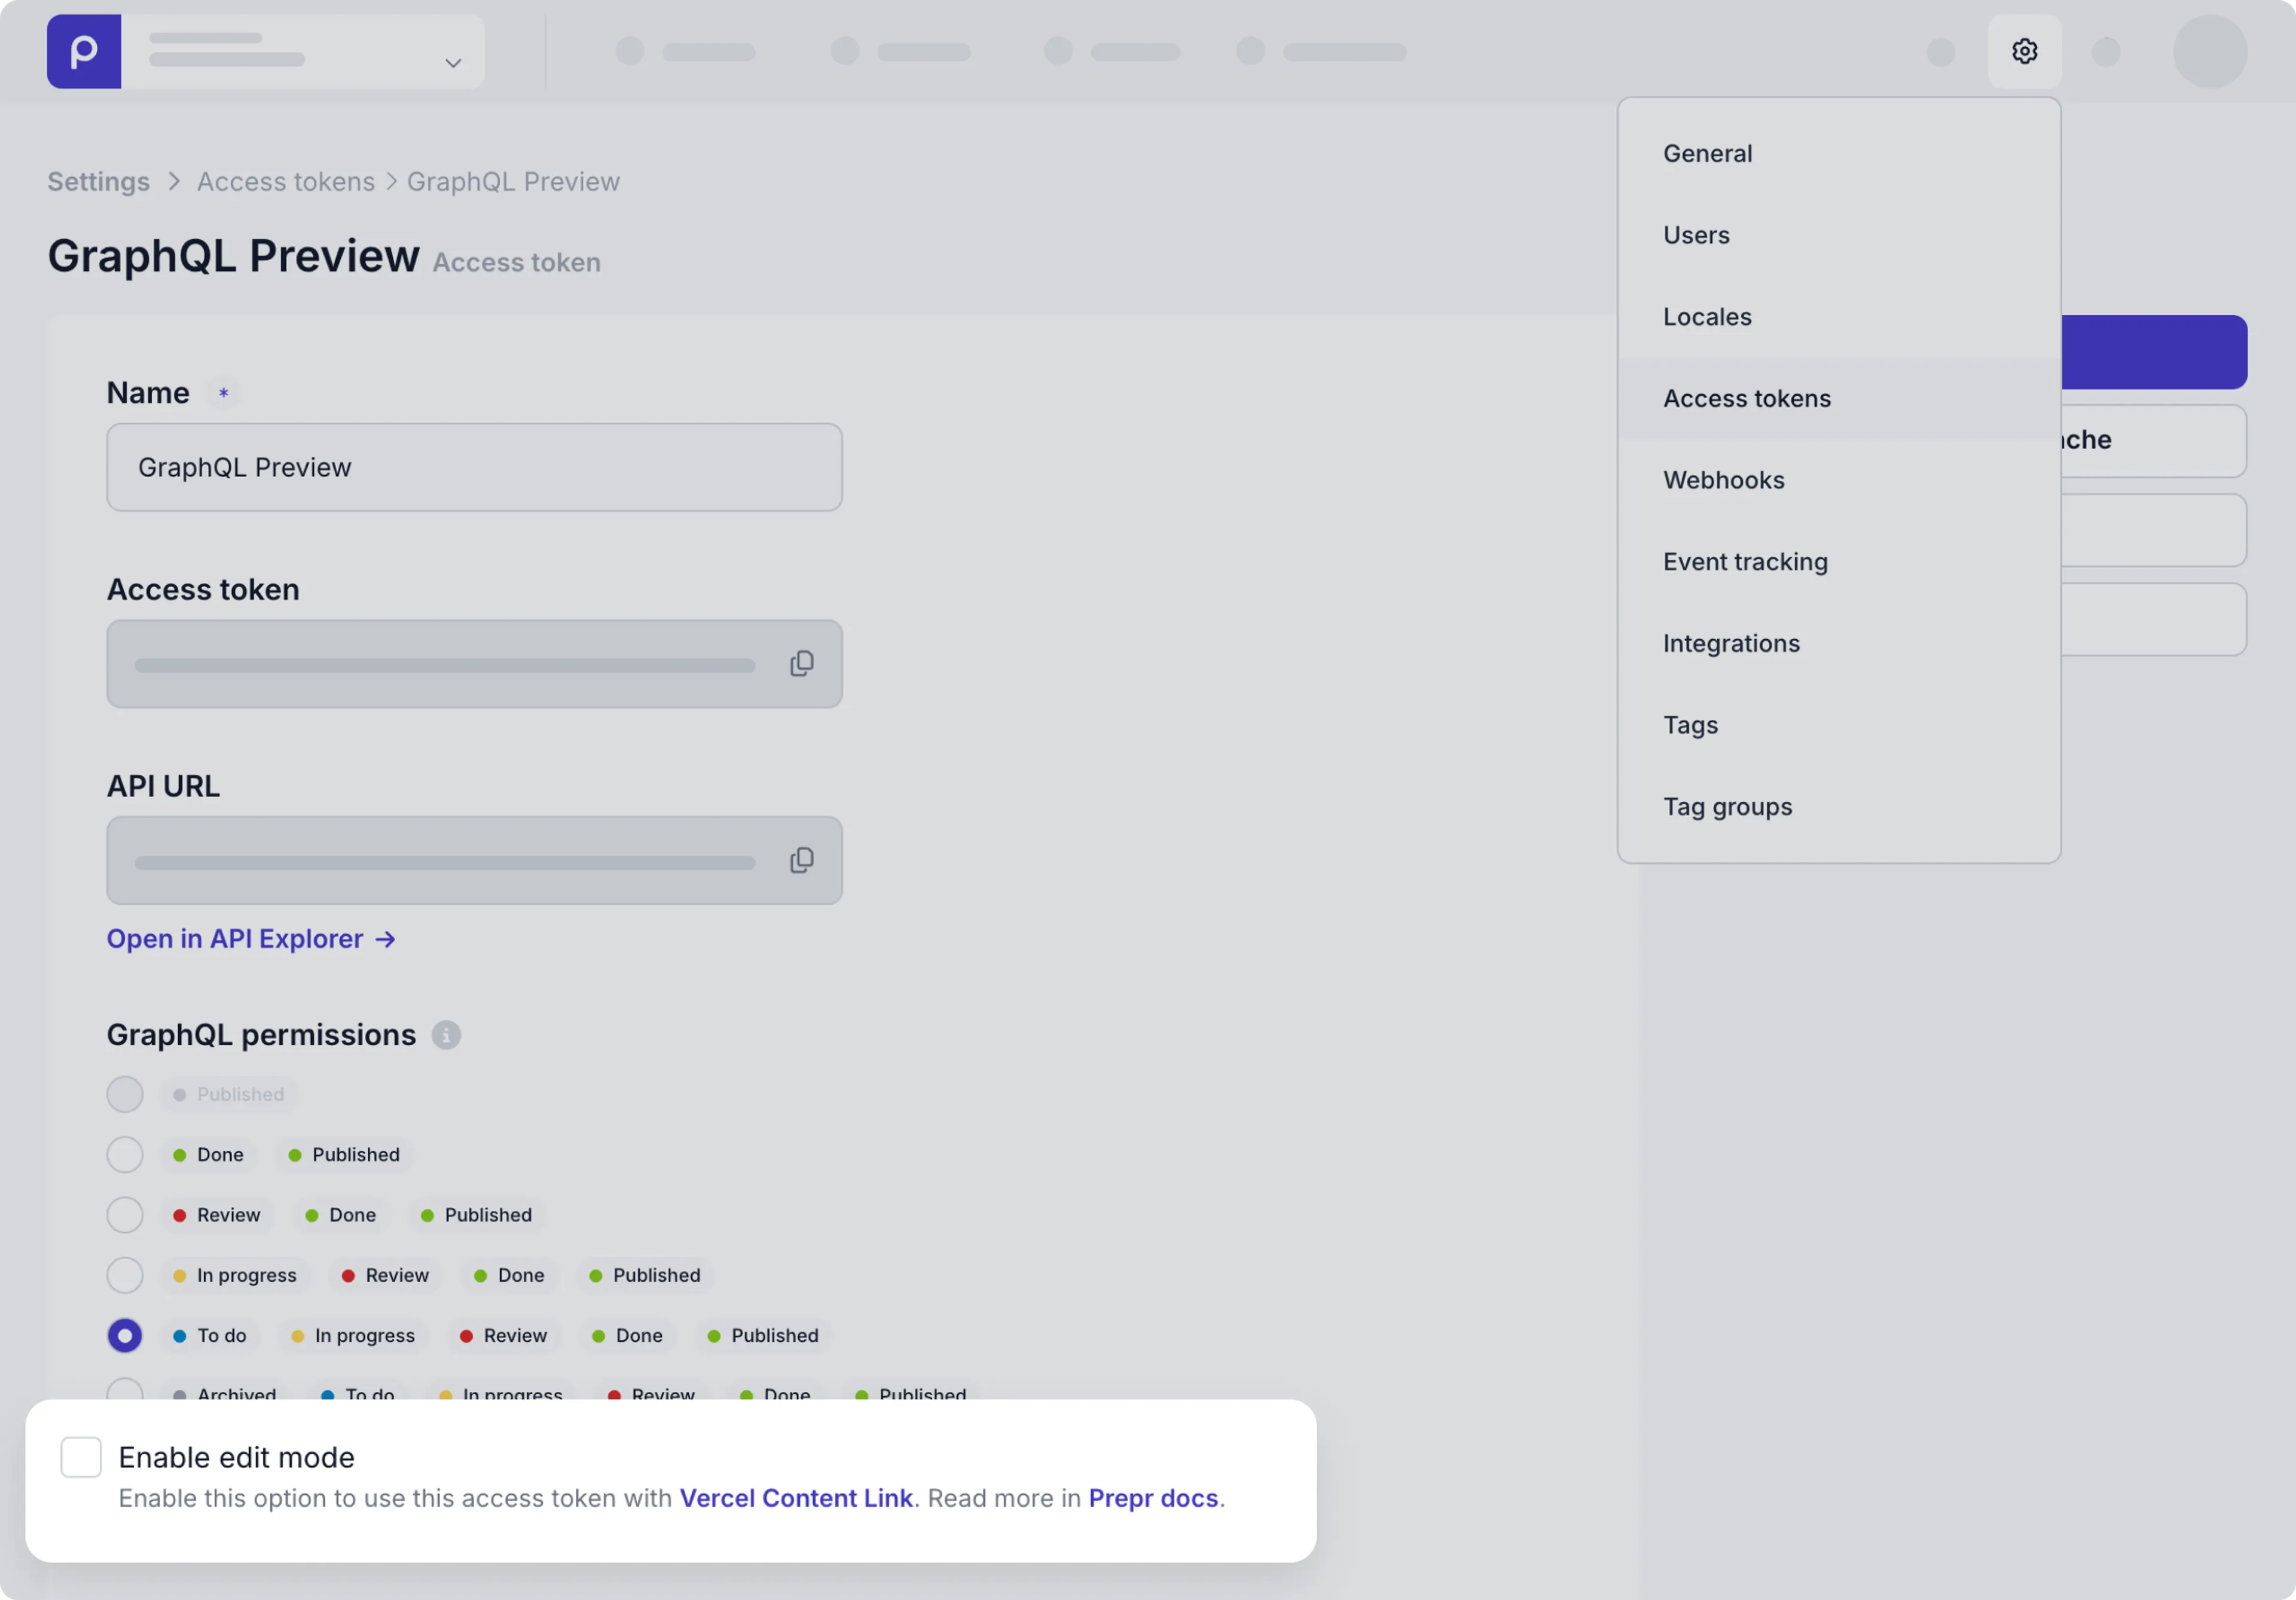
In your Prepr environment, click the icon and choose the Access tokens option to view all the access tokens.
-
Click the GraphQL preview access token to open it and tick the Enable edit mode checkbox and click the Save button.
Invisible unicode characters
When using the preview access token, you’ll notice your query responses include additional unicode characters for the whitespace in the text fields. When you turn on edit mode in an access token, Stega-encoding serializes metadata into invisible UTF-8 encoded characters and appends them to string values.

Now that you’ve set up the access for the preview bar, you can display the Prepr preview toolbar component as follows:
-
Navigate to your root layout file, this is usually
layout.tsx. Then add the following code to your layout file.layout.tsximport { getToolbarProps } from '@preprio/prepr-nextjs/server' import { PreprToolbar, PreprToolbarProvider } from '@preprio/prepr-nextjs/react' import '@preprio/prepr-nextjs/index.css' export default async function RootLayout({ children, }: { children: React.ReactNode }) { const isPreview = process.env.PREPR_ENV === 'preview' const toolbarProps = isPreview ? await getToolbarProps(process.env.PREPR_GRAPHQL_URL!) : null return ( <html lang="en"> <head> {/*...*/} </head> <body> {isPreview && toolbarProps ? ( <PreprToolbarProvider props={toolbarProps}> <PreprToolbar /> {children} </PreprToolbarProvider> ) : ( children )} </body> </html> ) }
Now the Prepr preview toolbar component is rendered on every page of your website.
This component shows the segments in a drop-down list and a switch for A and B variants for an A/B test.
By adding the getPreprHeaders() function to your API calls like you did in the previous section, it automatically updates the adaptive content and A/B testing variants when you select a new segment or variant.
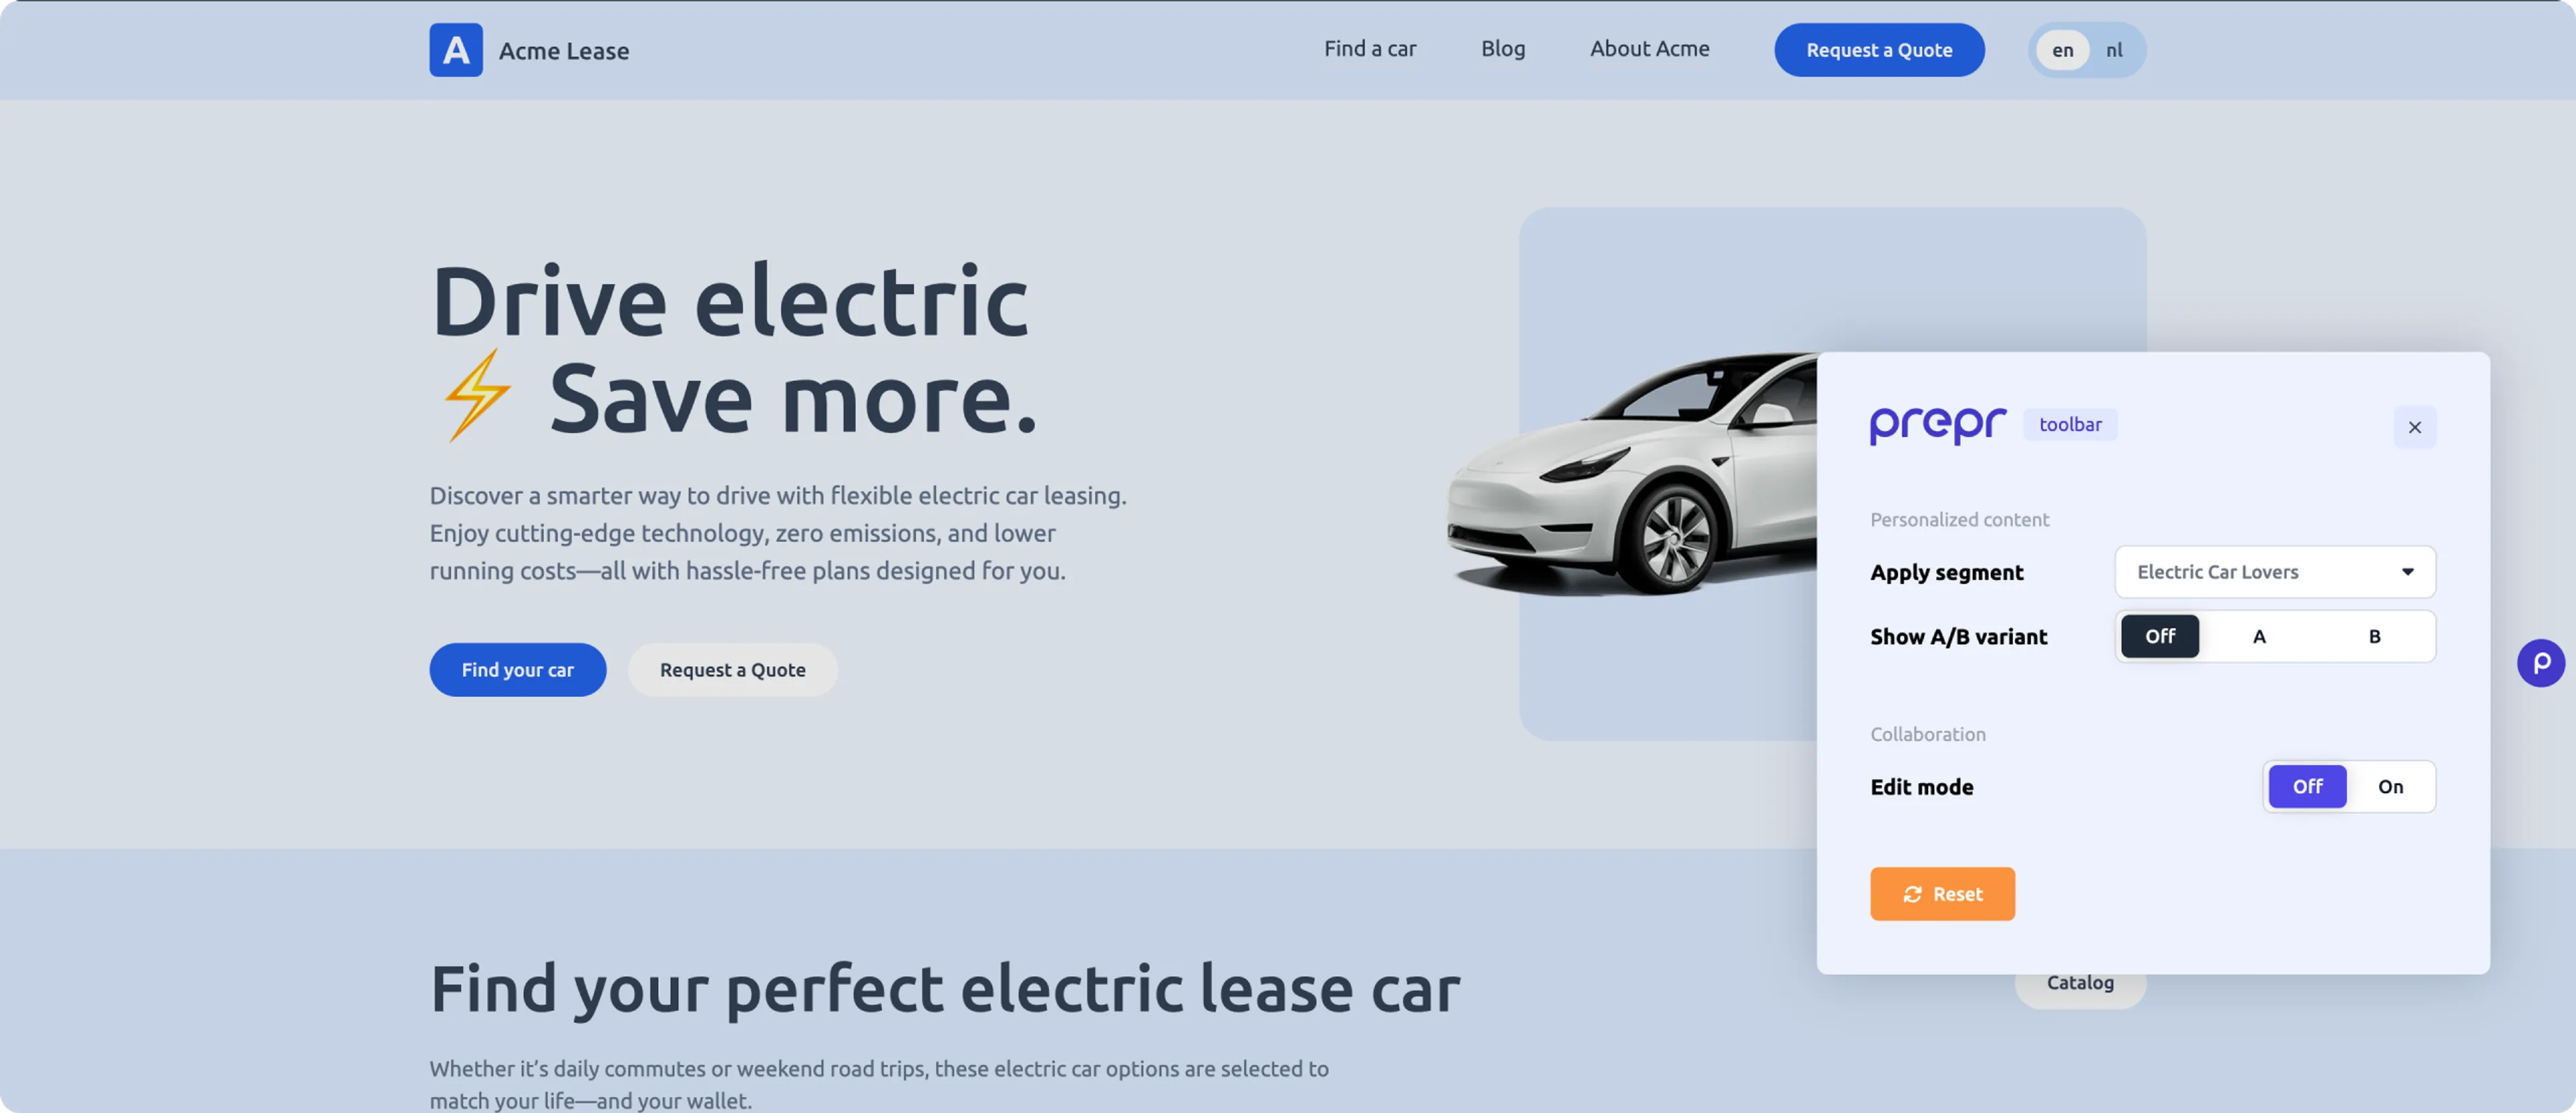
Adaptive content example - Electric Car Lovers segment
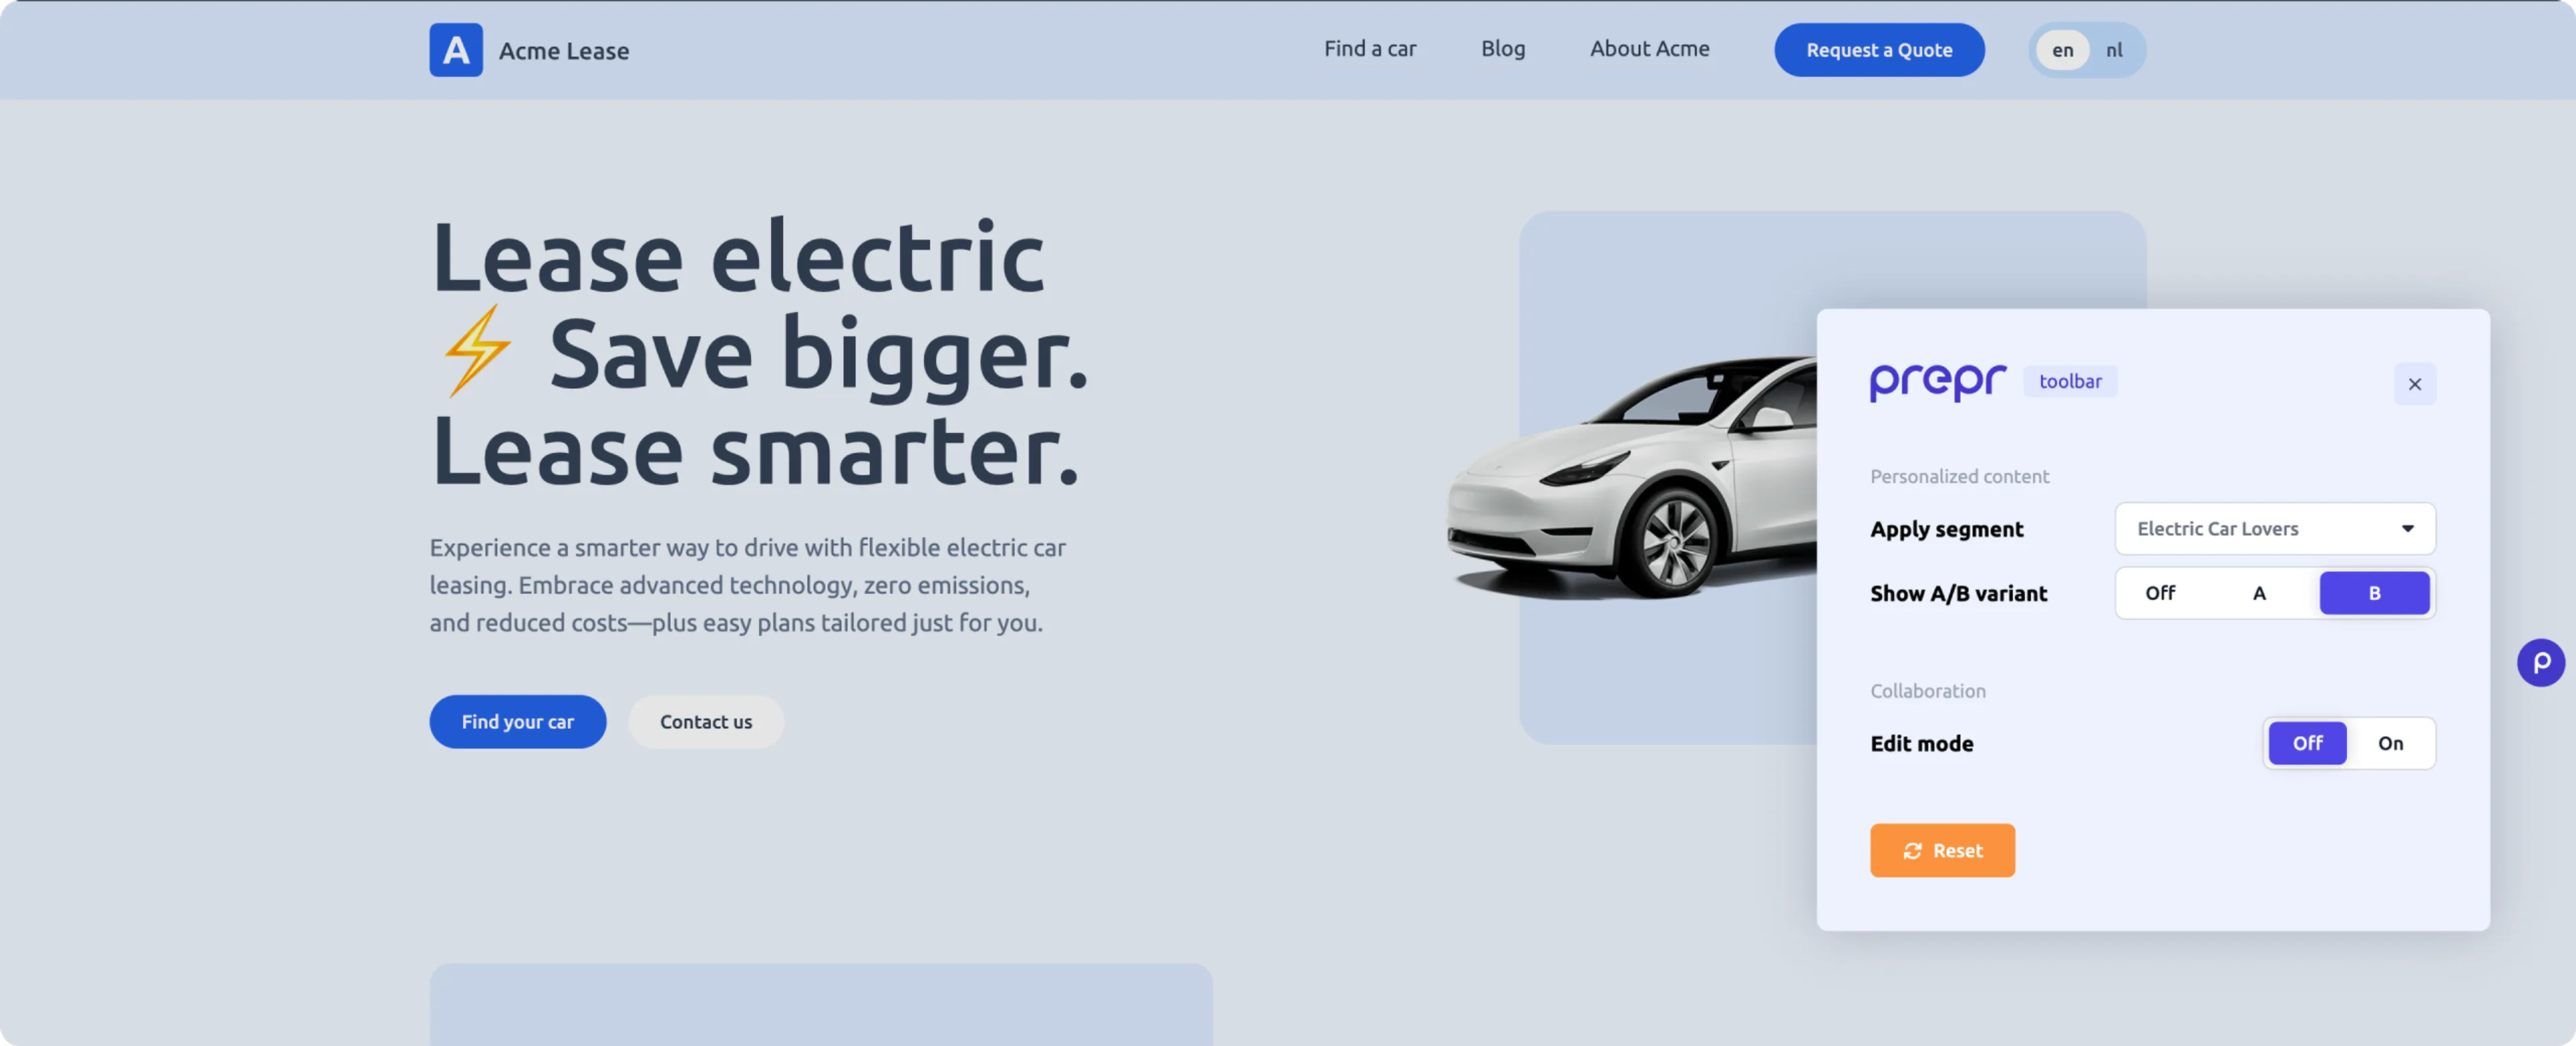
A/B testing example - B variant
All done
Congratulations! You’ve successfully simplified personalization and A/B testing, and installed the Prepr preview toolbar in your Next.js website. This brings you to the end of the setup guide for the Prepr Next.js package. Don’t hesitate to give us feedback on your experience using this guide.
Next steps
To learn more on how to expand your Next.js project, check out the following resources: