Frontify
In this guide, you’ll learn how to activate the Frontify integration in Prepr CMS. This integration allows content editors to access Frontify brand assets to make sure that their content is brand-compliant.
The Frontify integration is available as a paid option on top of your regular subscription. Please contact our Sales team for more details.
Introduction
Frontify is a brand management platform. If your tech stack includes Frontify as the primary system for your branded assets, you can use the Frontify-stored branded assets directly in Prepr content. This means it’s possible for content editors to use those assets in their content items.
Use Frontify assets in Prepr
You can enable the Frontify integration to use Frontify assets in Prepr CMS by following the steps below.
Connect Prepr to Frontify
You can activate the Frontify integration in Prepr in the following steps:
- Log in to Frontify and go to the Account settings.
- Under the Domain configuration section, copy Your Frontify Domain value to activate Frontify in Prepr.
- Log in to your Prepr account and click the icon and choose the Integrations option to view all available integrations. Go to the Frontify card and click the Activate button.
If you do not have access to the Frontify integration yet, click Request activation to contact our Sales team.
- In the Frontify app screen, paste the copied Domain value and click the Save button.
That’s it. You’ve connected Prepr to Frontify making the assets available to content items in Prepr.
Once you’ve connected Prepr to Frontify, the Prepr Media Library will no longer be available to any user. This is to ensure a consistent single source of assets for content delivery.
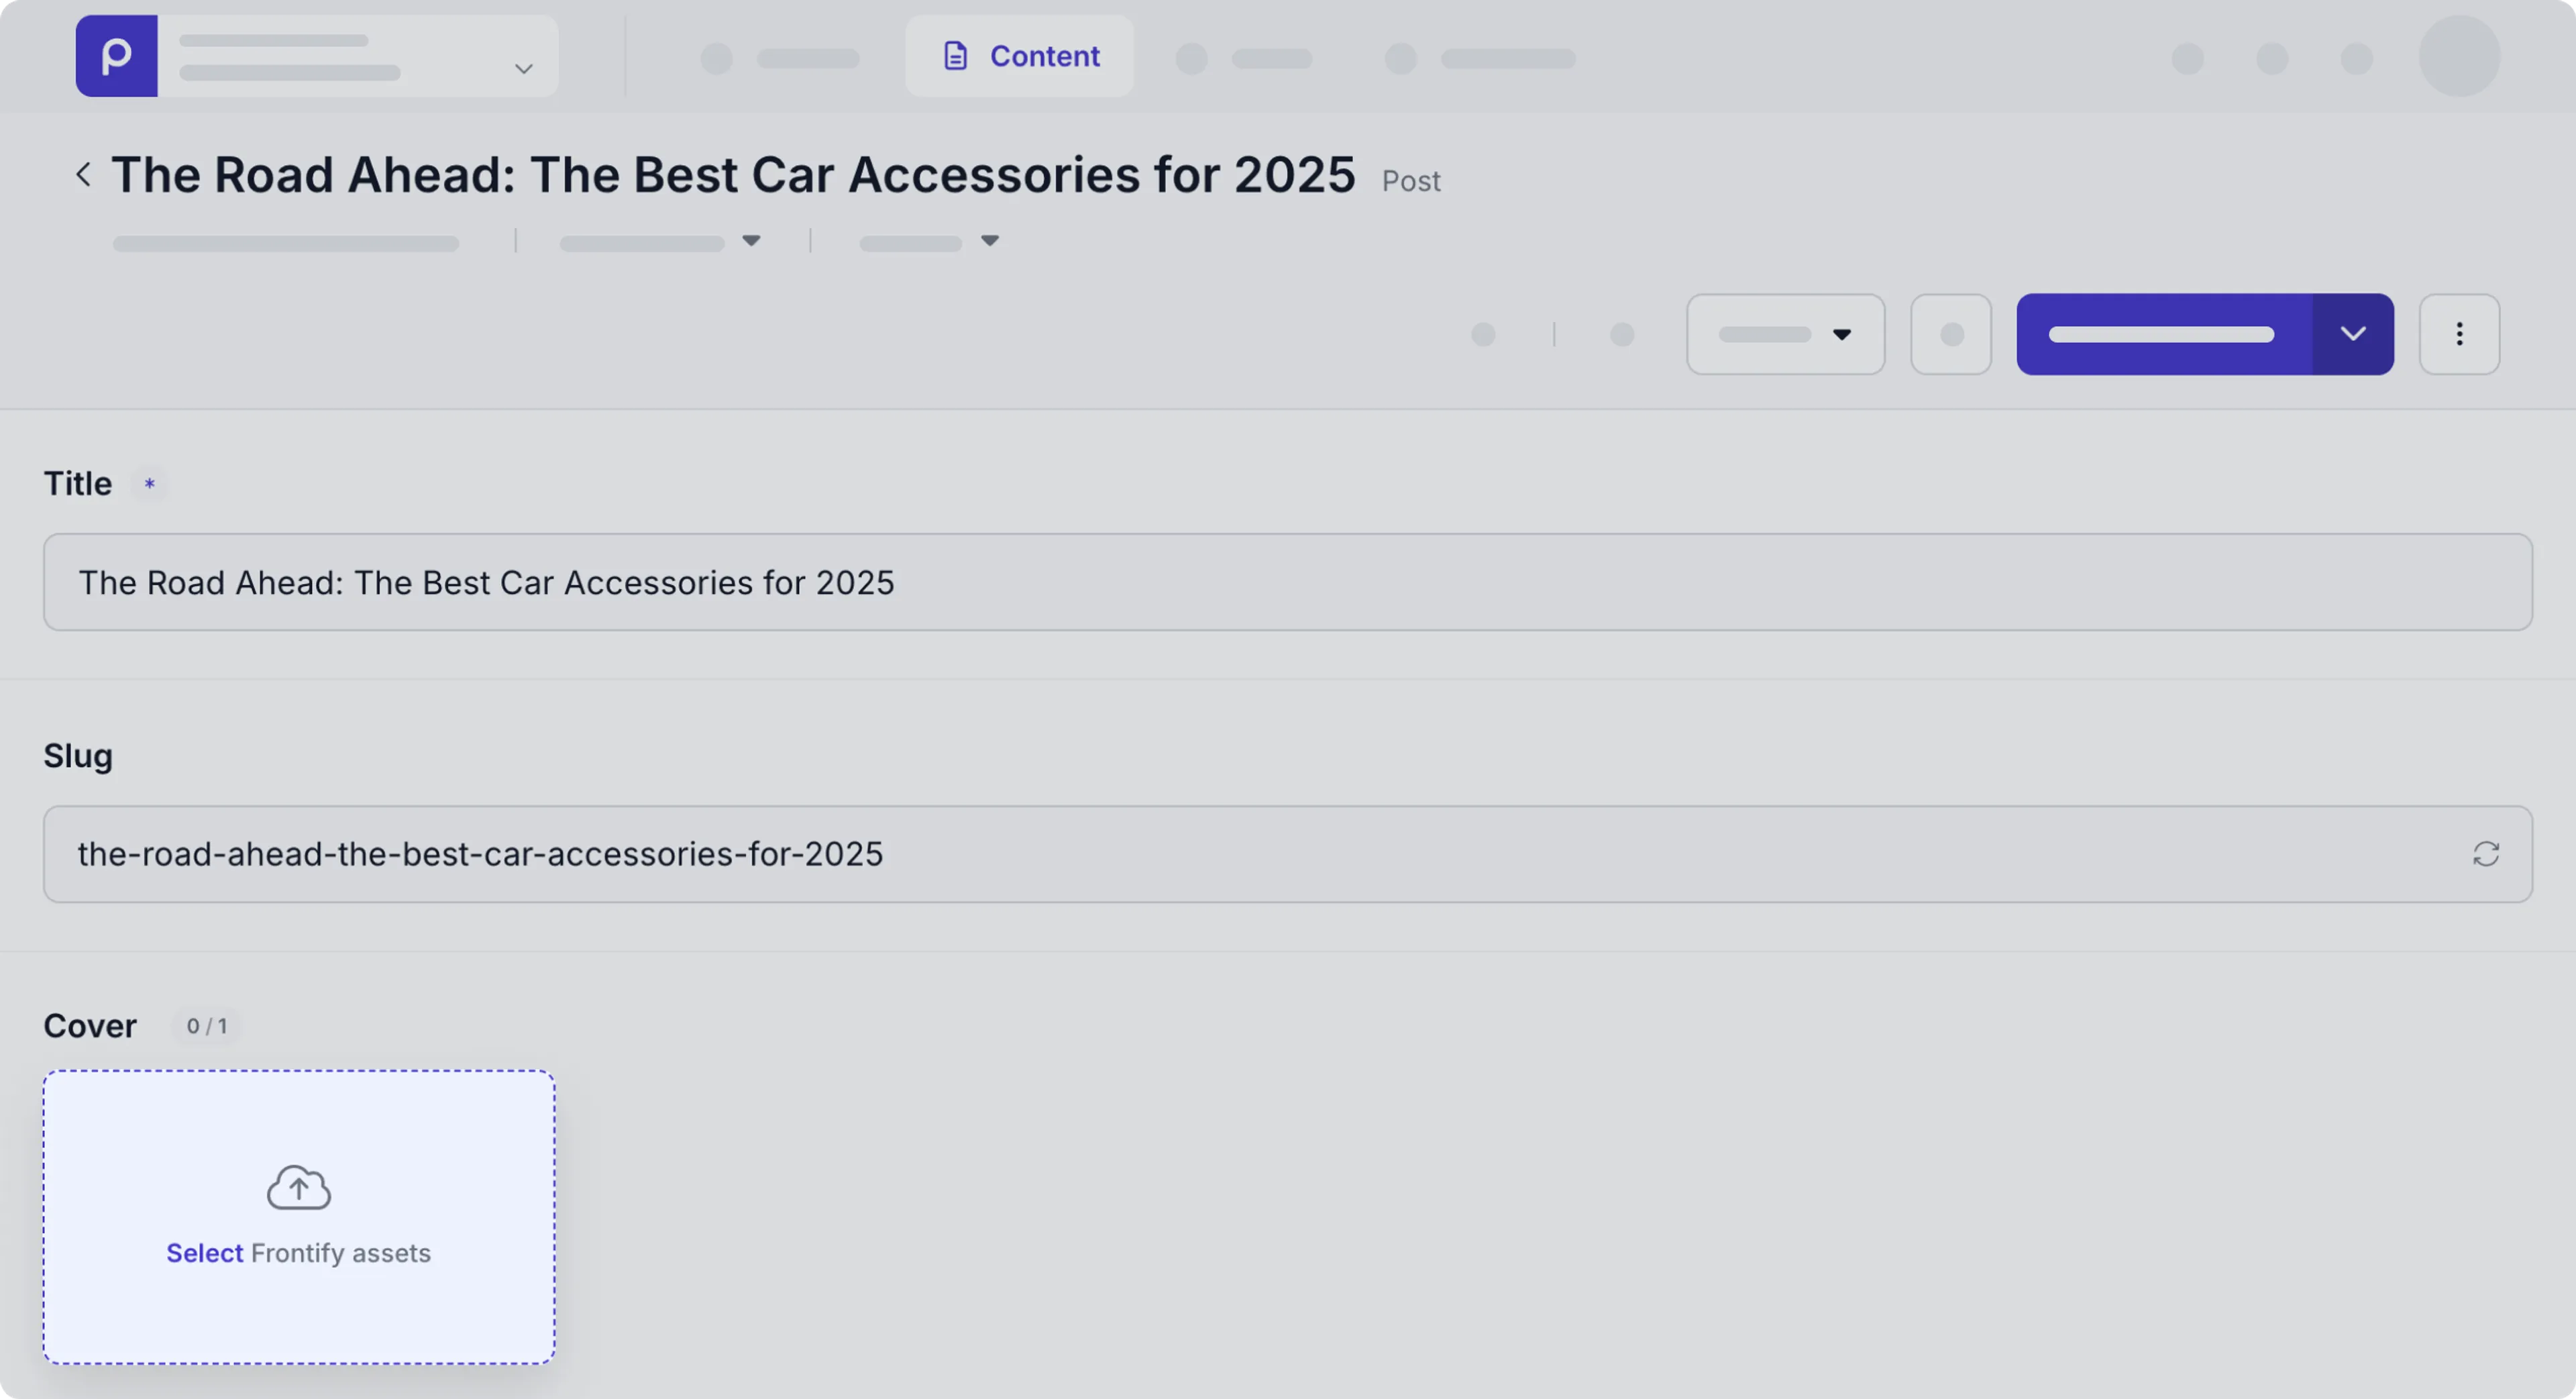
Embed Frontify assets in content items
Content editors can now include assets from Frontify in their content items like in the example below.
When a content editor tries to embed an asset from Frontify for the first time, they will need to enter their Frontify account login credentials.
Retrieve Frontify assets using the API
Now that the assets have been embedded in content items, you can retrieve the asset details along with the content items in your front end. For each embedded image from Frontify, you can get the following details when making the API request:
url: The URL location of the image.name: The title of the image.author: The author of the image, for example, this could be the photographer of a photo image.description: More detailed info about the image.fp: The focal point values to define the center of your cropping.
Check out the example code snippet below.
Request
query  {
  Cars {
    items {
      image {
        url
        name
        author
        description
        fp
        alt_text
      }
    }
  }
}
For more details on how to retrieve other content item details, check out the GraphQL API docs.
For details on different formatting options for the images you want to retrieve, check out the image API docs.
That’s it. The Frontify integration is activated and your web page includes content with embedded images from Frontify.