Creating rich content
Easily create rich content using basic features in Prepr.
Introduction
This article shows you how to enrich your content in different ways:
- Using the Dynamic Content Editor.
- Adding content references to link different content items.
- Adding links to reference external resources.
Using the Dynamic content editor
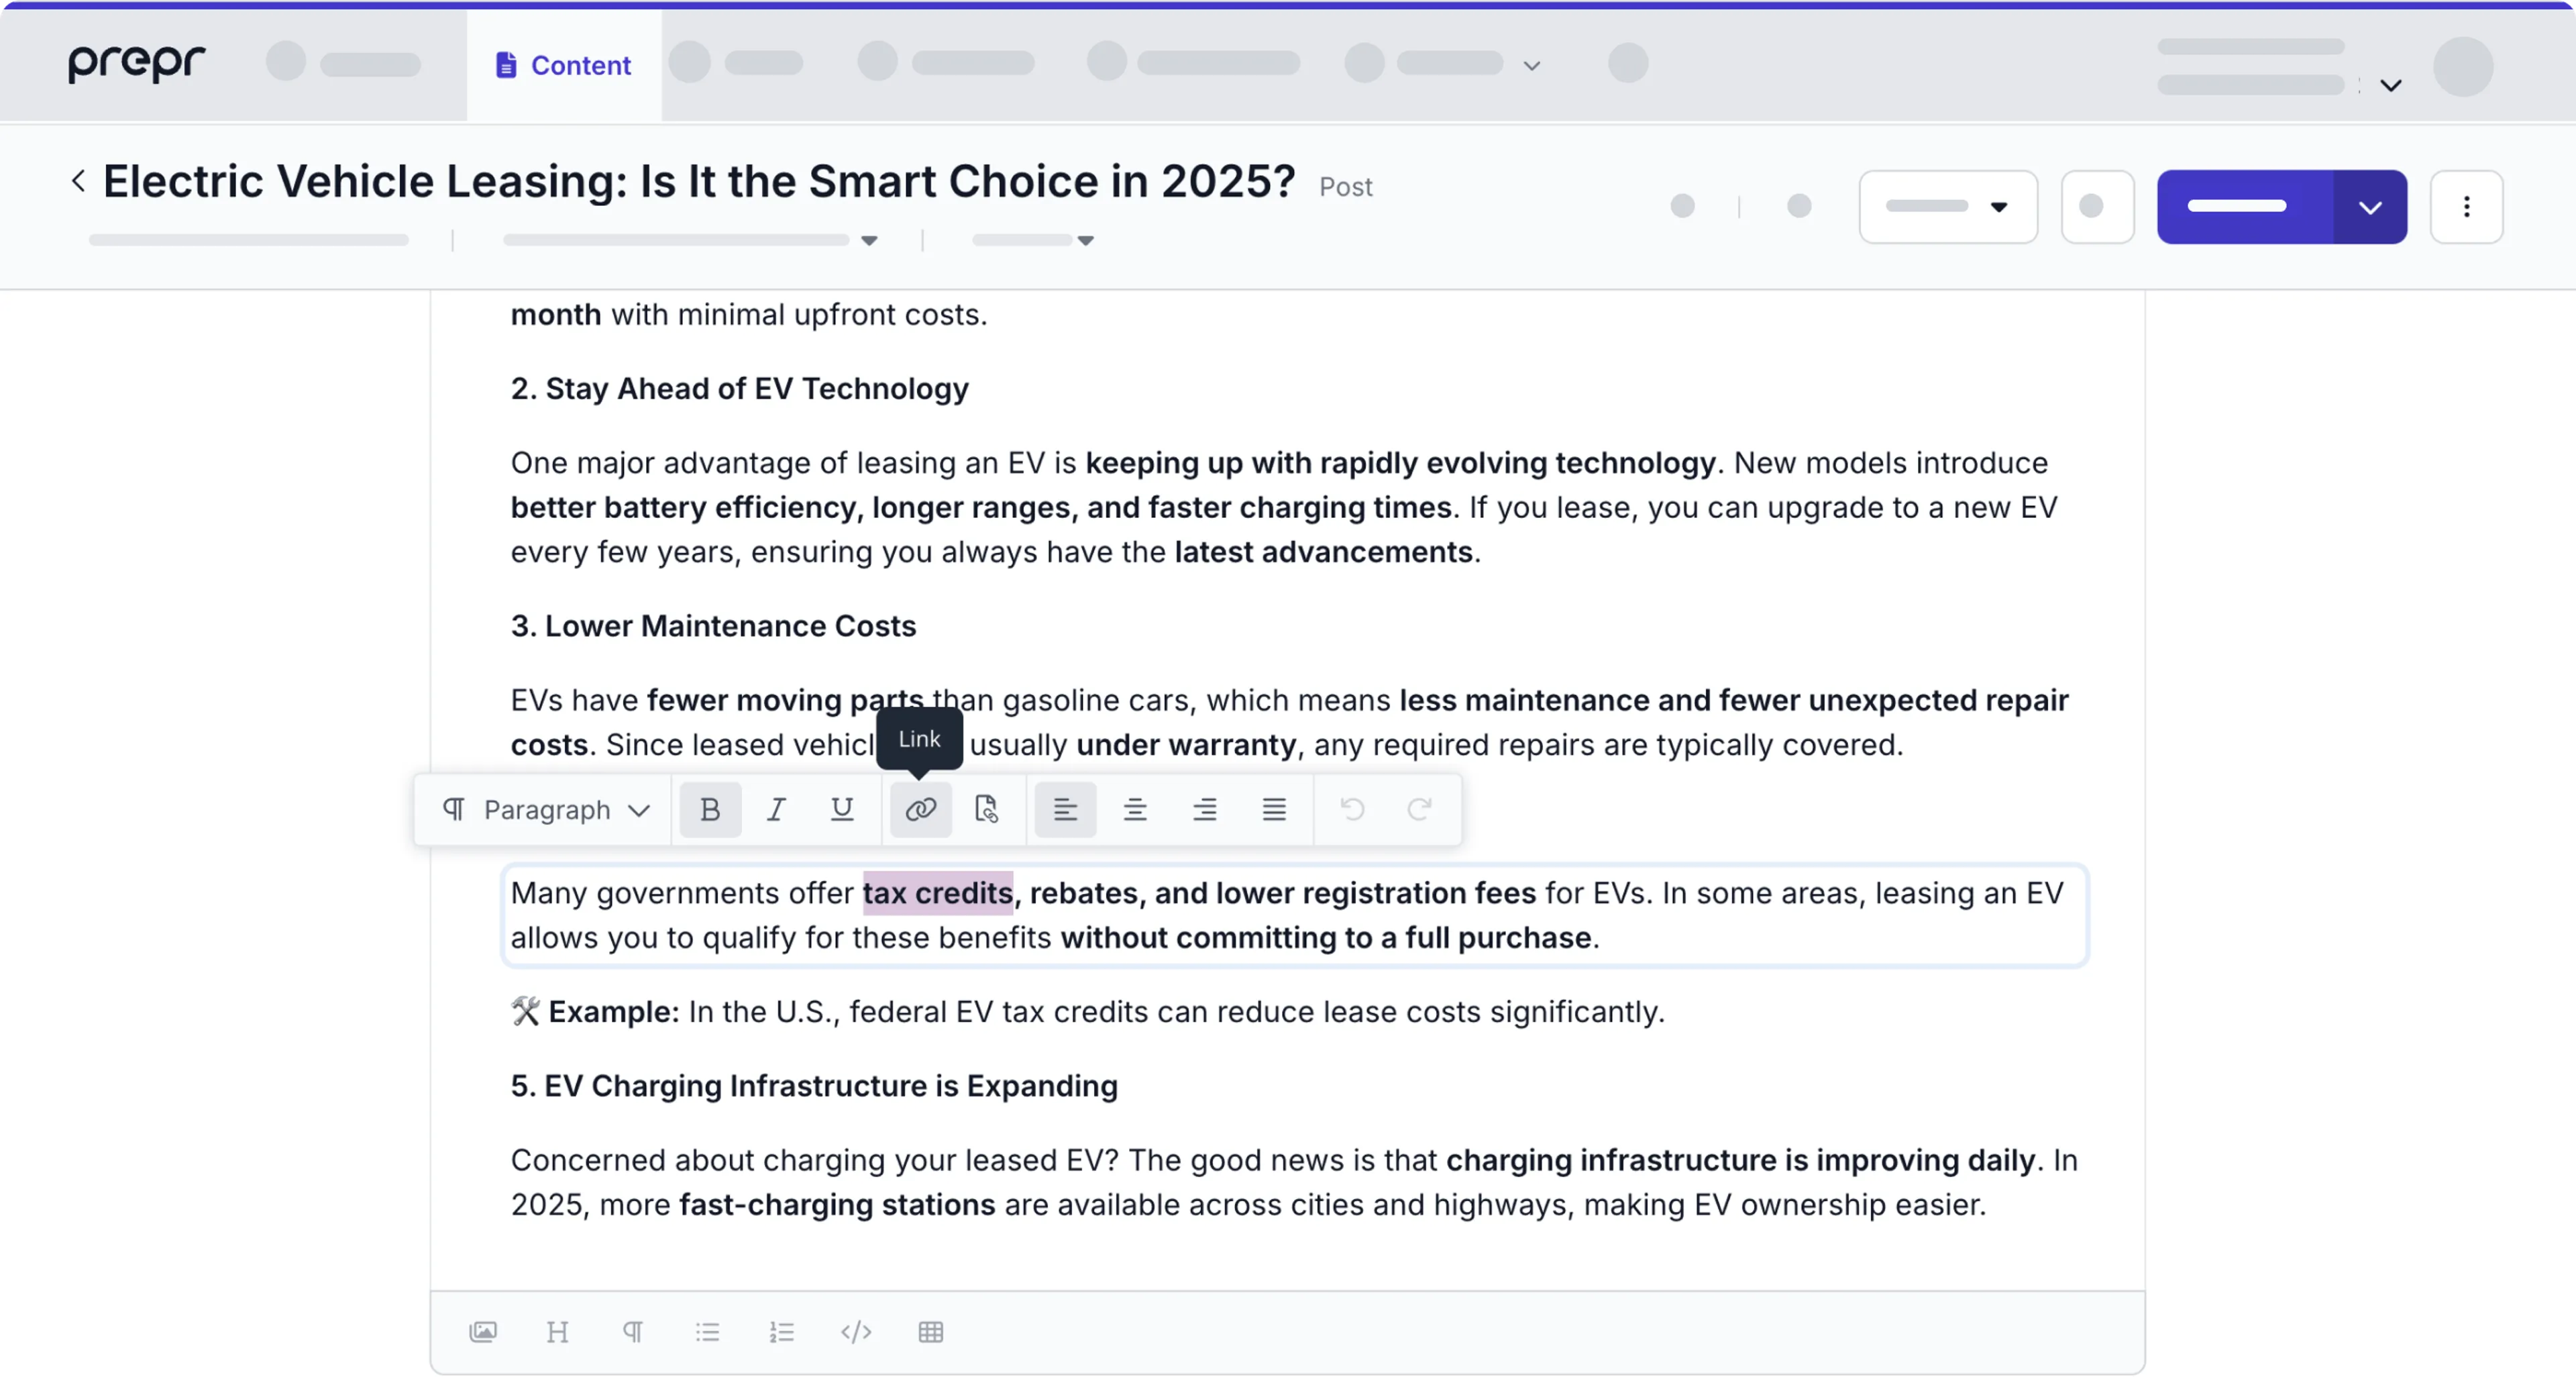
In the Dynamic Content Editor, you can enrich your content using the following elements:
-
Paragraph The paragraph element contains a number of formatting options. You can use bold text, italic, and underline. Bullets (ordered and unordered), links, and tables are also available.
-
Headings Depending on the settings, you can choose up to six levels of headings to match your content item. You can easily change a heading element to another heading or other text element by making a selection from the drop-down options.
-
List You can add an ordered or unordered list. Like the paragraph, you can apply a number of formatting options.
-
Table You can add a table with up to 10 rows and 10 columns.
-
Code You can paste a code snippet in your content, for example, HTML.
-
Media Depending on the settings on the dynamic content field, select the icon to add one or more images, videos or files. You could also edit captions, set the alignment or define image presets. Learn more about image presets and alignment.
-
Social post embeds Social elements are embeds from the largest social media platforms, namely, Twitter, Facebook, Instagram, Spotify, Youtube, SoundCloud, vimeo, TikTok, Apple Podcast, Bluesky, and Threads. To embed a social post, choose the corresponding social media icon and insert the URL of the social post.
-
Location Click the icon to add a location based on a Google Map address or coordinates.
-
Integrations If you need to reference content in an external CMS, a legacy system or an eCommerce platform, click the corresponding integration icon and choose the integrated content. Prepr will keep the data in sync automatically. Check out more details in the integrations docs.
-
Component If a component is defined and included in the settings of the dynamic content field, you can embed a component by clicking on the corresponding icon. By using a component, you can add empty elements to your dynamic content. This way you can trigger the front end to insert static front-end components, such as banners, marketing widgets, or forms. Check out more details in the components doc.
Nested dynamic content field
You cannot add content to a dynamic content field nested in a dynamic content field. When you see the message below while editing dynamic content, it could mean your content includes a nested dynamic content field or there’re too many nested elements.

In this case, your team may need to review the content structure.
There are several ways to edit your content in the Dynamic Content Editor:
-
Add an element. To add a new element, do one of the following:
- Enter / to see a pop-up with all the elements.
- Click an element icon in the toolbar below.
- Press ENTER to add a new paragraph and SHIFT ENTER to add a break line.
- From the element icon on the left, click the Add element below button.
-
Multi-select Text elements. You can select multiple text elements to copy or delete them.
-
Change the element type. To change an element to another element type, click the element icon on the left and select the new element type from the drop down. Note that you can only change a filled element type to an element of the same type. For example, a paragraph can be changed to a heading, but not to a media file.
-
Sort elements. To change the position of an element, click the element icon on the left and click the or button.
-
Remove elements. To remove a text element from the dynamic content field, do one of the following:
- Empty the element and enter BACKSPACE.
- Click the element icon on the left and click the button.
Adding content references
The content reference is a super-fast way to link related items to your content item. The content reference field is often used for linked content items, such as authors, categories, or as manually picked related items.
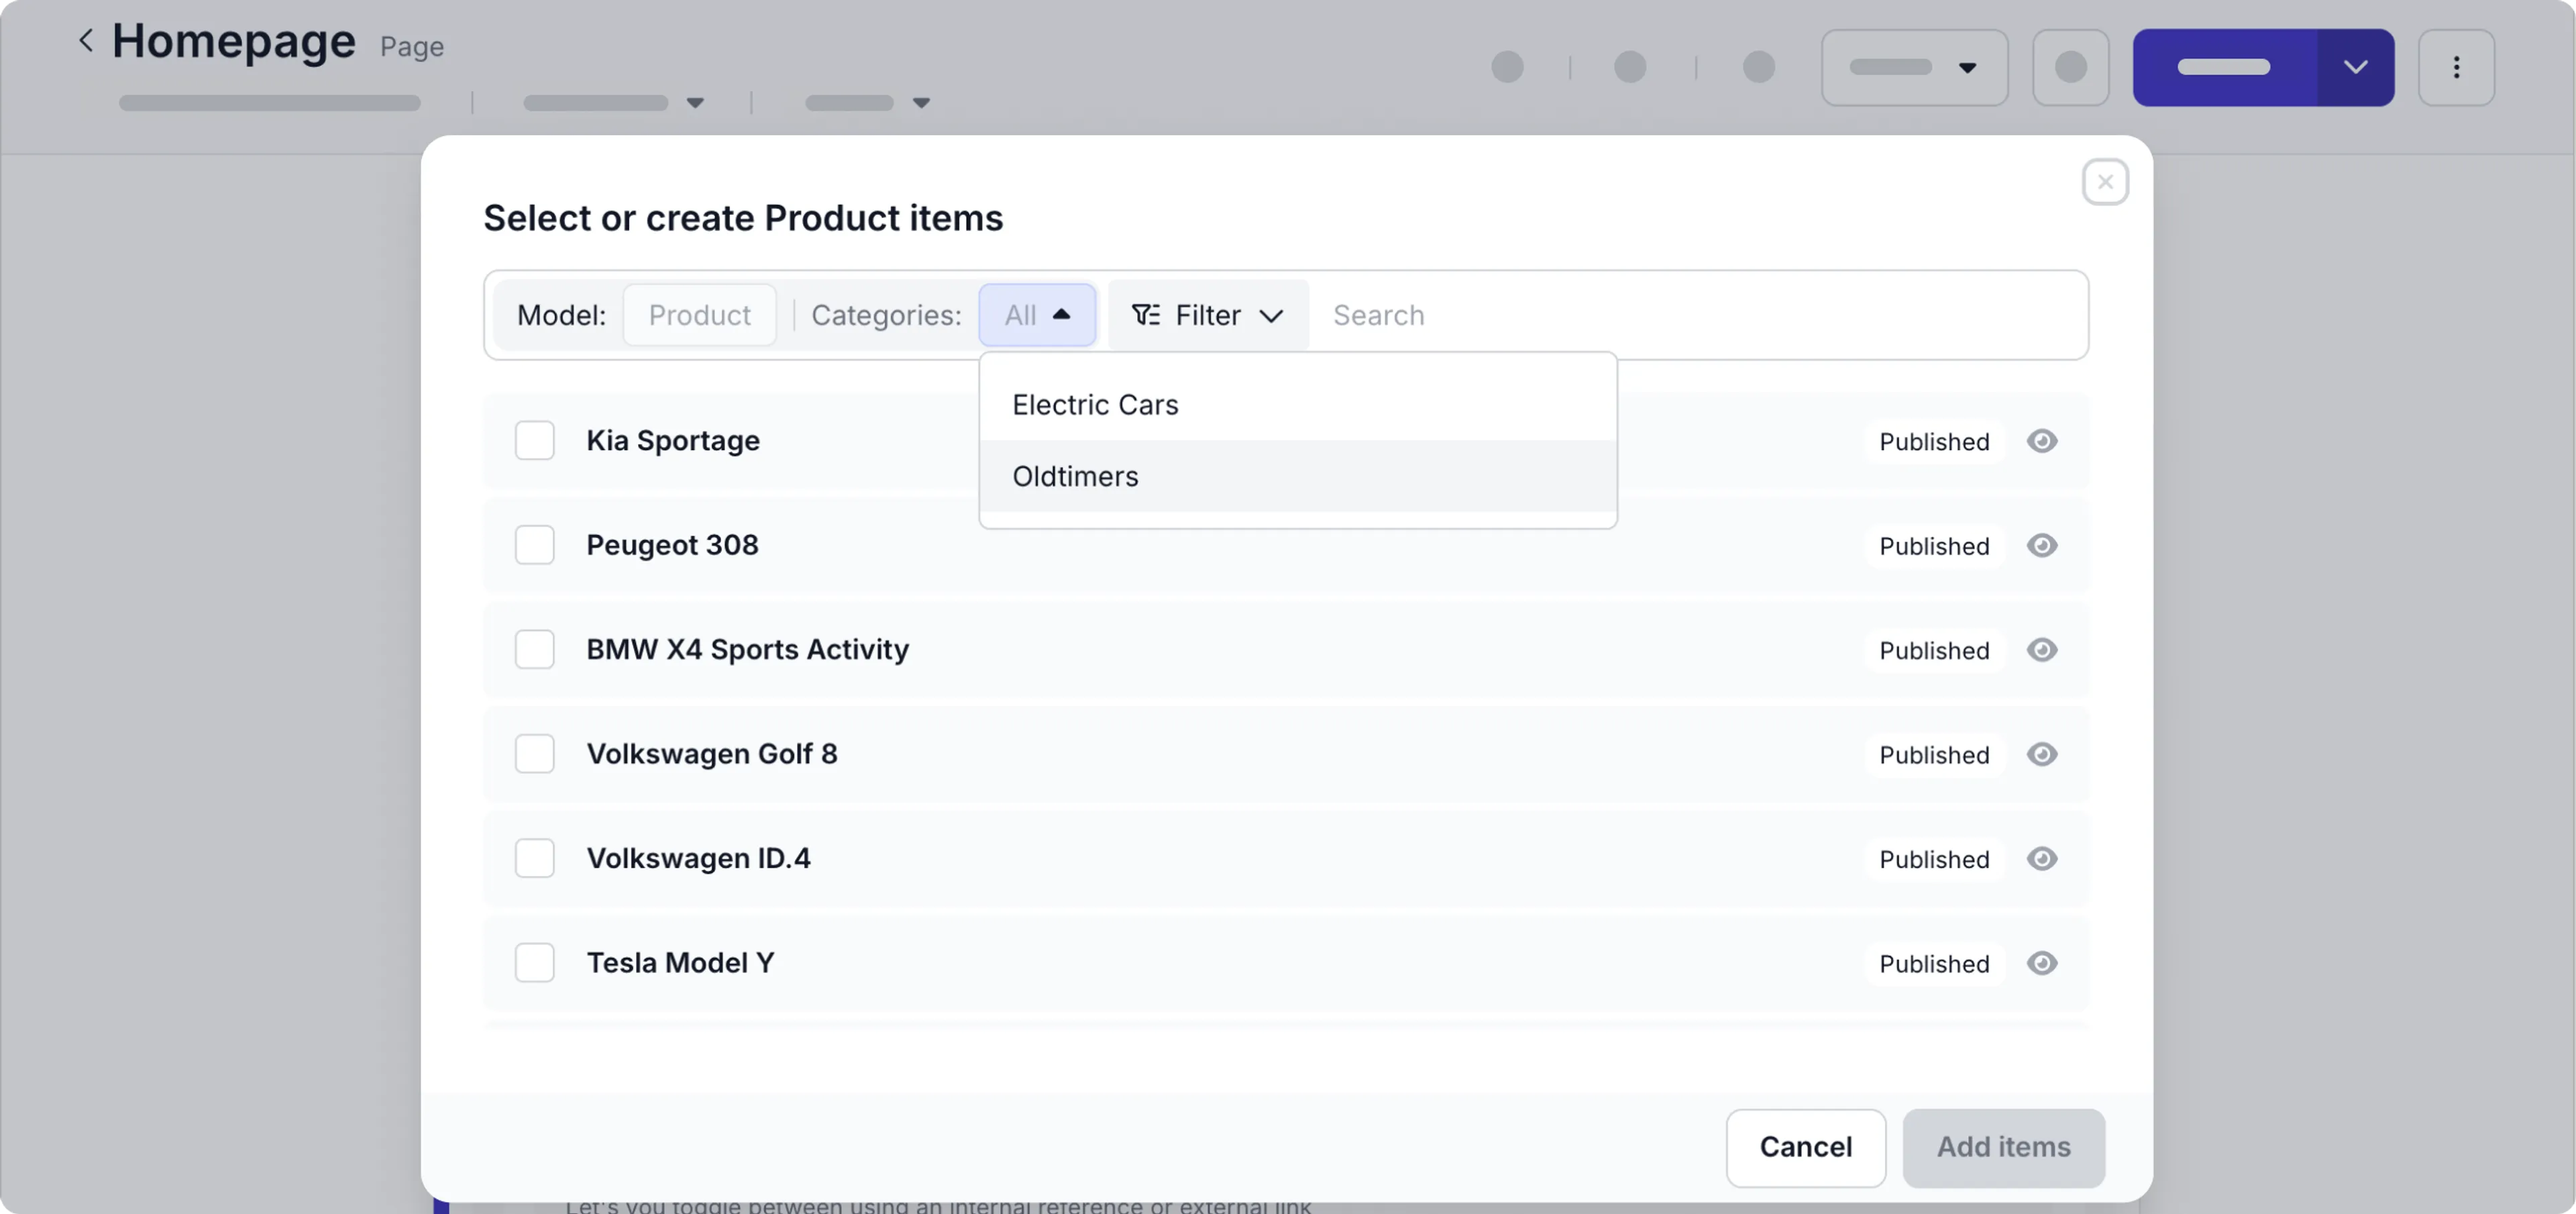
There are three options to display the content reference field, depending on your needs: as a modal window, as an autosuggest, or as checkboxes/radio buttons. You can make your choice in the Reference field settings.
- Modal window. This option combines searching and adding new items. You can also add a filter to quickly find the related item you need. If the item you need is not present, you can create it there and then.
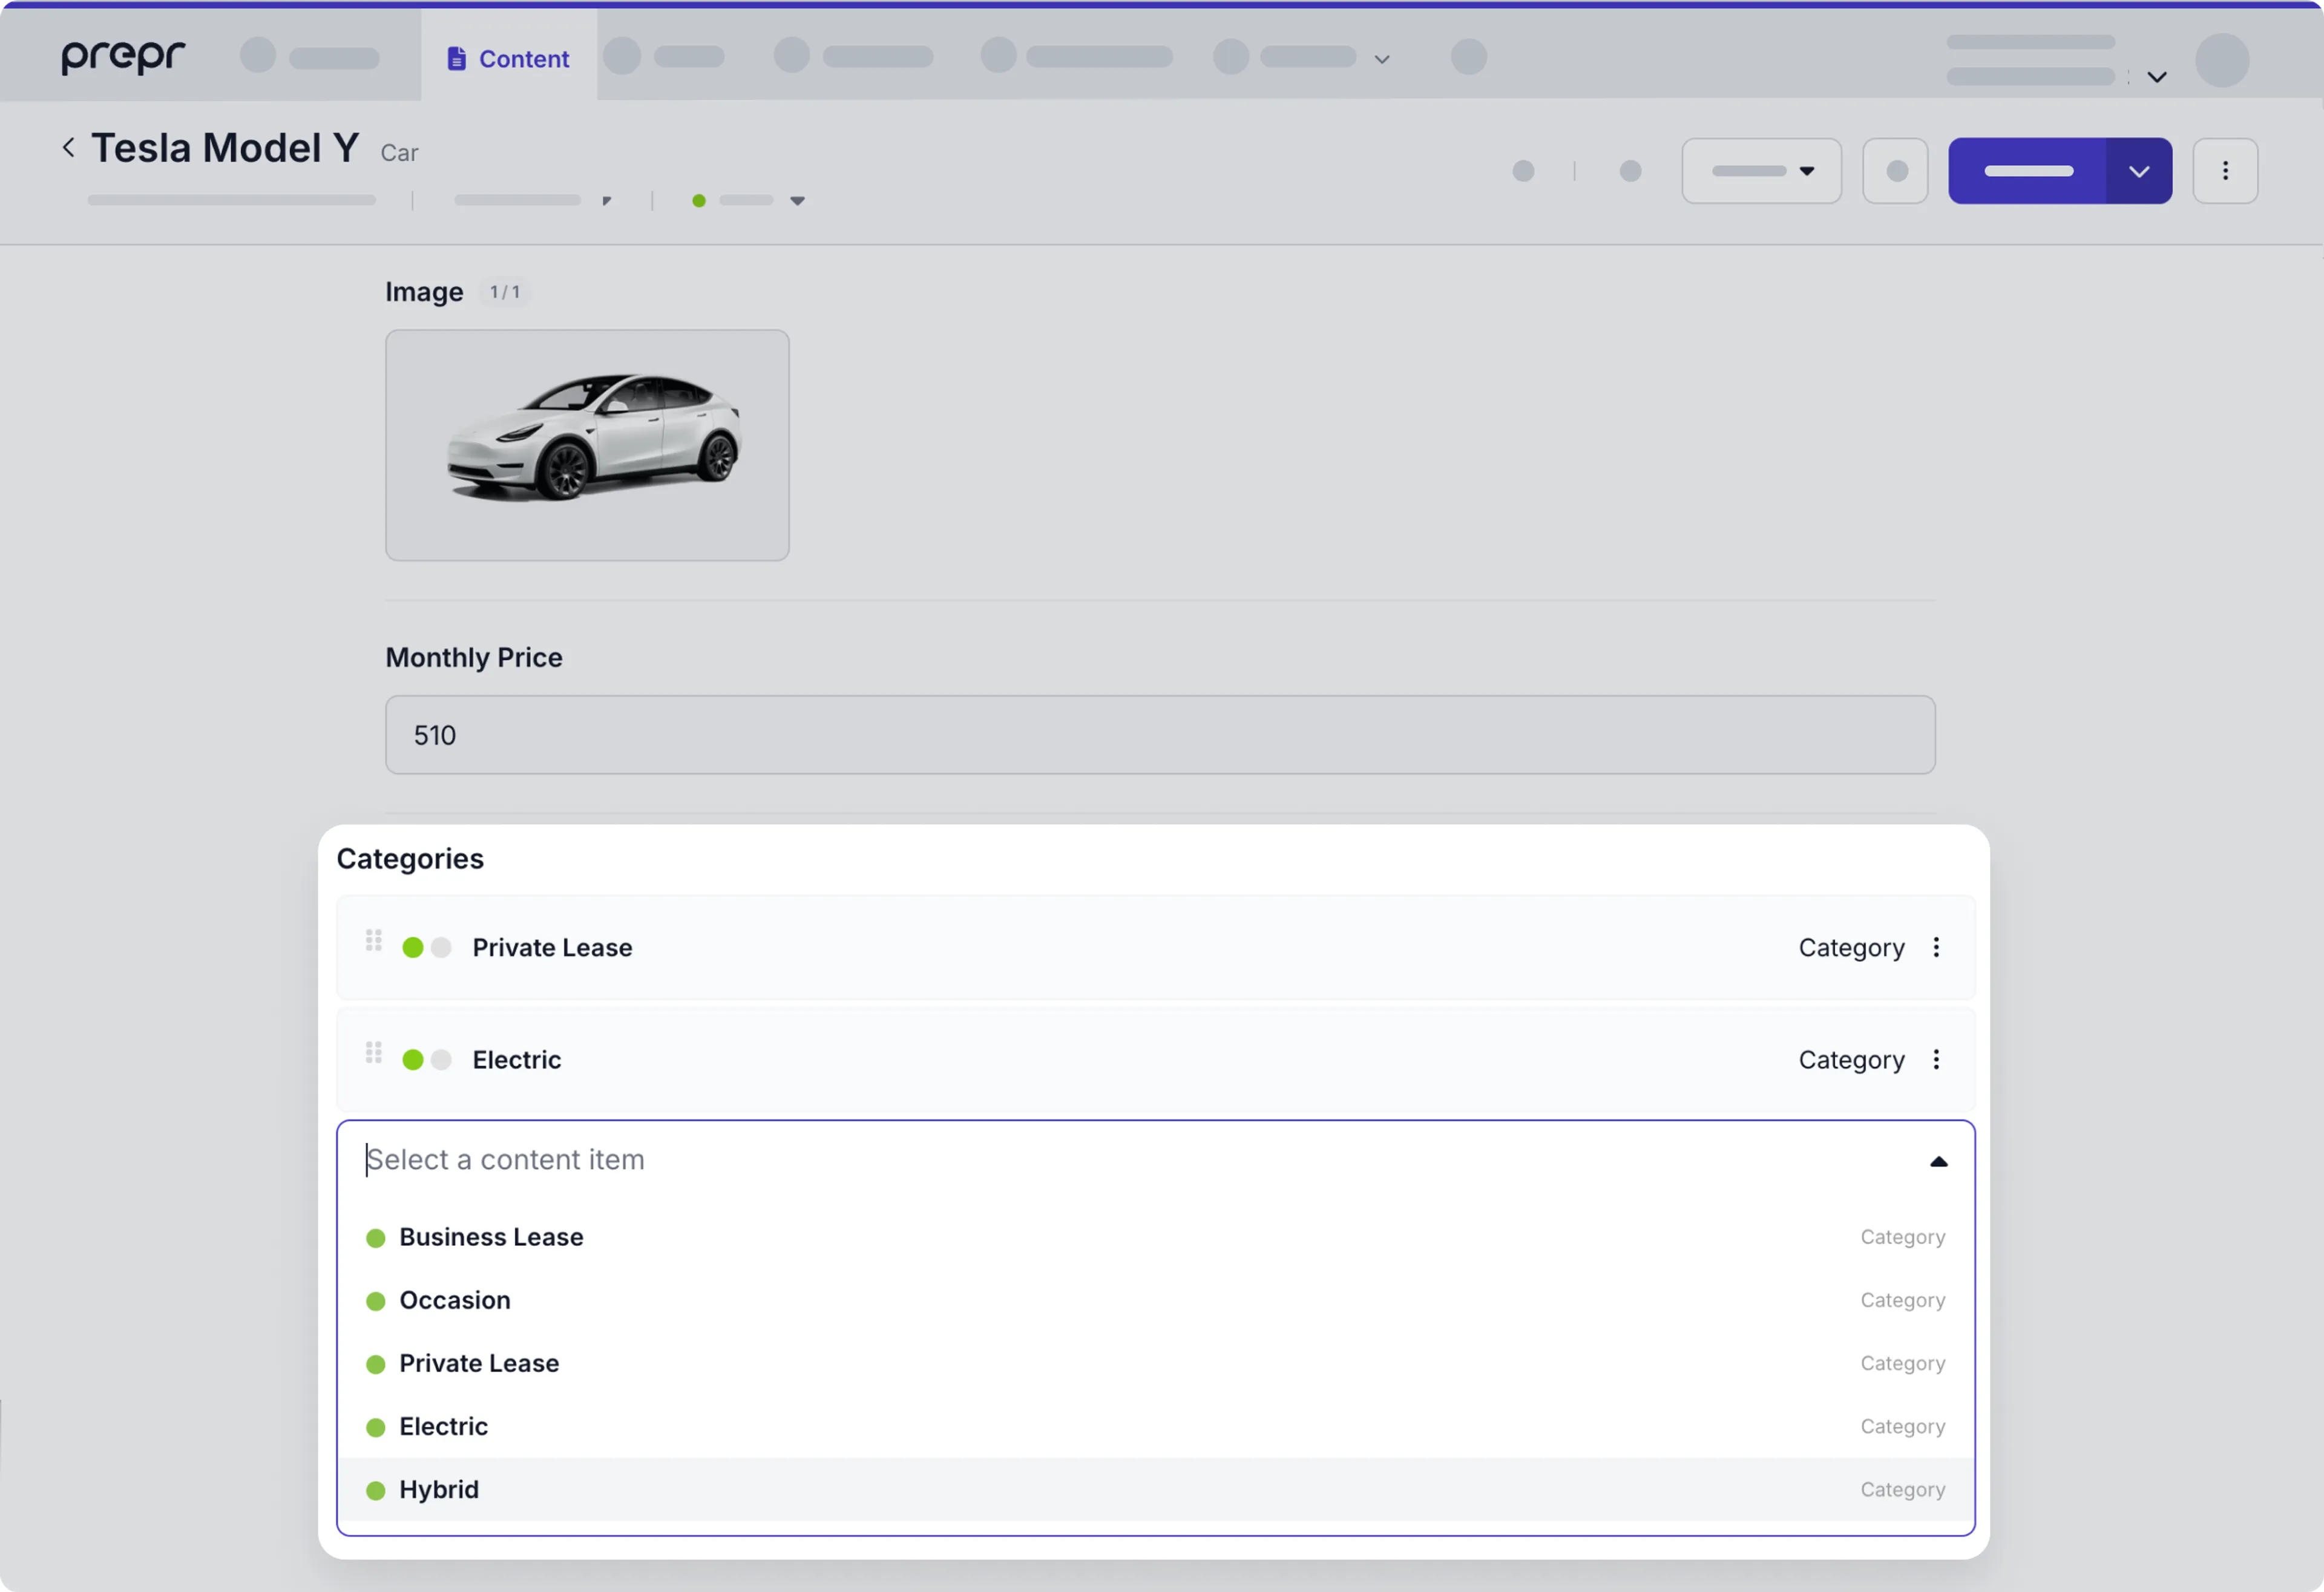
- Auto-suggest. You can use autosuggest if you need a specific content item quickly, without having to search extensively. Start typing in your input field and the results will appear immediately.
- Checkboxes. This option is best used if you only have a limited set of content items to choose from. An example is a topic or author you want to refer to. When you have indicated a maximum of 1 in your model, the options will be shown as a radio button.
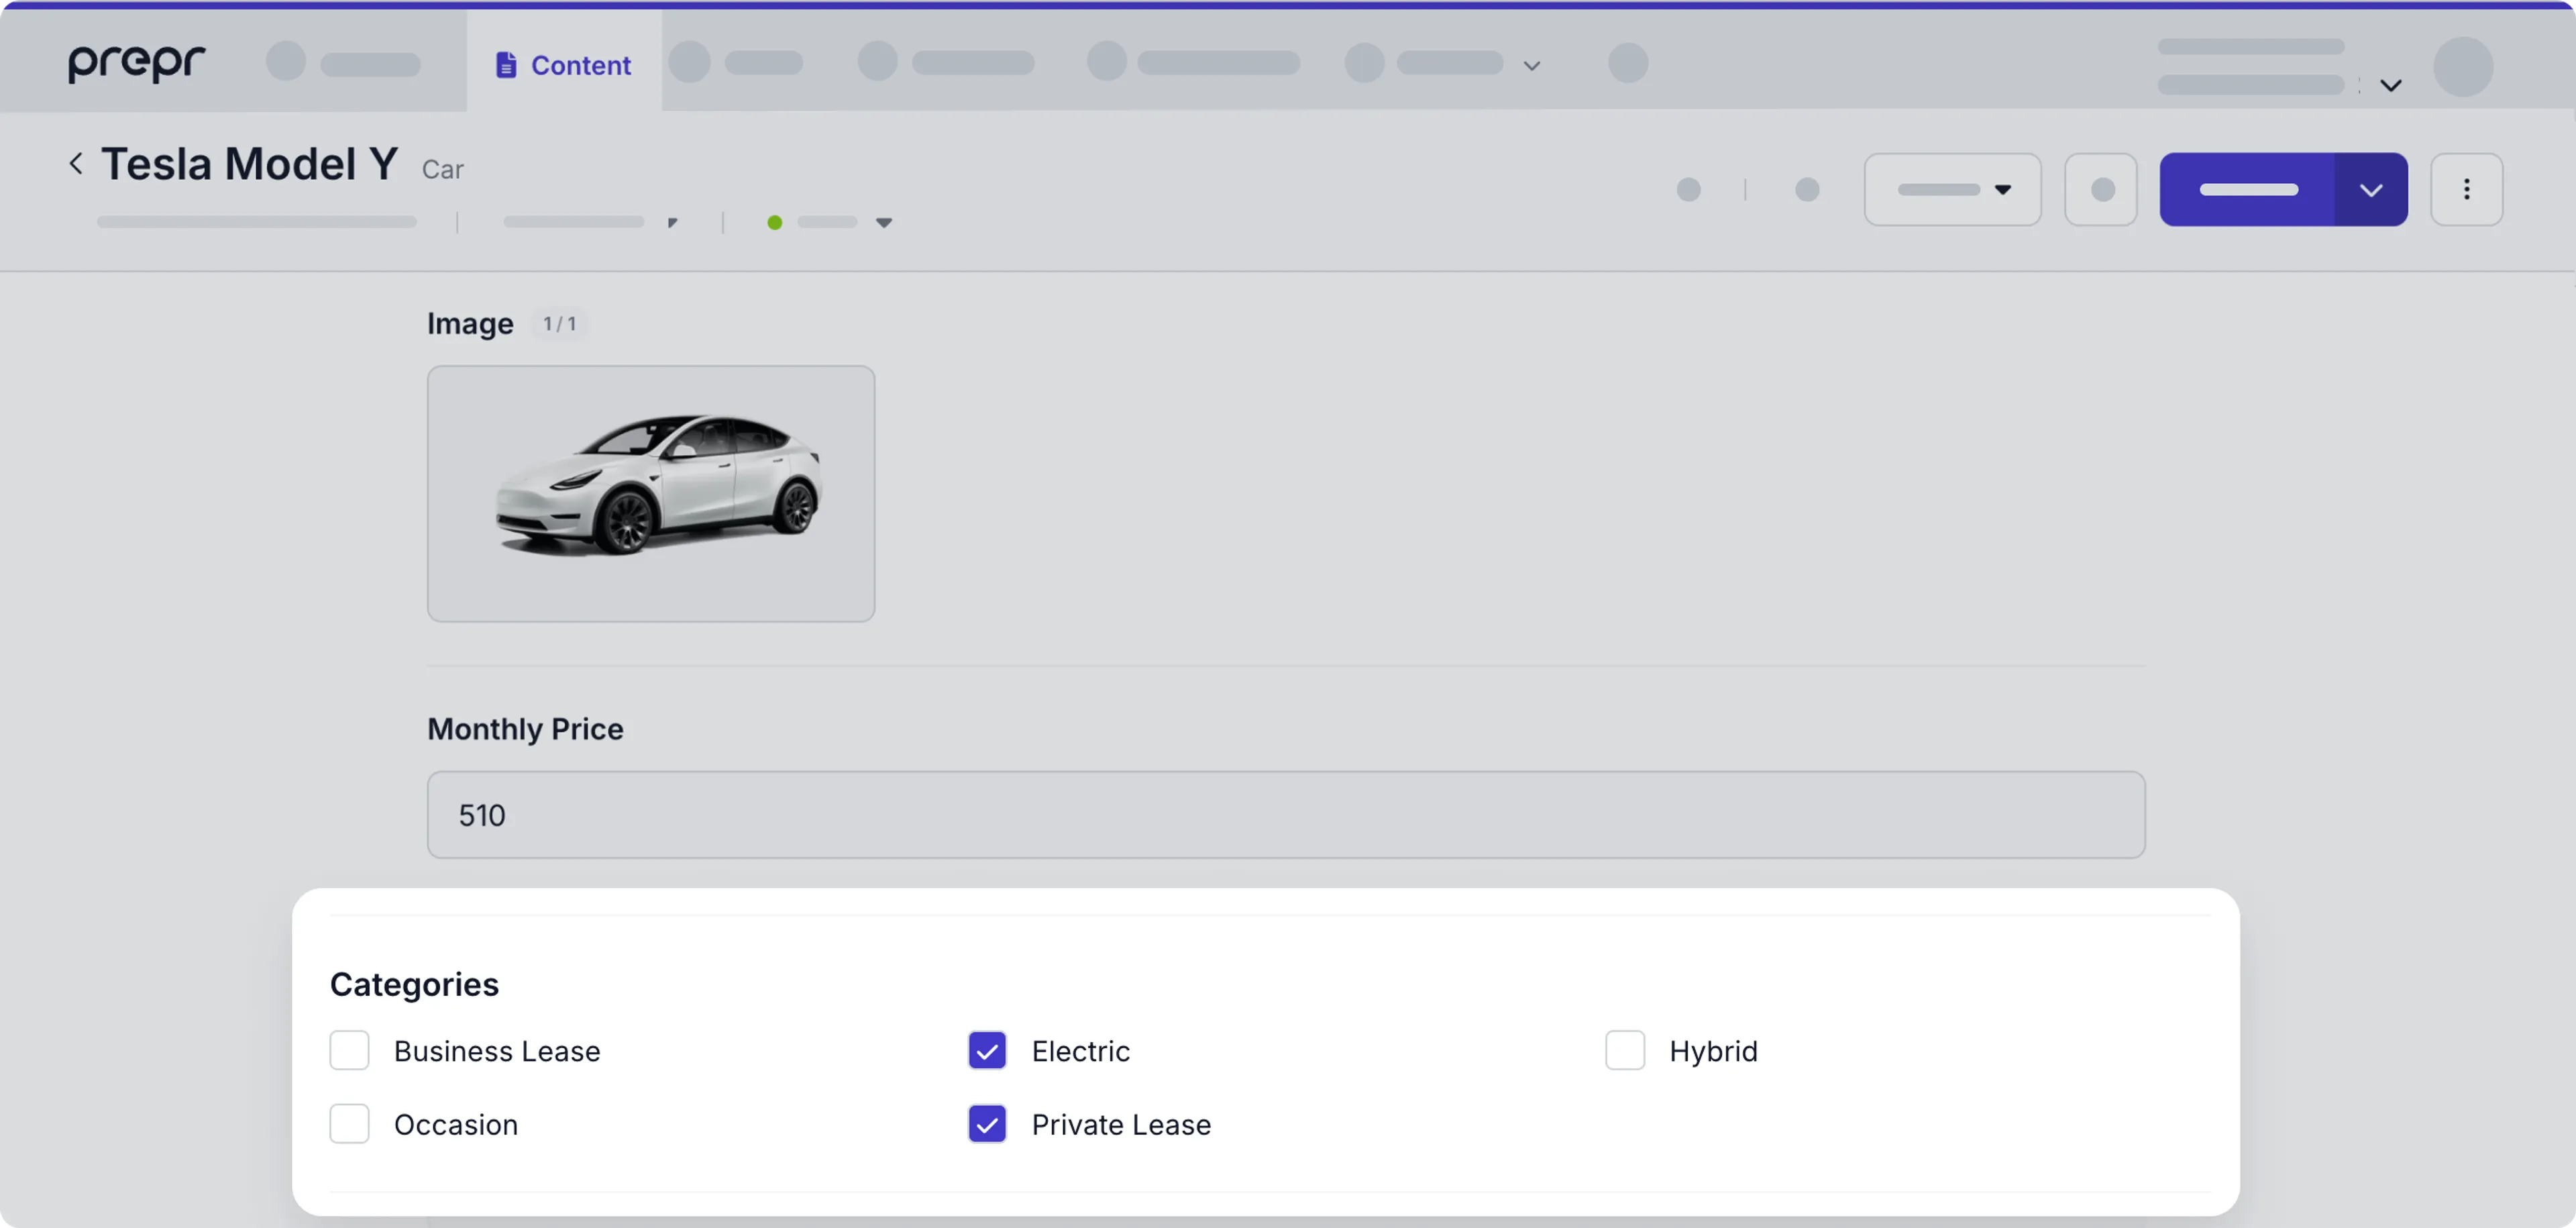
The checkbox view mode lists only the first 50 items. To see the full content item list, choose an alternative view mode.
When you hover over the title of the content item, the icon appears. Click it to open this content item for editing.
Adding internal and external links
Dynamic internal links
The Internal links are references to items or assets in Prepr. You can refer to other content items or assets in a text editor or the Dynamic Content Editor.
To create an internal reference, click the Insert item link icon in the toolbar of the text editor and choose whether you want to link to a content item or an asset. Select the item or asset in the media browser and insert the link.
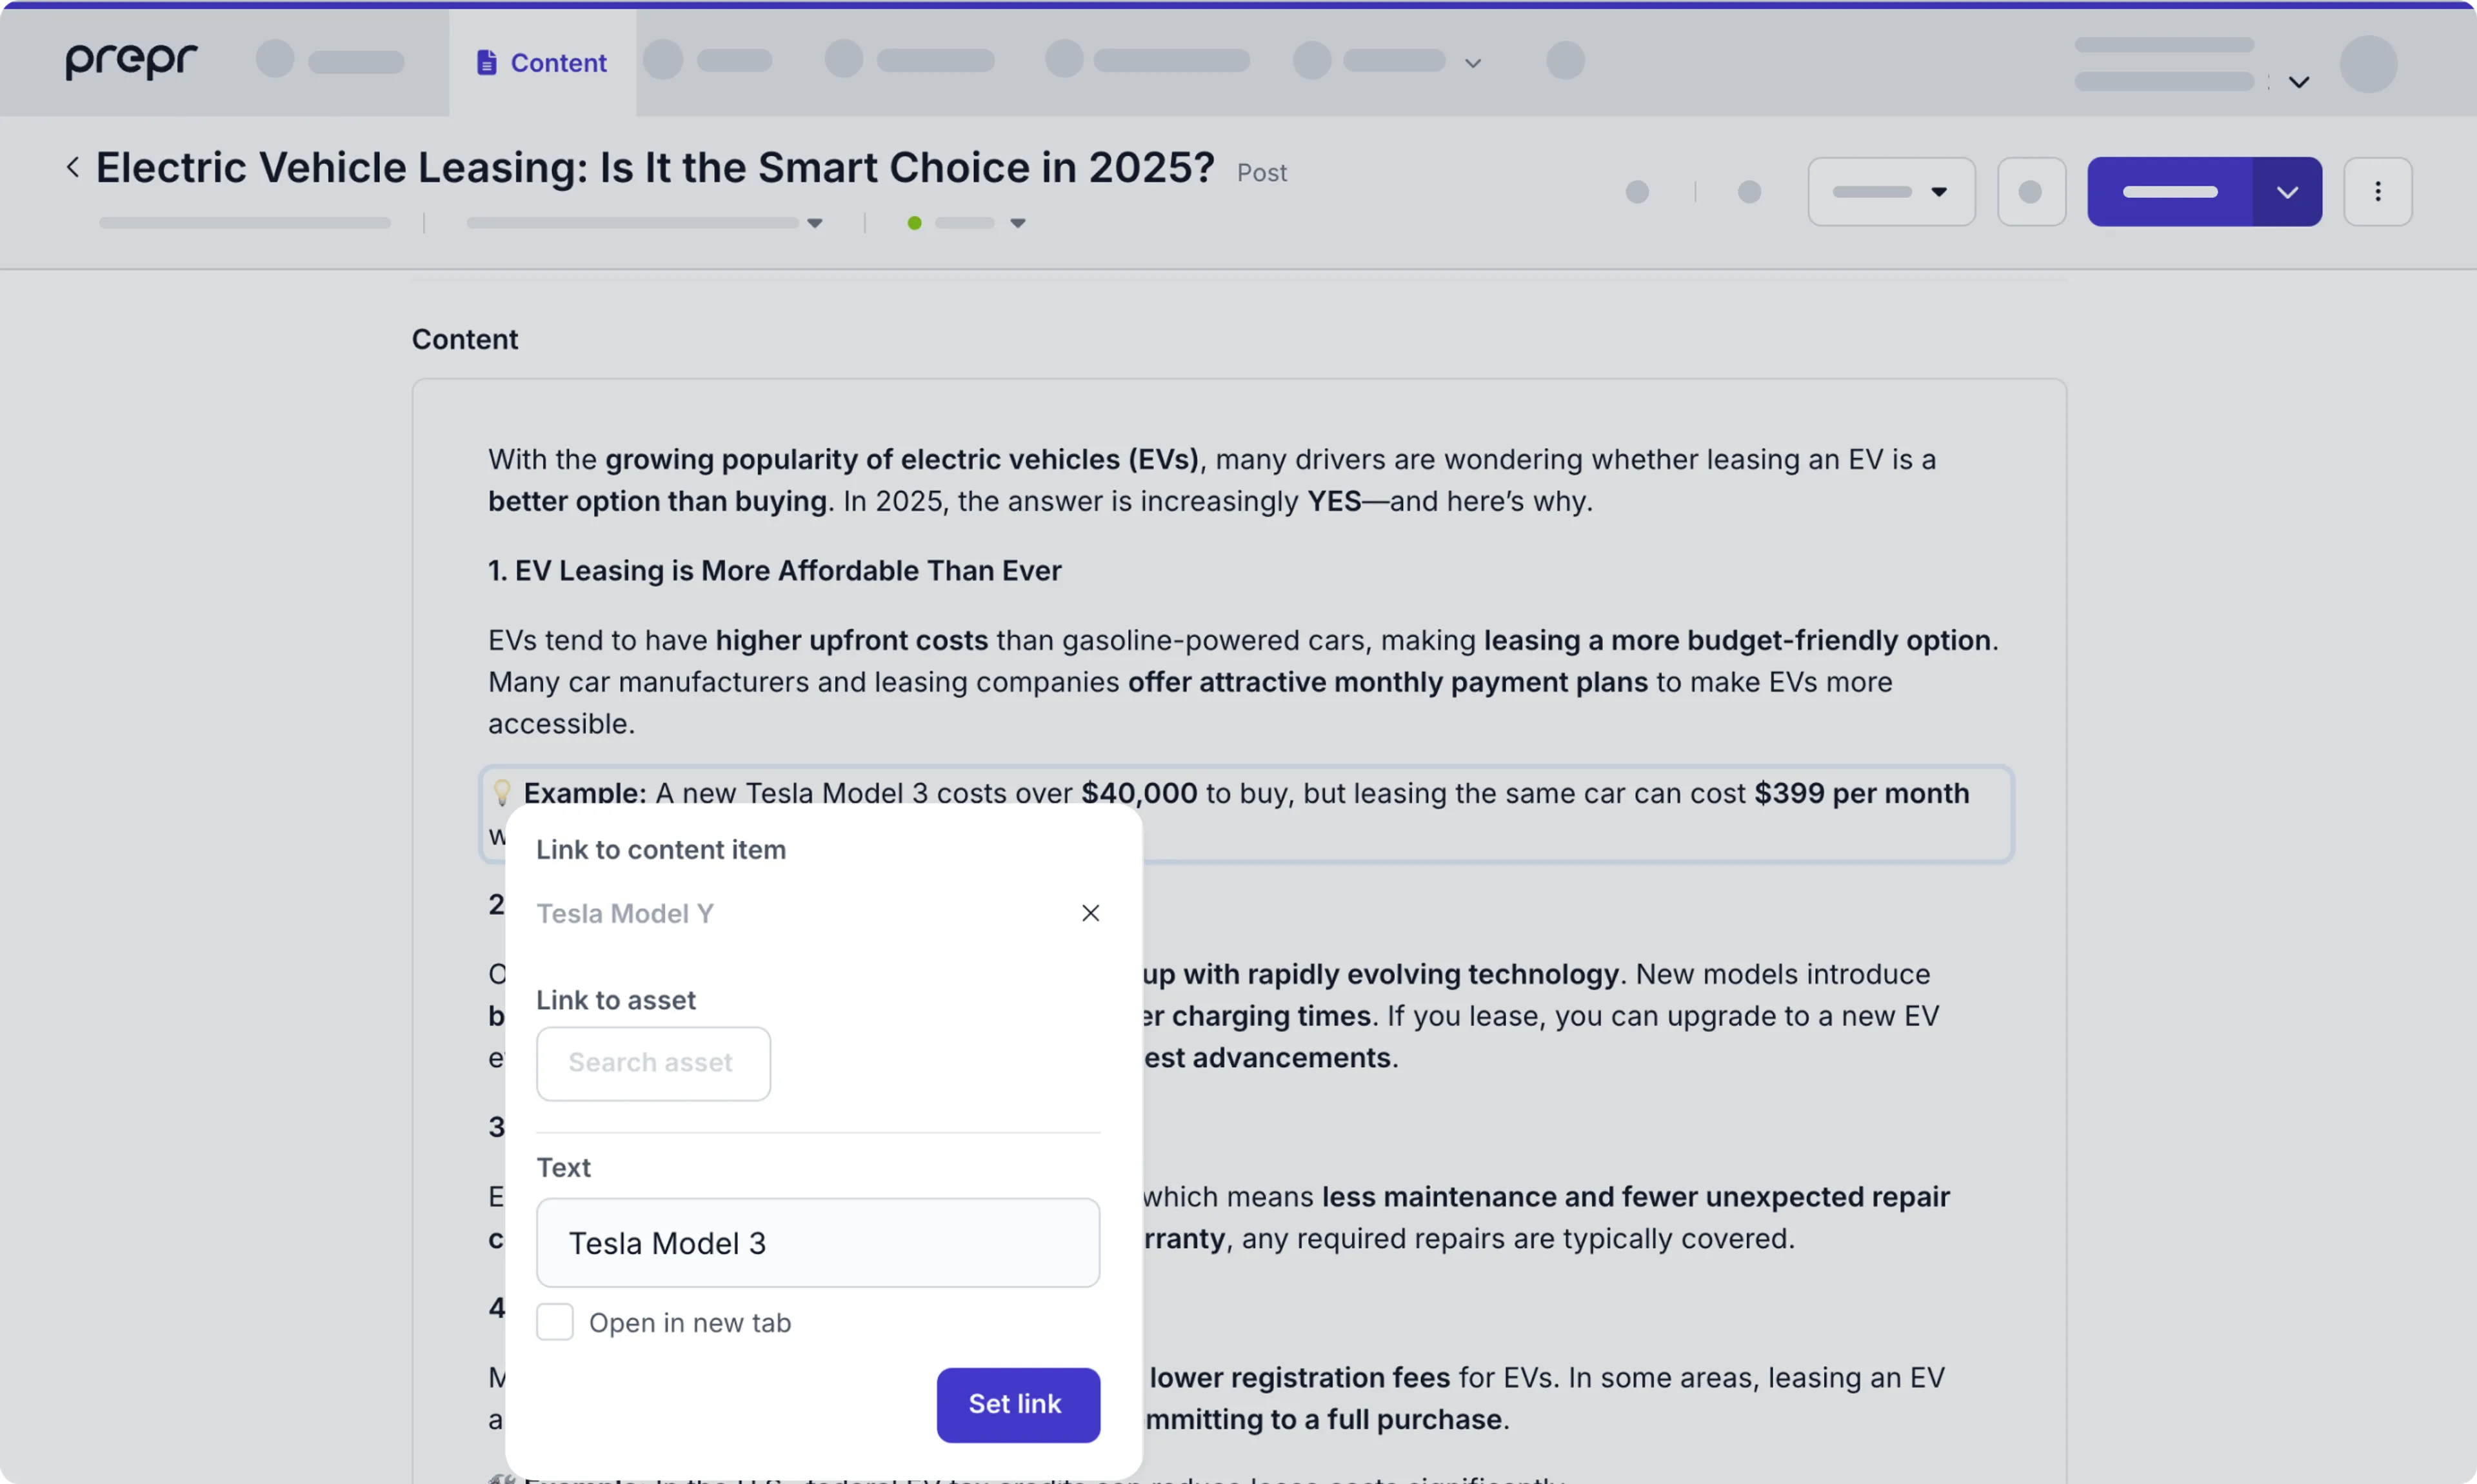
The created link is dynamic, this means that as soon as the title, slug, or URL of the linked content item or asset changes, the link will update dynamically. This way you never have to deal with dead links in your text again.
Check out the dynamic content field API reference on how to query the internal link.
External linking options
You can link to an external URL using the Link option. If Links are enabled on a text field or the Dynamic content Editor, you can add an external link to your text. To add an external link, click the icon to make an in-line reference. Enter the URL, and the link text, and decide whether this link needs to be opened in a new tab or not. For SEO purposes, you can also select the Don’t follow option.
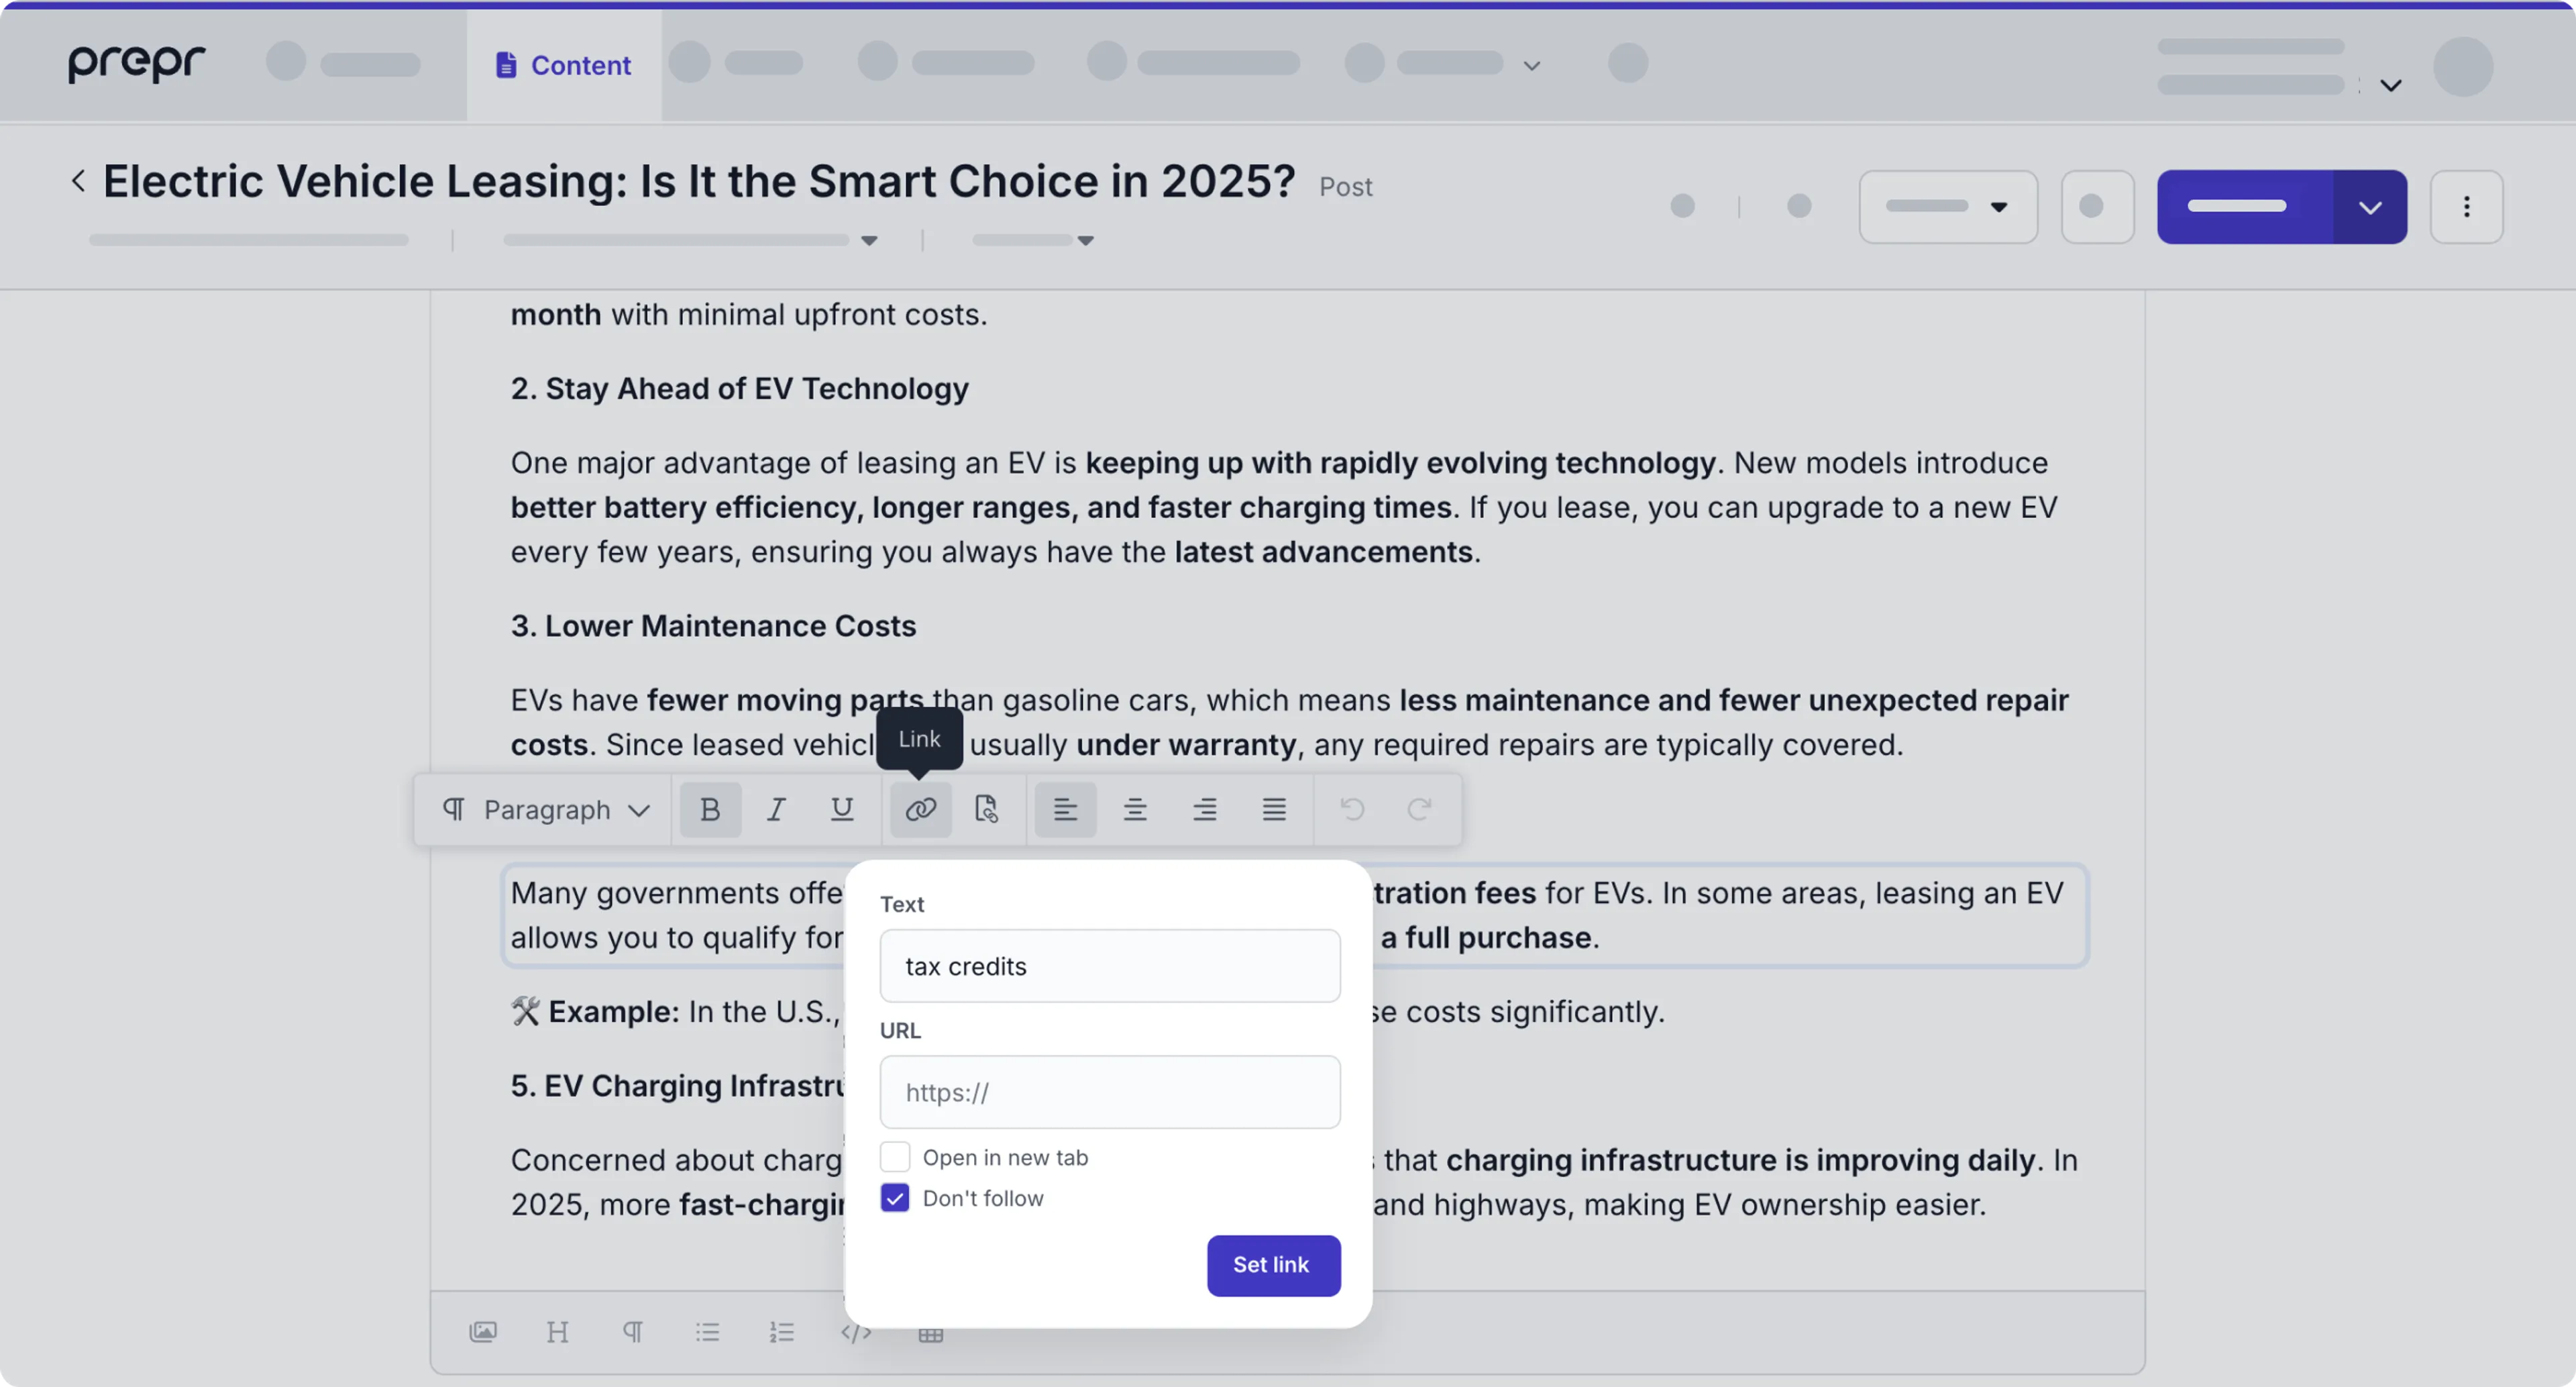
To edit the added link, simply click anywhere on the link text and click
Adding remote content
When you need to add content that is sourced from an external system, and the remote source is set up in Prepr, you can simply you’ve connected to the external system and you can add the remote content to a content item using the following steps:
- Navigate to the Content tab and click the desired content item from the list.
- In the remote content section, click the button to add new items (in our example – Add product), search through the catalog or use a filter to find and add the desired items to the content item.
- Save and publish this content item to complete the setup.

That’s it. Now your web page includes 3rd party content. Prepr will synchronize your remote content automatically to keep it up to date.