Getting started with the Prepr GraphQL API
This guide shows you how to make your first request to fetch data from the Prepr GraphQL API in three easy steps.
Making your first API request
Sign up for a Prepr account
Go to signup.prepr.io to create your free account in seconds and you can start exploring Prepr. After your account is created, you’ll be prompted to add an environment. Choose to load demo data to get you going quickly.
Get your API URL
Now you have a Prepr account with a demo environment, but before you can make any API requests, you need the API endpoint and access token. The API endpoint is a specific URL that allows you to access a service provided by the API, while the access token grants permission to the API services.
When you add an environment, Prepr provides two API endpoints by default, GraphQL Production and GraphQL Preview. Each of these has a unique access token with their relevant permission scope.

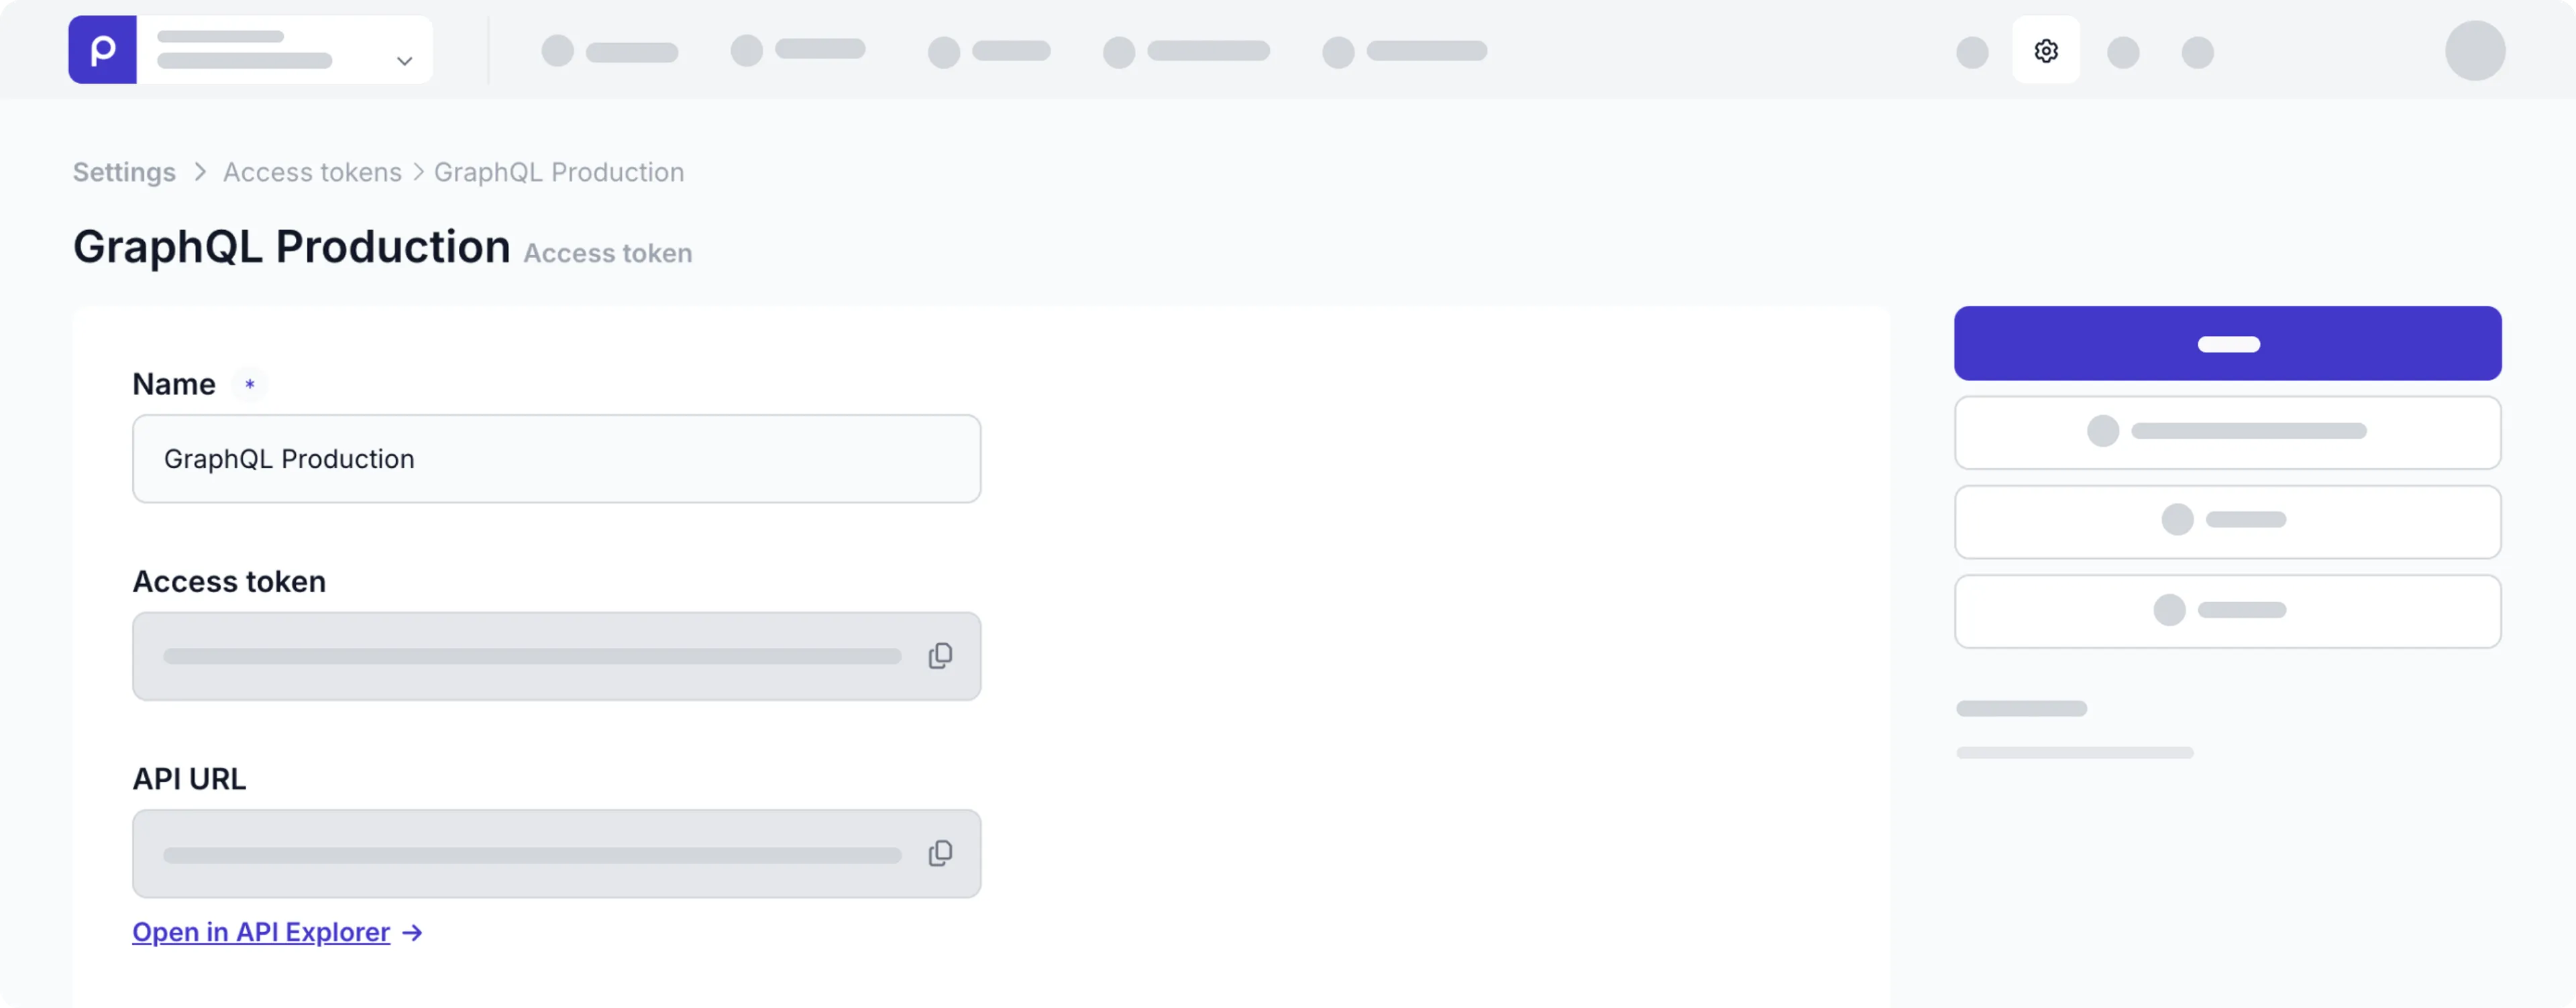
To get an API URL, click the icon and choose the Access tokens option and click to open the GraphQL Production access token.

Typically, you’d use the GraphQL Production endpoint for your live web app to show only published content, while GraphQL Preview is for preview or test versions of the web app to allow editors to preview content that is not ready for production.
Send your first API request
Now you’re ready to make your first basic request. You can use the API Explorer to test your API requests directly in Prepr before adding them to your front-end application.
To open the API Explorer, simply click the Open in API Explorer -> link just below the API URL field in the GraphQL Production access token page.
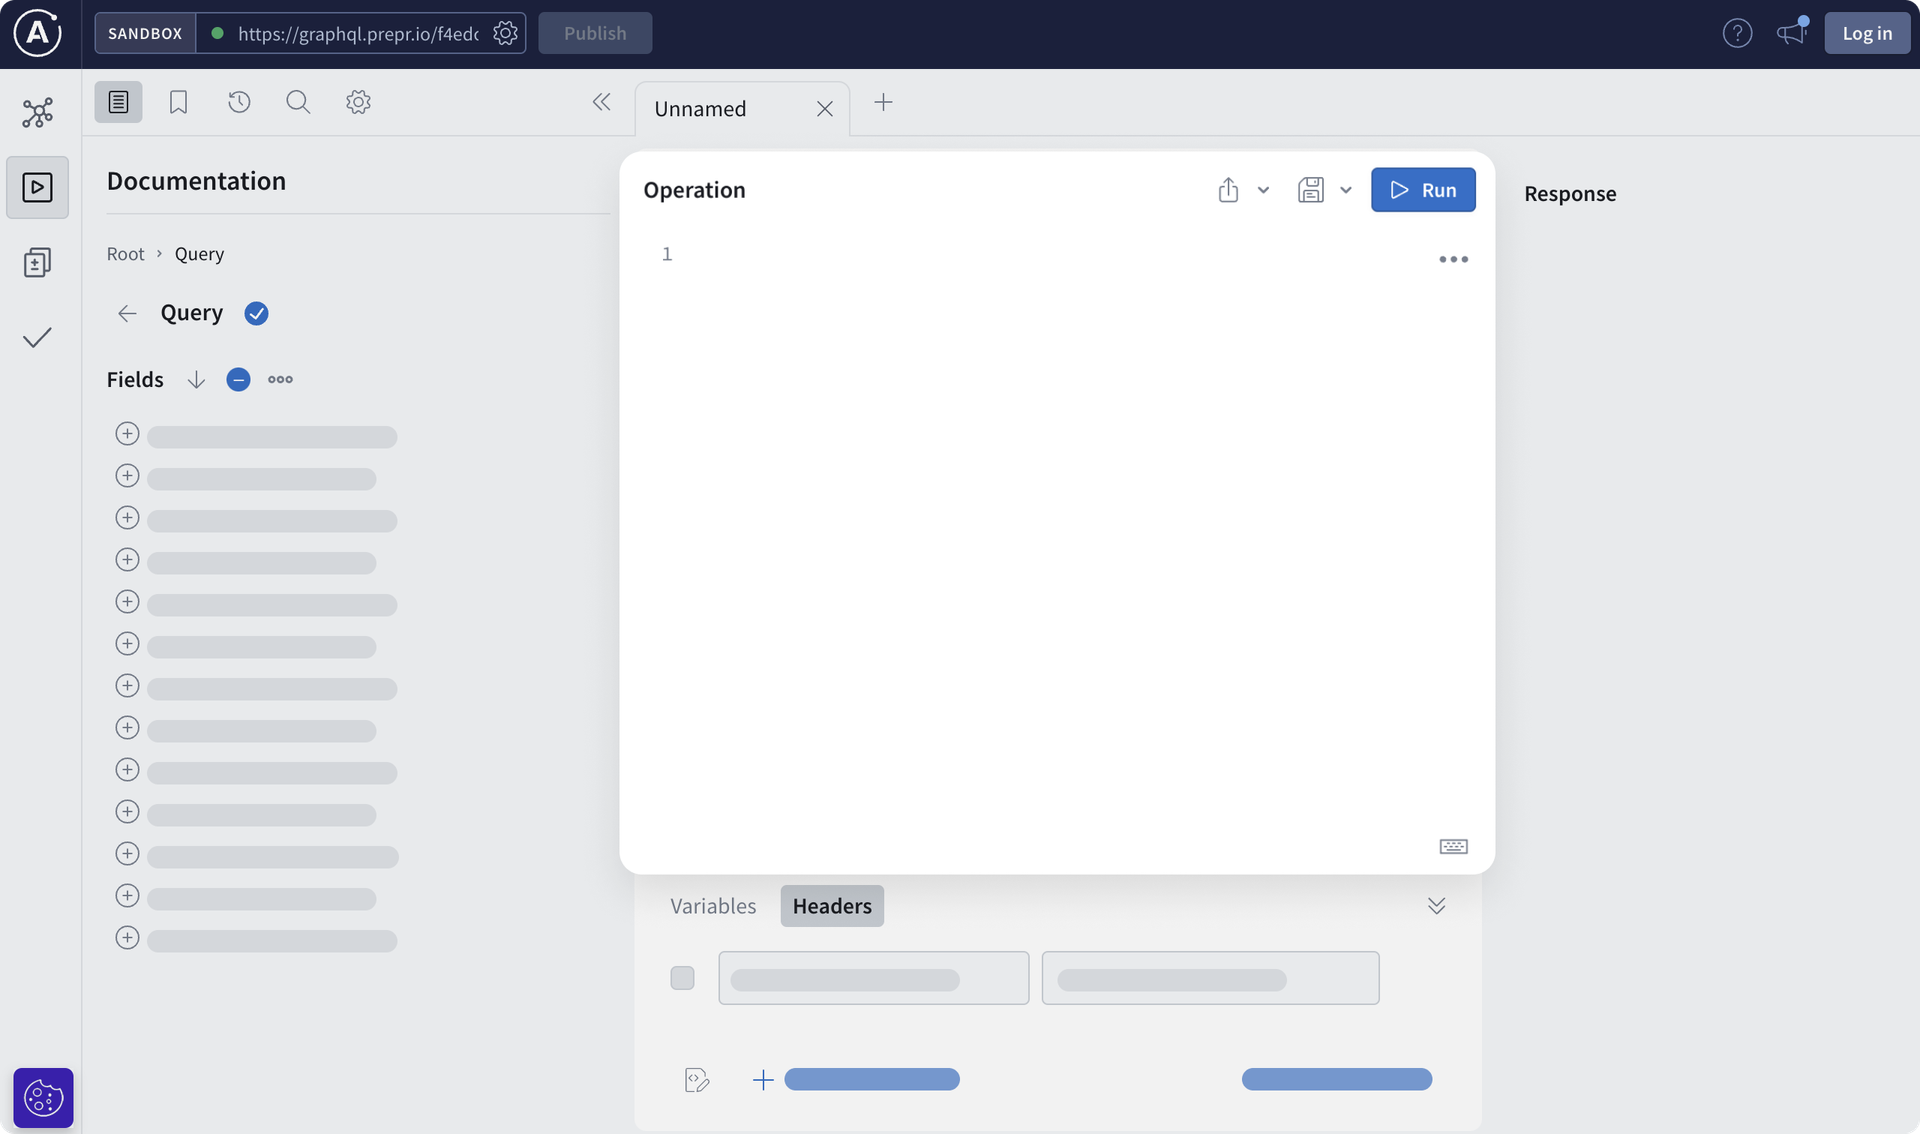
You’ll be redirected to the API Explorer interface which connects to the GraphQL Production endpoint automatically.

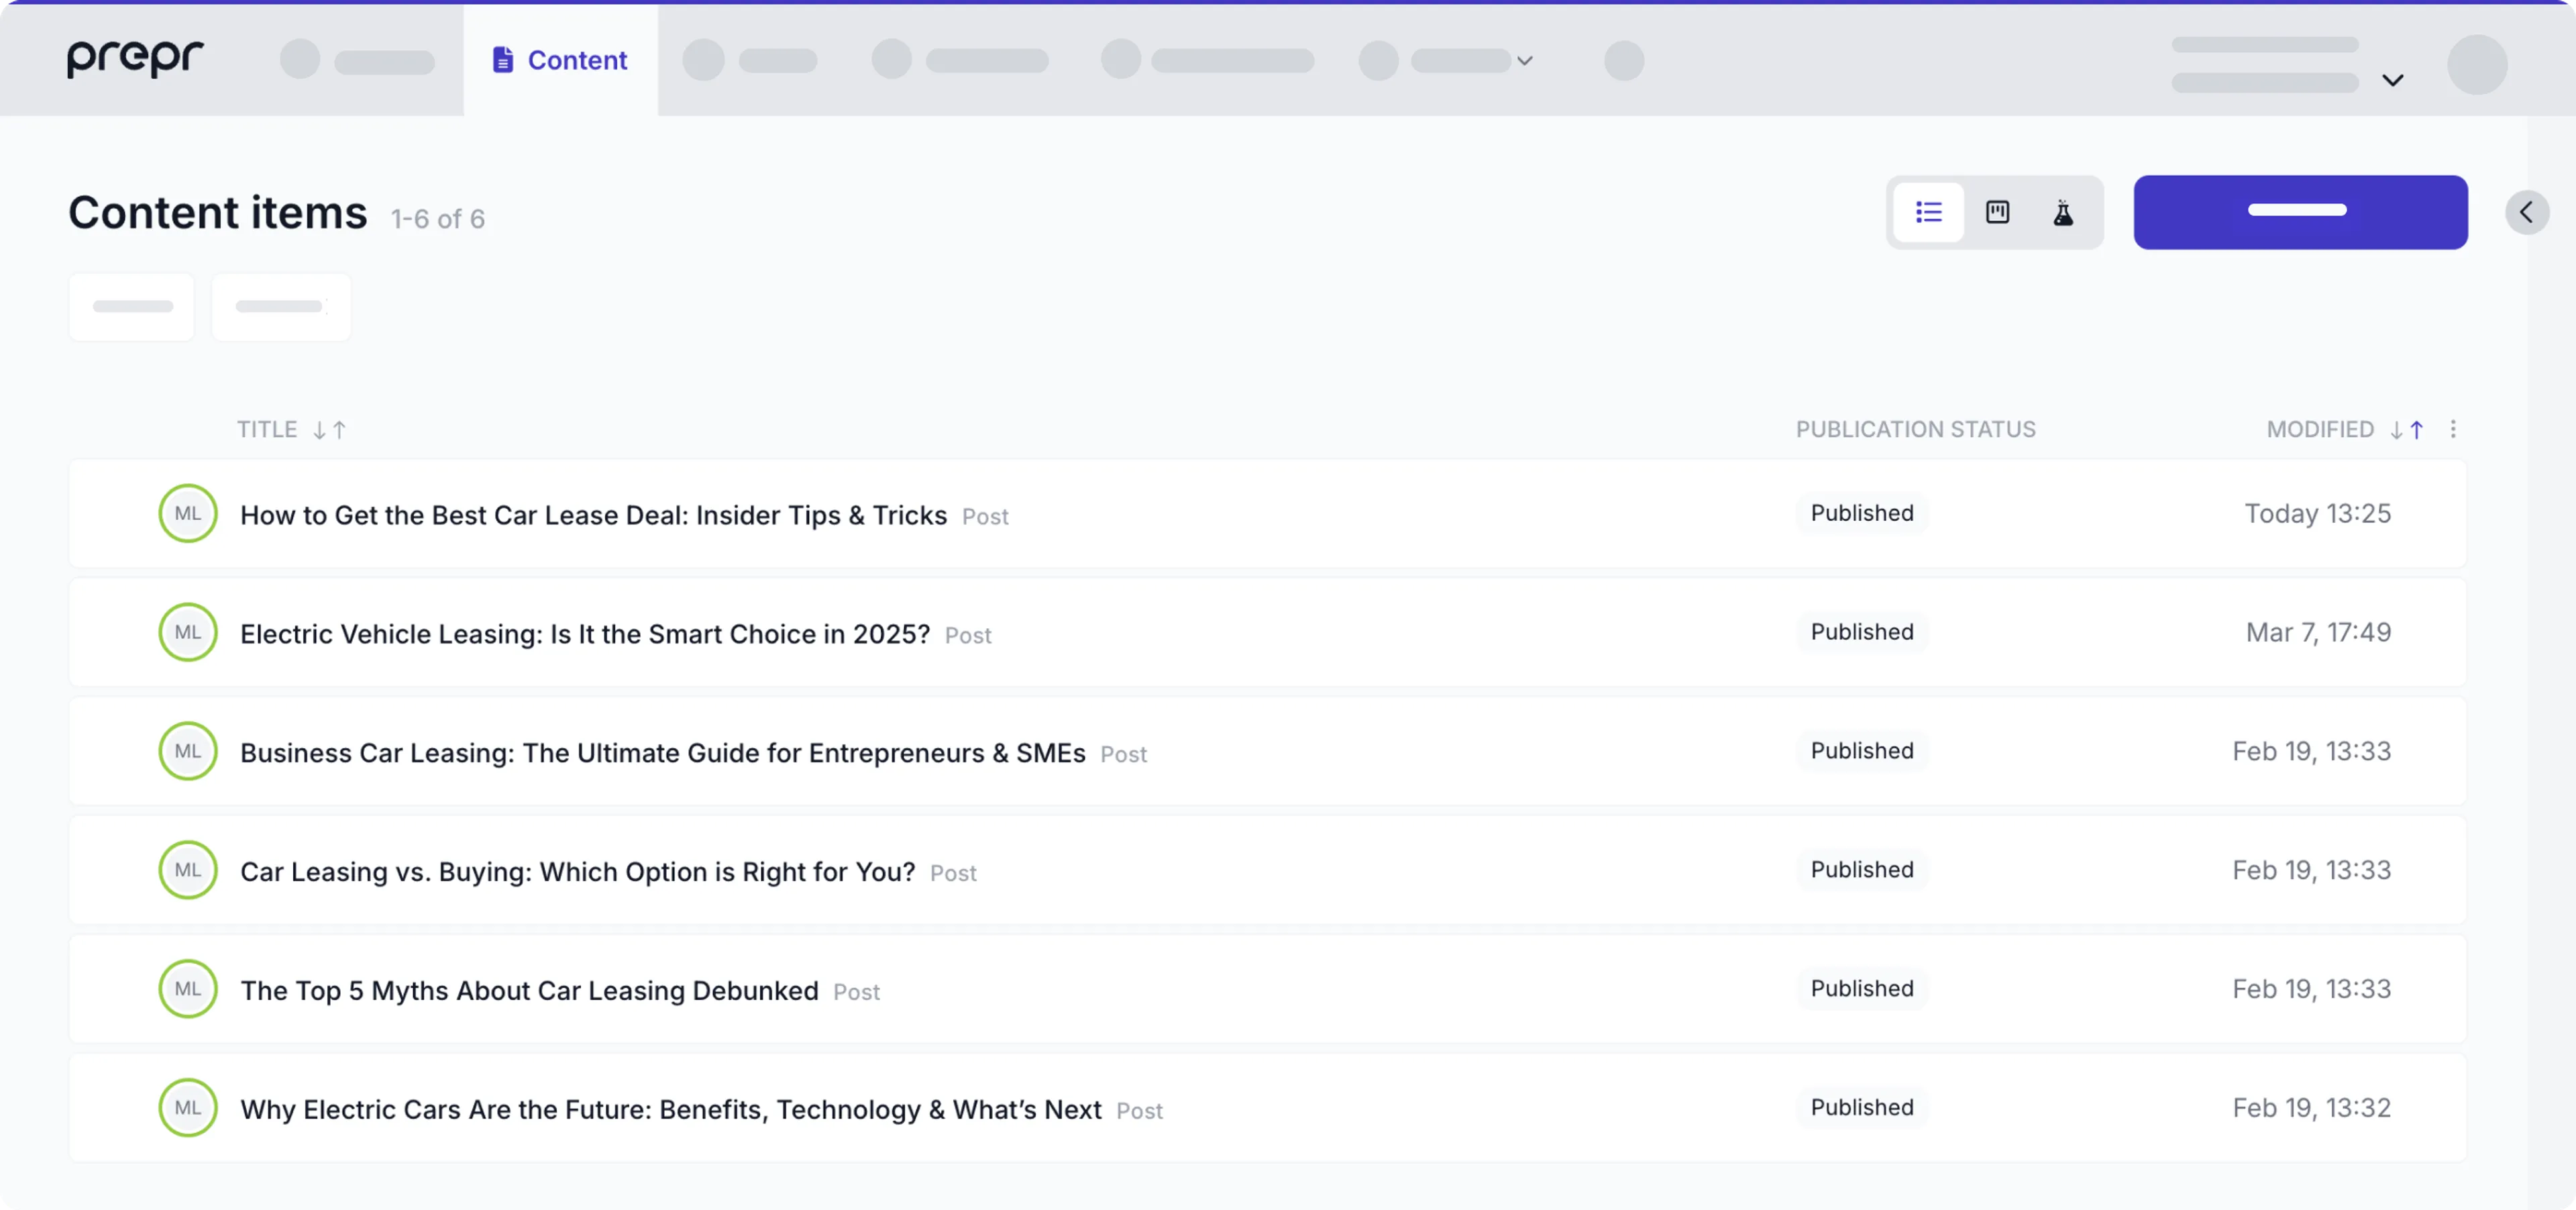
For your first query, retrieve all published blog posts available in the demo data like in the list below.

Copy and paste the following query to the Operation pane and click the Run button.
REQUEST
query {
  Posts {
    items {
      _id
      title
    }
  }
}Once your request is processed, check out the response. You will get a list of all published articles with their identifiers and titles.
That’s it. You’ve made your first call to the Prepr GraphQL API.
What’s next?
You can try out your GraphQL queries using the Apollo Explorer tool.
To learn more about the Prepr GraphQL API, check out the following resources:
If you’re new to GraphQL, check out the How to GraphQL resource.