Authorization
From this article, you’ll learn how to get access to the Prepr REST API.
To access the Prepr API you first need to authenticate your app with an OAuth bearer token.
A token provides scoped access to a single environment, you need to obtain another token for every new environment you want to access. Organizations with an Enterprise plan can create access tokens on the organization level.
We recommend using different access tokens for different applications or front end applications, for example, one for an iOS app and another for Android app. This allows you to revoke them individually in the future and manage access independently.
Sign in to your Prepr account
Go to https://signin.prepr.io and sign in with your Prepr account credentials.
Then navigate to the Environment you want to use.
Create an Access token
-
Click the icon and choose the Access tokens option to open the access tokens page.
-
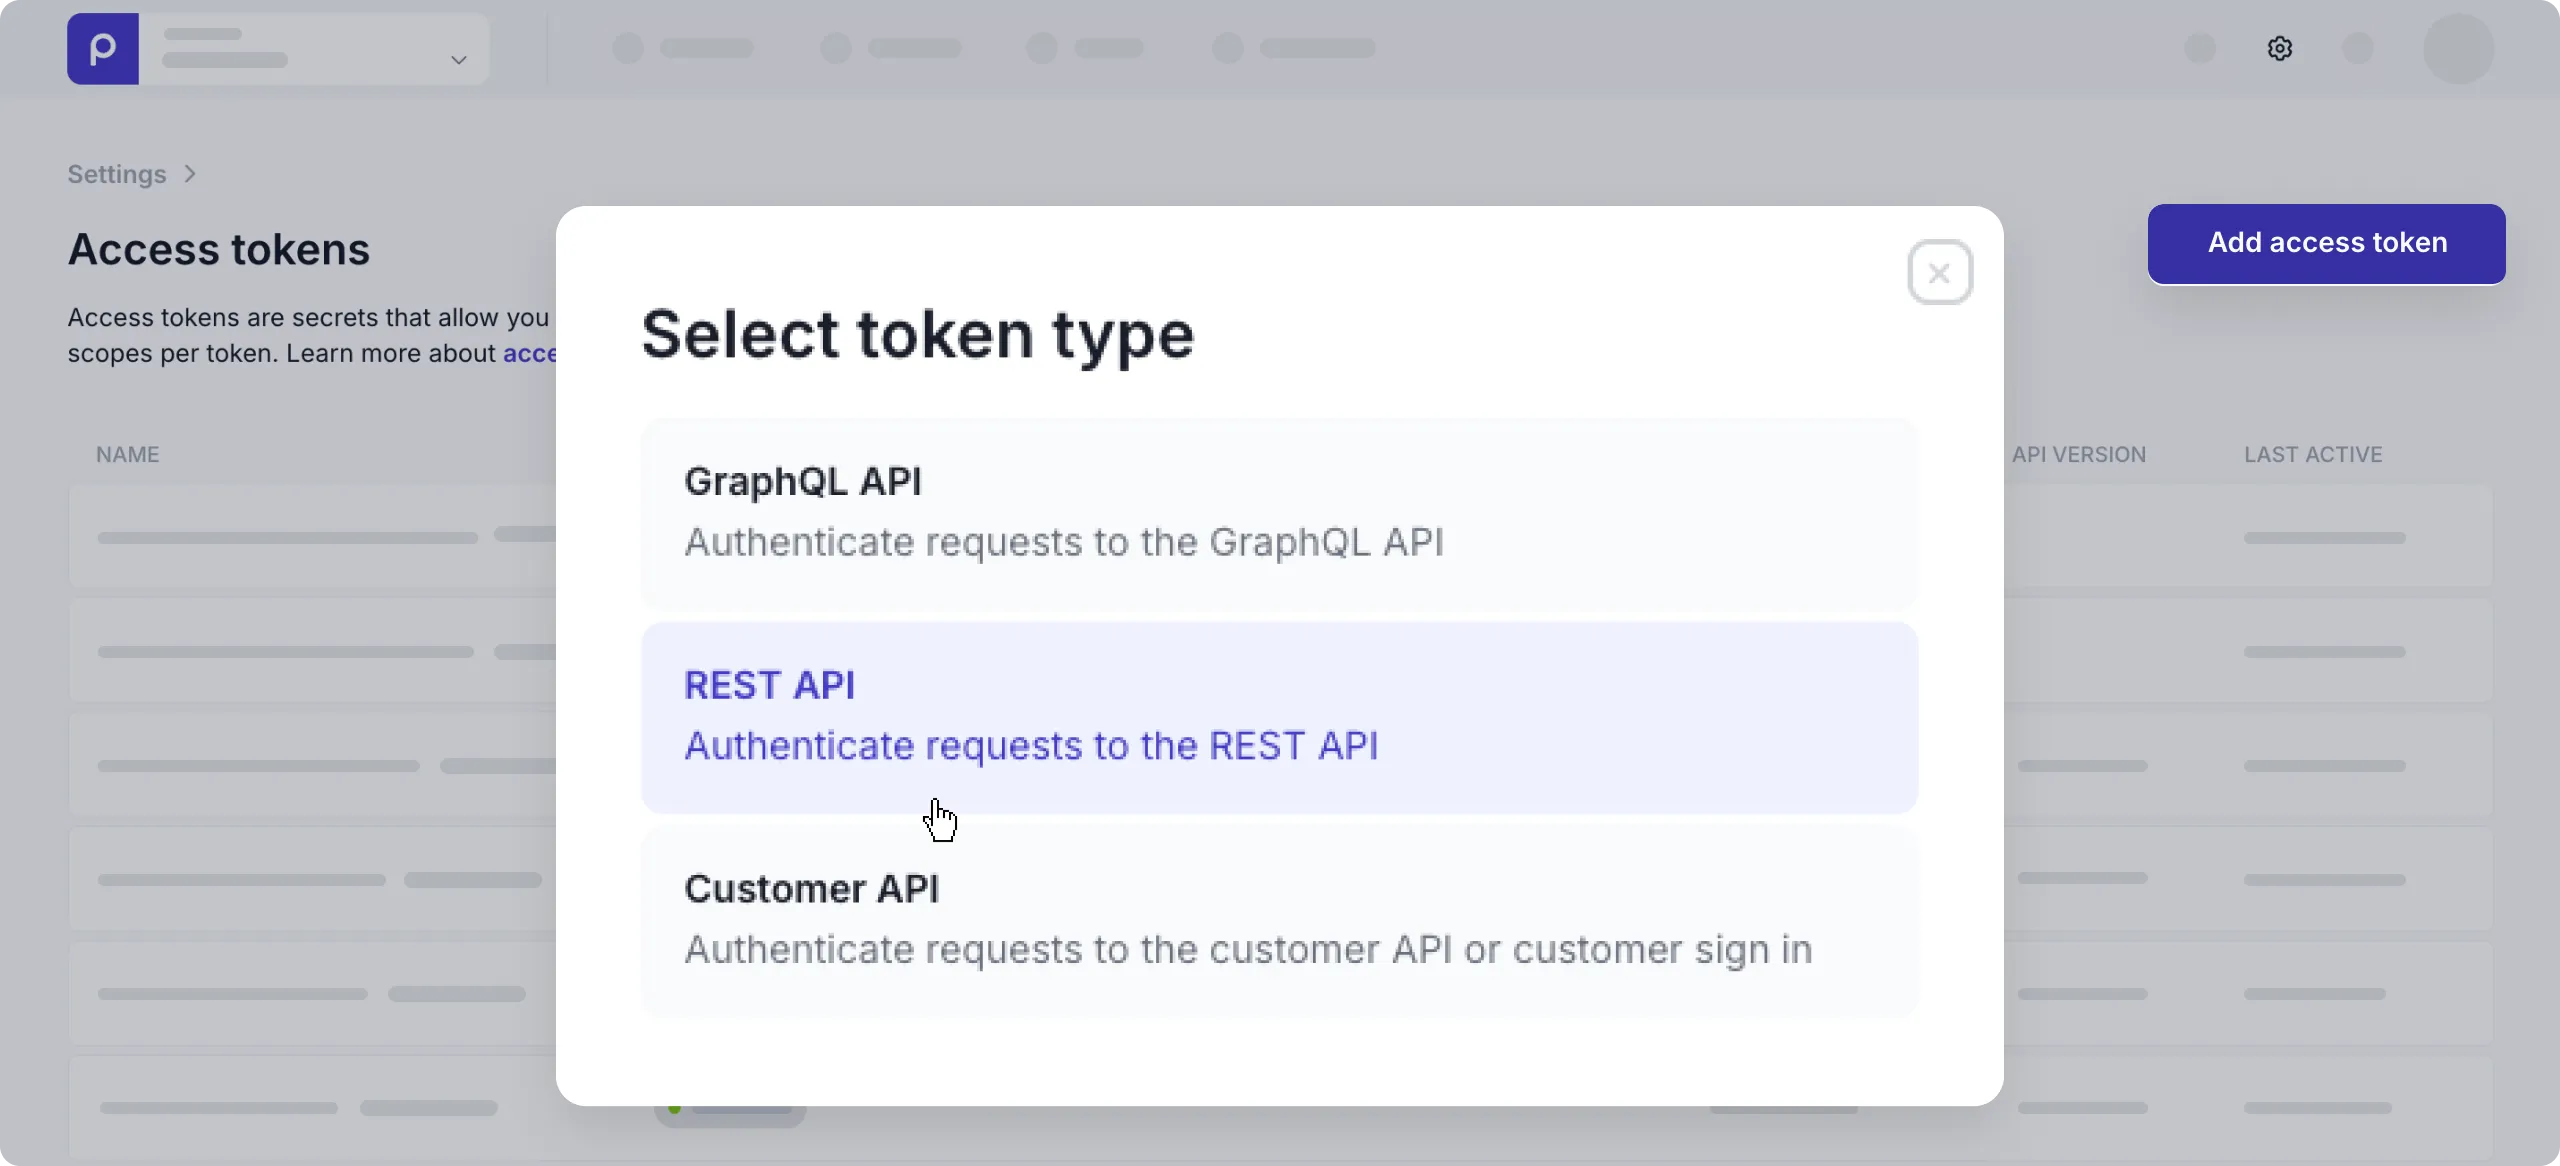
Click the Add access token button and choose the REST API option.
-
Enter the Name, and choose the required scopes from the Rest API scopes list, for example
content_items. -
Choose the Expiration date and click the Save button.
Before the access token expires, you can click the icon in the Access token field to generate a new token with the same scopes. When you renew an access token, be sure to update your applications using the expired one.
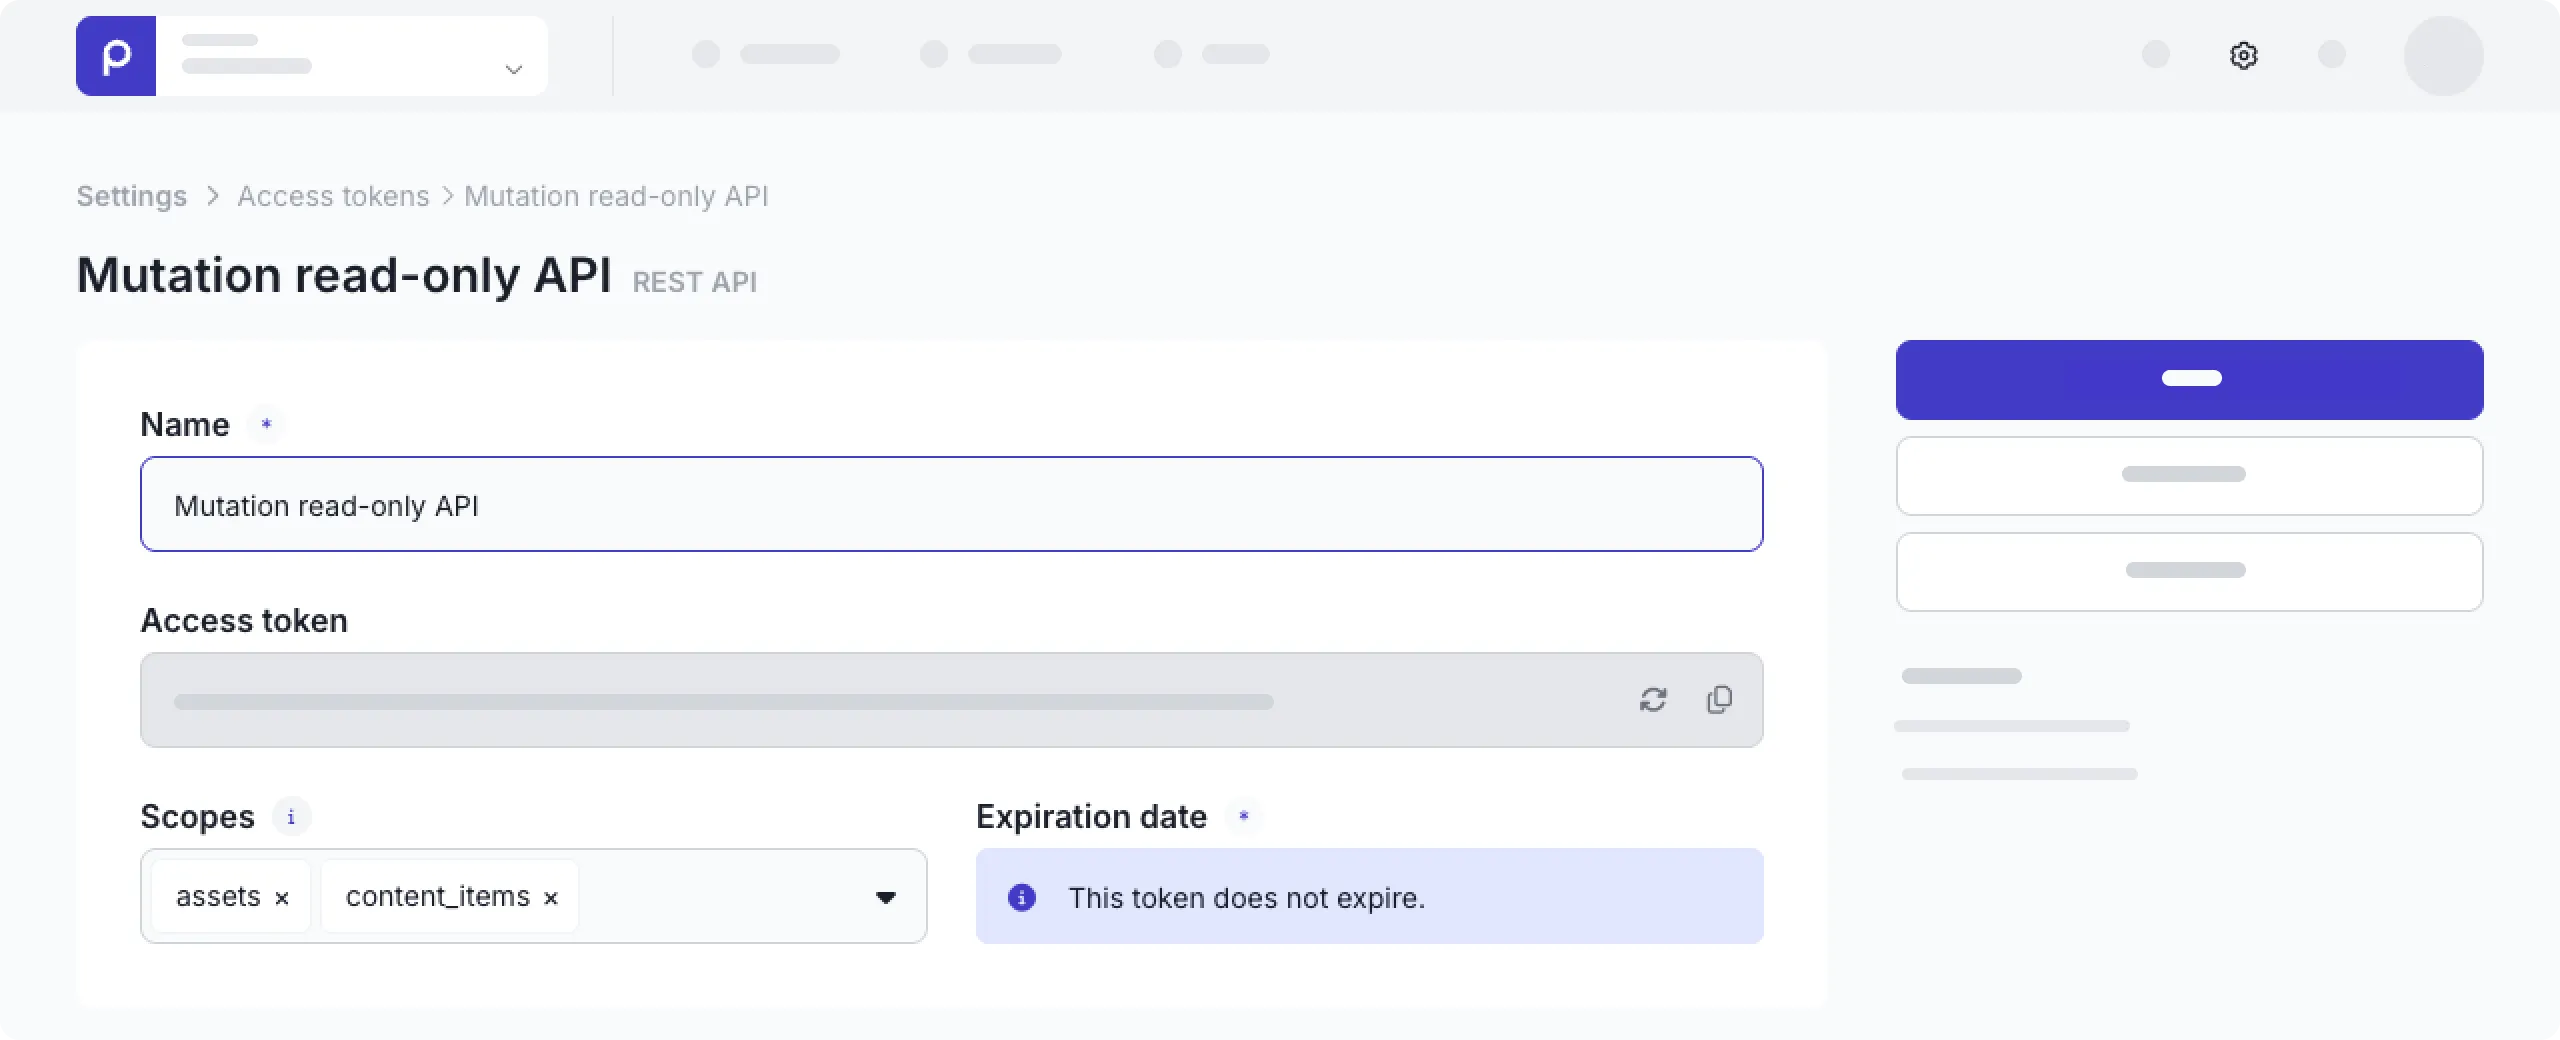
Once saved, you can copy the generated Access token value.
If you want to update content items, add the content_items_publish scope and make sure to set the Bound to user name to the user who’s responsible for this mutation project.
To authenticate the request include an Authorization HTTP header with the value of the access token you copied.
curl -v https://cdn.prepr.io/{{endpoint}} -H 'Authorization: Bearer sdfg...'Or
curl -v https://mutation.prepr.io/{{endpoint}} -H 'Authorization: Bearer sdfg...'If you fail to include a valid access token, the endpoint will return a status code 401.