Setting up Prepr tracking
This guide takes you through installing Prepr tracking, testing this setup, and additional tracking options.
Introduction
Installing Prepr tracking allows you to capture visitor data and lets you track how visitors engage with your content. This is an essential step when setting up personalization, A/B testing and recommendations. Even before implementing personalization, it also helps your digital teams gather useful insights for segmentation.
If you haven’t yet done so, check out the Fundamentals guide for key data collection concepts. And for an overview of the high-level steps needed for data collection, check out the Step-by-step guide.
The steps below show you how to enable Prepr Tracking in your web app and start collecting data right away.
Enabling Prepr tracking
Prepr uses a lightweight piece of JavaScript to capture visitor data and events. Follow the steps below to enable Prepr tracking in your web app.
-
In your Prepr environment, click the icon and choose the Event management option.
-
Click the Get tracking code link and copy the Prepr Tracking Code.
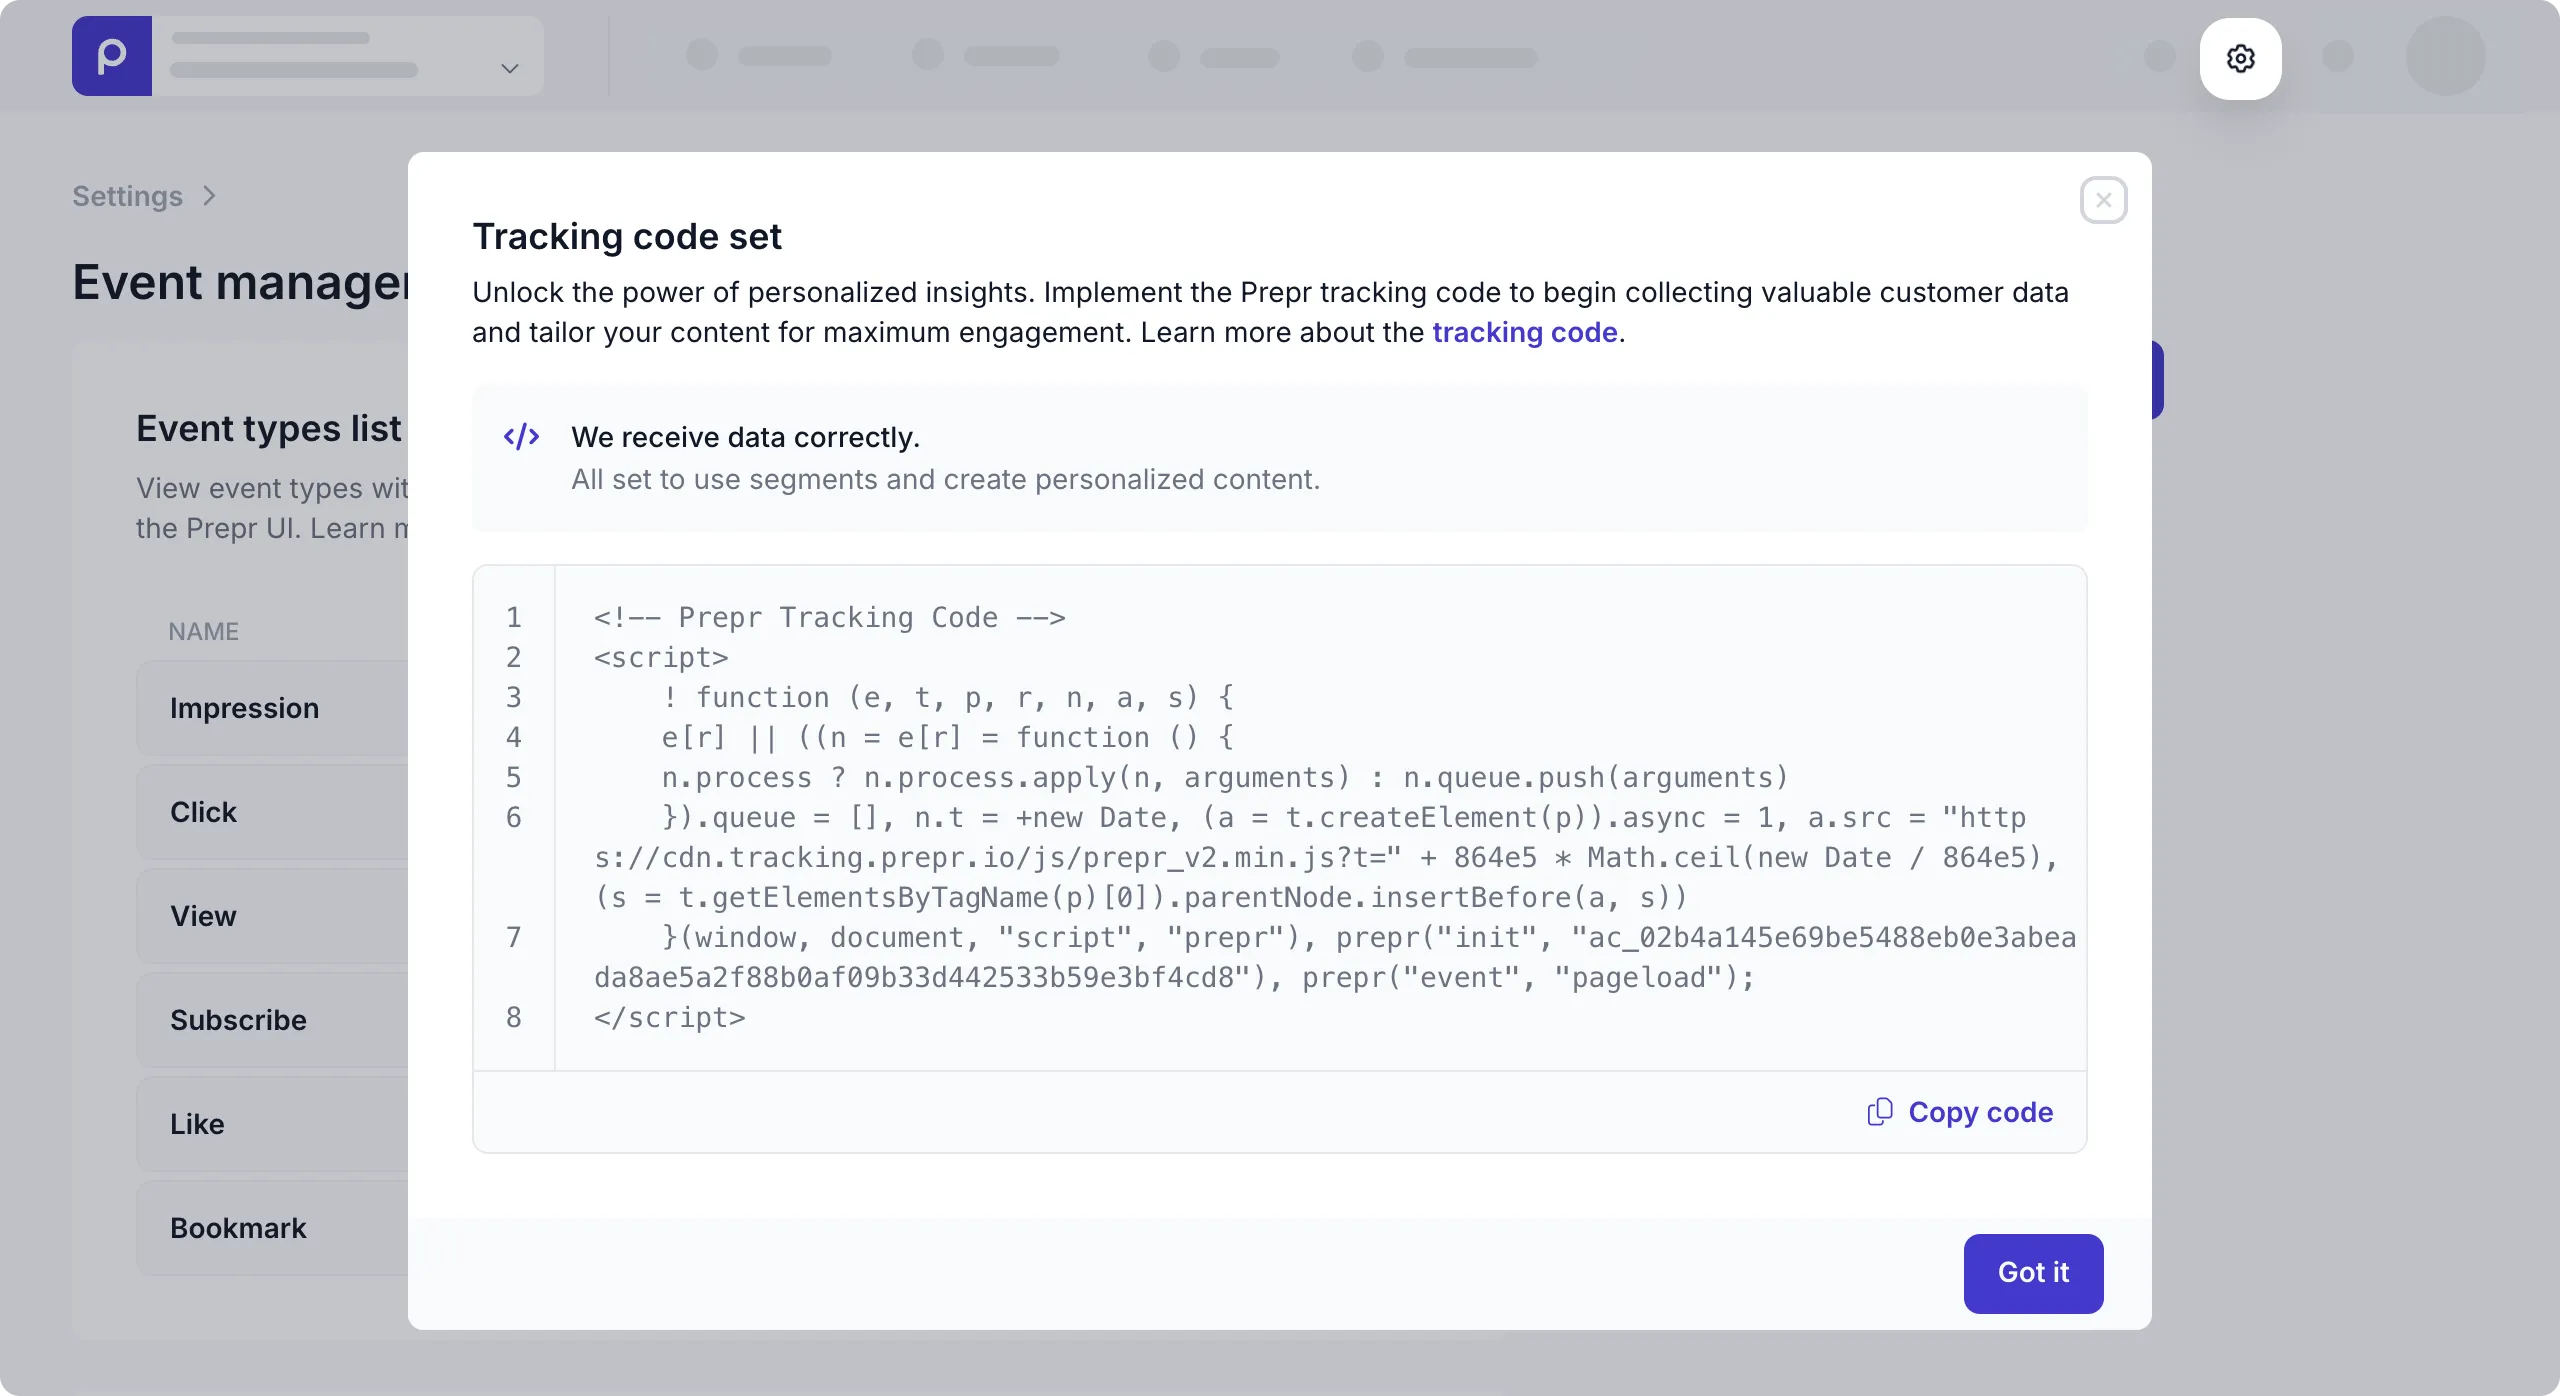
-
Add the copied value to the
<head>section of your web-app like in the example below.
HTML
<html>
    <head>
        <!-- Prepr Tracking Code -->
        <script>
            ! function (e, t, p, r, n, a, s) {
            e[r] || ((n = e[r] = function () {
            n.process ? n.process.apply(n, arguments) : n.queue.push(arguments)
            }).queue = [], n.t = +new Date, (a = t.createElement(p)).async = 1, a.src = "https://cdn.tracking.prepr.io/js/prepr_v2.min.js?t=" + 864e5 * Math.ceil(new Date / 864e5), (s = t.getElementsByTagName(p)[0]).parentNode.insertBefore(a, s))
            }(window, document, "script", "prepr"), prepr("init", "abc123ecfff2385c9c4fe027d56ea7d544ce"), prepr("event", "pageload");
        </script>
    </head>
    <body>
        ...
    </body>
</html>Once you’ve set up Prepr tracking in your front-end app, you can then add simple meta tags to your web app to track events for visitors on specific content items.
If you’re unable to enable the Prepr tracking pixel, for example, due to restrictions, you can record events in Prepr by using the REST API.
Testing event tracking
Before sending event data to Prepr, it’s important to test that the above setup was done correctly. You can test it directly in your browser with the steps below.
- Simply navigate to any page in your web app.
- Right-click anywhere in the page and click the Inspect option.
- Click the Network tab and refresh the content page.
- Choose the All button and enter pixel.gif in the Filter textbox.
![]()
You’ll see the tracking request with a 200 OK status.
Great! Prepr tracking is installed successfully. You are ready to record some events depending on your needs for personalization and A/B testing.
Sending events to Google Tag Manager (GTM)
To send experiment-related events (such as impressions of content variants, A/B experiments, or segmented views) to Google Tag Manager, you can enable the built-in GTM integration in the Prepr Tracking Code.
This allows you to reuse the data collected by Prepr for reporting and personalization pipelines in Google Analytics 4 (GA4) or other GTM-connected services.
To activate this, you simply need to update your prepr("init") function in the Prepr Tracking Code with the googleTagManager destination flag:
prepr(
    "init",
    "abc123ecfff2385c9c4fe027d56ea7d544cee78b173",
    {
        destinations: {
            googleTagManager: true
        }
    }
);
Once this is enabled, Prepr automatically sends personalization events to GTM dataLayer under the name prepr_personalize.
{
  event: 'prepr_personalize',
  event_name: 'Impression', // or Click, Conversion, etc.
  prepr_experiment: 'experiment-id',
  prepr_item: 'content-item-id',
  prepr_variant: 'variant-id',
  prepr_segment: 'CUSTOMERS_FROM_GERMANY' // or 'ALL_OTHER_USERS' for control
}
Additional configuration options
You can optionally add the following options to the tracking pixel:
variantImpressionThreshold
This setting ensures that impression events for personalized variants are only triggered if the content stays in view for a minimum duration. This could help filter out accidental or too-short impressions, improving event quality
prepr(
    "init",
    "abc123ecfff2385c9c4fe027d56ea7d544cee78b173",
    {
        variantImpressionThreshold: 2000 // in milliseconds (e.g., 2000 = 2 seconds)
    }
);Default: 0 (fires always when a variant leaves the viewport)
setCookieSecure
This boolean setting allows you to flag the tracking pixel’s cookies as secure when it’s set to true.
A secure cookie is only sent over encrypted connections, such as HTTPS.
In other words, the true setCookieSecure setting instructs the browser to only include it in requests that use the https: protocol.
prepr(
    "init",
    "abc123ecfff2385c9c4fe027d56ea7d544cee78b173",
    {
        setCookieSecure: true
    }
);
This prevents attackers from intercepting the cookie through eavesdropping on unencrypted HTTP connections.
Excluding IP addresses
Sometimes you want to make sure that internal IP addresses are not tracked. If you can exclude interactions from internal IP addresses, it makes the insights you gain more realistic and calculates more accurate metrics. You can exclude these IP addresses directly in Prepr.
Follow the steps below to exclude IP addresses.
-
Click the icon and choose the Event management option to open the Event management page.
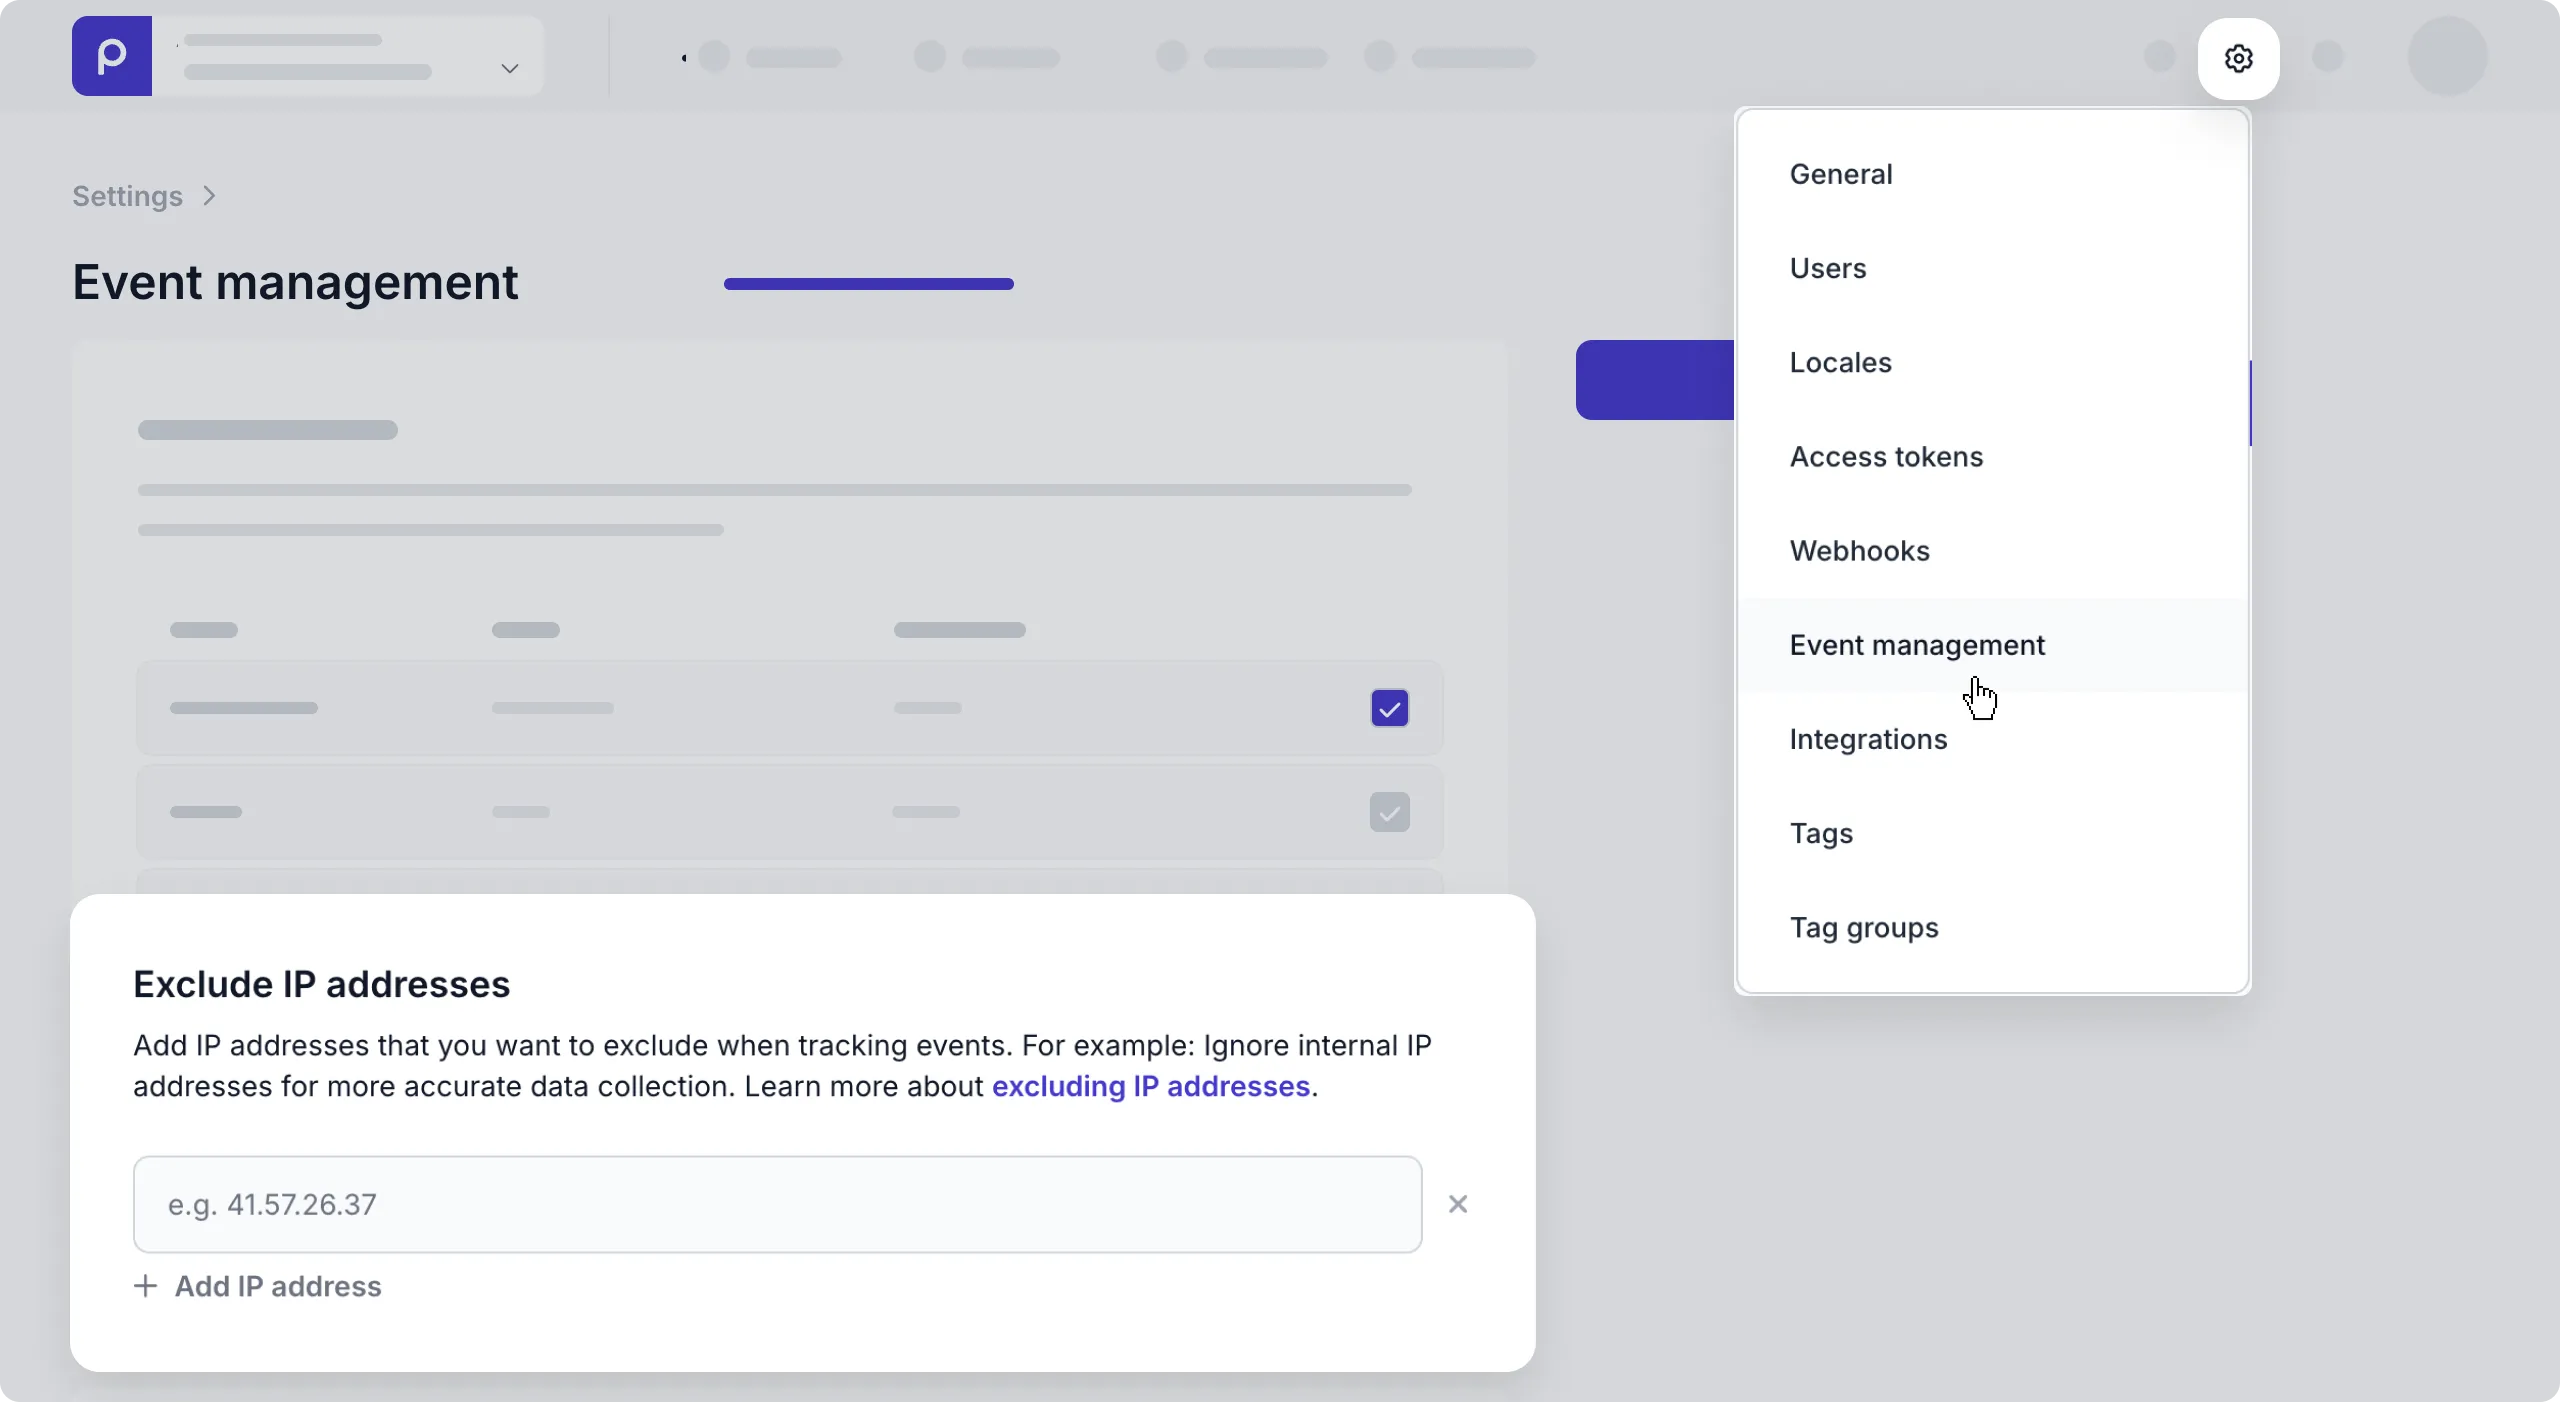
-
Scroll down to the Exclude IP addresses section and enter the list of IP addresses you want to exclude from data collection.
Instead of a specific IP address, you can enter a range of IP addresses.
For example, 192.168.0.0/16 means you exclude addresses from 192.168.0.0 up to and including 192.168.0.16
Now that you’ve set up Prepr tracking, you can record events.