Shared schema
This article explains how you can create and use a shared schema in Prepr to keep the structure of your content consistent across multiple environments in an organization.
Use cases
The Shared schema feature lets organizations use the same structure for content across different brands. While each brand might need unique content, it’s smart to use the same overall structure for all brands. In this case, create a shared schema to use the same schema across multiple environments with a shared schema.
Another use case is managing deployments across your development, testing, acceptance and production environments. You can create entities in your non-production environment, test them, and then promote these to a shared schema when they’re ready for production. The shared schema can then be used across the whole DTAP setup.
In all use cases, the shared schema makes development faster and easier by keeping the code base leaner and more consistent.
Create a shared schema
To create a Shared schema, follow the steps below.
-
Click the environment dropdown at the top right, choose your organization and click to open the environments overview.
-
Click the Shared schema tab to open the shared schema page.
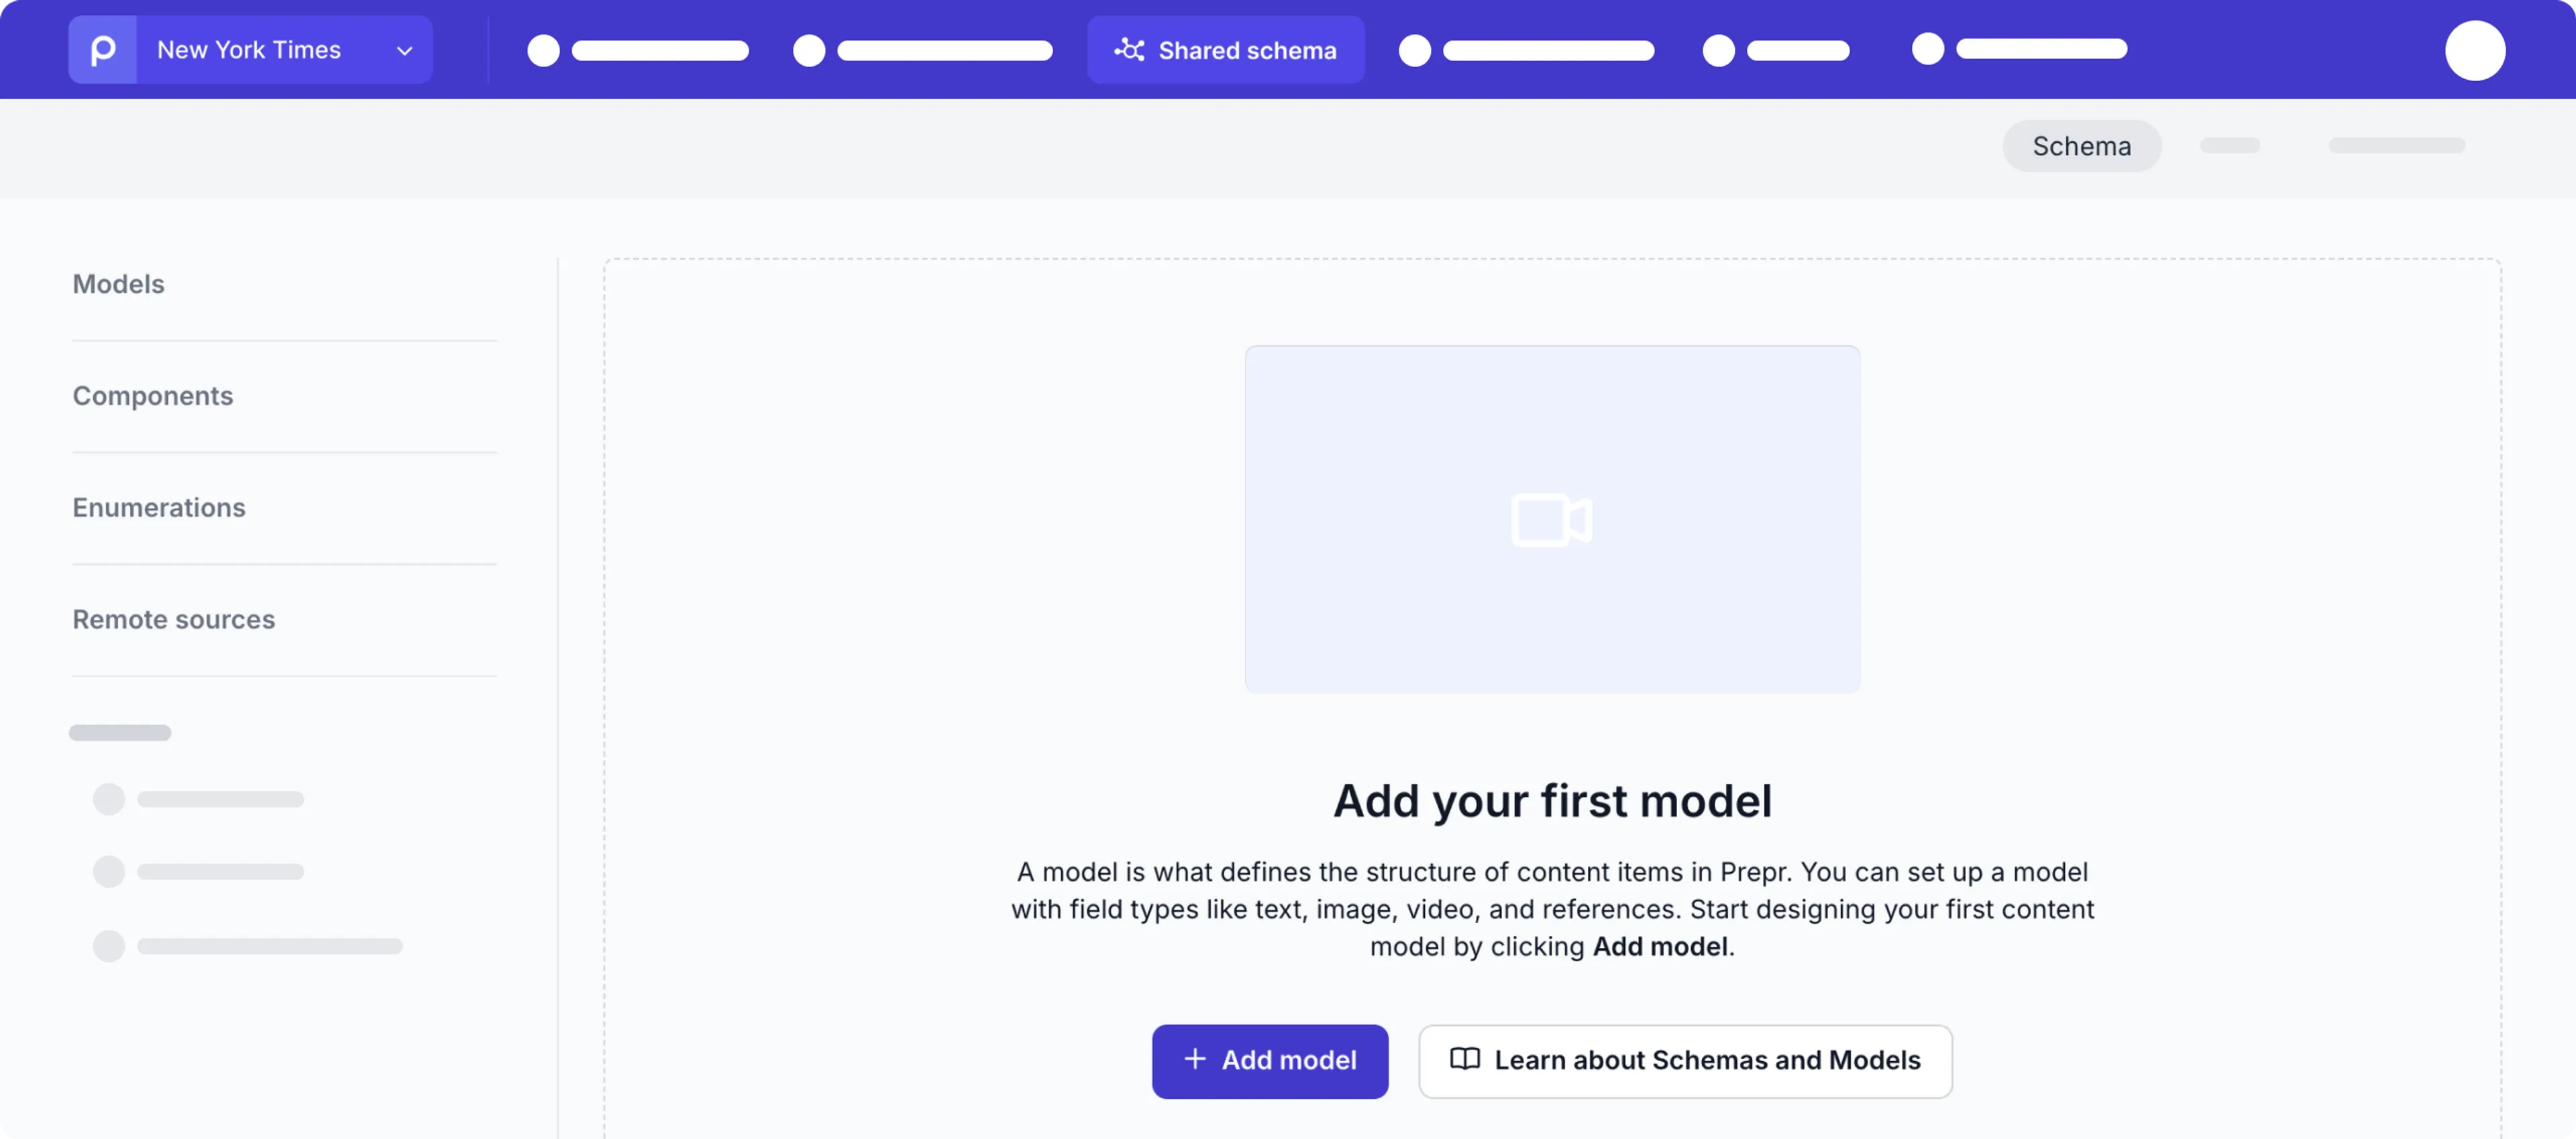
-
Add models, components, enumerations and remote sources to complete your schema. Check out the Create schema docs for more details.
When completed, each of the entities in the shared schema can be used in any environment in your organization.
Promote entities to the shared schema
You can directly promote any model, component, enumeration, or remote source from an environment to the Shared schema at the organization level. Once promoted, these entities can be accessed in any environment within the same organization.
Entities can’t be promoted if they’re linked to another entity at the environment level. For example, if you want to promote the Article model, but there is a link to a CTA component in the environment.
To promote a schema entity to the shared schema, follow the steps below.
-
Go to the environment for the schema entity that you want to promote and click the Schema page.
-
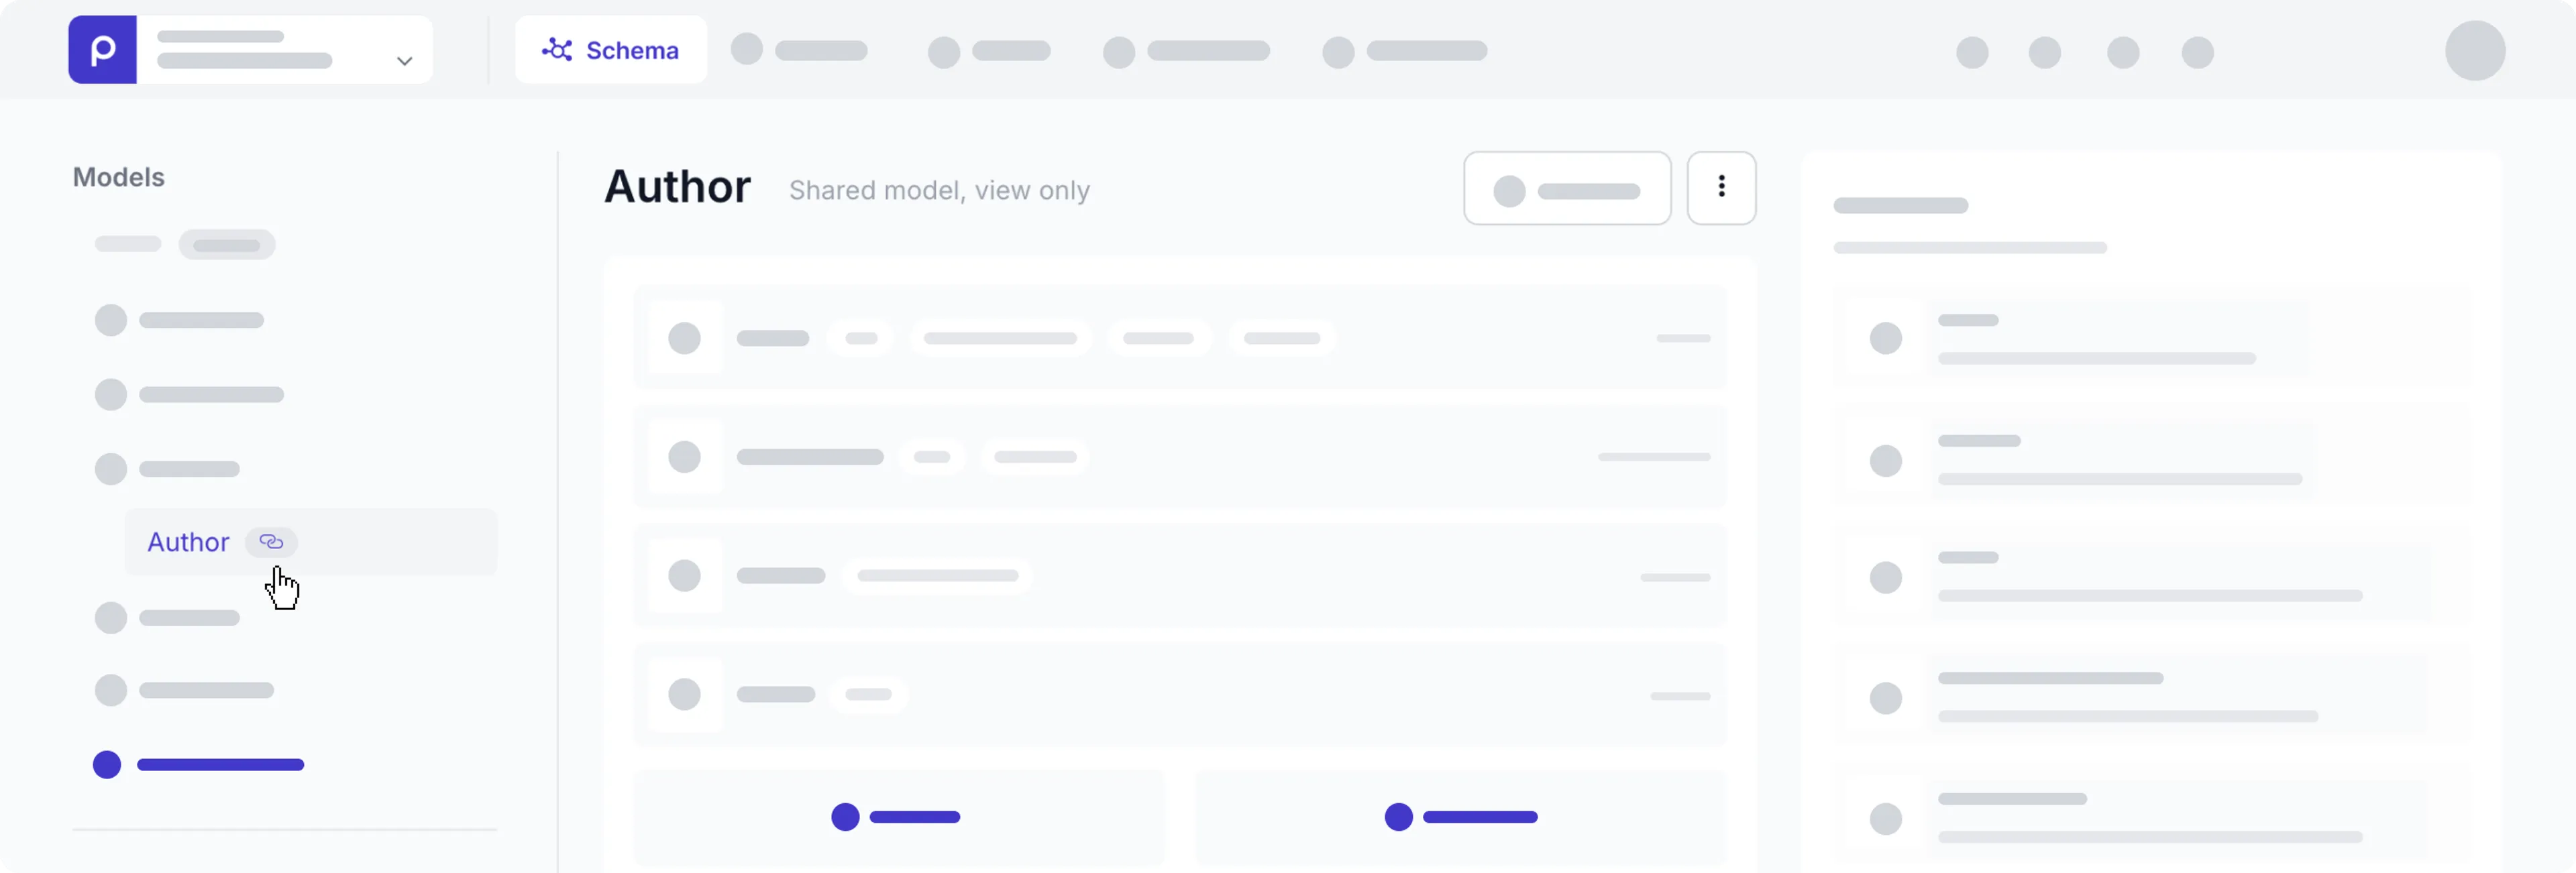
Click the model, component, enumeration or the remote source that you want to promote to open it.

-
At the top of the detailed page of the entity, click the icon and choose the Promote to shared schema option.
-
If the entity has no linked entities that are not yet in the shared schema, your entity will become shared.
If you don’t have the Promote to shared schema feature enabled, contact our Sales team for more details.
Choose field visibility for environments
You can control field visibility per environment when using a shared schema, ideal for multi-site or multi-brand setups where fields differ slightly between environments.
To choose which environments a field can be visible for editing, follow the steps below.
-
In your shared schema, go to the relevant model or component and simply click the field to open the field settings.
-
Open the Appearance tab and go to the Conditional visibility section.
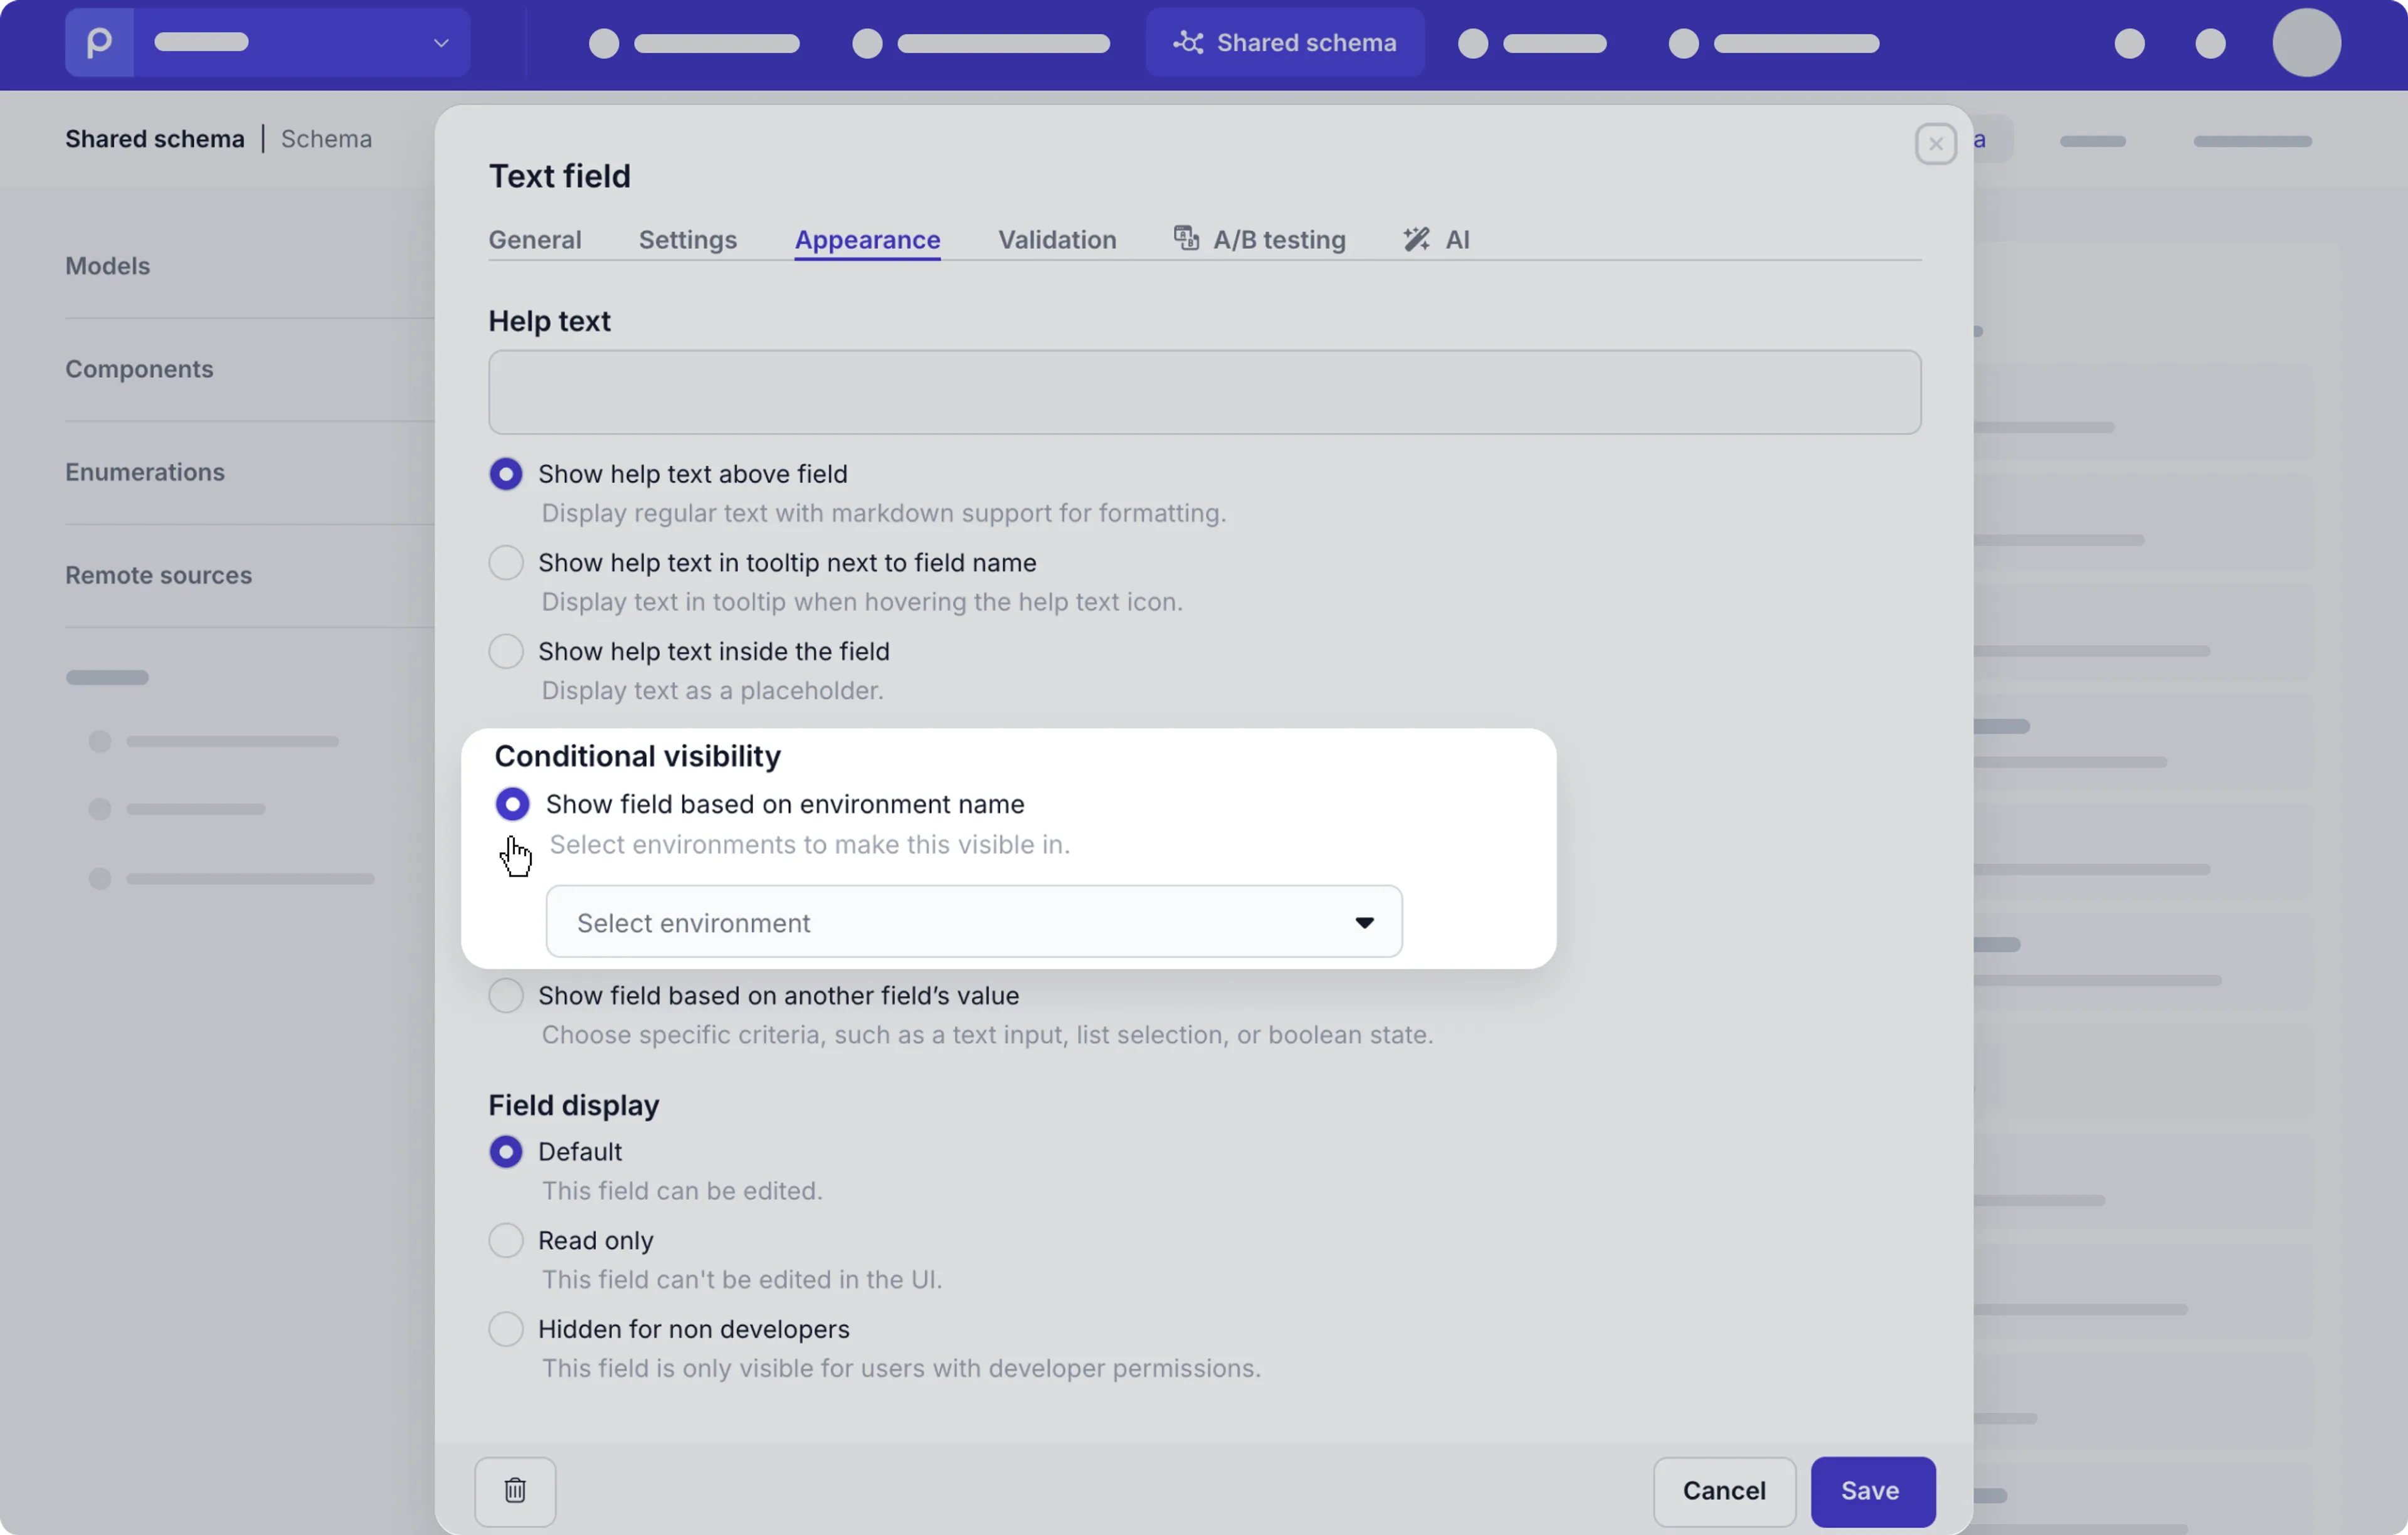
-
Select the Show field based on environment name option and choose all the environments where this field needs to be visible.
Fields are visible in all environments automatically when this option is not selected.
-
Click the Save button to save the settings.
Now, editors will only see this field if they’re working in one of the environments you’ve chosen in the setting above.
If a required field is hidden in an environment, then you can set it up to ignore the required validation for all conditional fields in the environment settings.
Define environments for allowed models
You can control which shared content items editors can access while searching content items they want to link to their item.
Define the environments you want to allow by choosing one of the following options:
- All environments
- Current environment (the environment the content editor is working in when linking a content item)
- Or choose specific environments from the list
To choose specific environments for included models in your Stack or Content reference field, in your shared model go to the relevant field and choose the specific environment each included model is allowed.
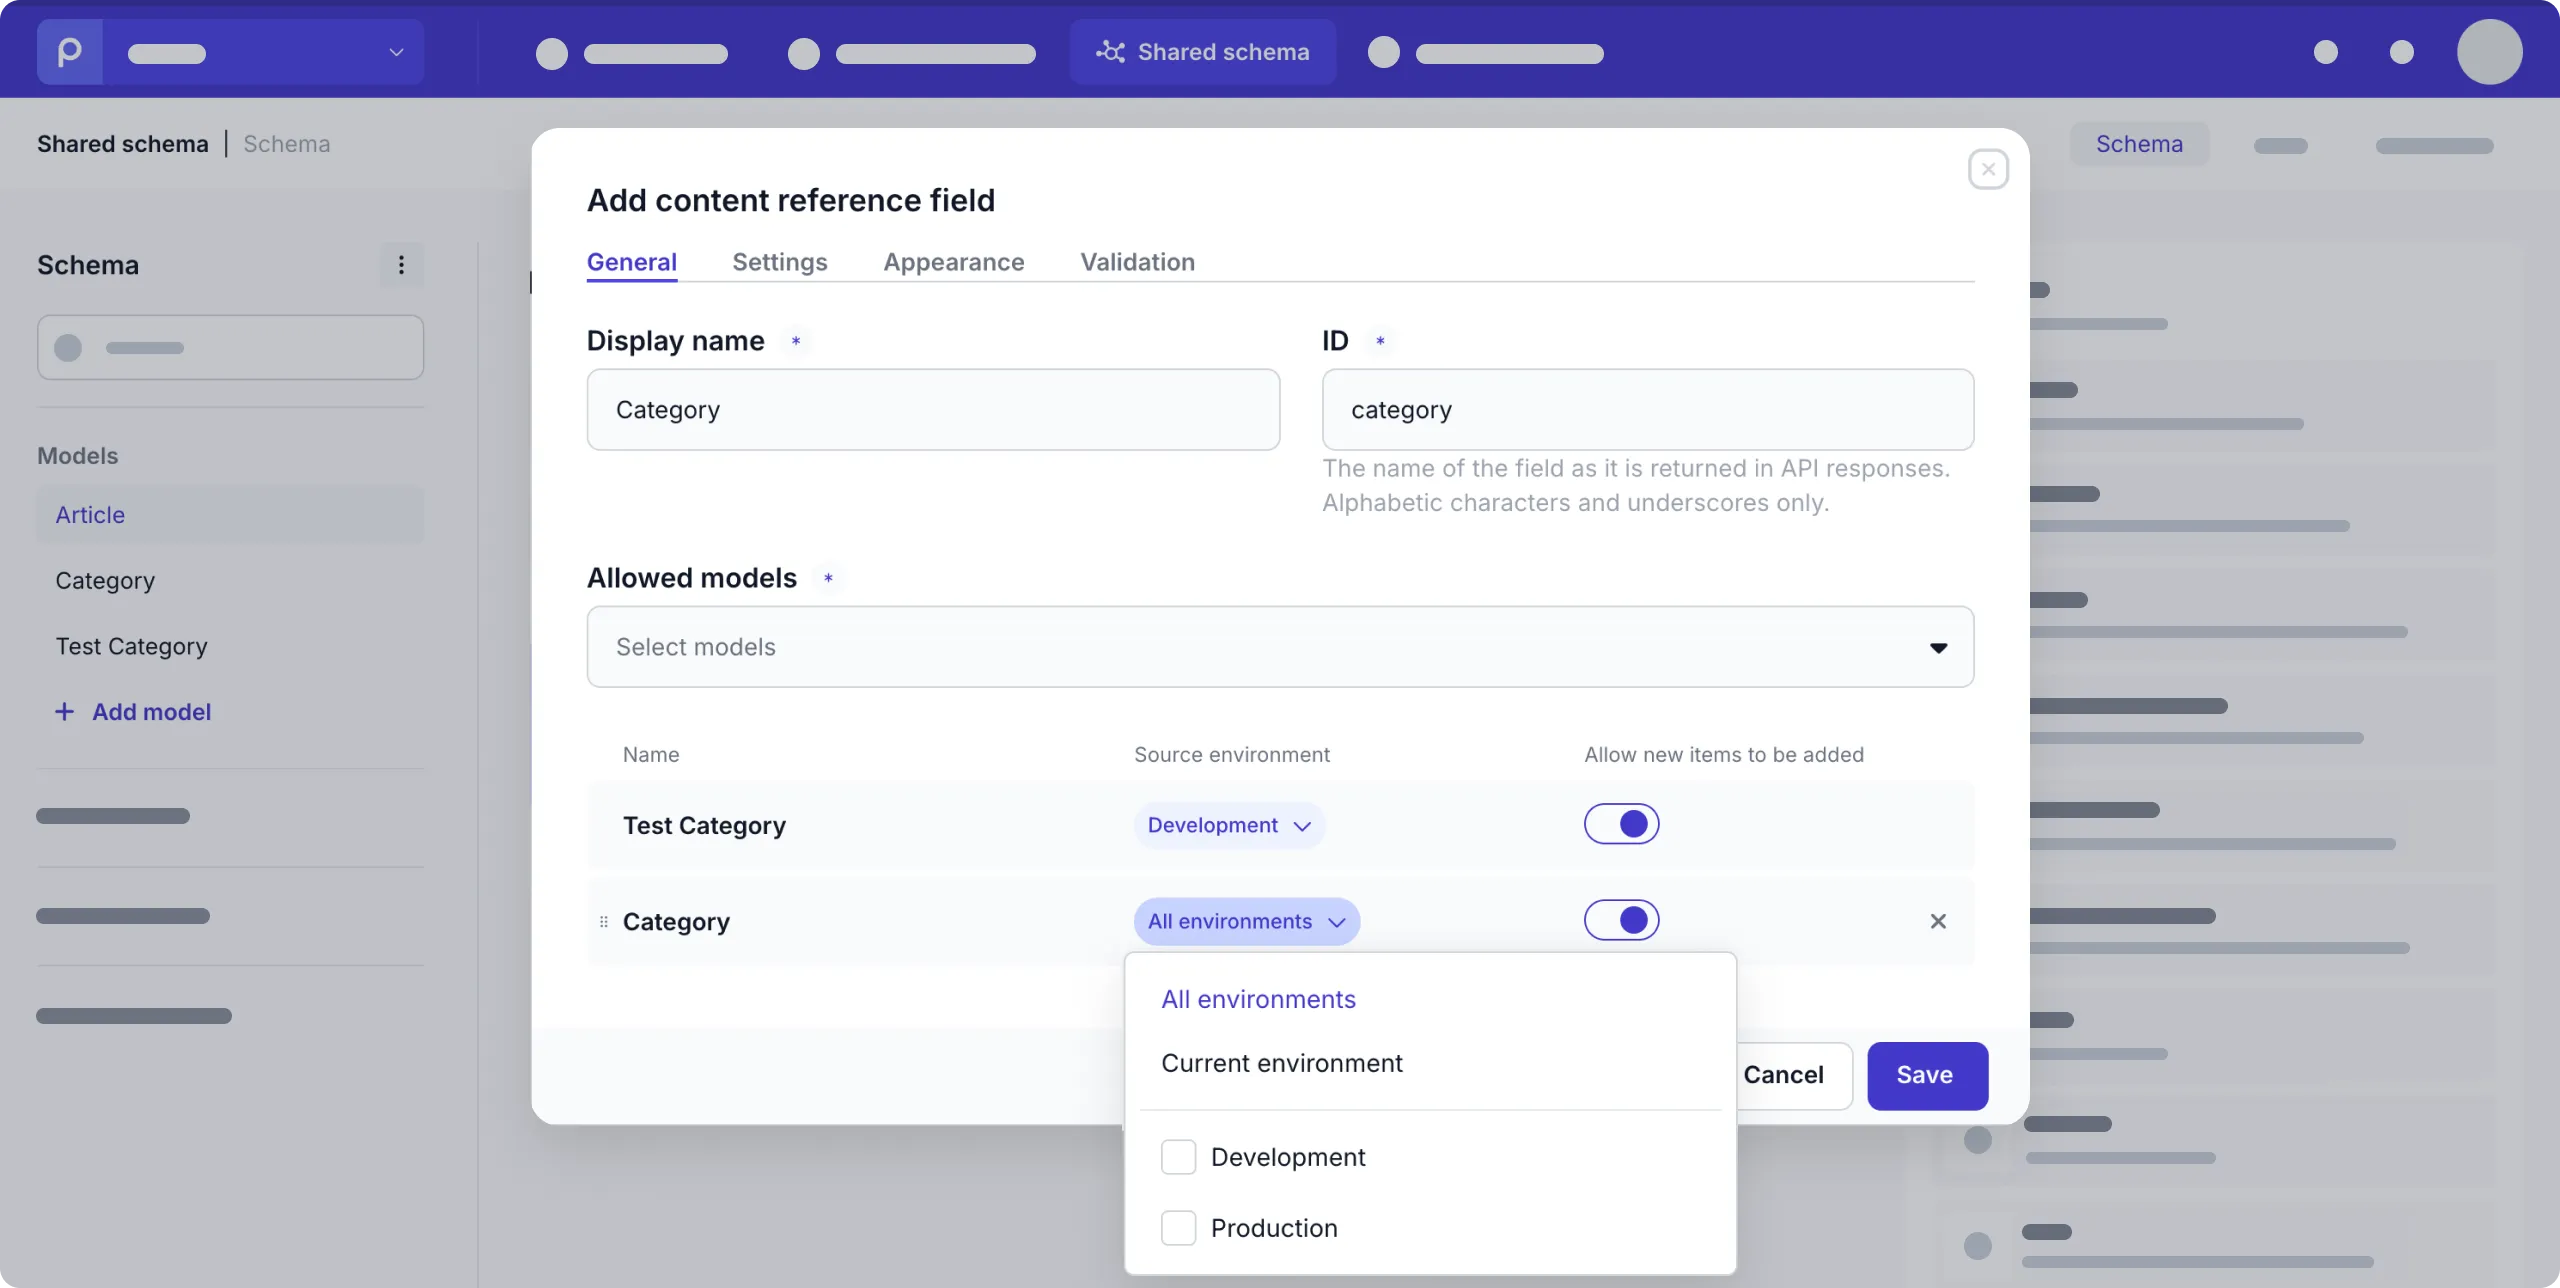
If you switch on the Allow new items to be added this means that editors can create a content item directly in one of the chosen environments if they have the access.