Setting up a built-in remote source
This article explains how to use a known 3rd party system as a remote source in Prepr.
Introduction
Prepr allows you to use any external system as a remote source to reference images, videos, or other content in your content items. You can choose to connect to one of the predefined sources: Shopify, BigCommerce, Commercetools, Commerce Layer, Propeller, or add a custom one.
If you want to connect to a system not in the list of built-in integrations, check out the custom remote source guide for more details.
To connect to a prebuilt remote source, follow these steps:
- Click the Schema tab to open the Schema Editor.
- Go to the Remote sources section and click the Add source link.
- In the opened dialog window, choose the prebuilt source you want to connect to.
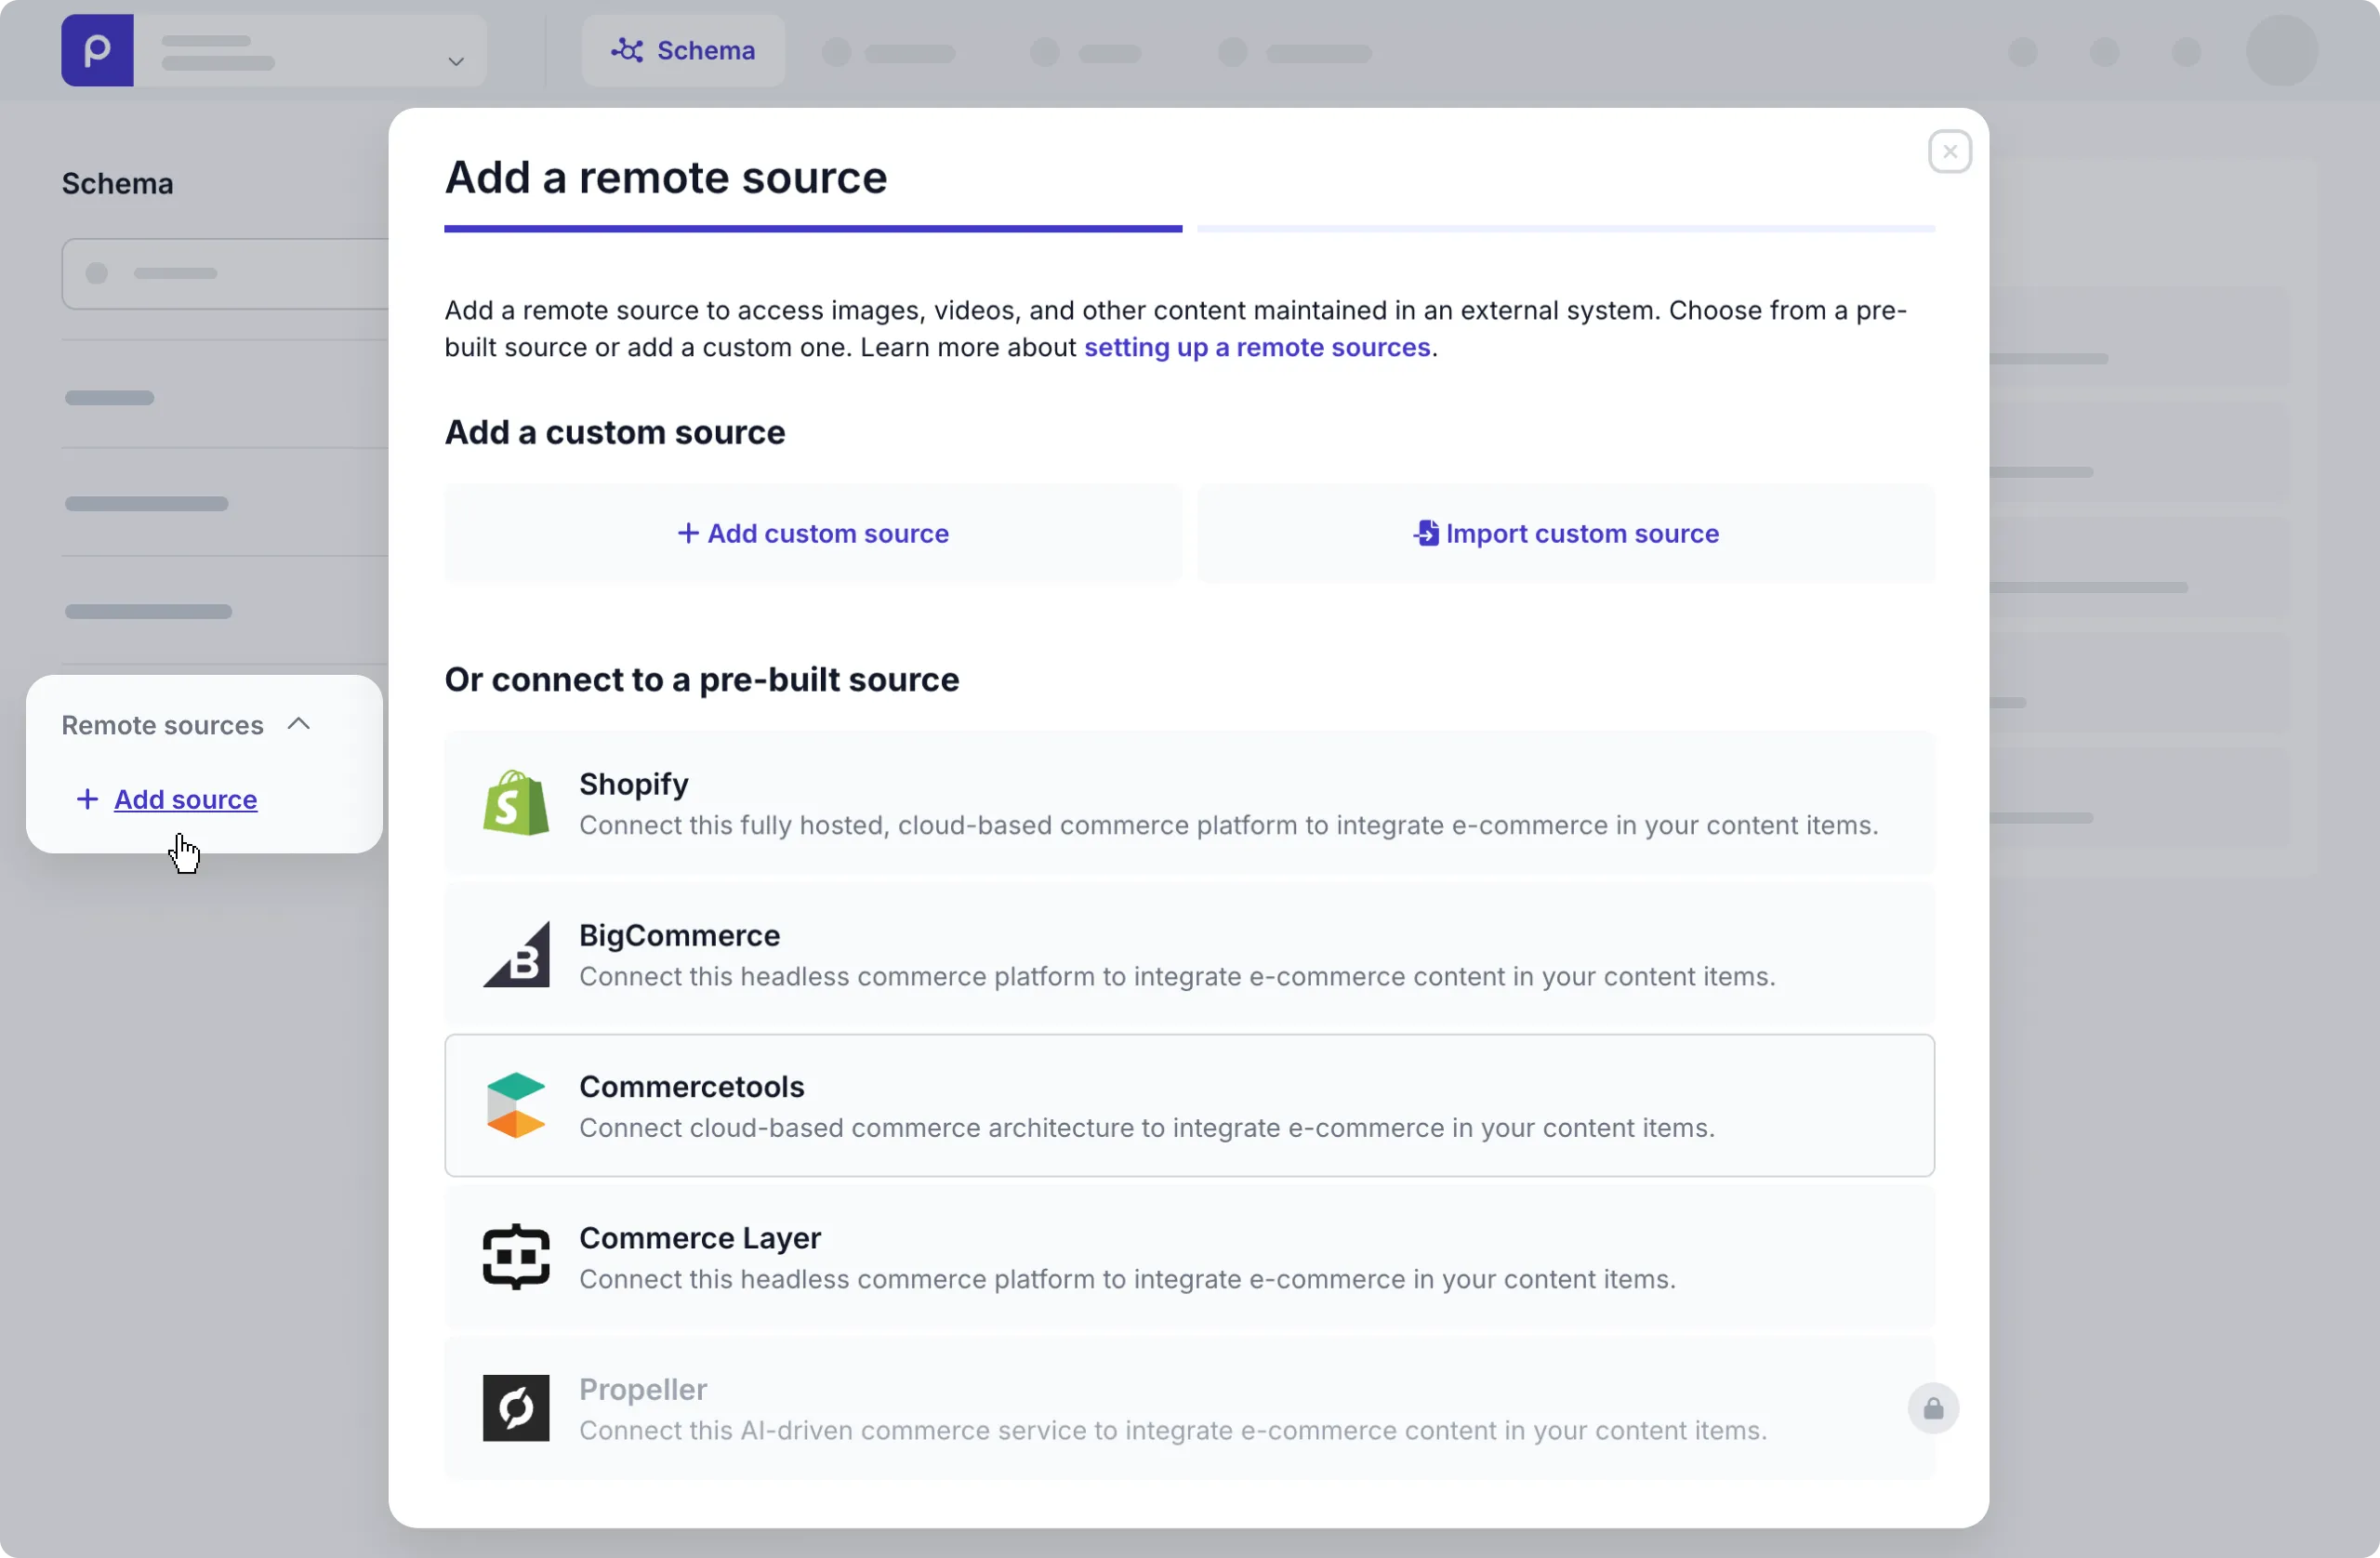
- Depending on the source you choose, provide the necessary connection details.
Shopify
To connect to Shopify, you need to provide the following details.
| Field | Description |
|---|---|
| Display name | A unique name to identify this source in Prepr. You can change the automatically generated value. |
| Type name | A name used for accessing this source through the API. The value matches the prefilled Name. |
| Shopify Storefront Access token | The authentication credential that allows Prepr to make requests to the Shopify’s Storefront API. |
| Shopify Storefront Domain | The web address (URL) that Prepr can use to access the online store. |
Check out the Shopify integration guide for more details.
BigCommerce
To connect to BigCommerce, you need to provide the API headers for the Access token and the Domain.
Check out the BigCommerce integration guide for more details.
Commercetools
To connect to Commercetools, you need to provide the following details.
| Field | Description |
|---|---|
| Display name | A unique name to identify this source in Prepr. |
| Type name | A name used for accessing this source through the API. The value is generated automatically and matches the Name you specified. |
| Project key | The identifier of your Project . Copy the ‘project_key’ value from your API Client information . |
| Client ID | Your client credential that is used to obtain an access token. Copy the ‘client_id’ value from your API Client information . |
| Secret | Your client credential that is used to obtain an access token. Copy the ‘secret’ value from your API Client information . |
| Scope | The scope defines the endpoints to which a client has access and the permissions. Copy the ‘scope’ value from your API Client information . |
| API URL | The endpoint URL that is used to make the API calls. Copy the ‘API URL’ value from your API Client information . |
| Authorization URL | The authorization URL that is used to obtain an access token. Copy the ‘Auth URL’ value from your API Client information . |
| Display locale | Locale defines content language. Select a preferred language to use in the API requests to Commercetools. |
Check out the Commercetools integration guide for more details.
Commerce Layer
To connect to Commerce Layer, you need to provide the following details.
| Field | Description |
|---|---|
| Display name | A unique name to identify this source in Prepr. |
| Type name | A name used for accessing this source through the API. The value is generated automatically and matches the Name you specified. |
| Base URL | The endpoint URL that is used to make the API calls. Copy the value from the Commerce Layer API specification . |
| Client ID | Your client credential that is used to obtain an access token. Copy the ‘client_id’ value from your Integration API credentials . |
| Secret | Your client credential that is used to obtain an access token. Copy the ‘client_secret’ value from your Integration API credentials . |
Check out the Commerce Layer integration guide for more details.
Propeller
To connect to Propeller, you need the Propeller API key to connect.
Check out the Propeller integration guide for more details.
Once you’ve connected to one of the prebuilt remote sources, Prepr will automatically create the necessary fields based on that integration.
What’s next?
Once you’ve set up the remote source, proceed with the following steps:
- Add the remote source to your model using the Remote content field.
- Editors can then add remote content to content items.
- Retrieve data using the API from your front end.
Prepr will synchronize your remote content automatically to keep it up to date.