Managing assets on the Media page
This article explains where assets live in Prepr and which actions you can perform on them.
Introduction
You can find all your digital assets in one place in Prepr using the Media page. This makes it easy to access, view, and manage your assets.
Developer note
With the Prepr assets mutation API, you can upload, update, and delete assets in batches, or apply image transformation options.
You can directly upload, edit, download, replace, delete, organize, and find assets from the Media page. For Mux videos, you can also replace thumbnails and add subtitles. Let’s dive into each of these actions in more detail.
Uploading assets
To upload an asset, follow the steps below.

-
In the Media page, simply drag and drop the asset/s directly from your local drive.
-
Or at the top of the Media page, click the Upload asset button to open your file explorer and choose the asset/s you want to upload and click the open button.
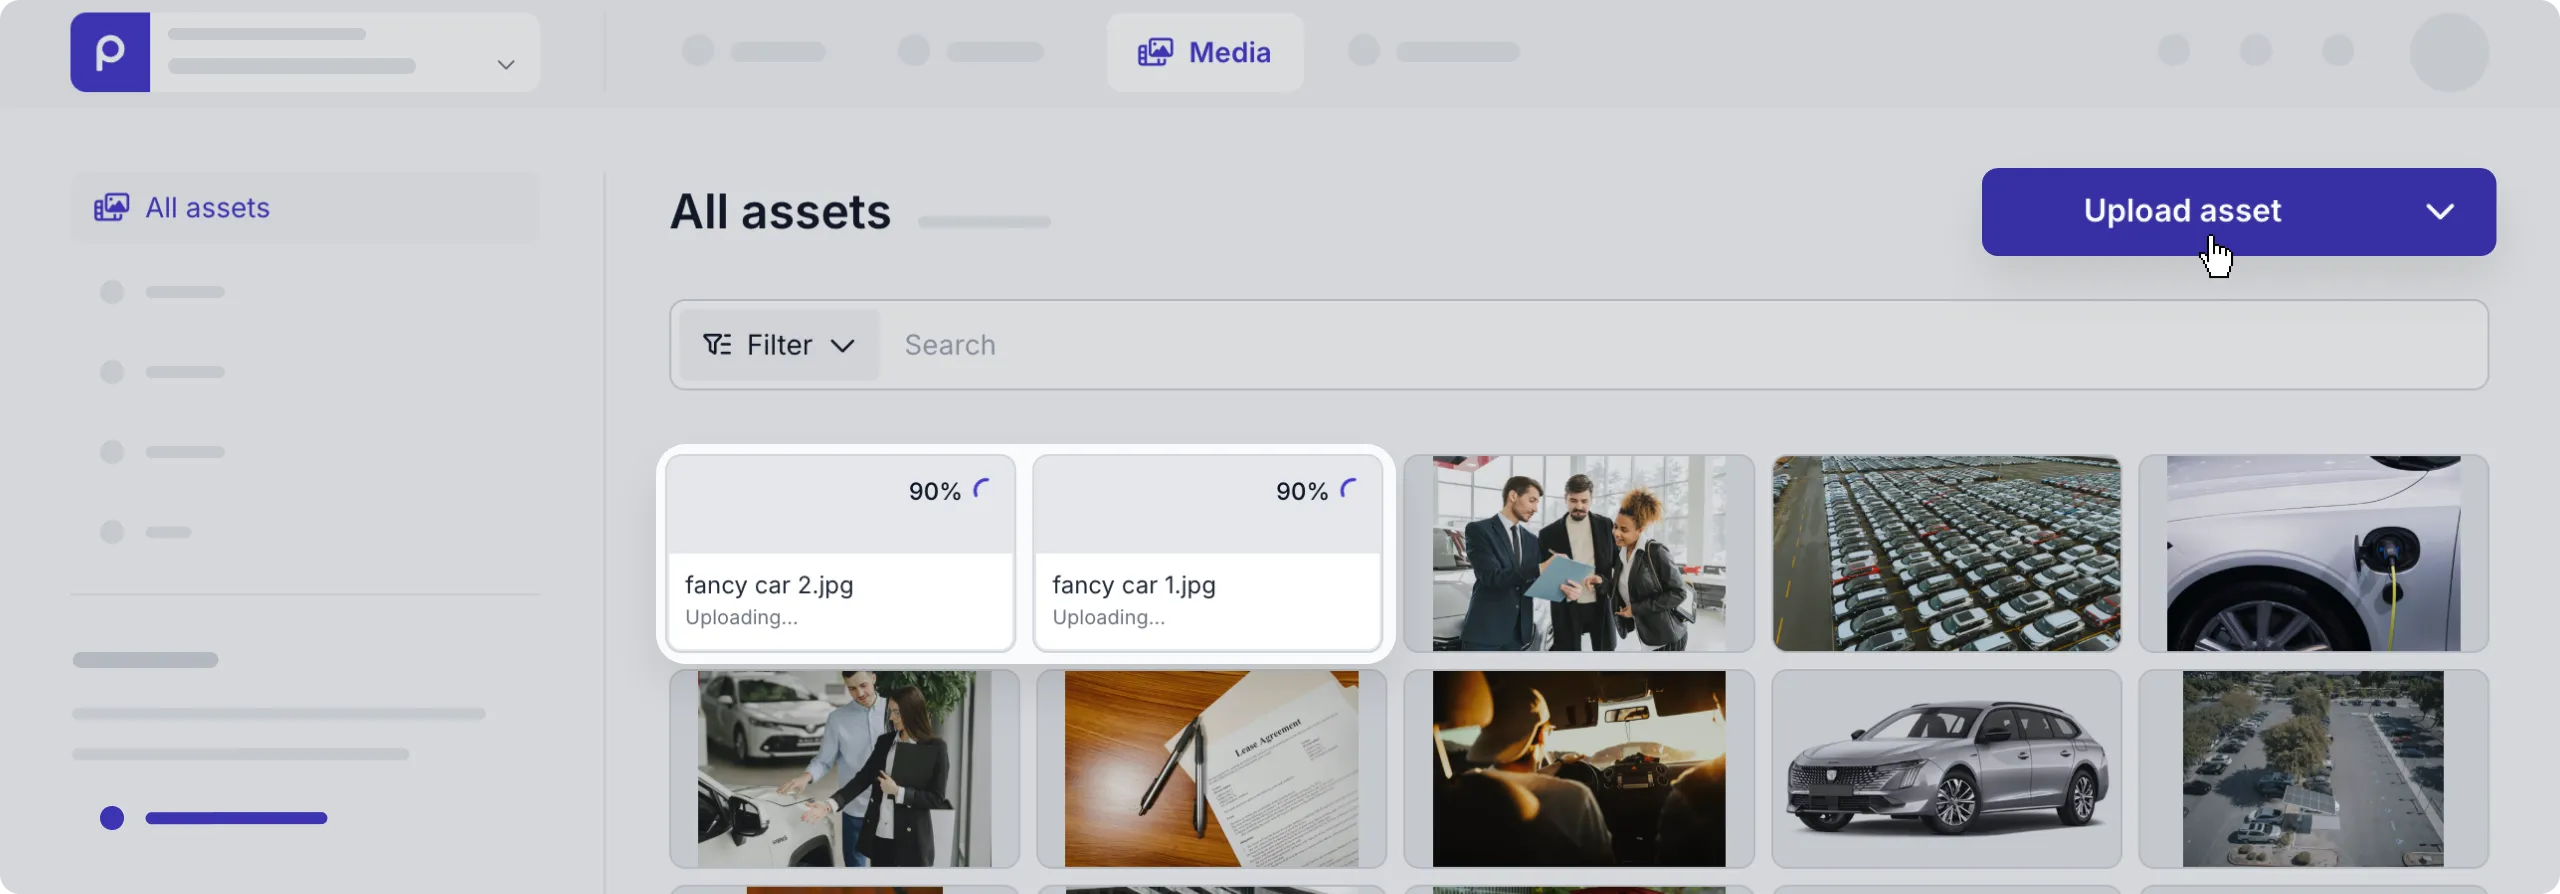
You’ll see the progress of asset/s in each thumbnail while they’re uploading.
Once done, you can then click the thumbnail of the assets you want to view.
You can also upload an asset directly in your content item. Check out the configuring assets doc for more details.
Editing assets
To edit a specific asset, go to the Media tab and click the thumbnail of the asset to open it.
You can update some of the asset fields below directly in the Asset page.
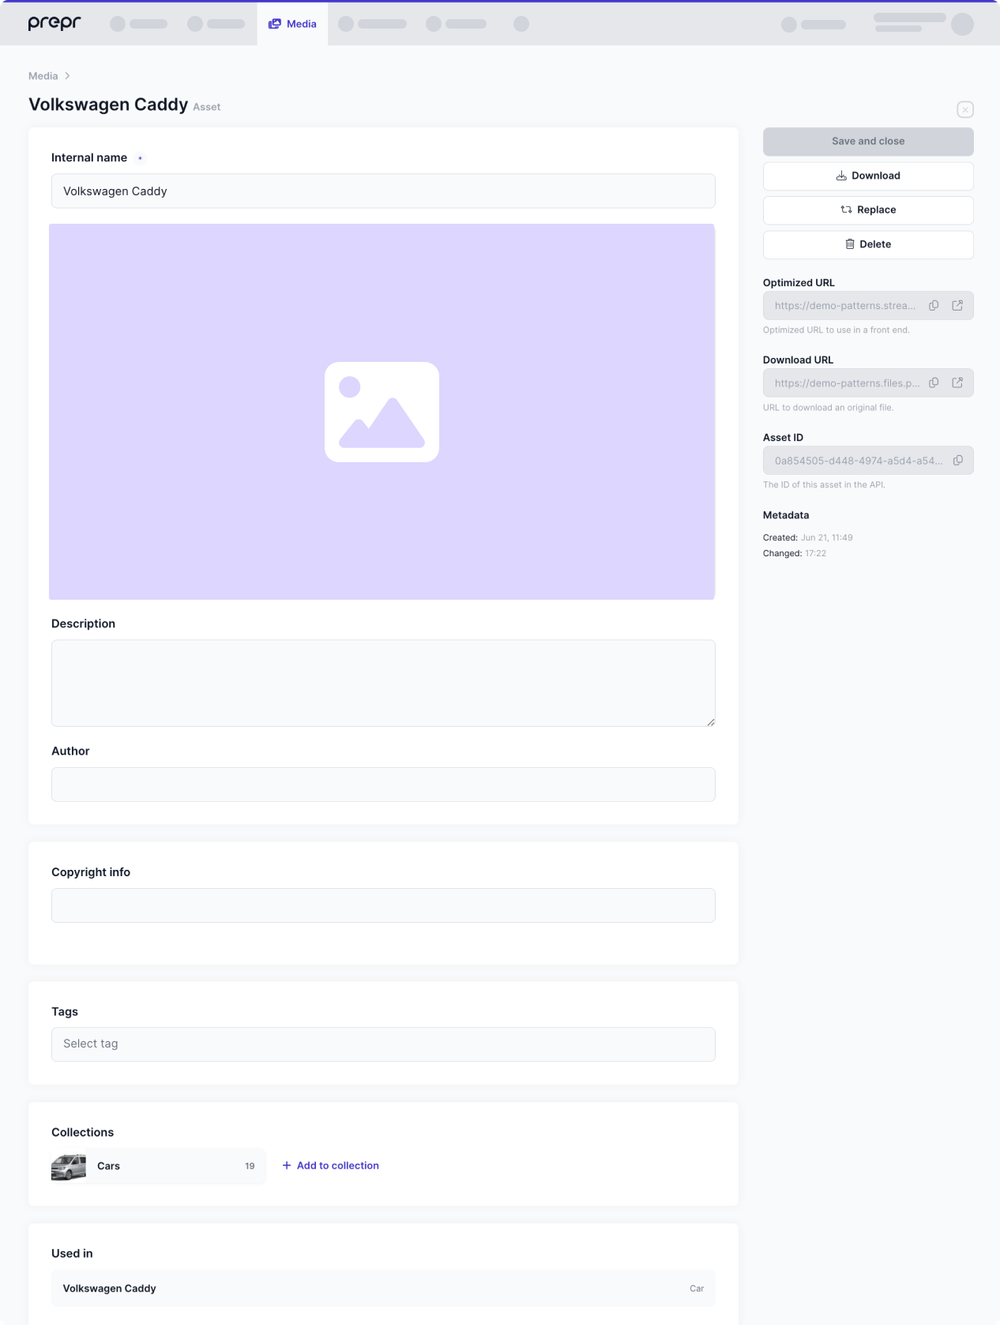
- Internal name - This field is required and is used to enter the Title of the asset.
- Description - This optional field is used by editors to describe the asset.
- Author - This optional field can be used to enter the name of the photographer or the visual designer of the asset.
- Additional fields - Any additional fields can be added to the Asset model, such as Copyright info. For more details, check out the Asset model doc.
- Tags – Allows you to add one or more tags to an asset.
- Collections – Allows you to group assets into collections.
- Used in - The list of all content items that use this asset.
To edit the asset details, simply update the applicable fields and click the Save and close button.
The Description field is recommended for internal use. To describe your assets in a web application, use the Caption feature.
Developer note If you want to add information from the Description field to your web application, refer to the GraphQL API reference.
In the sidebar of the Asset page, you can see the following generated data:
- Optimized URL – The URL you can use to include the asset in your front end.
- Download URL – The URL you can use to download an original asset file.
- Asset ID – The unique identifier of an asset you can refer to in API requests.
- Playback ID – The public Mux Playback ID for videos.
- Metadata – The date and time when an asset is created and changed.
Multiple locale assets
When localization is enabled in the Asset model, additional fields will be available for each locale allowed in your environment.
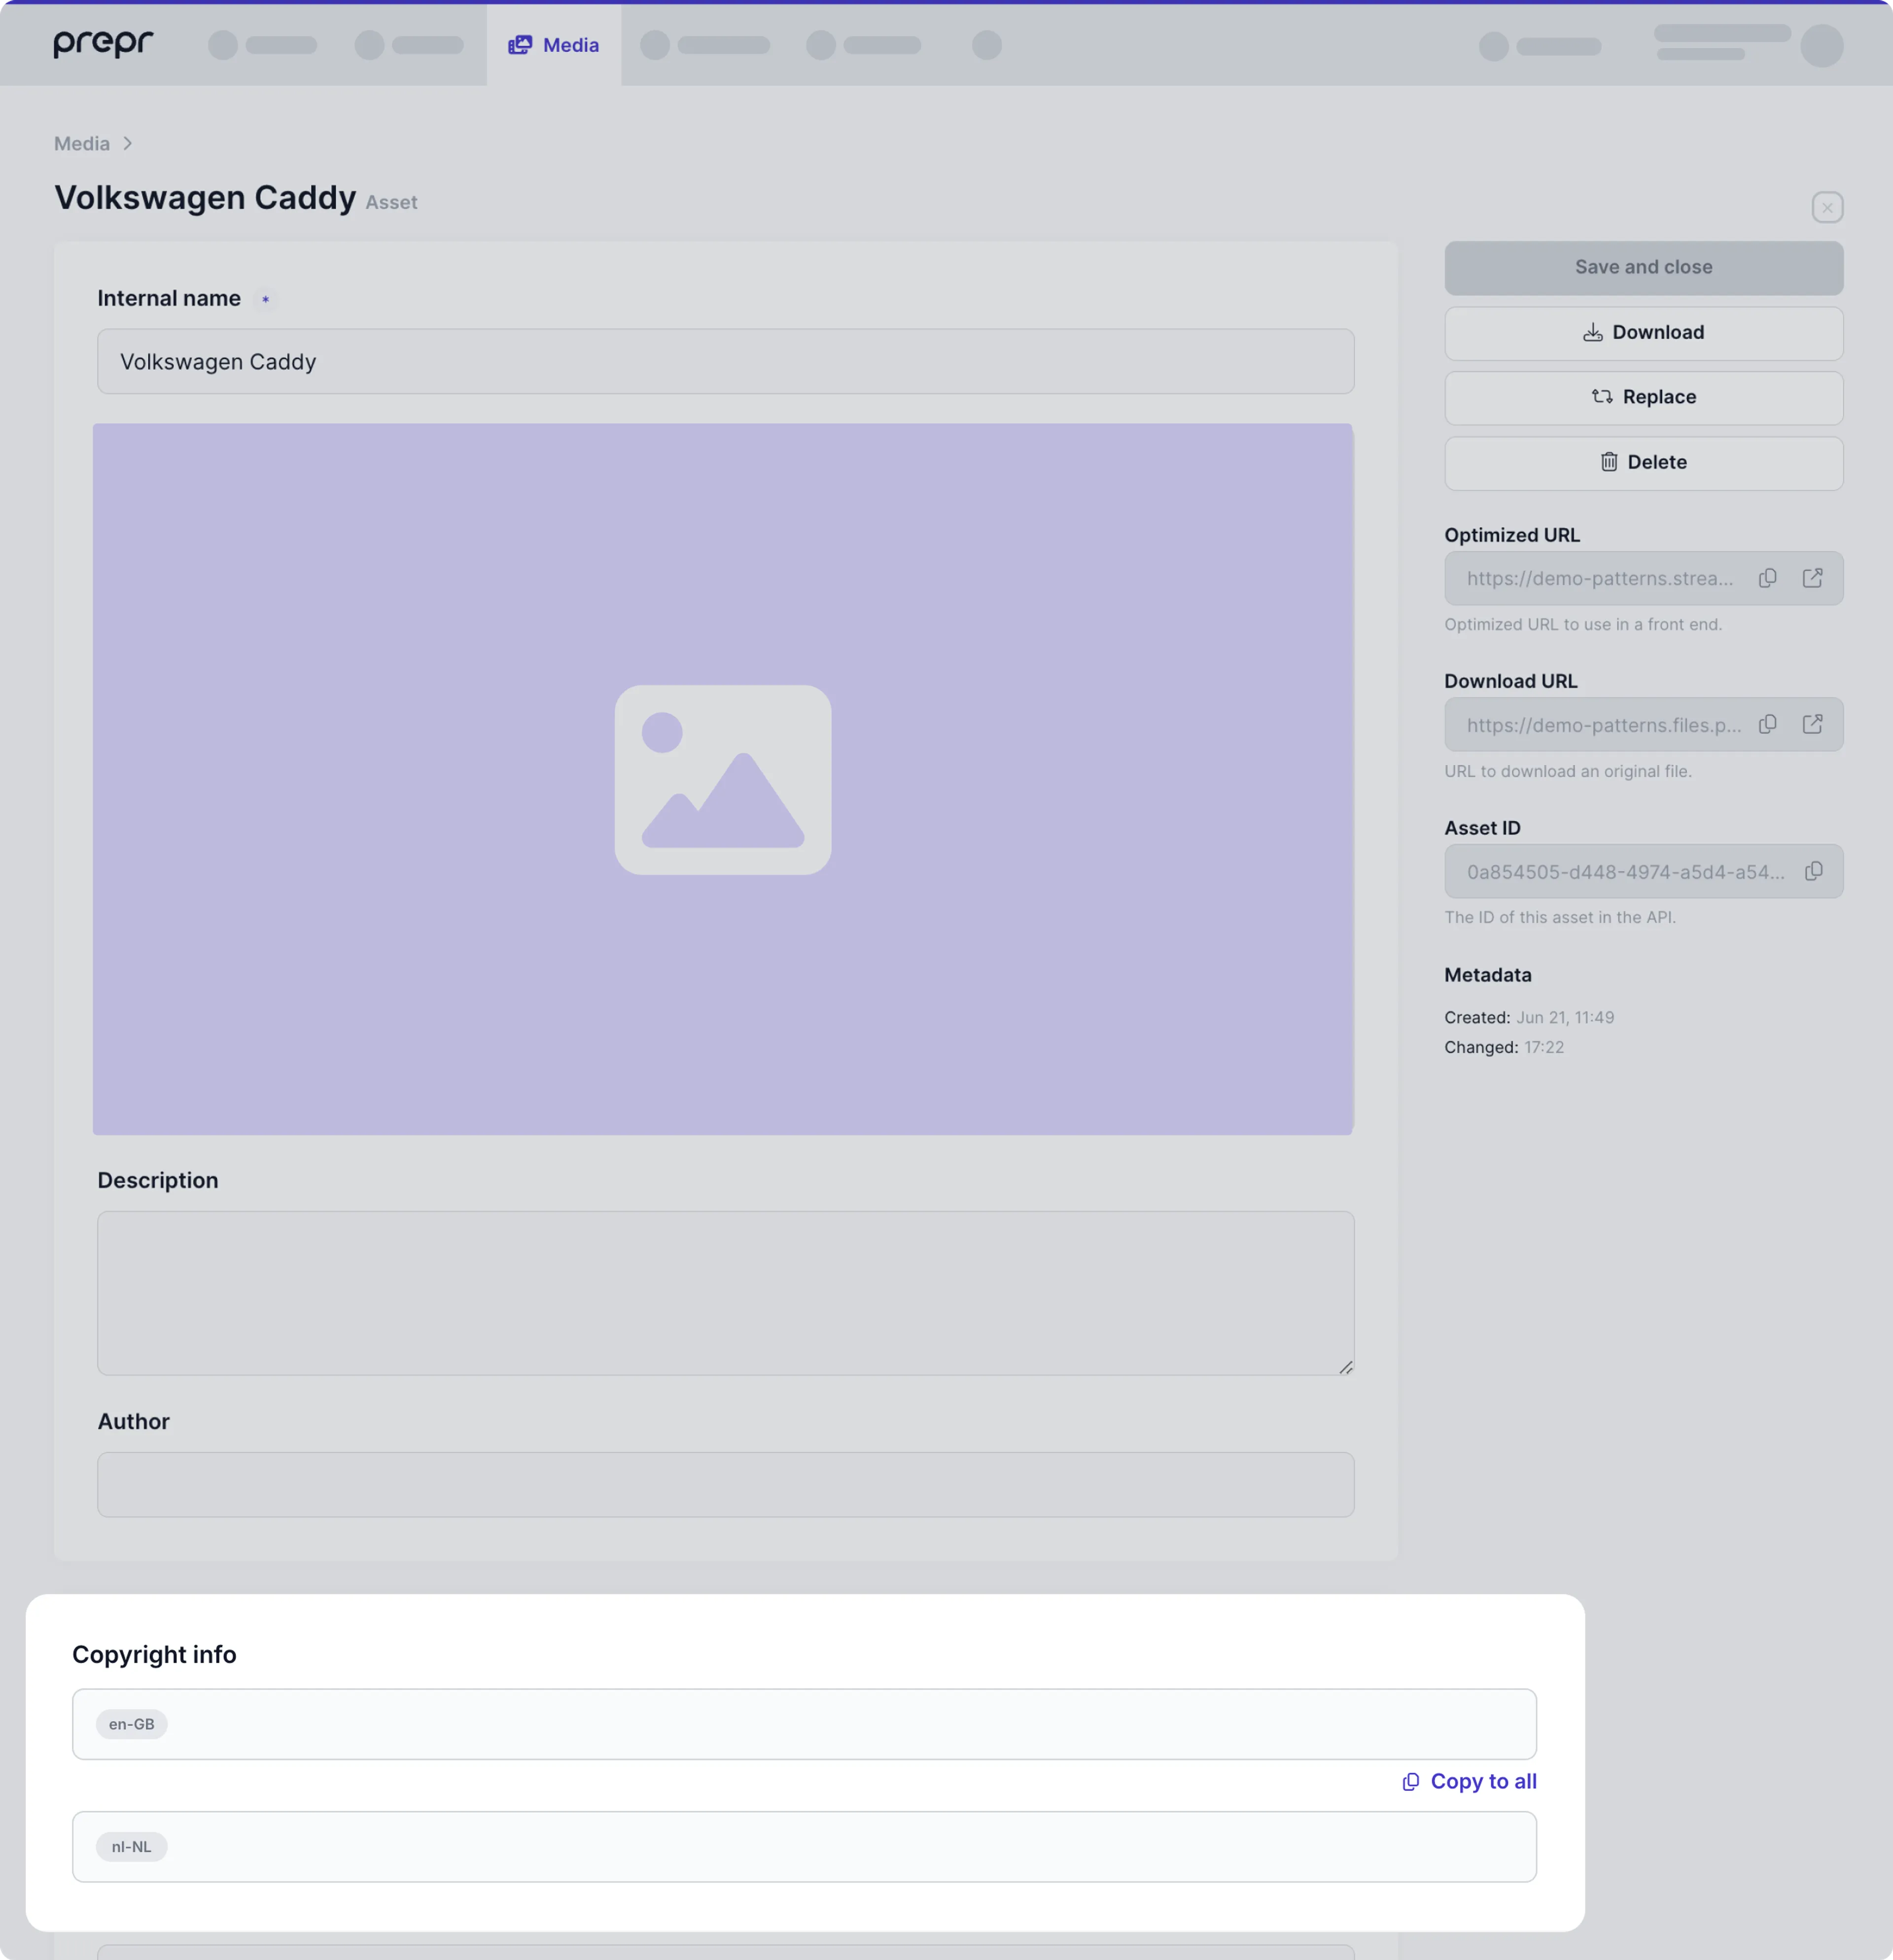
For more details on the setup, check out the Asset model doc.
Downloading an asset
In the Asset page, you can download this asset to your local storage, by clicking the Download button in the sidebar.
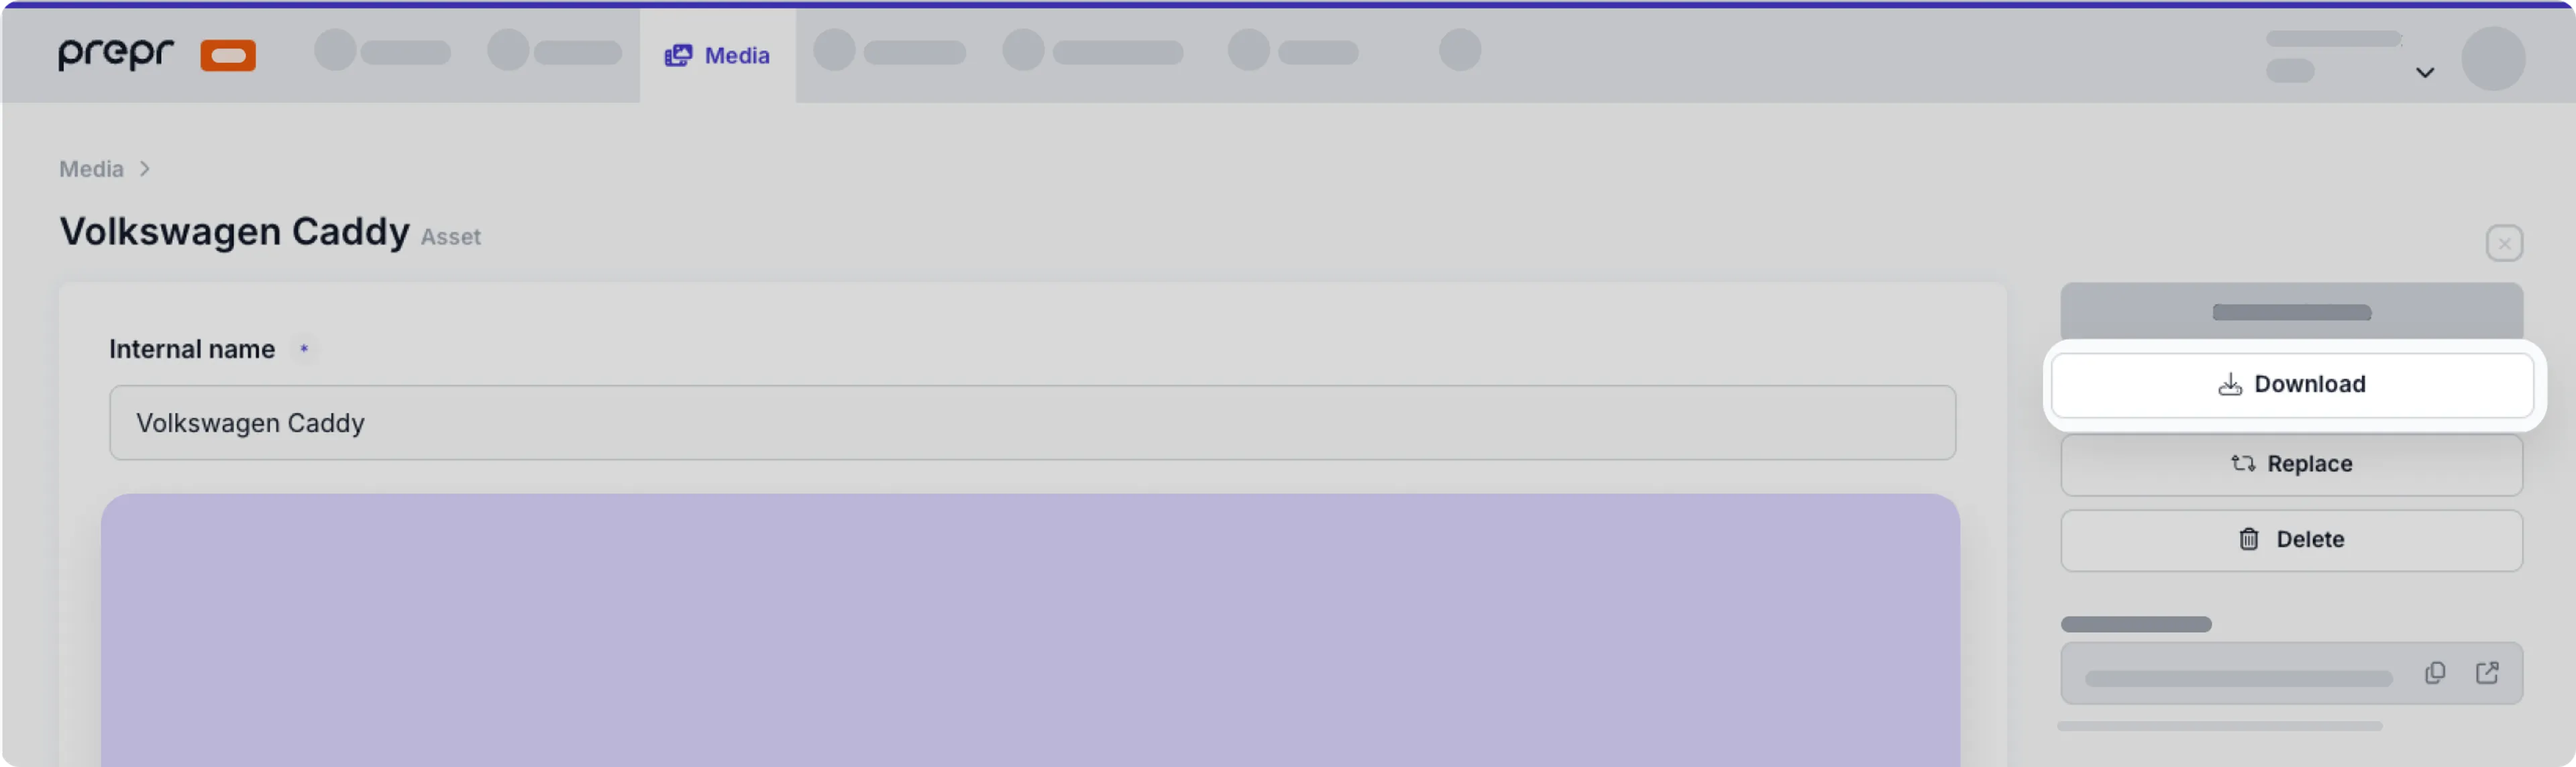
The original file will be saved to your default download folder.
Replacing an asset
In the Asset page, you can replace an existing file with a new one by clicking the Replace button to choose the replacement file from your local storage.
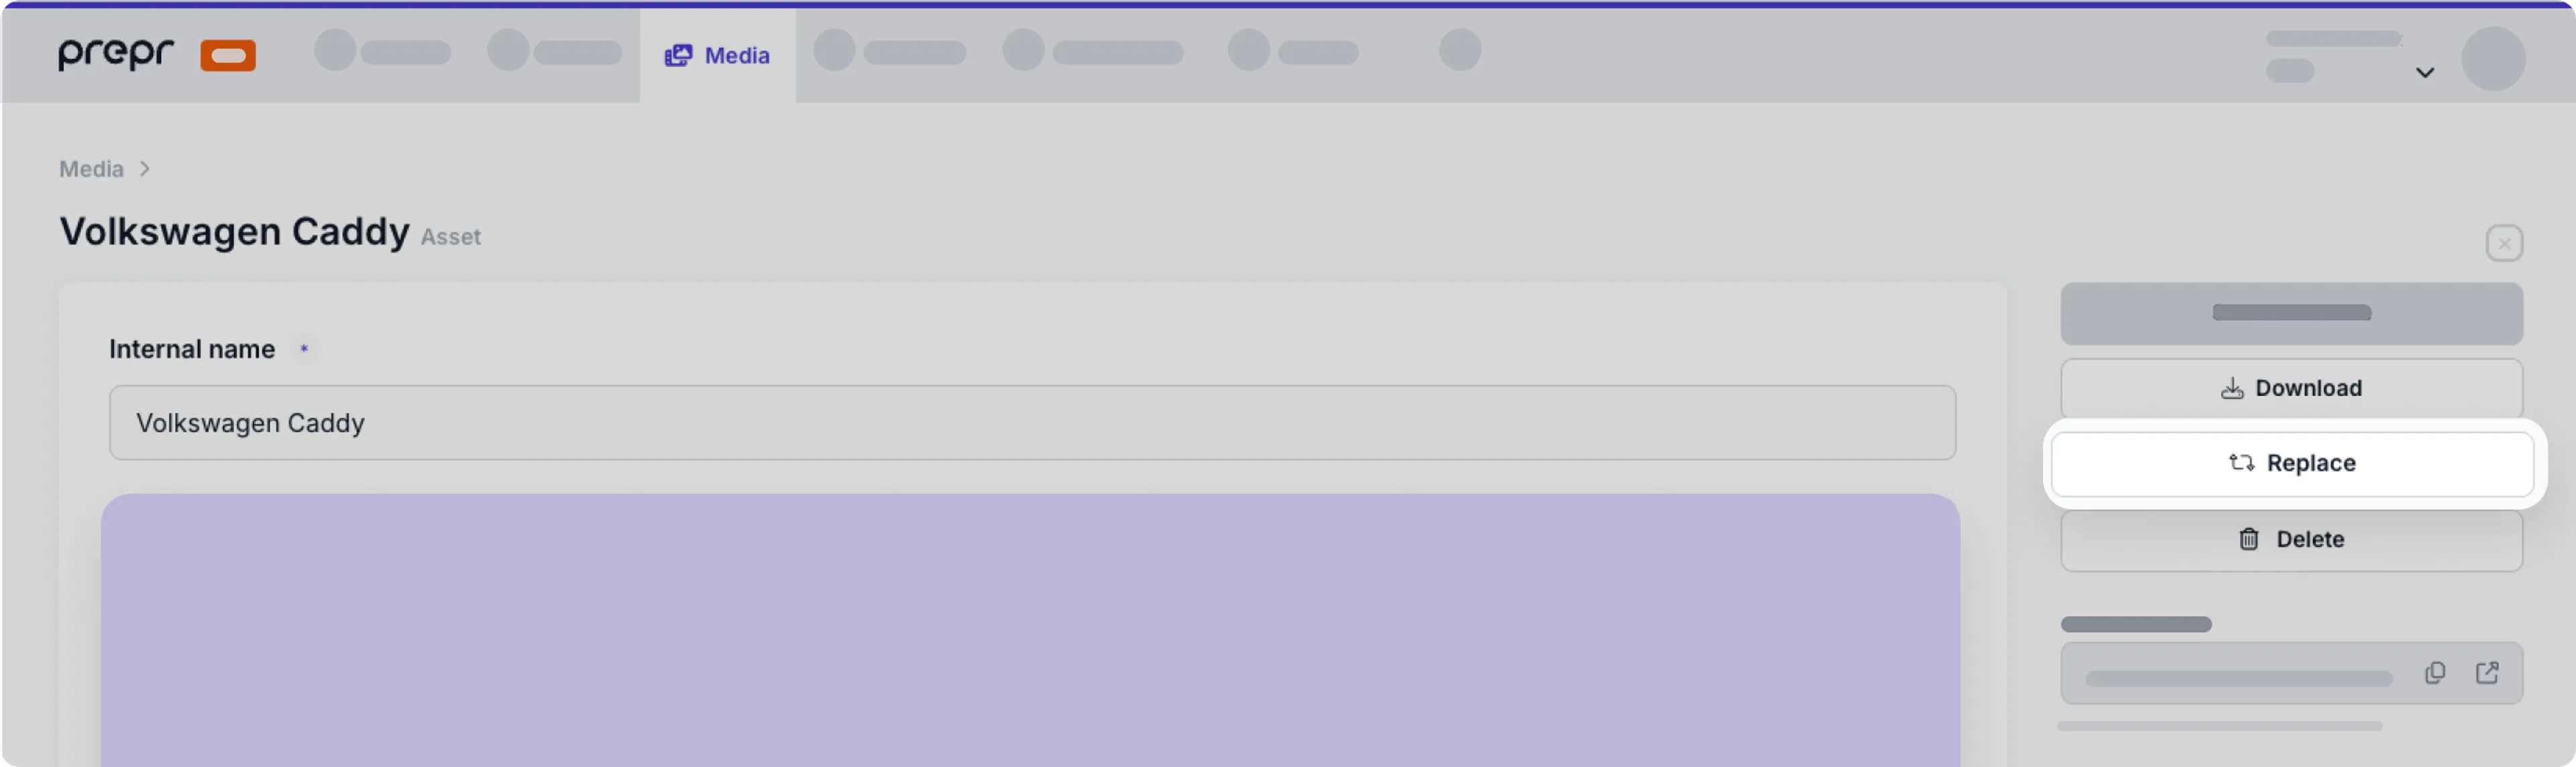
You can only replace an asset with the same file type — for example, images with images, videos with other videos, and so on.
Deleting assets
In the Asset page, you can delete an individual asset if you no longer need it, by simply clicking the Delete button.
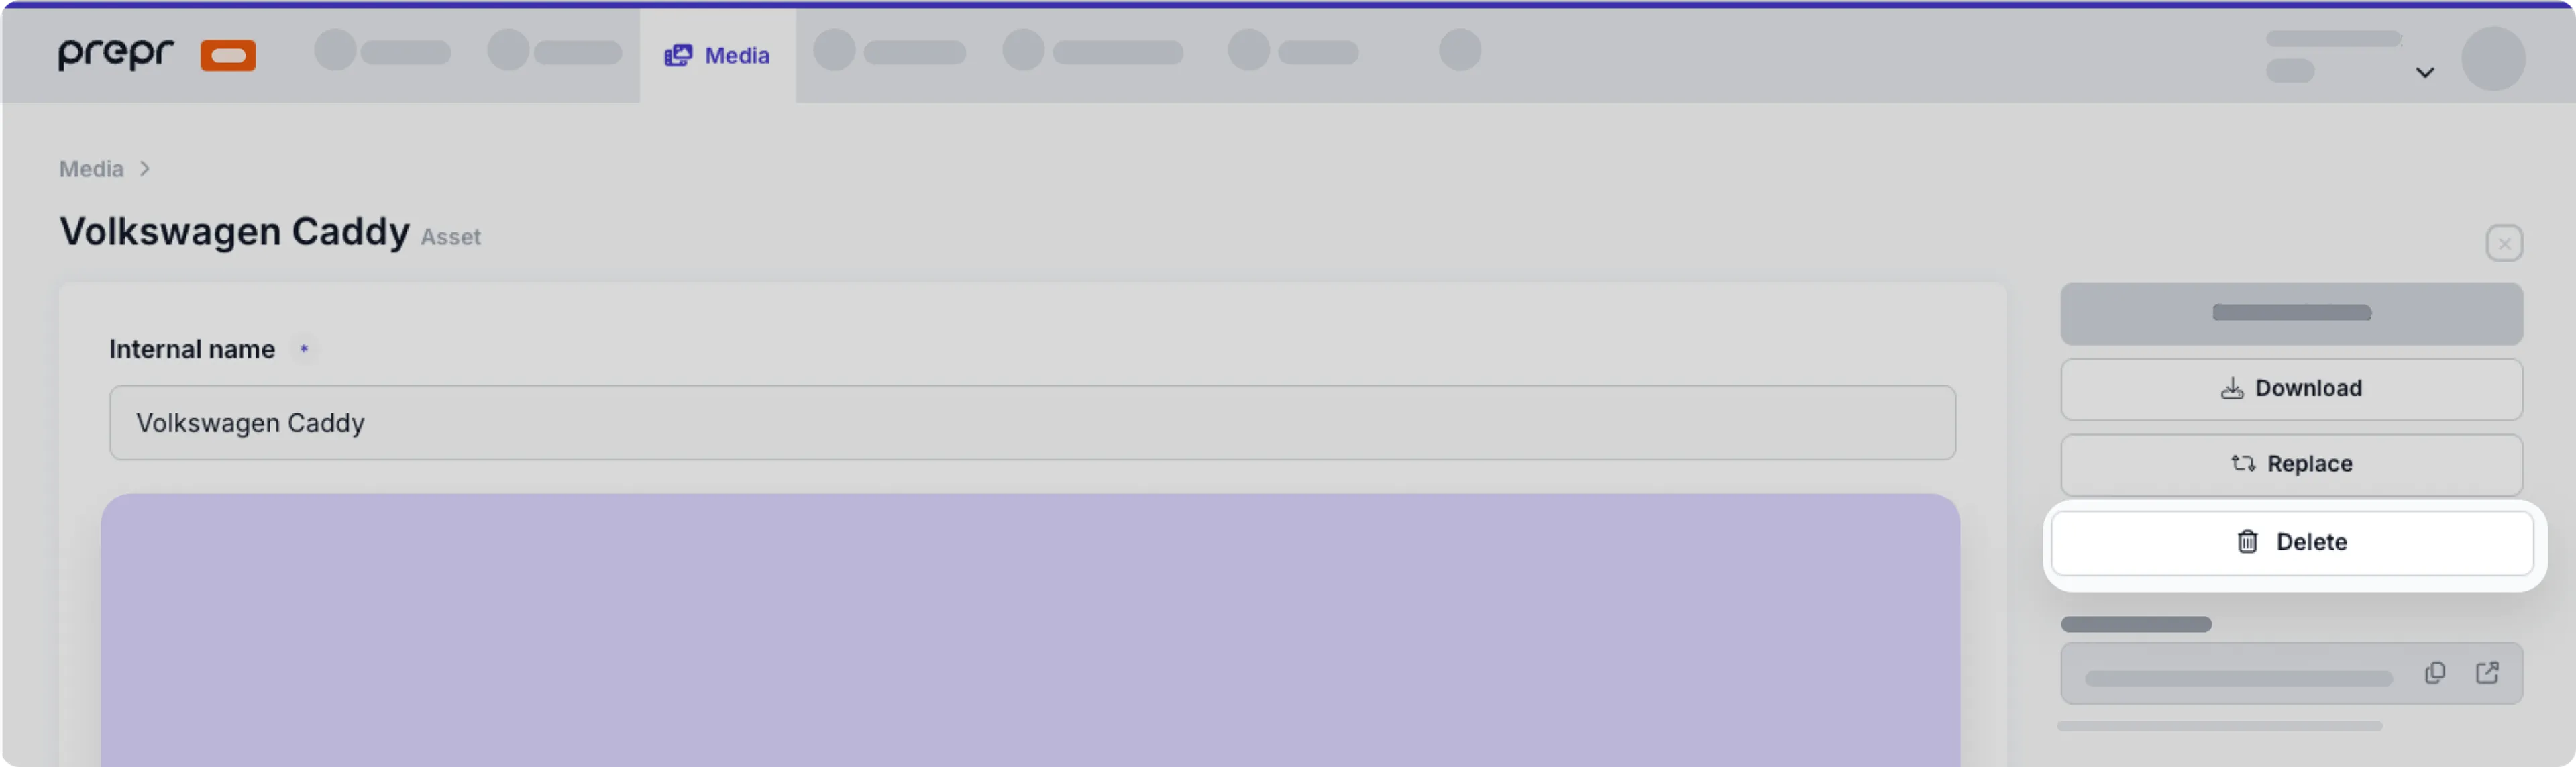
In the confirmation dialog window, click the Yes, delete button to confirm the delete.
You’ll get a warning if the asset you want to delete is being used in any content items. If you continue with the delete action anyway, note that you can cause broken web pages. Once you delete an asset, the action cannot be undone.
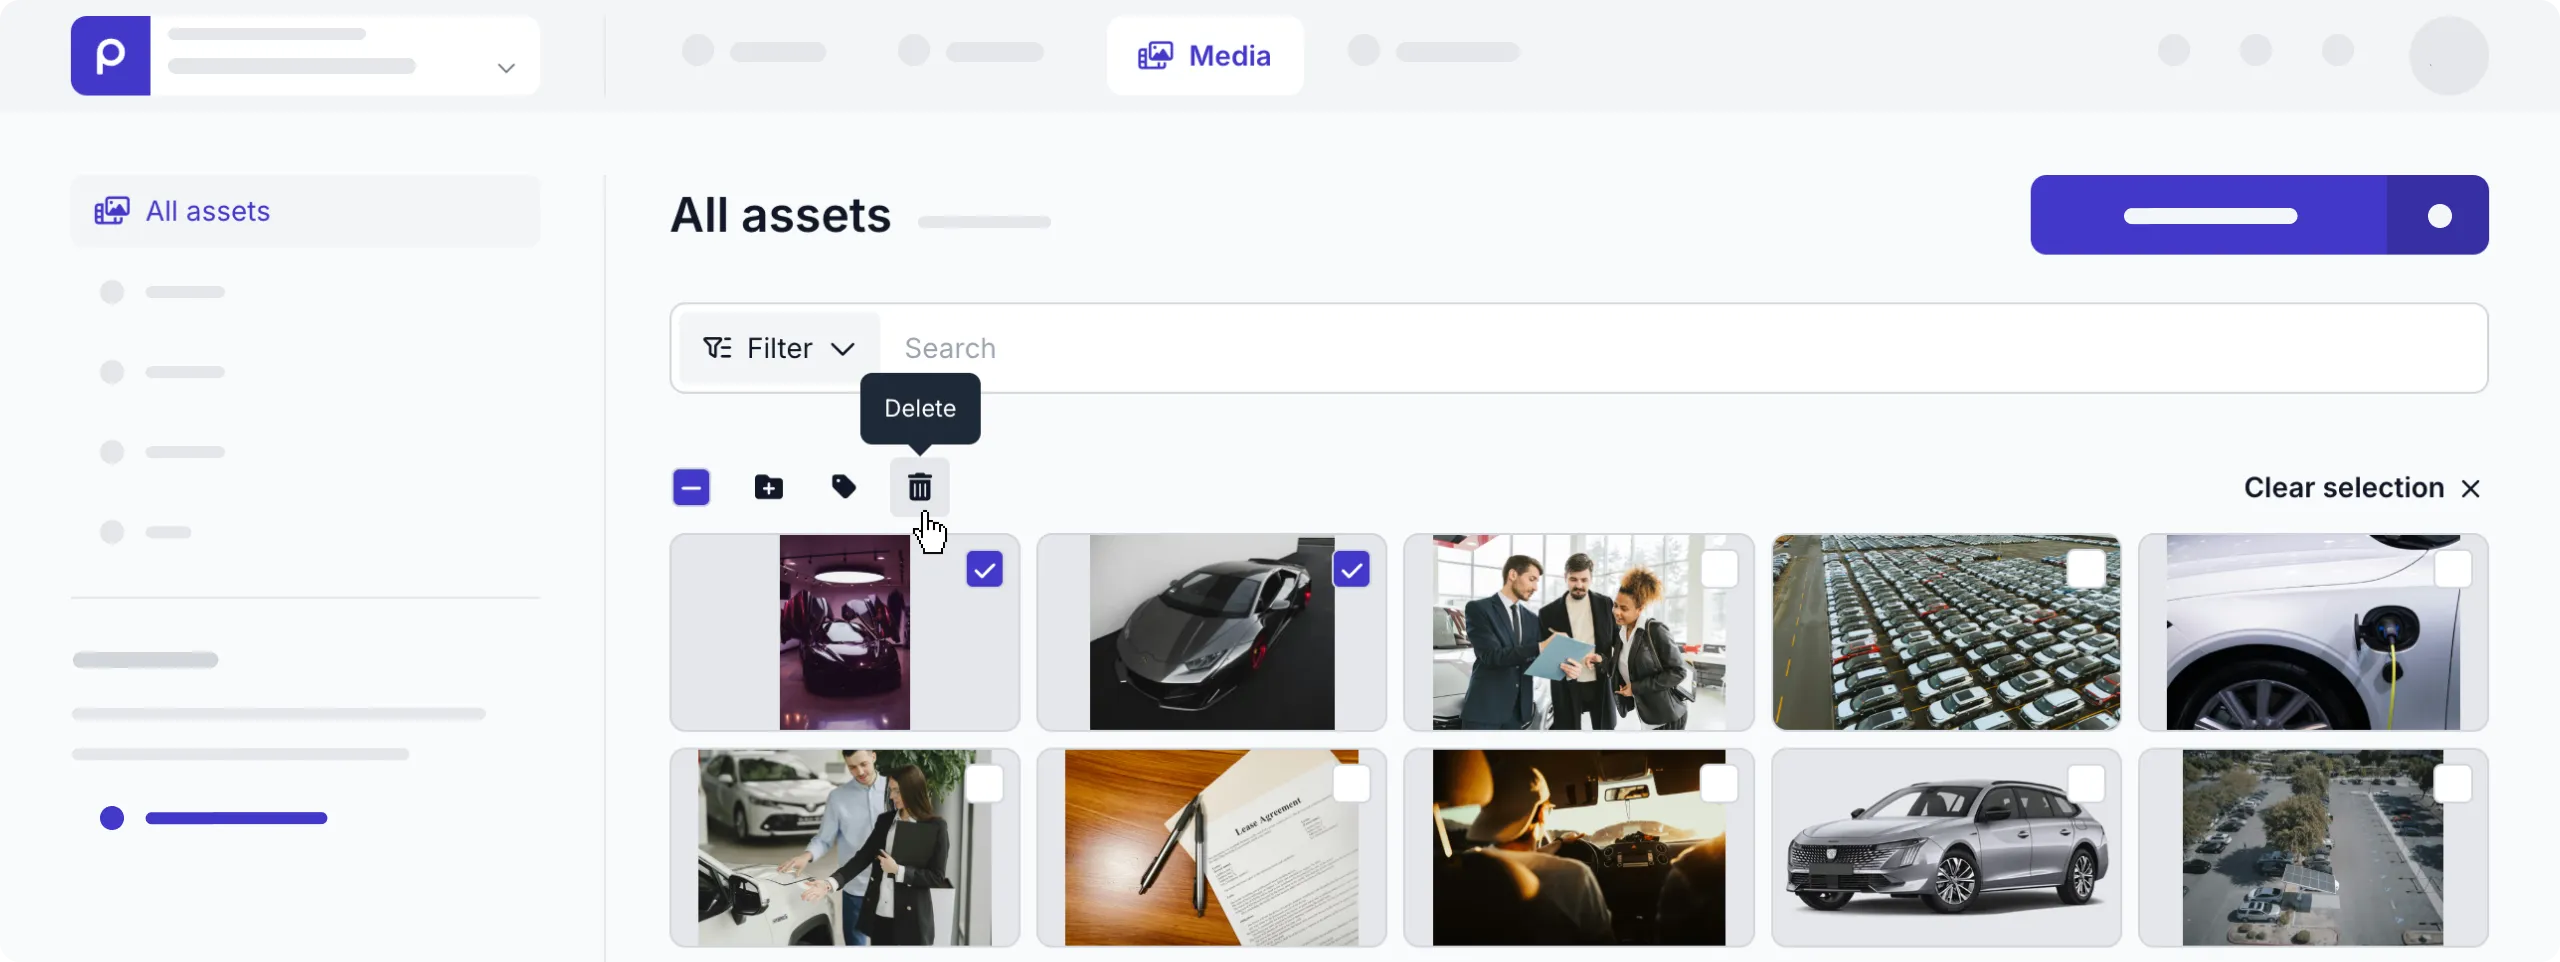
You can also delete multiple assets by following the steps below.
-
Go to the Media tab and select assets by hovering over each thumbnail and clicking the icon. To select all assets, click the icon in the top action menu.
-
In the top action menu, click the icon to delete the selected assets.
-
In the confirmation dialog window, click the Yes, delete button.
You need special permissions to delete multiple assets at a time. To get this access, request your administrator to link your profile to a user role with the Content → Bulk update permission enabled.
Organizing assets
In Prepr, you can organize your assets in a way that works for you. For example, choose to group assets into collections, add tags, or do both for better categorization and precise search. Find out more below.
Collections
A Collection represents a set of media files grouped by specific attributes and includes all types of assets. It can be a collection of profile pictures, banners, stock photos, etc. Let’s look at how to organize assets using collections in more detail.
Create a collection of assets
To create a collection, follow the steps below.

-
Go to the Media page.
-
Under the Collections section on the left, click the + Add collection link.
-
Enter the title for a collection and click the Add button to confirm.
-
You can then add assets to the collection in different ways:

a. From the All assets view select the images you want in the collection and drag them into the collection directly.
b. You can also add assets directly in the collection, by clicking the collection to open it. From here, click the Add assets button to open the Media browser.
c. In this window, you can then select and drag the assets you want to add to the collection or select the assets and click the Add x assets button.
d. If the images you want to add to the collection are not yet uploaded, click the Upload assets button to upload new assets and add them to the collection.
To add just a single asset to a collection in the asset detail page.
-
In the Media page, click the thumbnail of an asset to open it.
-
At the bottom of the Asset detail page, click the + Add to collection link in the Collections section.
-
Choose a collection from the drop-down menu.
-
On the right-hand sidebar, click Save and close to apply the changes.
Remove assets from a collection
You can remove multiple assets from a collection or a single asset in the asset detail page.
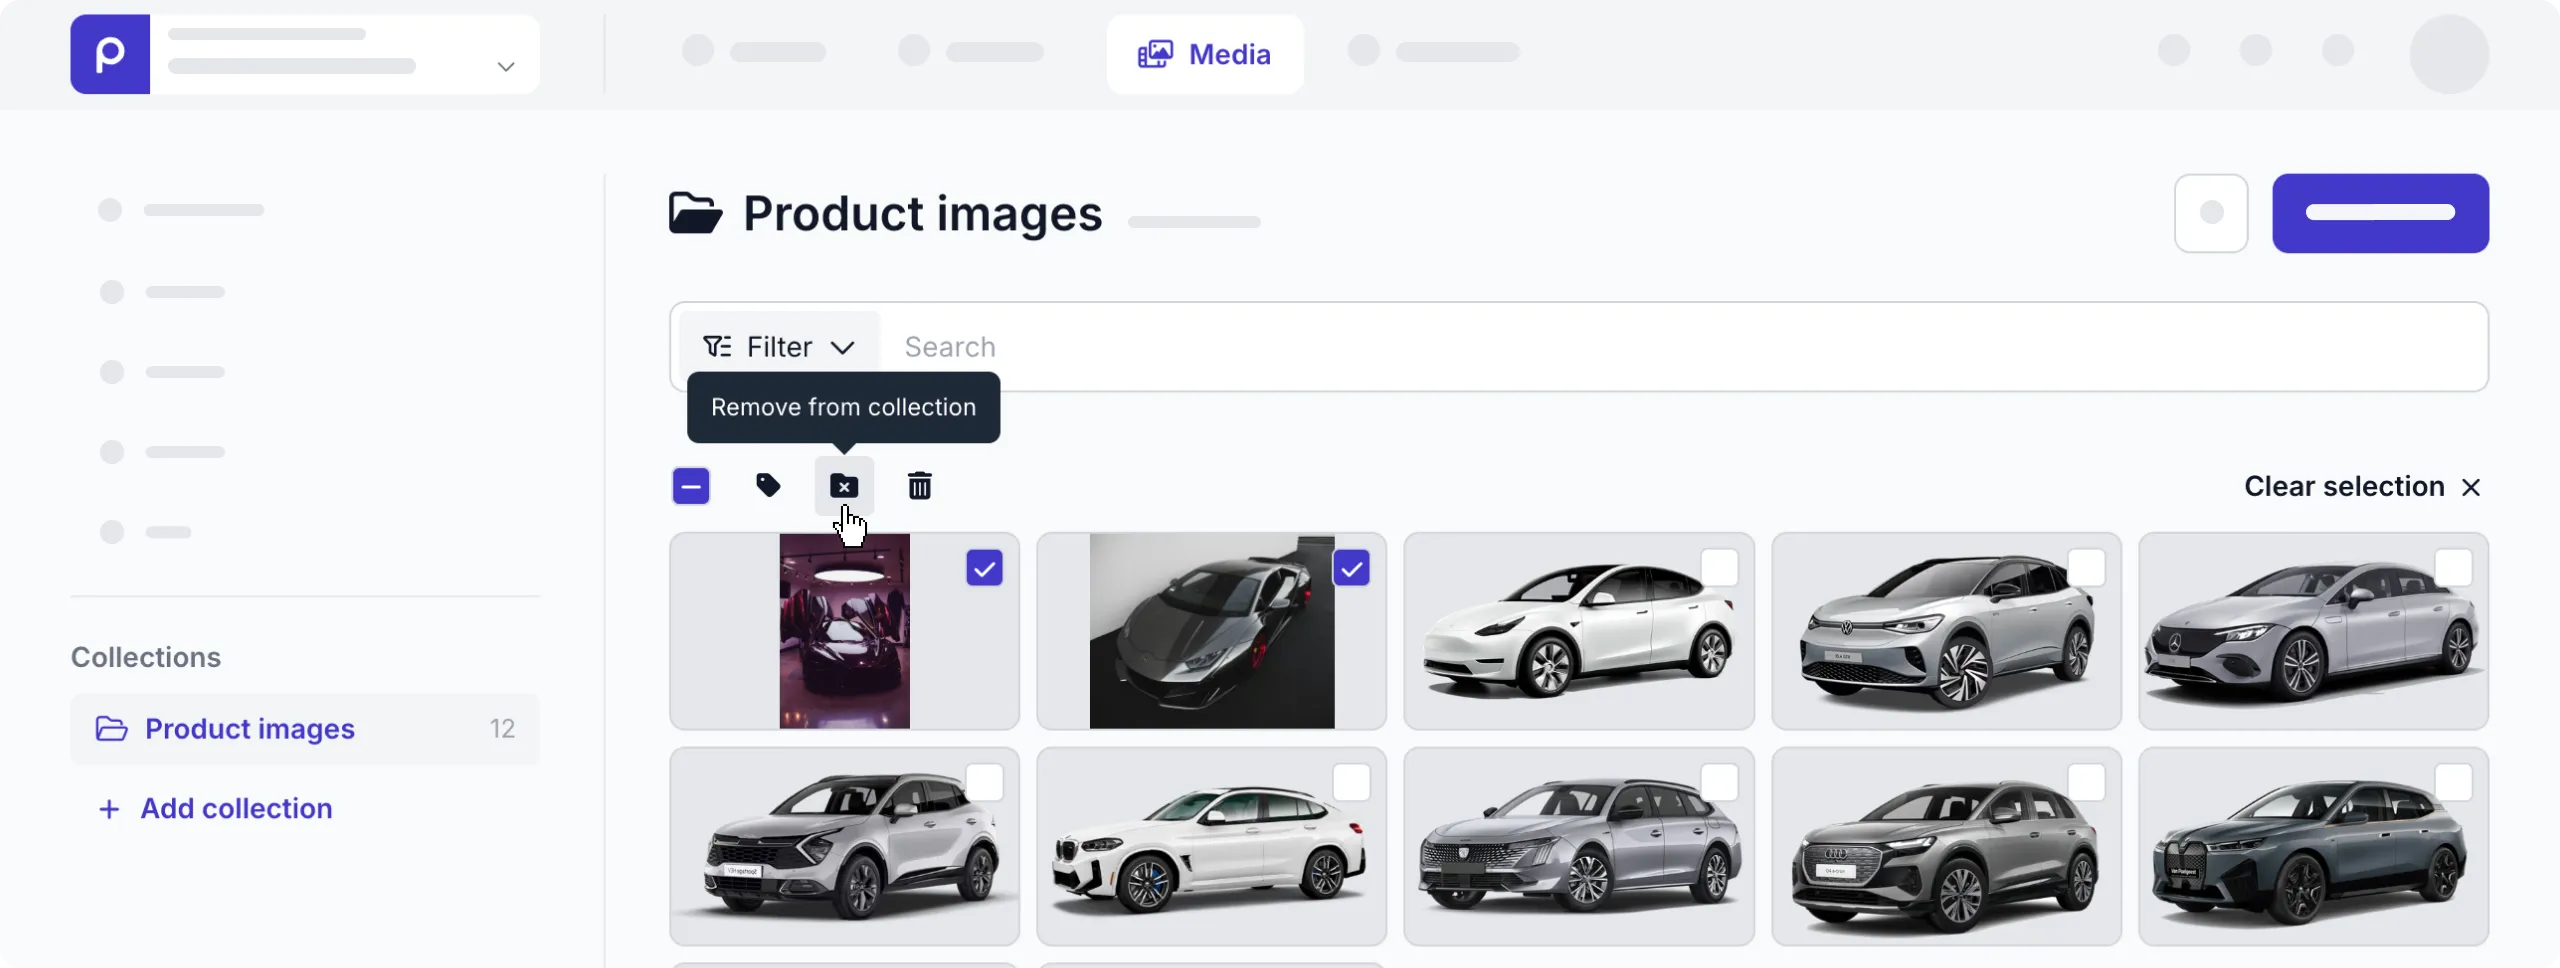
To remove several assets from a collection, follow the steps below.
-
Go to the Media page and under the Collections section on the left, click the collection from which you want to remove assets.
-
Select the assets you want to remove by hovering and clicking the icon on each of the thumbnails.
-
Click the icon in the top action bar to remove the assets from this collection.
To remove a single asset from a collection, follow the steps below.
-
Go to the Media page and click the asset you want to modify.
-
On the Asset detail page, go to the Collections section and hover over the collection.
-
Click the icon to remove the asset from the collection.
-
On the right-hand sidebar, click Save and close to apply the changes.
Update the collection title
To update a collection title, under the Collections section on the left, hover over the collection you want to edit. Then click the icon and choose the Edit collection option.
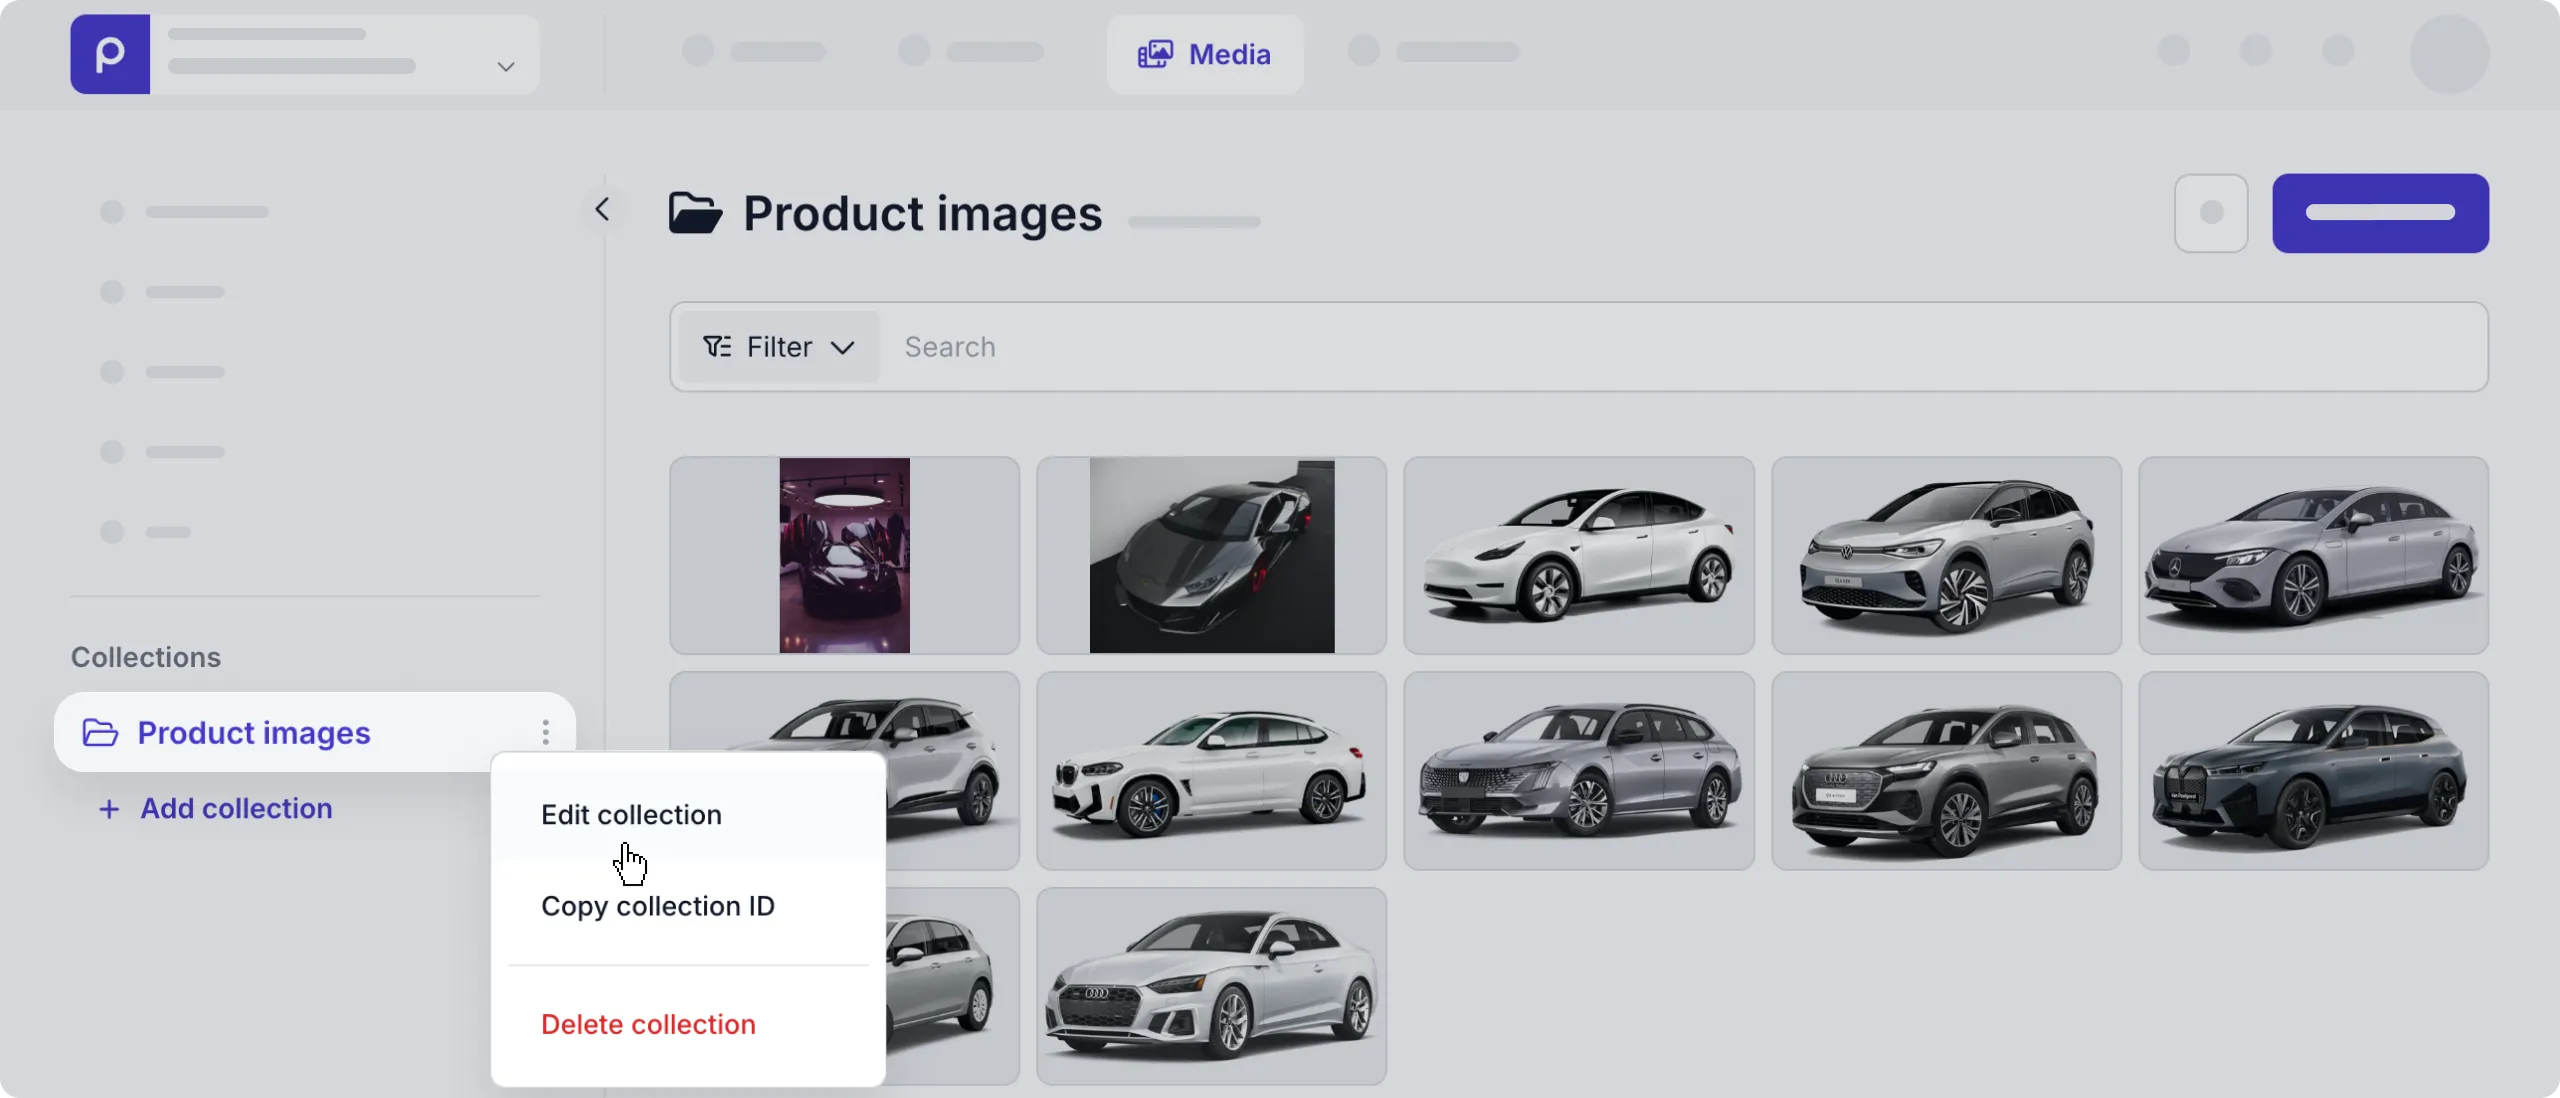
In the dialog window, enter a new title and click the Save button.
Delete a collection
To delete a collection title, under the Collections section on the left, hover over the collection you want to delete. Then, click the icon and choose the Delete collection option. In the confirmation window, click the Yes, delete button.
When you delete a collection, the assets are removed from the collection, but not deleted.
Tags
A Tag is a meaningful label you can assign to your assets to differentiate between them while filtering. You can add tags to multiple assets or to a single asset in the Asset page.
To tag several assets at once, follow the steps below.
-
Go to the Media page and in the All assets view, select the assets you want to tag by hovering over each thumbnail and clicking the icon.
-
In the top action menu, click the icon.

-
Choose an existing tag or type a new one.
-
Click the Add tags button.
To tag a single asset, follow the steps below.
-
Go to the Media tab and click the asset to open it.
-
At the bottom of the Asset page, click the Tag field.
-
Choose an existing tag or type a new one.
-
On the right-hand sidebar, click the Save and close button to apply the changes.
That’s it. You have organized your assets in the Media Library. Now it’s easier to find the right one. Let’s see how to do this in the next paragraph.
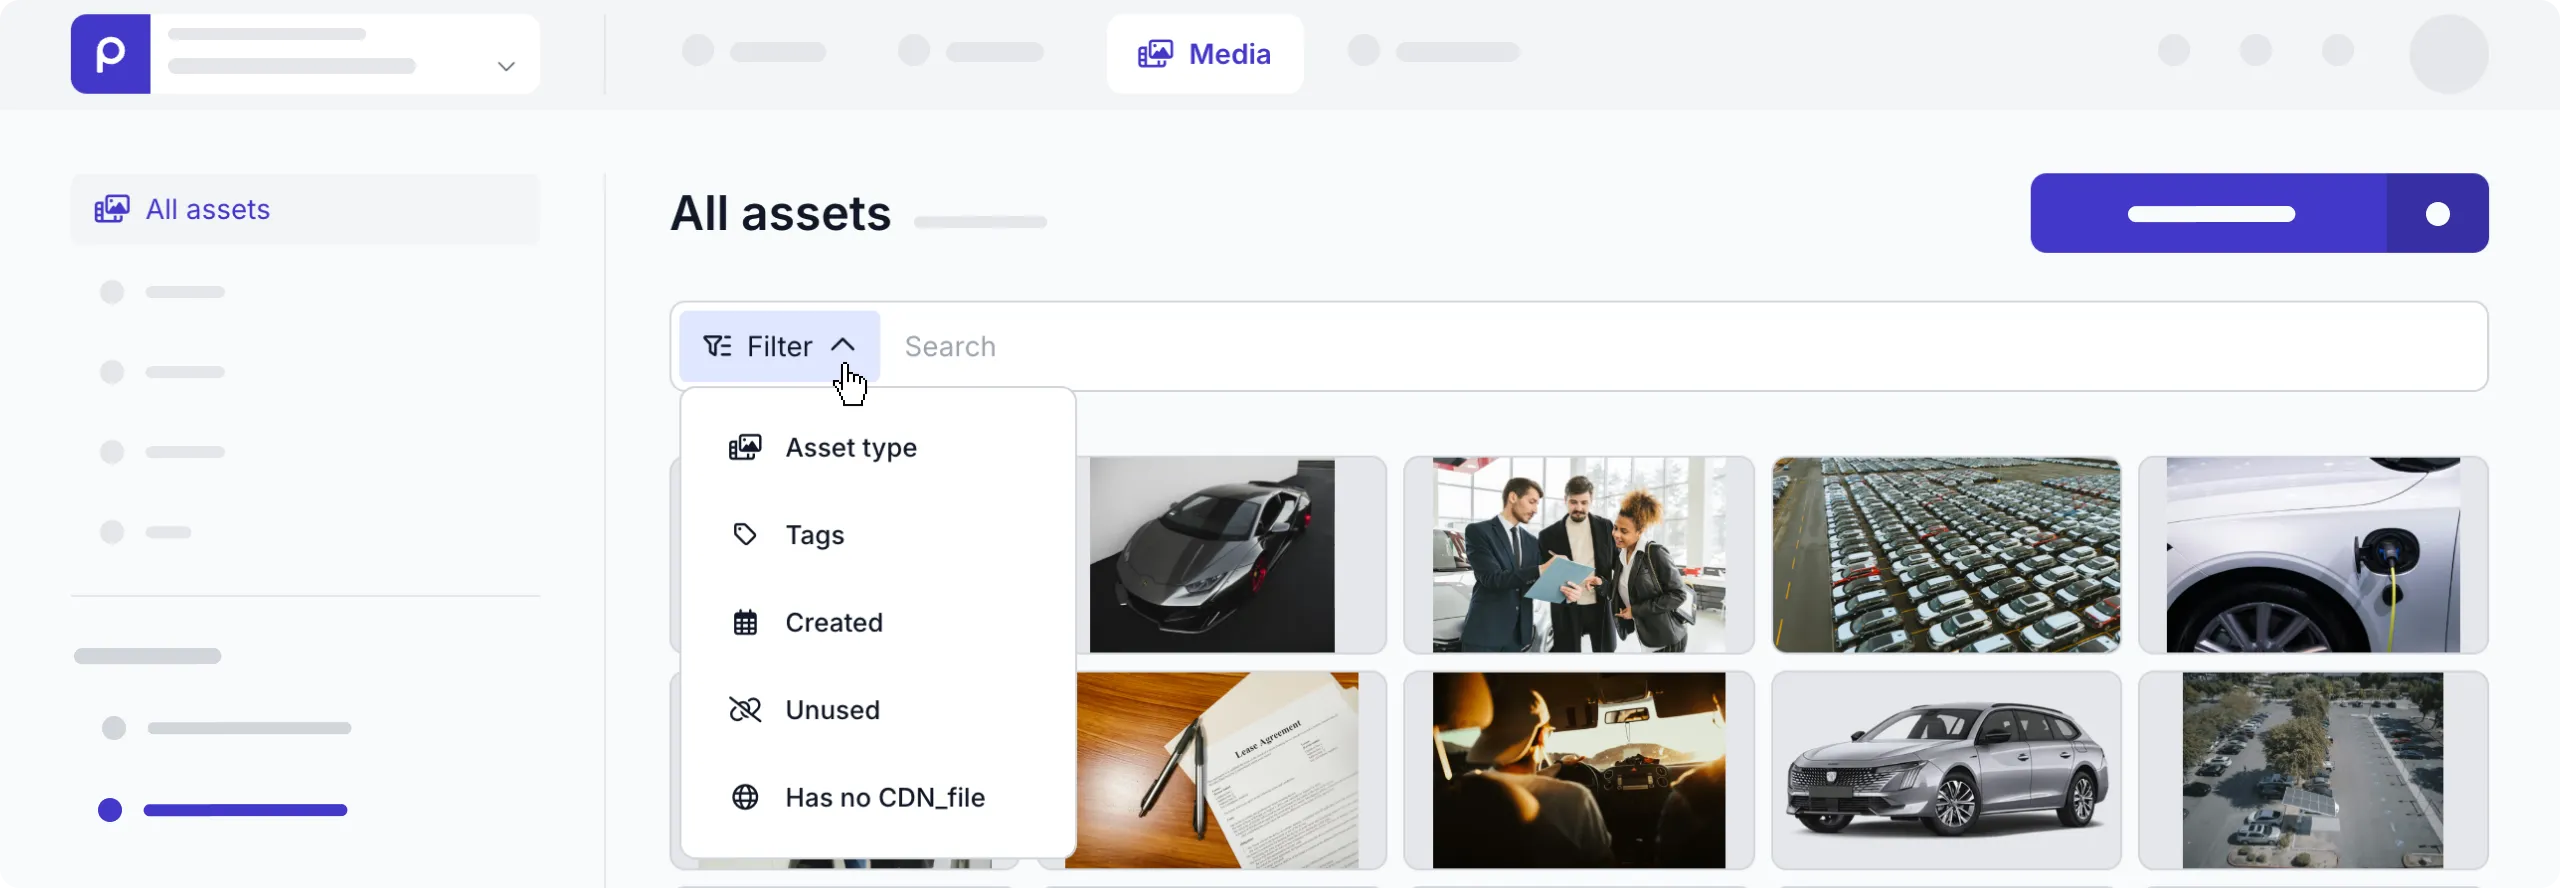
Finding assets
Prepr gives you multiple search and filter options to find the assets you need with ease:
- Search the assets by the asset title or keywords in the asset description.
- Filter the assets by Asset type, Tags, Created on date, or the Unused checkbox.
- You can also filter assets by enumeration field values in the Asset model, for example, to find a specific license holder.
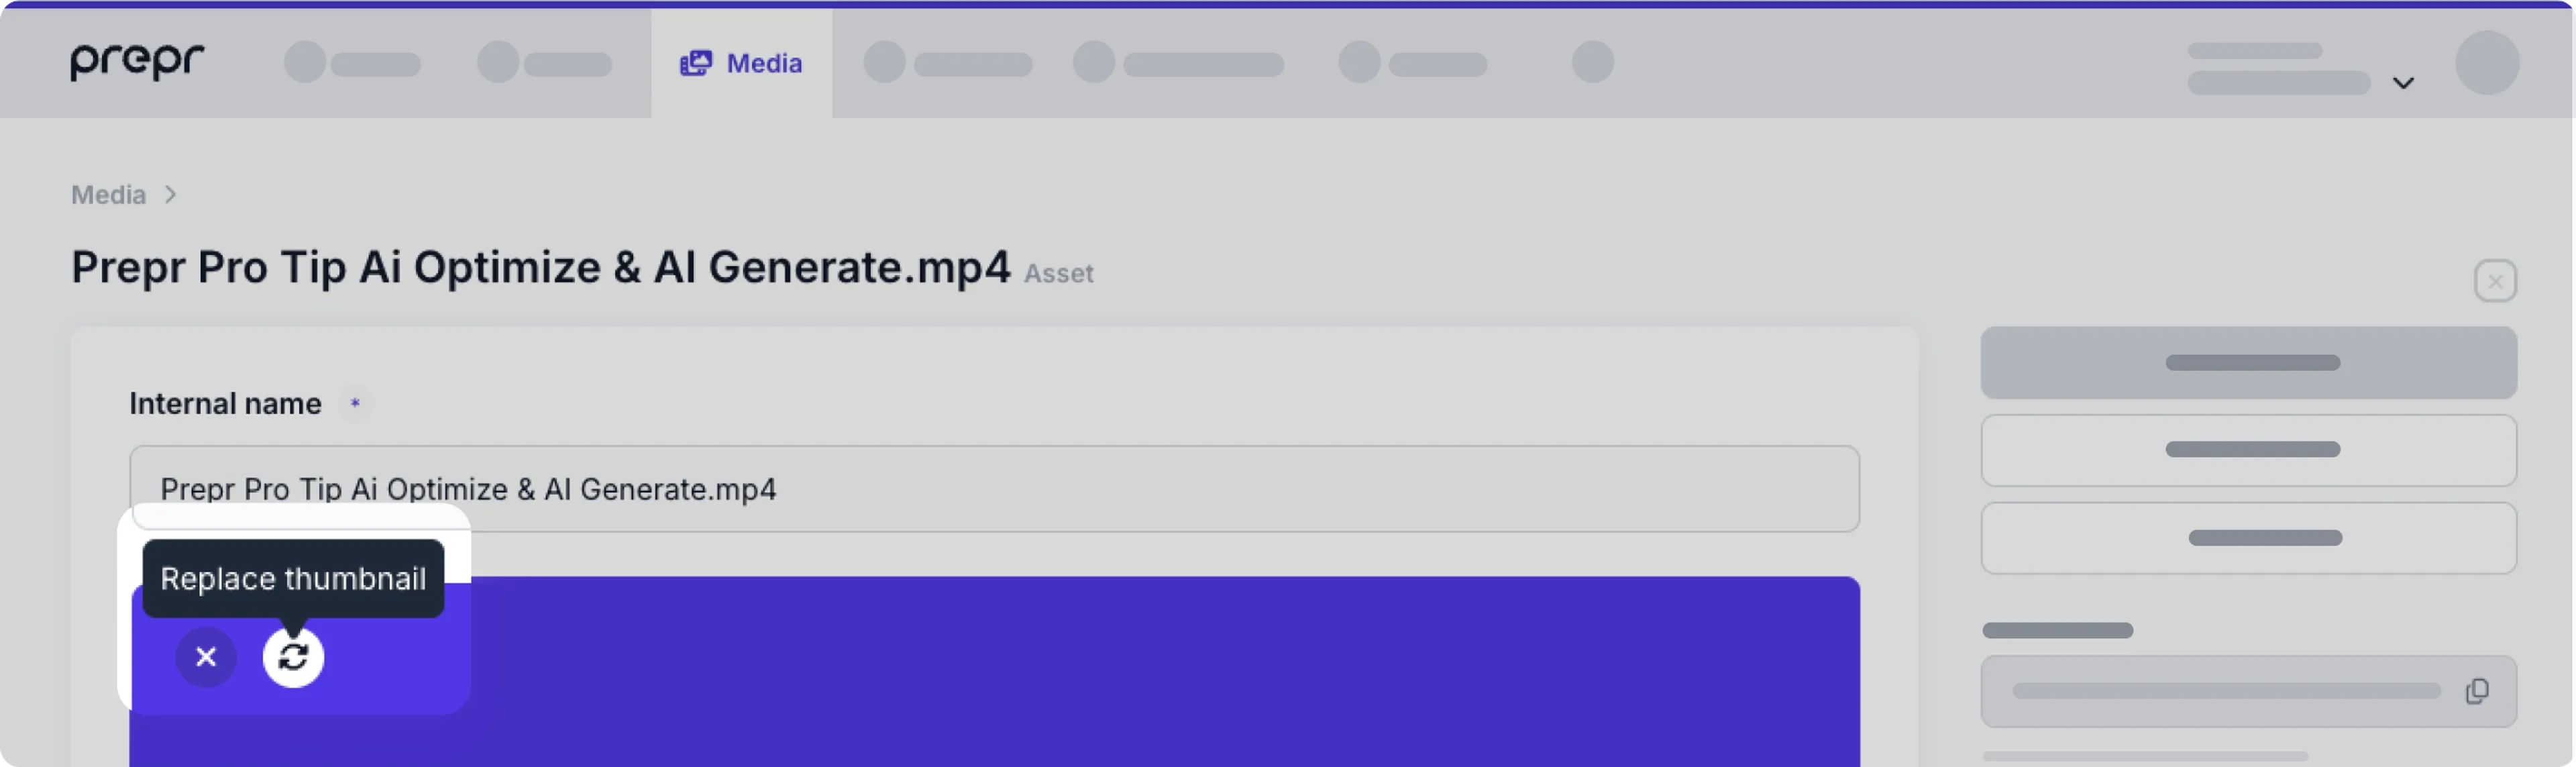
Replacing video thumbnails
By default, a thumbnail image is taken from the middle of the video based on the Mux Playback ID. Still, you can set a custom video thumbnail in Prepr as follows:
- Go to the Media page and click the thumbnail of the video asset that you want to edit.
- On the asset detail page, hover over the thumbnail and click the icon.
- Choose the replacement image file to replace the thumbnail.
Developer note
You can retrieve a video thumbnail using the cover attribute in your API request. Check out the GraphQL API reference for more details.
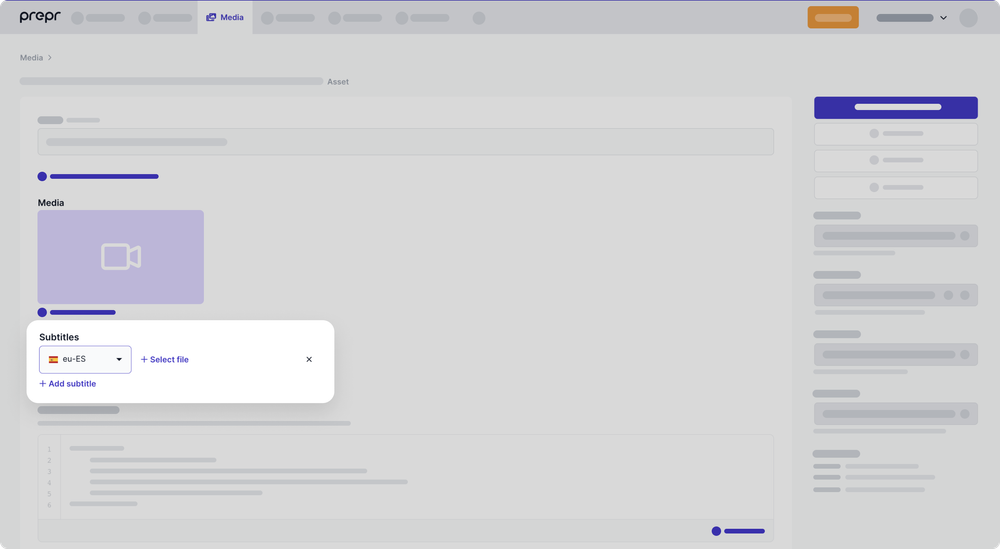
Adding video subtitles
You can add subtitles to your Mux videos in Prepr to provide multilingual support to your web app visitors and extend the web app accessibility.
The Subtitle feature is only compatible with the Mux web player. Read more in the Mux documentation .
To add subtitles, follow the steps below.
- Go to the Media page and open the video file to which you want to add subtitles.
- On the asset detail page, click the + Add Subtitle link.
- Choose a locale, and upload either an SRT or WebVTT file containing the subtitle information.
Prepr will automatically generate a subtitle URL and add it to the video in Mux.
There’s no limit on the number of subtitle files you can include in your video asset. Each subtitle file will be stored as an individual file asset in Prepr.