Set up a Laravel project
The instructions below will guide you through the first step of the Laravel complete guide. These show you how to create a Laravel website with static components.
Laravel website with static text and images.
Create a Laravel website with static components
If you have an existing Laravel project then you can skip this section and continue with the next section to make your Laravel project dynamic with Prepr content. Otherwise, let’s get started.
Install a Laravel project
Before creating your first Laravel project, you should ensure that your local machine has PHP and Composer installed. If you are developing on macOS, PHP and Composer can be installed via Homebrew . In addition, we recommend installing Node and NPM . If you want to learn more about how to install Laravel for your system, check out the Laravel docs .
The instructions below will guide you on how to create an empty Laravel project for your app.
-
Open a terminal and execute the following command to create a new Laravel project called
laravel-complete-starter:composer create-project laravel/laravel laravel-complete-starter -
When the project is successfully created, go to the
laravel-complete-starterfolder, the root directory of the project, and run the project with the following commands in the terminal:cd laravel-complete-starterphp artisan serve -
You should now be able to view your app on your localhost, for example,
http://localhost:8000/. -
Open your Laravel project with your preferred code editor.
-
Go to the
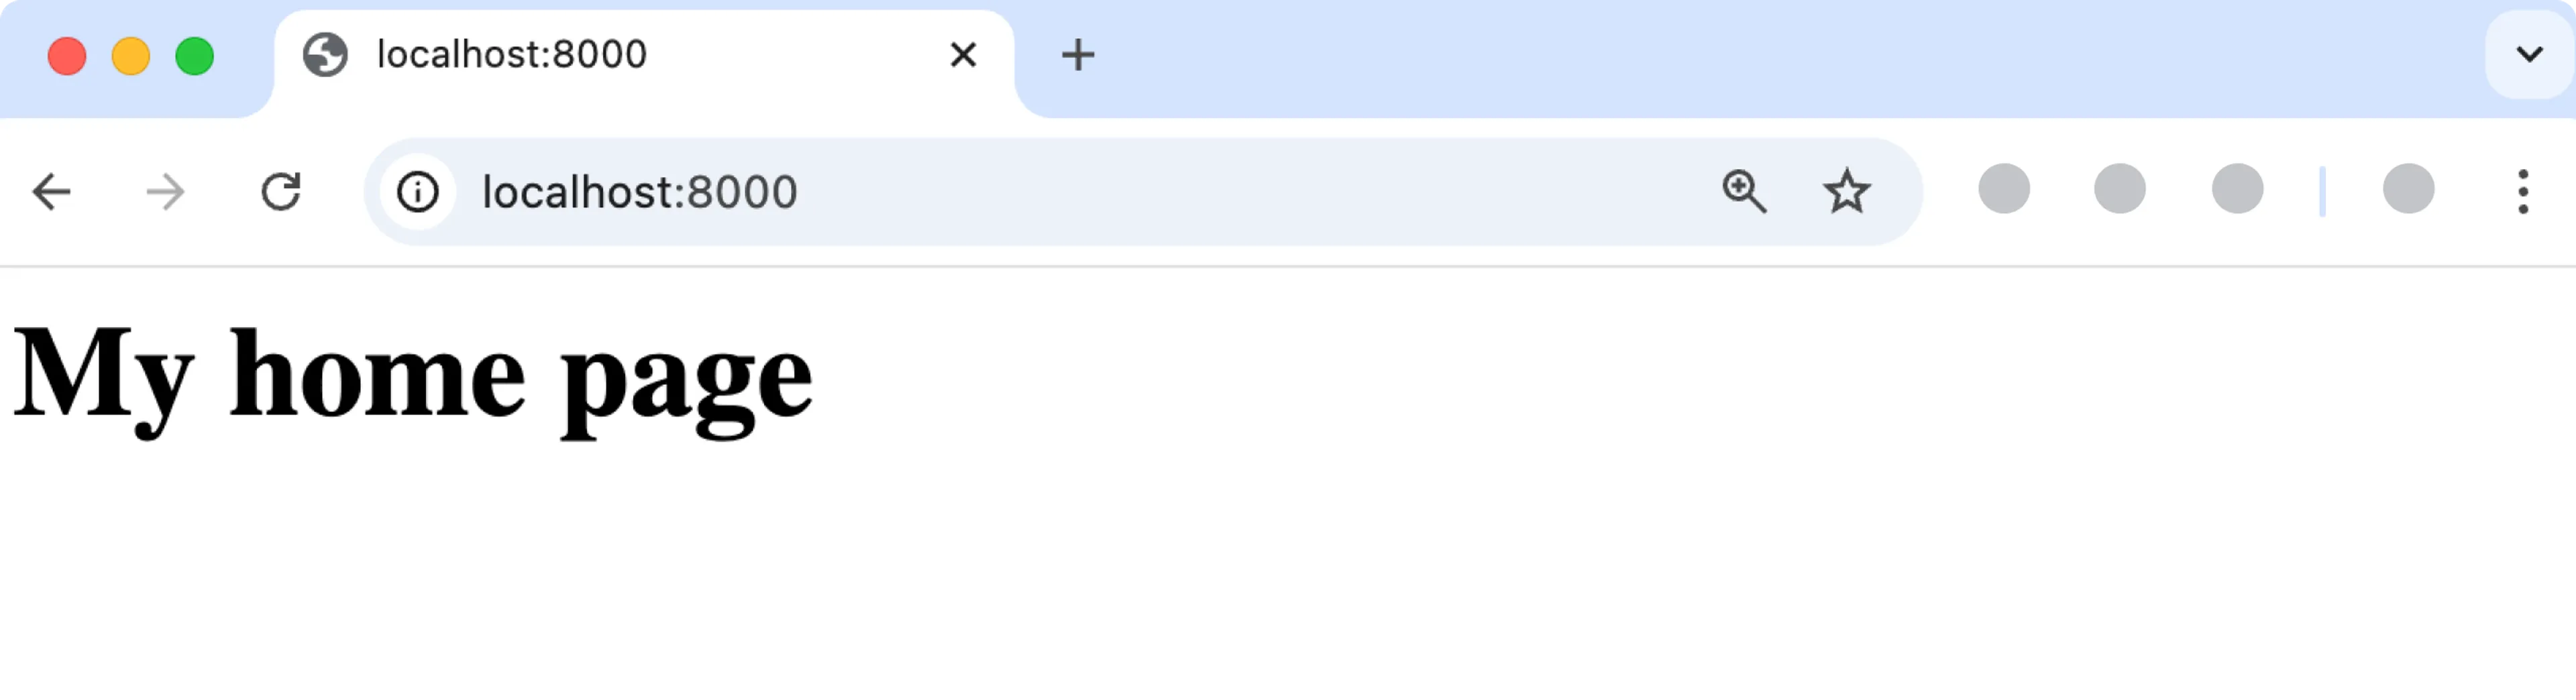
resources/viewssubfolder and update thewelcome.blade.phpfile with the following code to display your app:./resources/views/welcome.blade.php<div> <h1>My home page</h1> </div>
You should now see something like the image below on your localhost.
Install Tailwind
Follow the steps below to install and set up Tailwind styling. Tailwind is a CSS framework that simplifies front-end styling. We use a Laravel Tailwind module for the styling in this project.
-
Execute the following commands in the terminal to install Tailwind and to generate the config files:
npm install tailwindcss @tailwindcss/vite -
Add the tailwind plugin to the
vite.config.tsas follows:./vite.config.jsimport { defineConfig } from 'vite'; import laravel from 'laravel-vite-plugin'; import tailwindcss from '@tailwindcss/vite'; export default defineConfig({ plugins: [ laravel({ input: ['resources/css/app.css', 'resources/js/app.js'], refresh: true, }), tailwindcss(), ], }); -
Go to the
resources/cssfolder and update theapp.cssfile to import the Tailwind classes and to add some additional colors and spacing../resources/css/app.css@import 'tailwindcss'; @source "../views"; @theme { --font-size-mb-4xl: 2rem; --font-size-mb-5xl: 2.675rem; --spacing-8xl: 90rem; --container-8xl: 90rem; --container-prose: 50rem; --color-gray-50: #EEEEEE; --color-primary-50: #EFF6FF; --color-primary-100: #DBEAFE; --color-primary-600: #2563EB; --color-primary-700: #1D4ED8; --color-secondary-500: #4748B; --color-secondary-700: #334155; } -
Test the Tailwind installation by adding styling to the heading in the
welcome.blade.phpfile as follows:./resources/views/welcome.blade.php<head> <!-- import app.css --> @vite('resources/css/app.css') </head> <body> <div> <!-- Add tailwind class to include styling in the heading --> <h1 class="mb-4 bg-black text-3xl font-extrabold text-white md:text-6xl lg:text-6xl"> My home page </h1> </div> </body>
Vite is a modern front-end build tool used for bundling CSS and JavaScript.
-
Run the following command to compile the tailwind files.
npm run dev
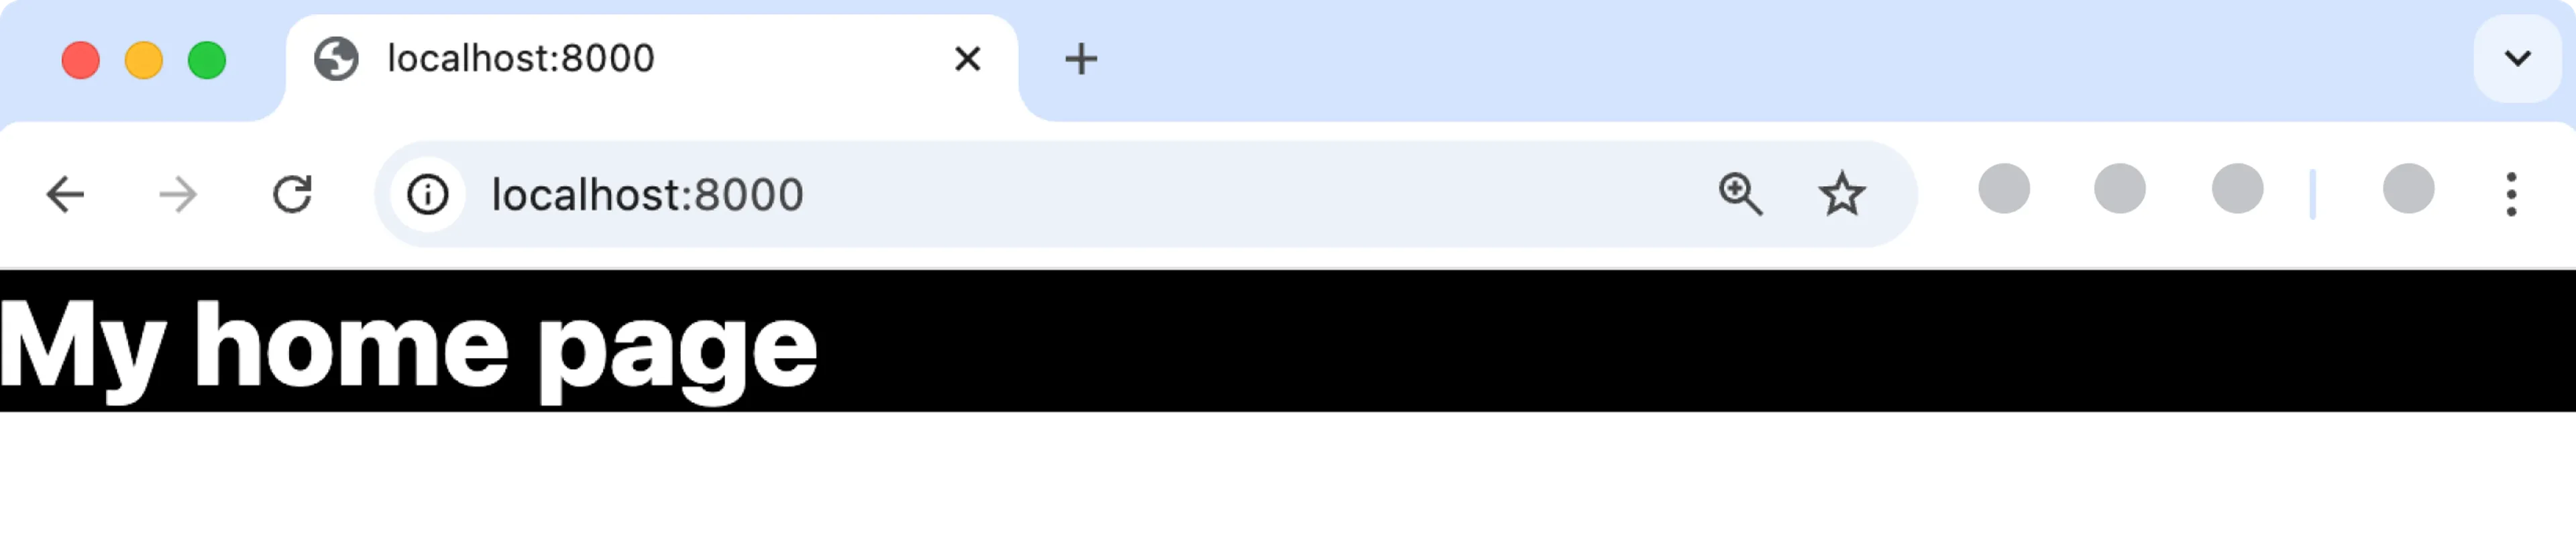
Now, when you refresh the page, you should see a styled heading in your app like in the image below:
Set up page routing
To get the Laravel app to display any page, you need to create a route to this page.
-
You can register web routes for your application in the
web.phpfile in the routes folder. Update theweb.phpfile with the route to your main page:./routes/web.php<?php use Illuminate\Support\Facades\Route; // Include the PageController class use App\Http\Controllers\PageController; // Add a route to the PageController function Route::get('/{param?}', [PageController::class, 'index']); -
Now that the route is created, construct the page by creating a controller to construct the page.
php artisan make:controller PageController -
Go to the subfolder
app/Http/Controllersand update thePageController.phpfile with the following code to construct the page:./app/Http/Controllers/PageController.php<?php namespace App\Http\Controllers; class PageController extends Controller { public function index($slug='/') { // Return the page view return view('pages.index'); } }
When you refresh the app in your browser, you see an error like the image below.
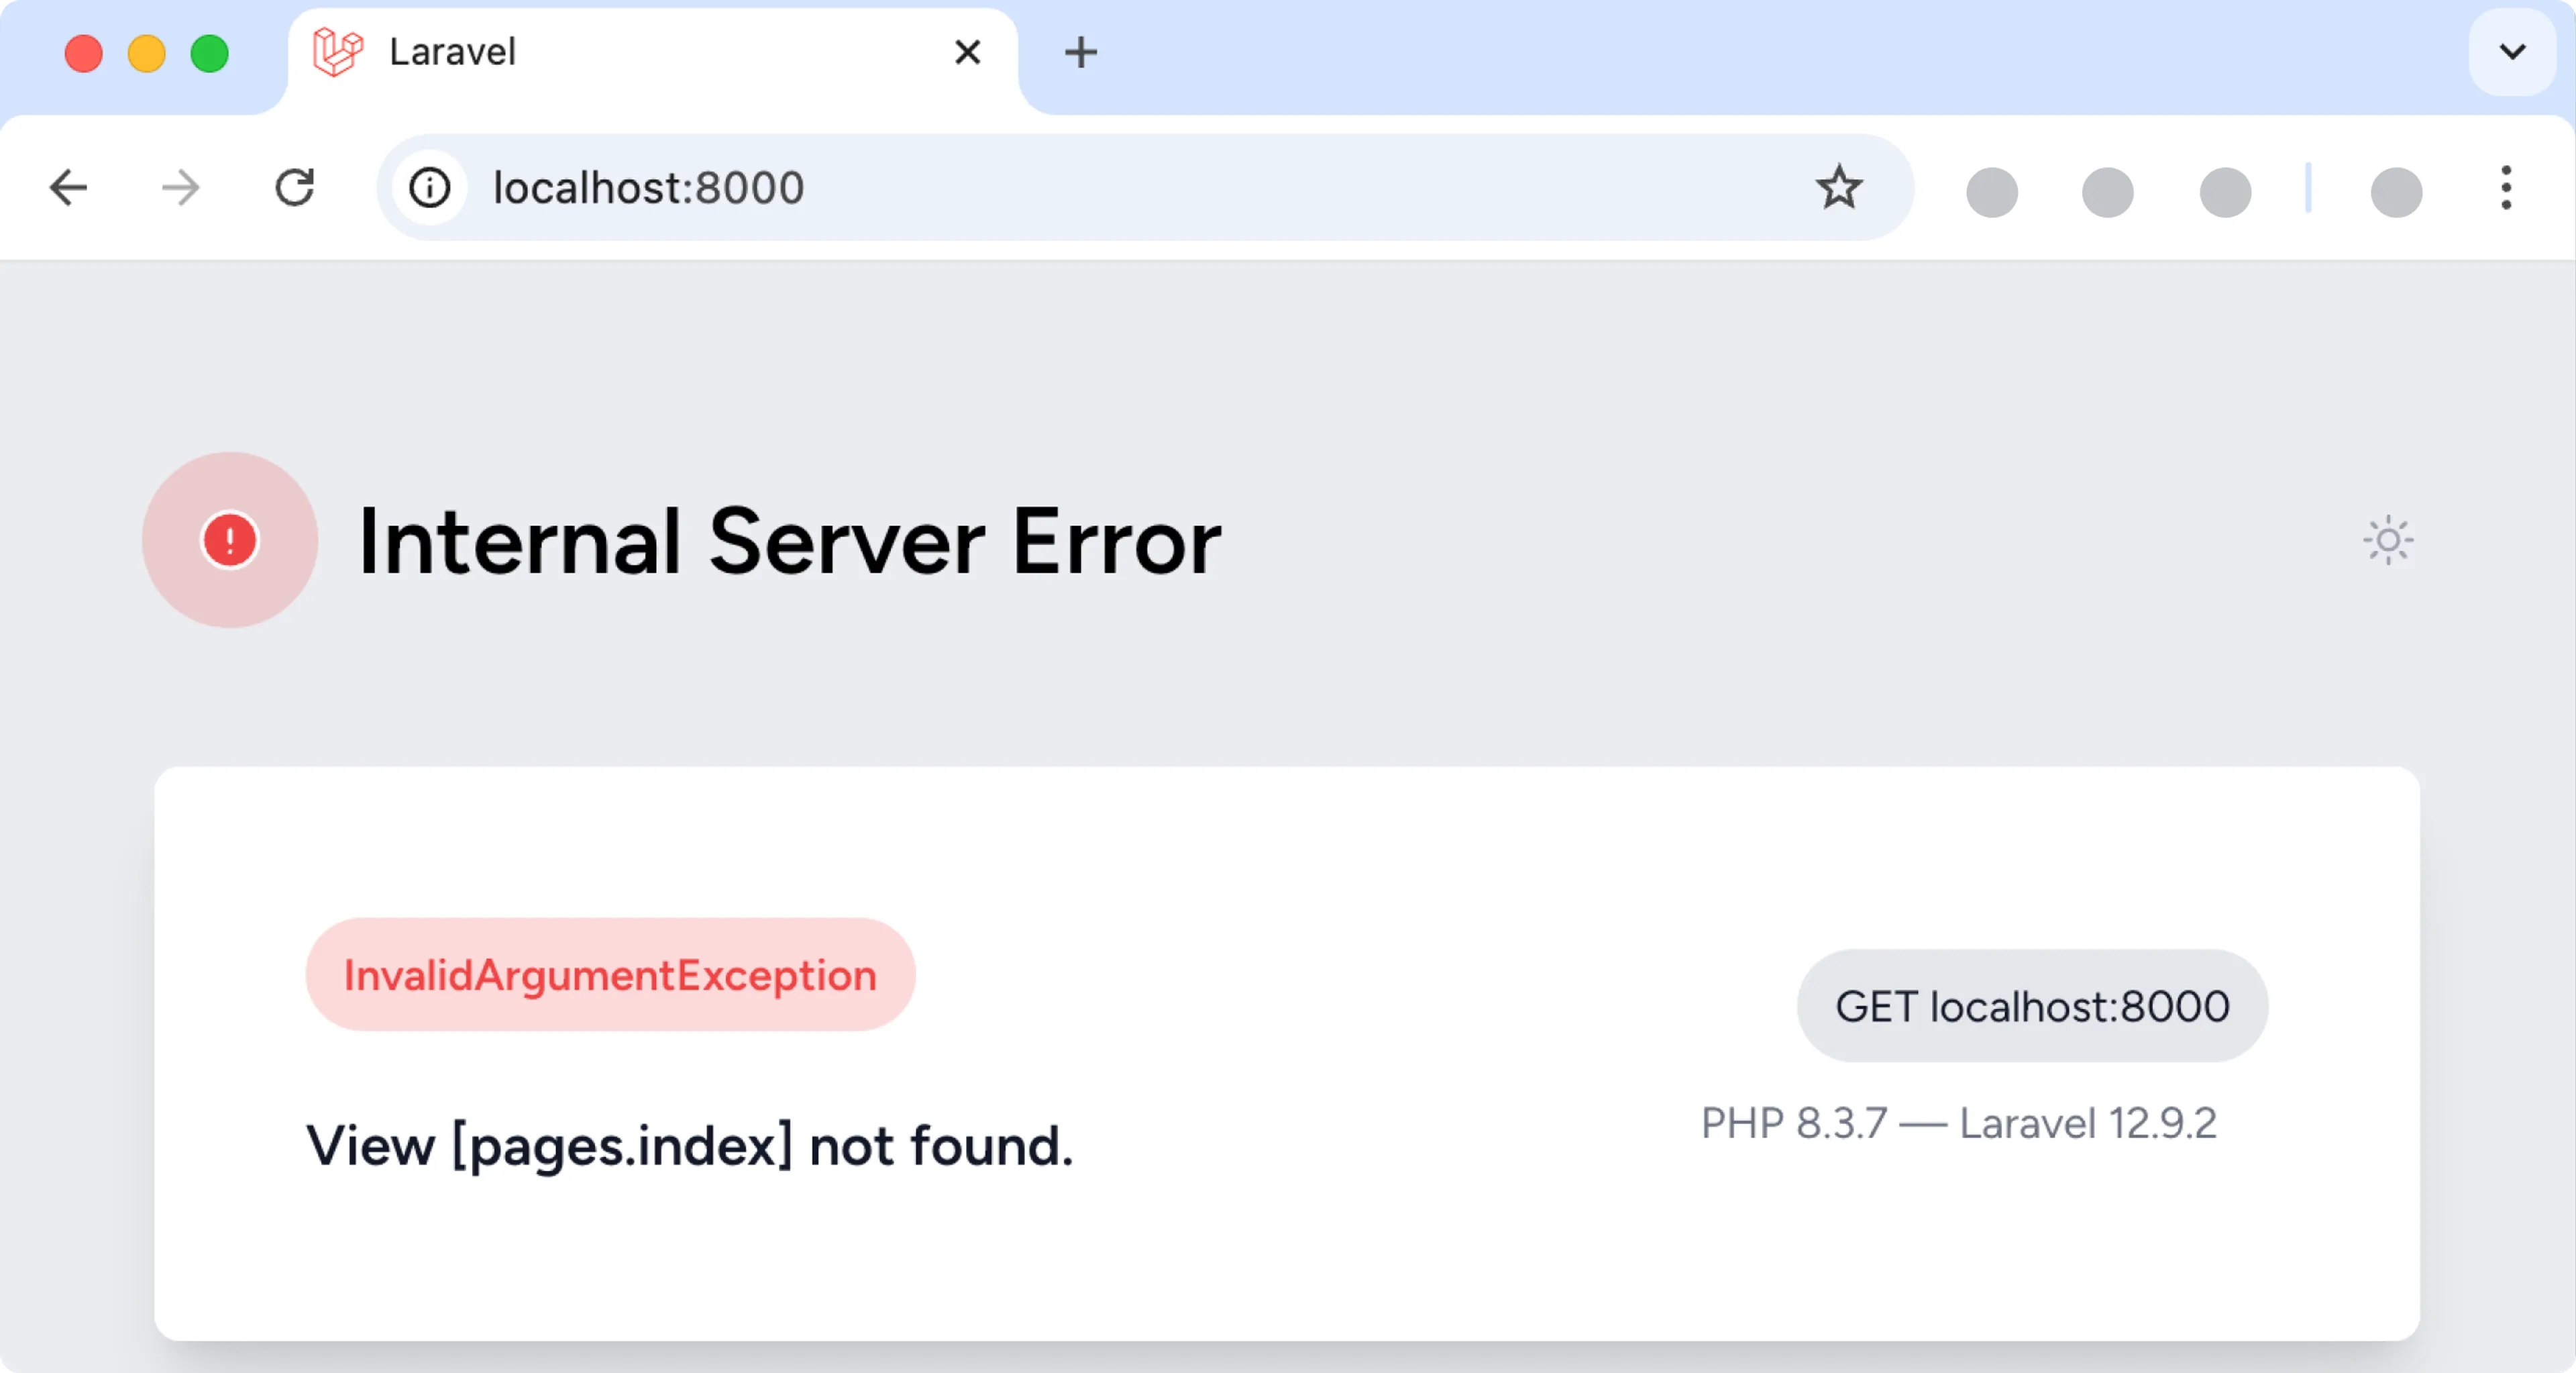
This is because you don’t have a view defined for the layout of the page yet. In the next step, you’ll create the view to resolve this error and display the page.
- Create a view by going to the
resources/viewssubfolder and creating a new folder calledpages. Move thewelcome.blade.phpthat you updated previously to this folder and rename it toindex.blade.php.
Now when you view the localhost, you’ll see the same empty styled home page you created earlier.
Add a simple navigation bar
Now that the page routing works, create some components to display a static navigation bar.
-
Go to
resources/viewsfolder and create acomponentsfolder. Add the following three components to your project to display a navigation bar at the top of your website.Button
./resources/views/components/button.blade.php@props([ 'buttonStyle' => 'primary', 'className' => '', ]) @php $baseClasses = 'flex rounded-full text-sm px-6 py-2.5 font-medium'; $styleClasses = match($buttonStyle) { 'primary' => 'bg-primary-600 hover:bg-primary-700 text-white', 'secondary' => 'bg-white hover:bg-gray-50 text-secondary-700', default => '', }; $classes = trim("{$baseClasses} {$styleClasses} {$className}"); @endphp <button {{ $attributes->merge(['class' => $classes]) }}> {{ $slot }} </button> -
To view the navigation bar, include it in the page as follows:
./resources/views/index.blade.php<head> <!-- import app.css --> @vite('resources/css/app.css') <x-navbar/> </head> <body> <div> <!-- Add tailwind class to include styling in the heading --> <h1 class="mb-4 bg-black text-3xl font-extrabold text-white md:text-6xl lg:text-6xl"> My home page </h1> </div> </body> -
Restart the localhost server with
npm run devin the terminal and go back to your browser. You should see the navigation bar and your heading text like in the image below.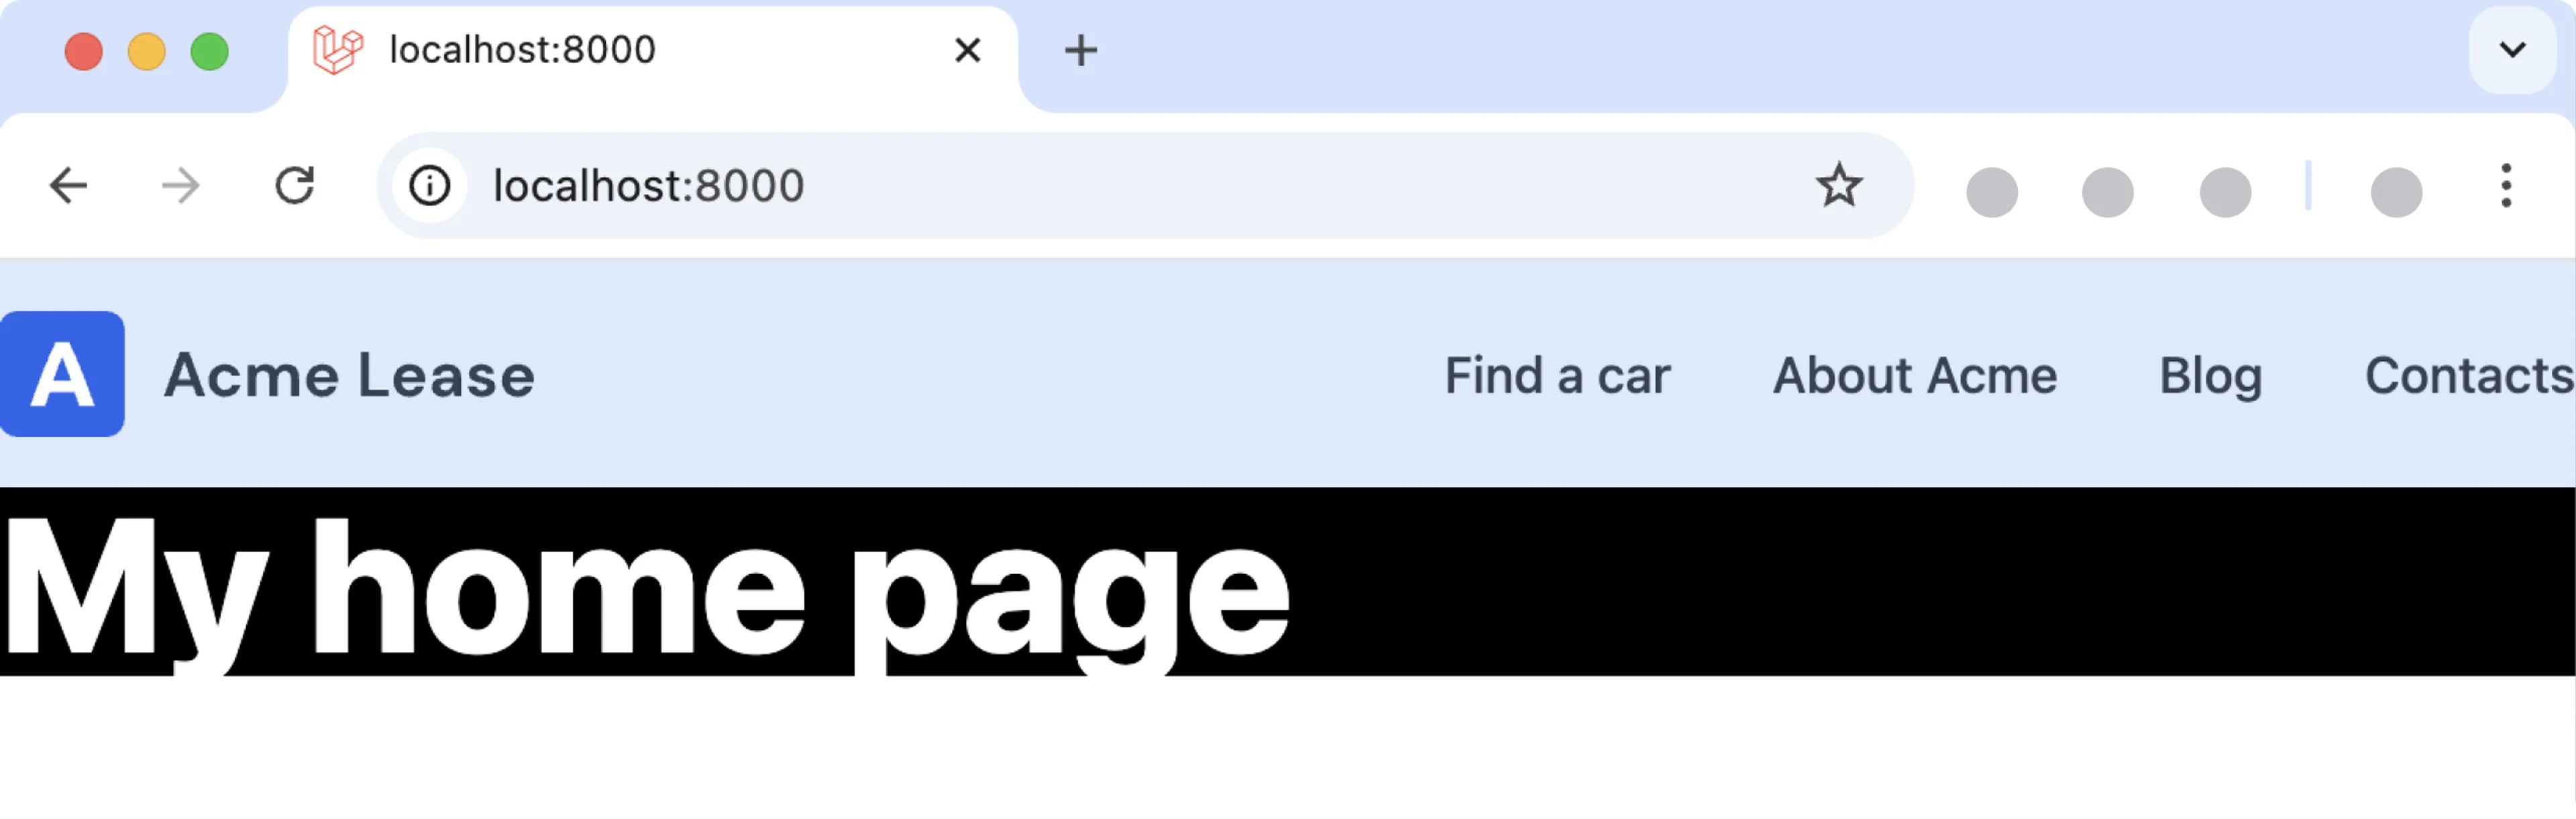
Once your navigation bar is created and displays correctly, you can create a static page with components.
Create static components
In this step, you’ll create a static version of the page to contain two front-end components. One for a Hero section at the top of the page and another for Feature sections to highlight features for the company.
-
Update the
index.blade.phpfile to include the Hero and Feature components../resources/views/pages/index.blade.php<head> <!-- import app.css --> @vite('resources/css/app.css') <x-navbar/> </head> <body> <div> <!-- Display the components with static data --> <x-hero-section :data="[ 'heading' => 'Acme Lease', 'sub_heading' => 'A car leasing company', 'image'=> [ 'url' => 'https://img.icons8.com/?size=500&id=112935&format=png&color=FFFFFF' ] ]" /> <x-feature-section :data="[ 'heading' => 'Business section', 'sub_heading' => 'All about business', 'image_position' => 'LEFT', 'button' => [ 'text' => 'Click me', 'button_type' => 'primary' ], 'image'=> [ 'url'=> 'https://img.icons8.com/?size=500&id=112935&format=png&color=FFFFFF' ] ]" /> </div> </body> -
Go to
resources/views/componentsfolder with new files calledhero-section.blade.phpandfeature-section.blade.phpand copy the code below to construct these components.Hero section
./resources/views/components/hero-section.blade.php<section class="bg-primary-50"> <div class="mx-auto max-w-8xl p-spacing flex flex-col items-center md:flex-row gap-8 py-10 lg:py-20"> <div class="basis-6/12"> <h1 class="text-mb-5xl lg:text-7xl text-secondary-700 font-medium break-words text-balance"> {{ data_get($data,'heading') }} </h1> <p class="text-mb-lg text-secondary-500 lg:text-lg mt-4 lg:mt-6 text-balance"> {{ data_get($data,'sub_heading') }} </p> <div class="flex gap-4 mt-8 xl:mt-10"> <div> <a href="#"><x-button>Find your car</x-button></a> </div> </div> </div> <div class="basis-6/12 relative flex justify-end items-center"> <div class="z-10 flex items-center aspect-20/17 w-9/12 overflow-hidden justify-center absolute top-1/2 left-1/2 transform -translate-x-1/2 -translate-y-1/2"> <img src="{{ data_get($data,'image.url') }}" alt="Hero Image" class="object-cover rounded-2xl" /> </div> <div class="w-9/12 aspect-20/17 bg-primary-100 rounded-3xl right-0 top-0 z-0"></div> </div> </div> </section>
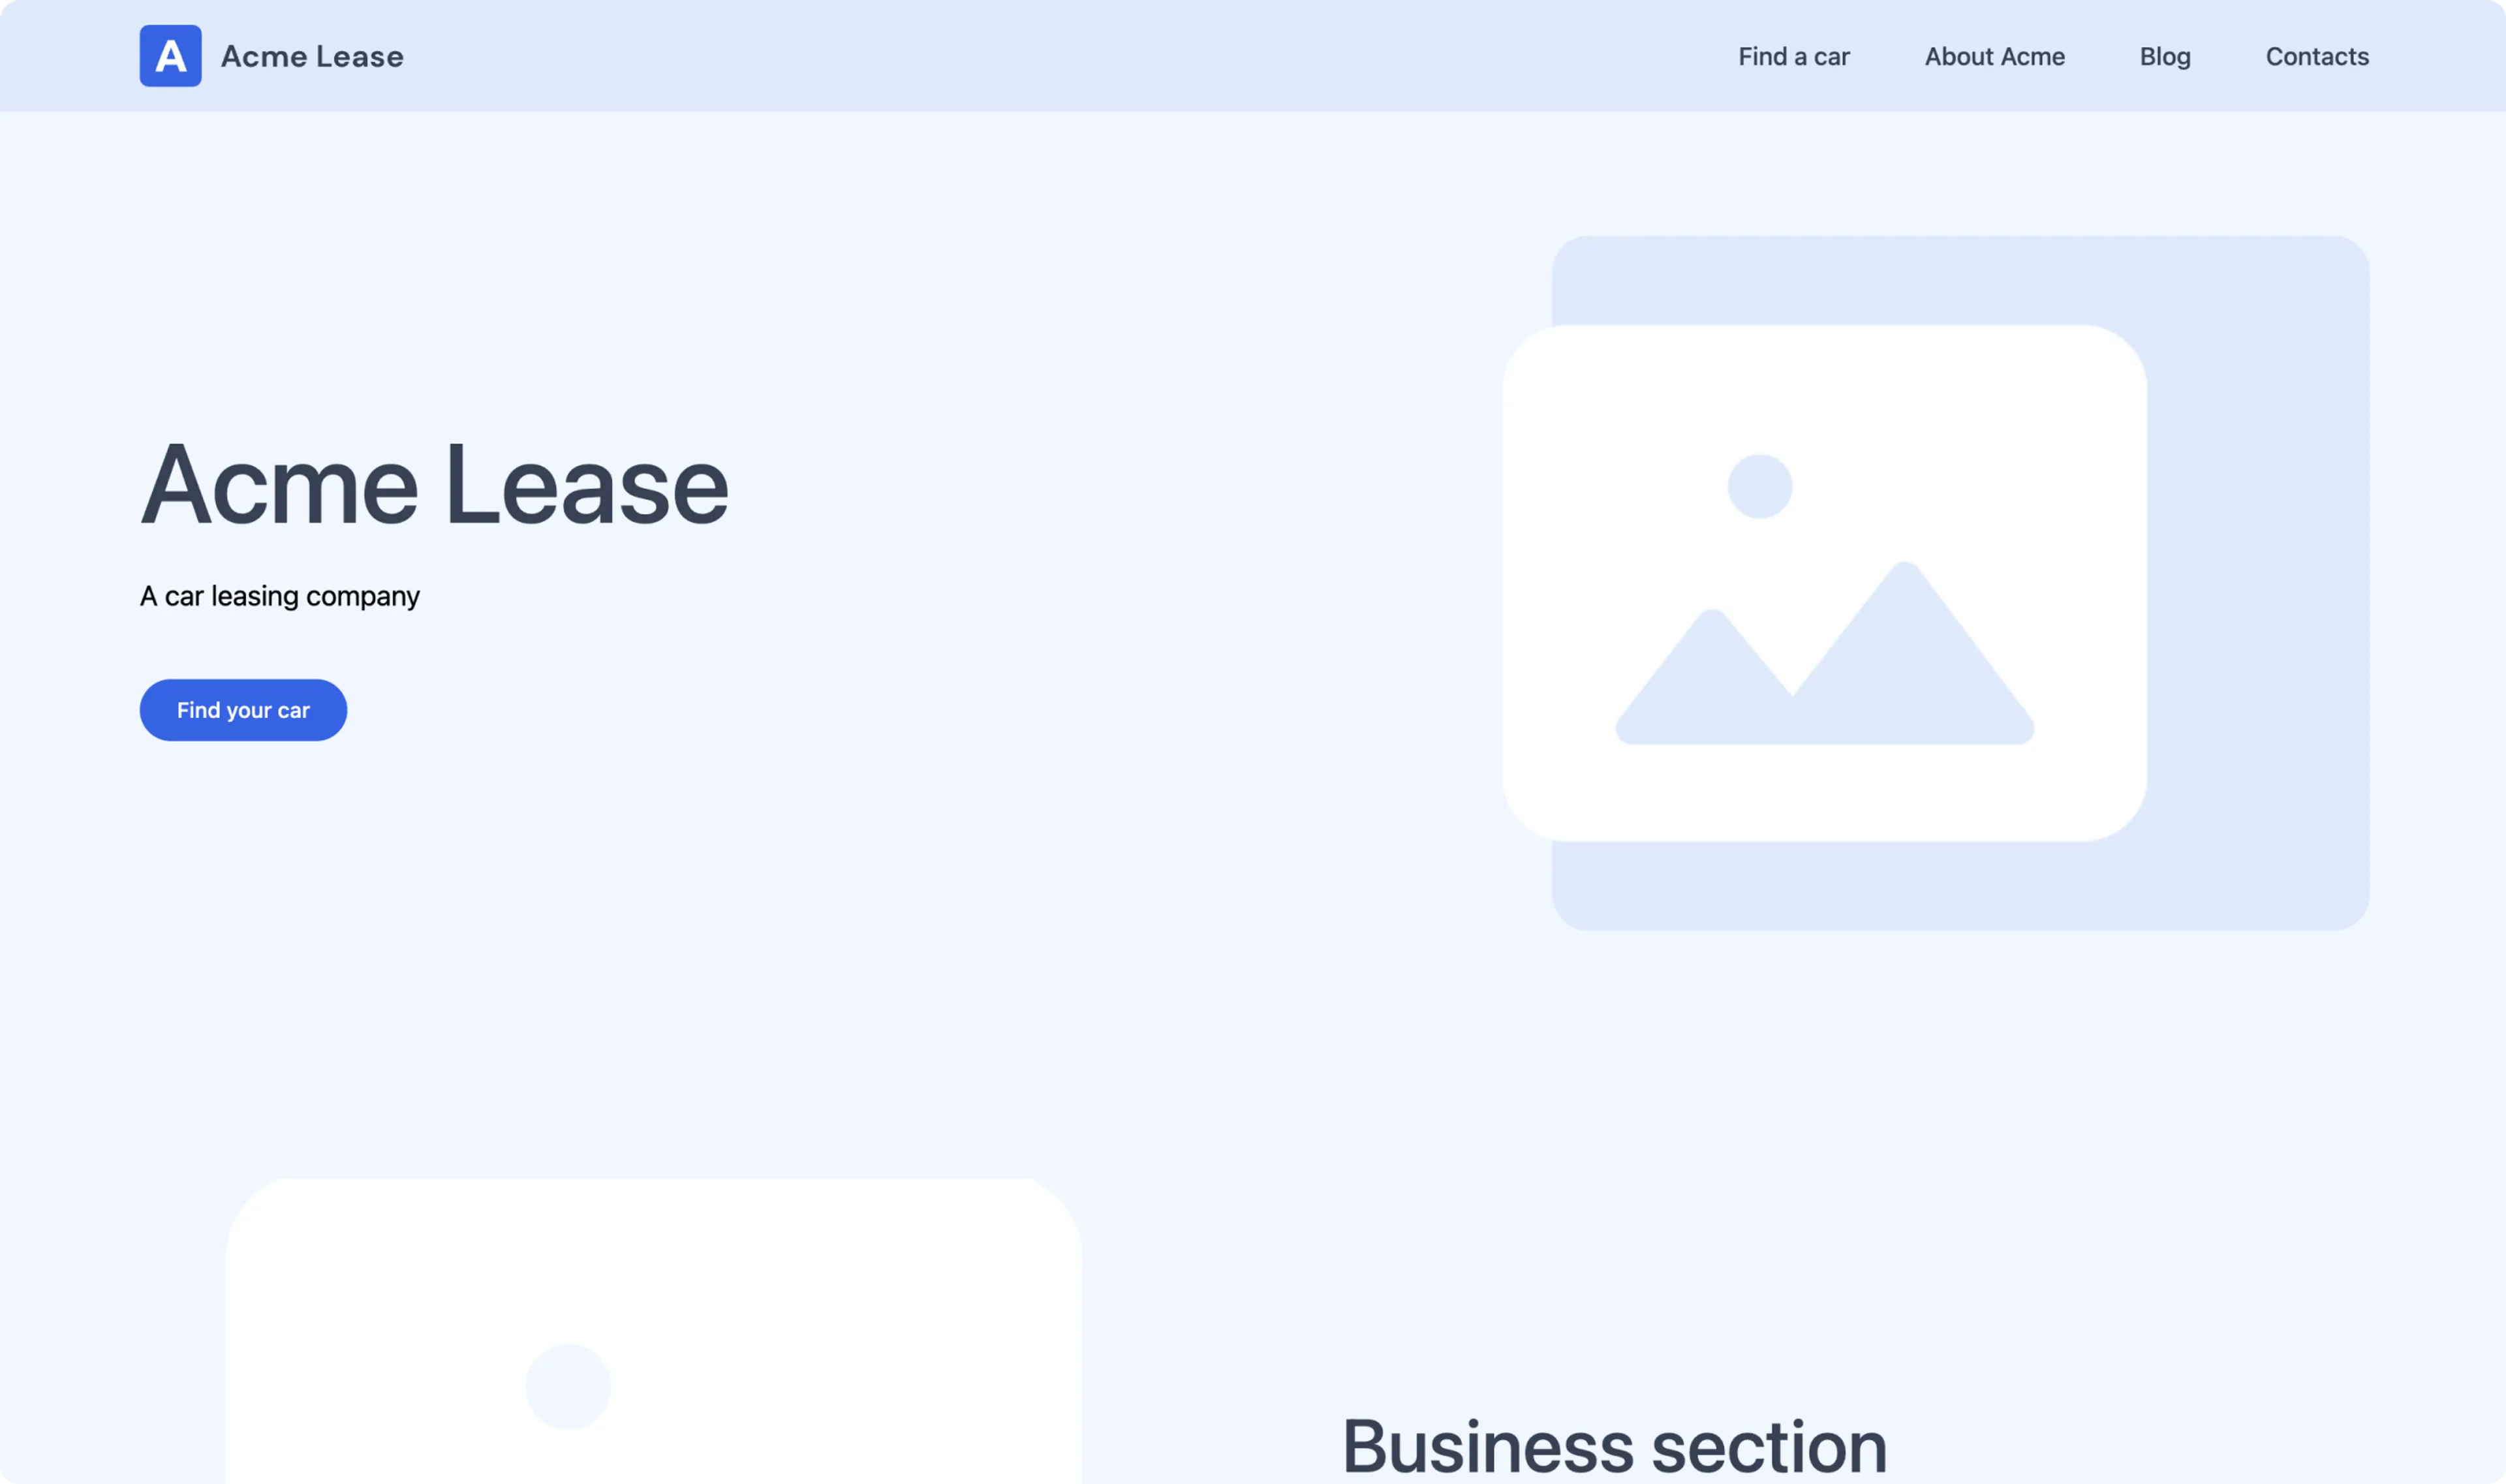
Now that the components are built, refresh the page. You should now see something like the image below on your localhost.
Great work on getting your static web app working! Continue your journey to the next section to make your Laravel project dynamic with Prepr content.