Caching strategies for Next.js and Apollo Client
This article gives you insight into caching strategies and our recommendation when connecting your Next.js web app with Prepr CMS using Apollo Client.
Introduction
Caching is the process of storing copies of data in a temporary storage layer so that future requests for that data can be served faster. Instead of fetching data from the CMS every time, cached data can be retrieved quickly from a nearby location like memory, a server, or a CDN.
Caching layers
When connecting your Next.js front end to Prepr CMS using Apollo Client, caching happens at several layers.
Next.js
There are different caching mechanisms in Next.js, each serving their own purpose:
-
Request Memorization is only persistent per request cycle and isn’t relevant for Prepr caching strategies.
-
Data Cache is turned off by default and can be opted in using
{ cache: 'force-cache' }with the nativefetchAPI. -
Full Route Cache is enabled by default, but if a route has a
fetchrequest that is not cached then this will opt you out of the Full Route Cache. Since caching of the data cache is turned off by default, you will also not use the full route cache. -
Router Cache is responsible for caching layouts, loading states and pages on backwards and forward navigation.
The default behavior listed above is applicable as of Next.js version 15. Check the relevant Next.js documentation if you’re using an older version of Next.js.
In your front end you can configure the caching behavior for individual routes and data requests. If you don’t set any caching options when fetching from the API, both the Data Cache and the Full Route Cache are not active and data is refetched on every request.
For more details, check out the Next.js caching docs .
Apollo Client
Apollo Client stores the results of your GraphQL queries in a local, normalized, in-memory cache. This enables Apollo Client to respond almost immediately to queries for already-cached data, without even sending a network request.
For more details, check out the Apollo Client caching docs .
Prepr CDN
All Prepr content is served by a globally distributed content delivery network (CDN). When you send your first API request to fetch data from Prepr, the response is cached in an edge cache location.
For more details, checkout the GraphQL API caching doc.
Recommendation
To make the most out of the dynamic Prepr features, personalization and A/B testing, we recommend setting up your front end for SSR (server-side rendering). Check out the Next.js complete guide for an example Next.js project using Apollo Client.
Prepr Next.js SSG example
If you choose not to use Prepr personalization or A/B testing, you can implement a caching strategy in Next.js and Apollo Client to build an SSG (statically generated) website.
Check out the Prepr Next.js static GitHub repo for example page.tsx code to view the Next.js and Apollo Client cache setup.
This project also includes two webhooks, api/post-published and api/post-updated which reset the cache if triggered.
To create a simple SSG blog site, follow the steps below.
-
Clone the Prepr Next.js static GitHub repo .
-
Copy the
.env.examplefile to a new.envfile by running the following command:cp .env.example .env -
In the .env file, replace
{YOUR_GRAPHQL_URL}with the API URL of the Prepr GraphQL access token from your Acme Lease demo environment.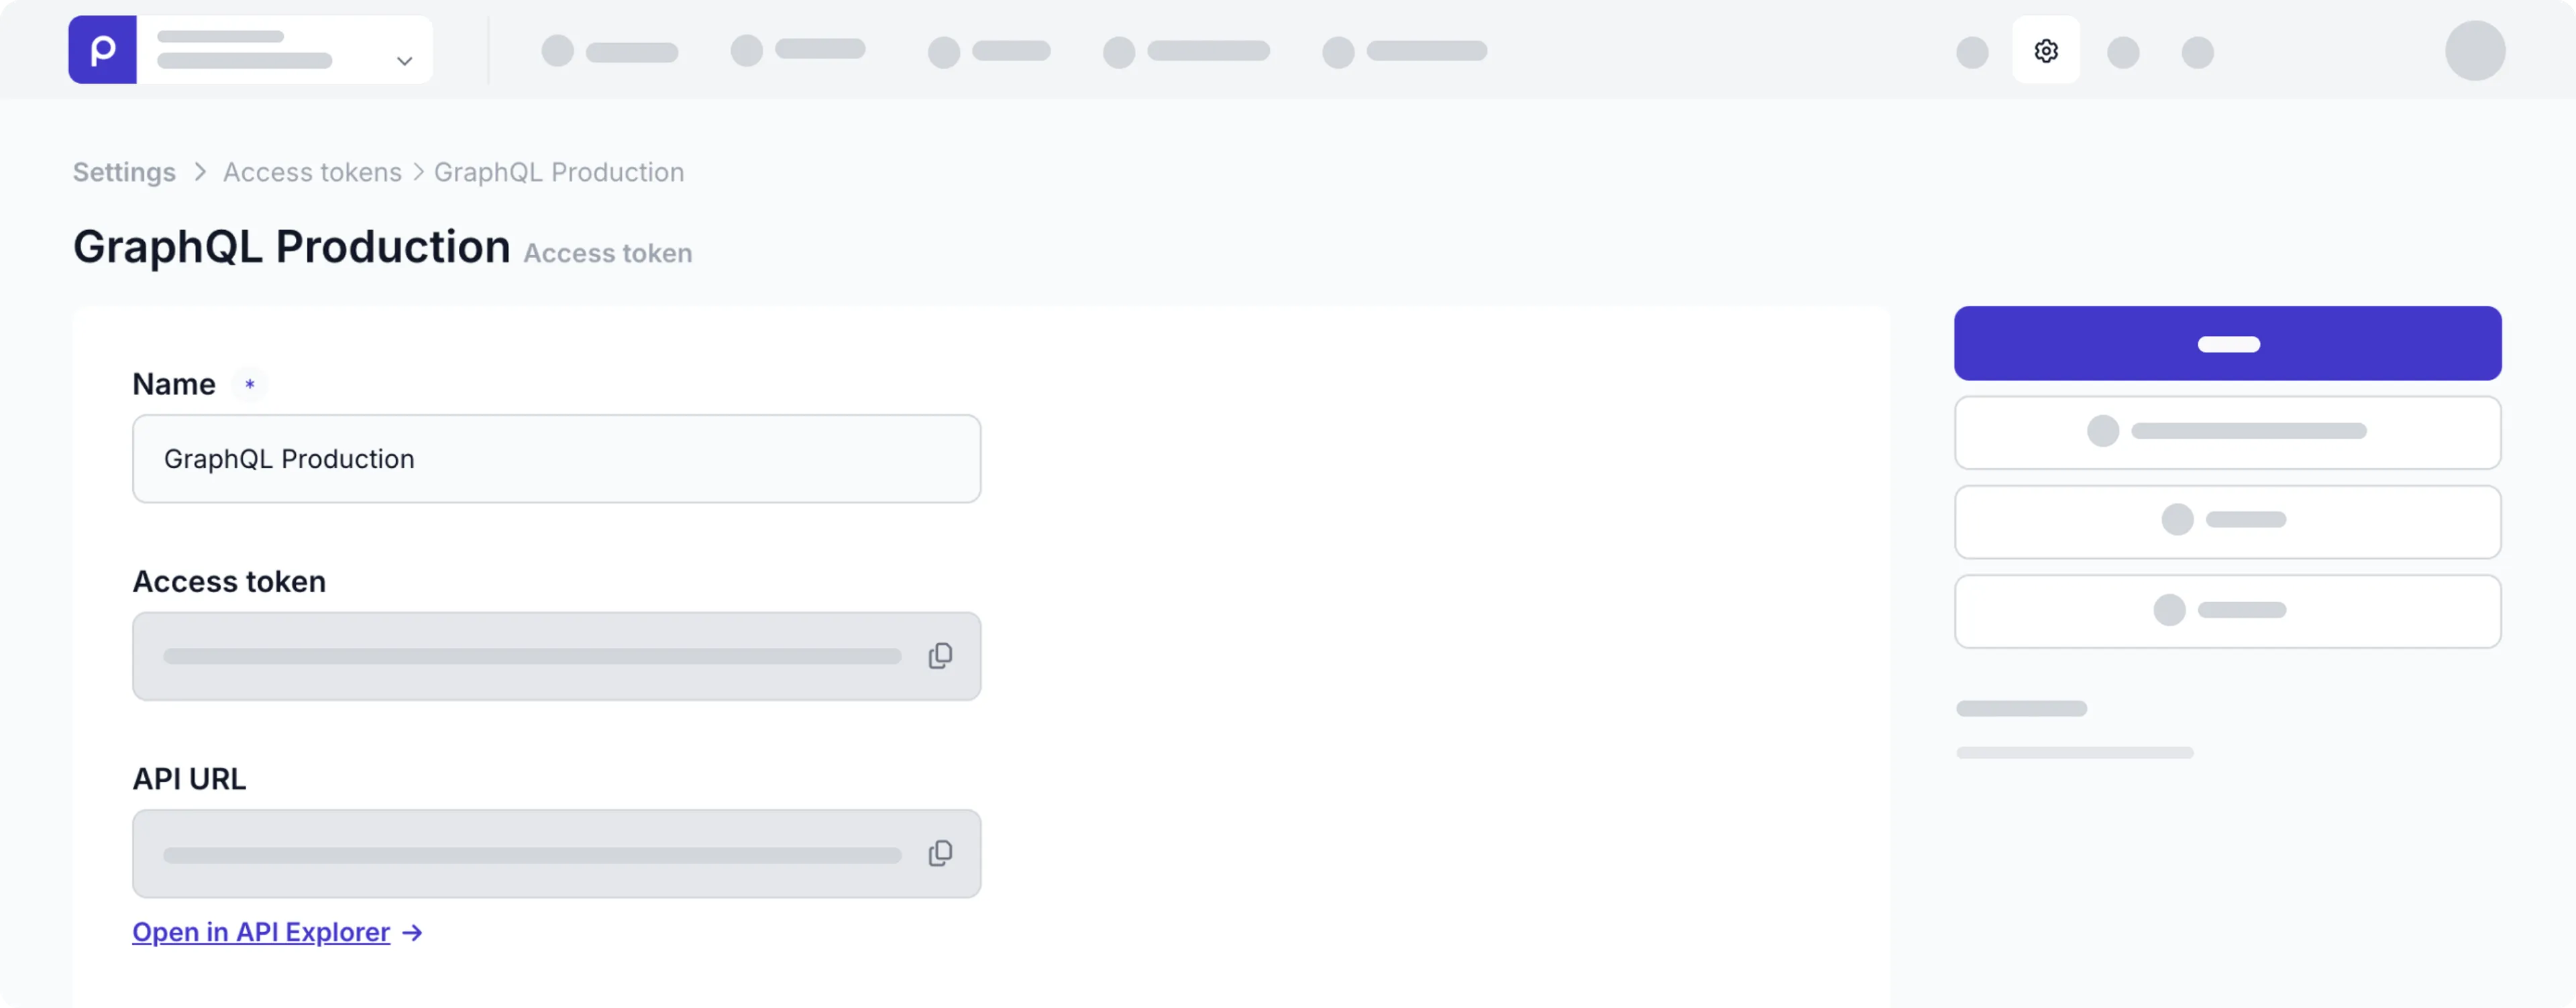
-
Deploy the app in your preferred deployment tool. You need the deployed URL to set up the webhooks in Prepr in the next step.
-
Configure two webhooks in Prepr to listen for changed and published content and trigger your site to reset the cache.
-
Set the URL value to
{YOUR_DEPLOYMENT_URL}/api/post-updated, choosecontent-item.changedfor Events and choosePostfor Models.
-
Set the URL value to
{YOUR_DEPLOYMENT_URL}/api/post-published, choosecontent-item.publishedfor Events, and choosePostfor Models.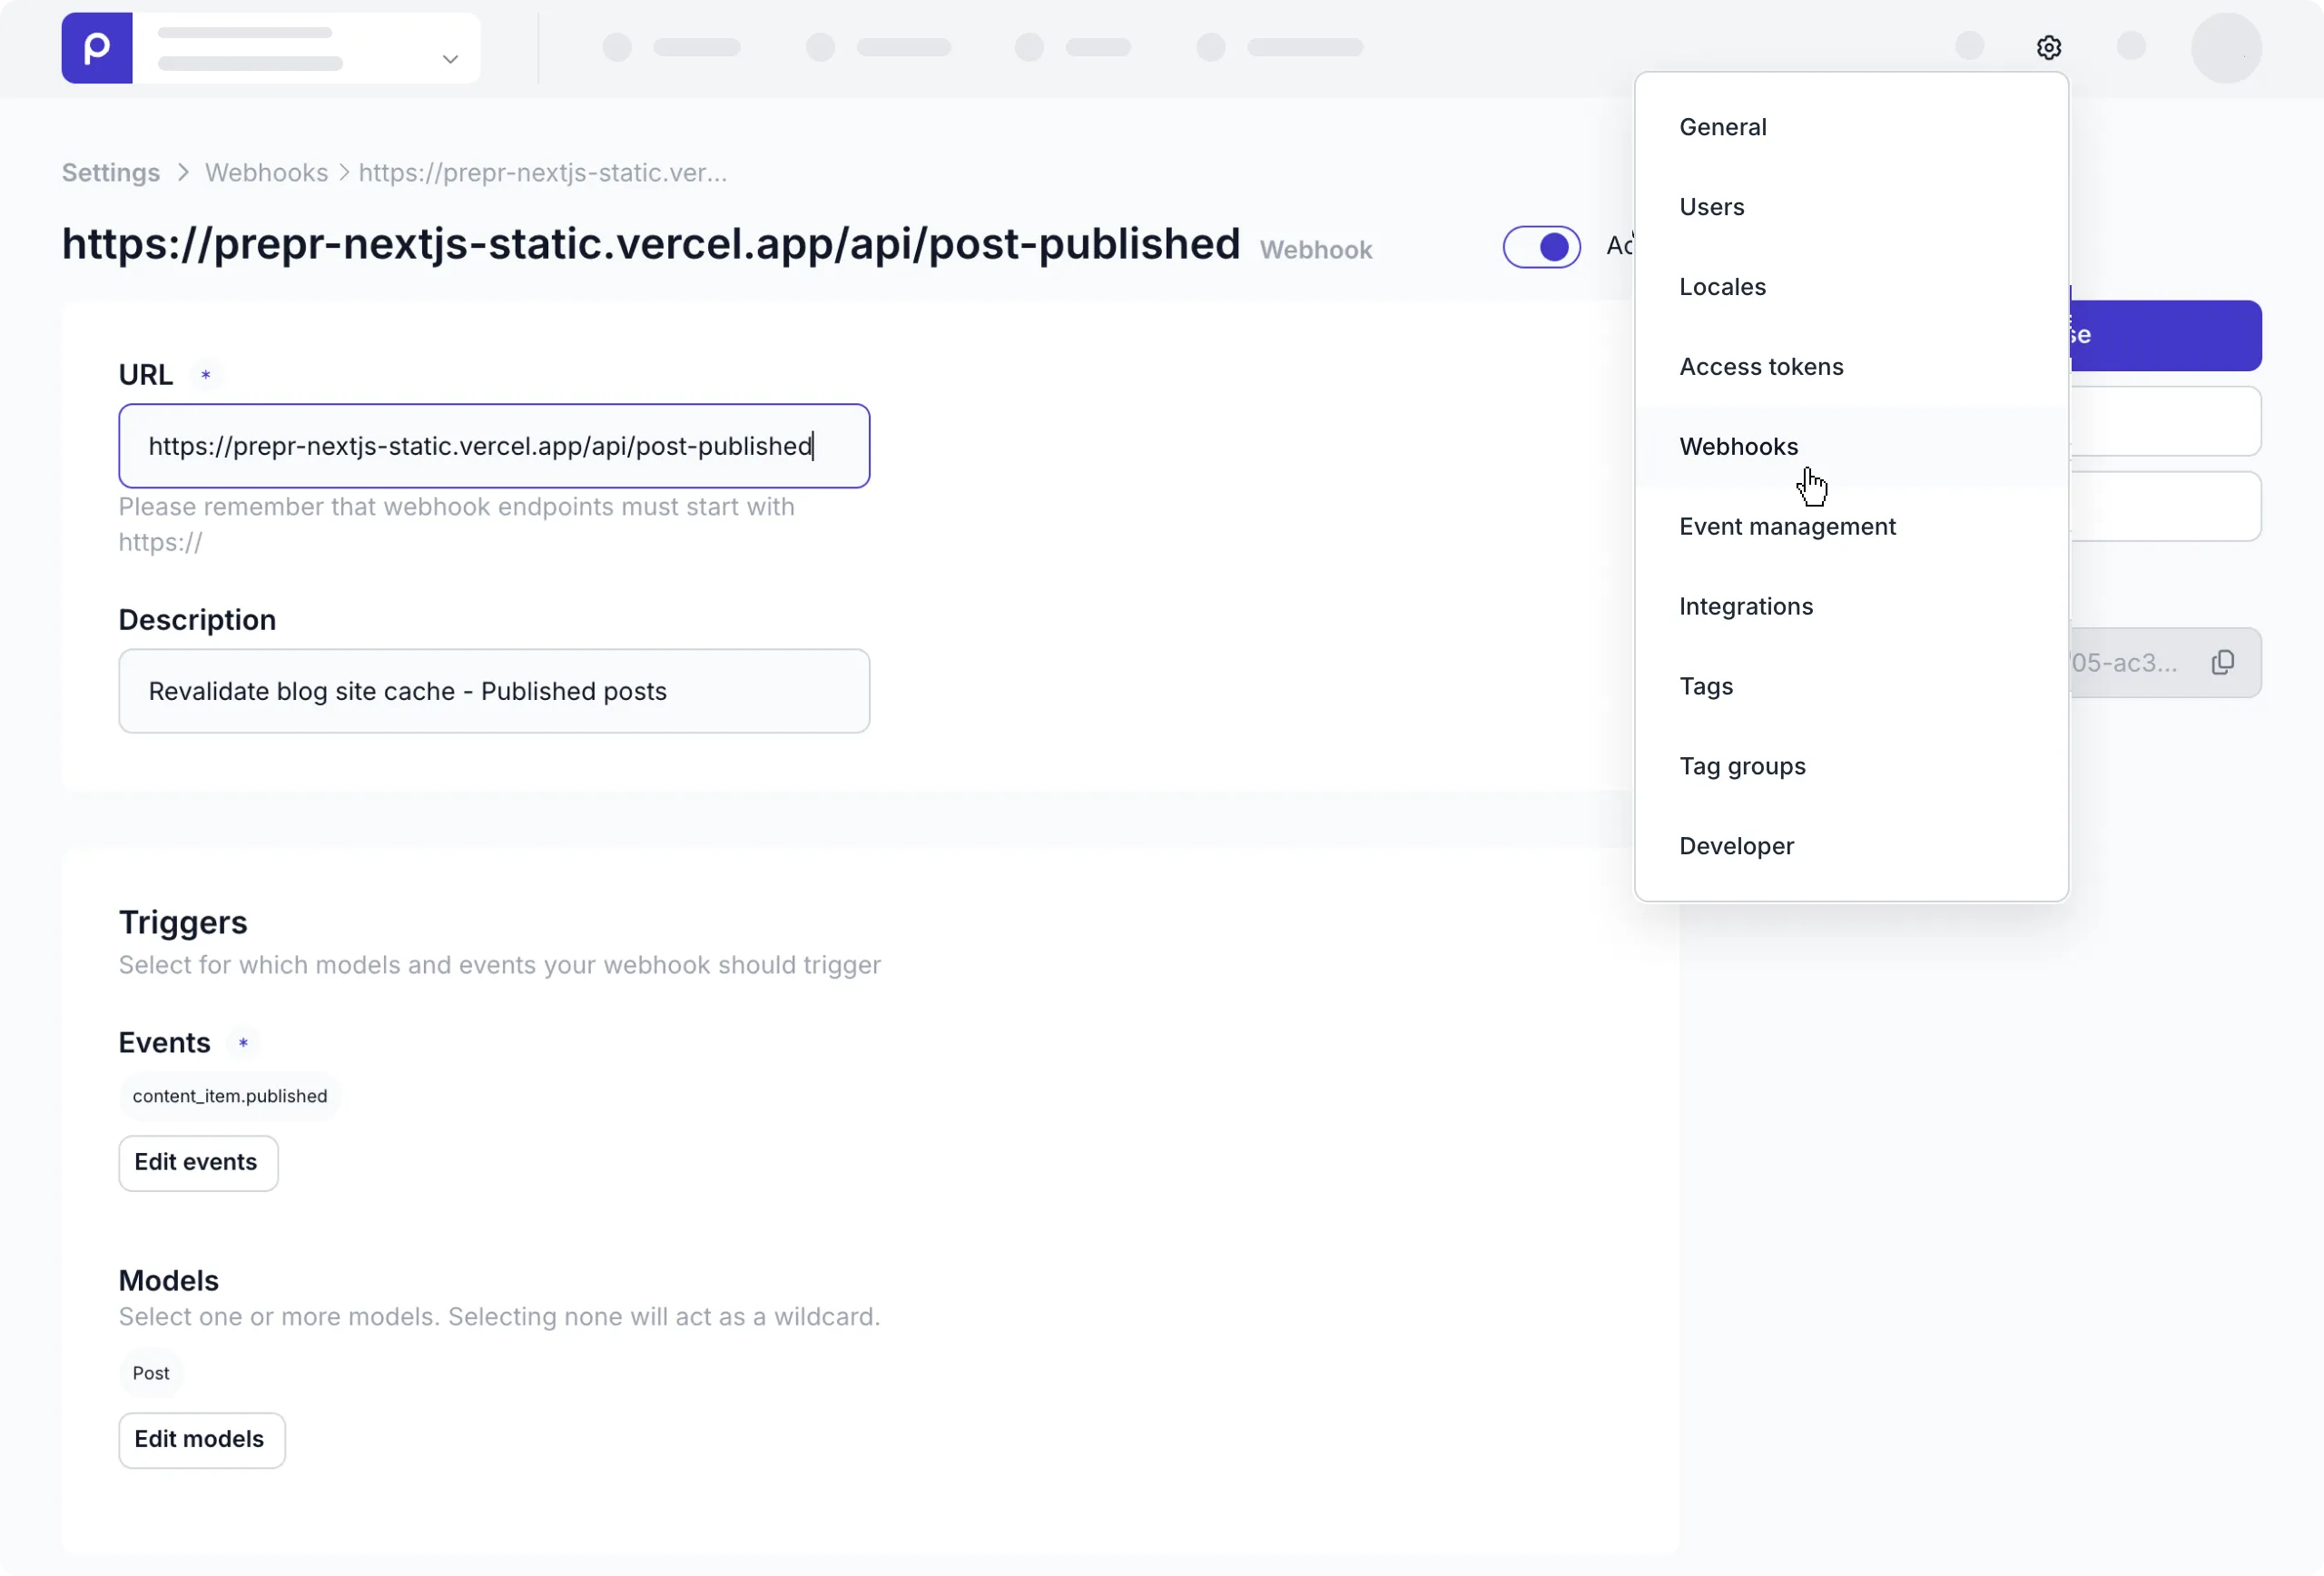
-
In this simple project, there are no security headers defined, but in a real world application you should add authorization to prevent unwanted cache invalidation.
All done! Now you have a simple SSG blog post site that renders updated content whenever content is changed or published.
Next steps
To learn more on how to expand your Next.js project, check out the following resources: