Setting up single sign-on (SSO)
This guide shows you how to set up integrations with Microsoft Entra ID, Google Workspace, or any identity provider using OpenID Connect or SAML 2.0 open standards to allow your users to log into Prepr using single sign-on (SSO).
Introduction
Prepr offers several ways to log in:
- Using passkeys to allow users to log in using their device pin, facial recognition or fingerprint sign-in options.
- Single sign-on (SSO) is a way to authenticate and log in to an application with just one set of credentials, rather than having to set up multiple usernames and passwords across different platforms. It’s a more secure process than submitting an email and password and prevents potentially losing or forgetting log-in credentials since it’s stored through another service.
- Submitting an email address with a password.
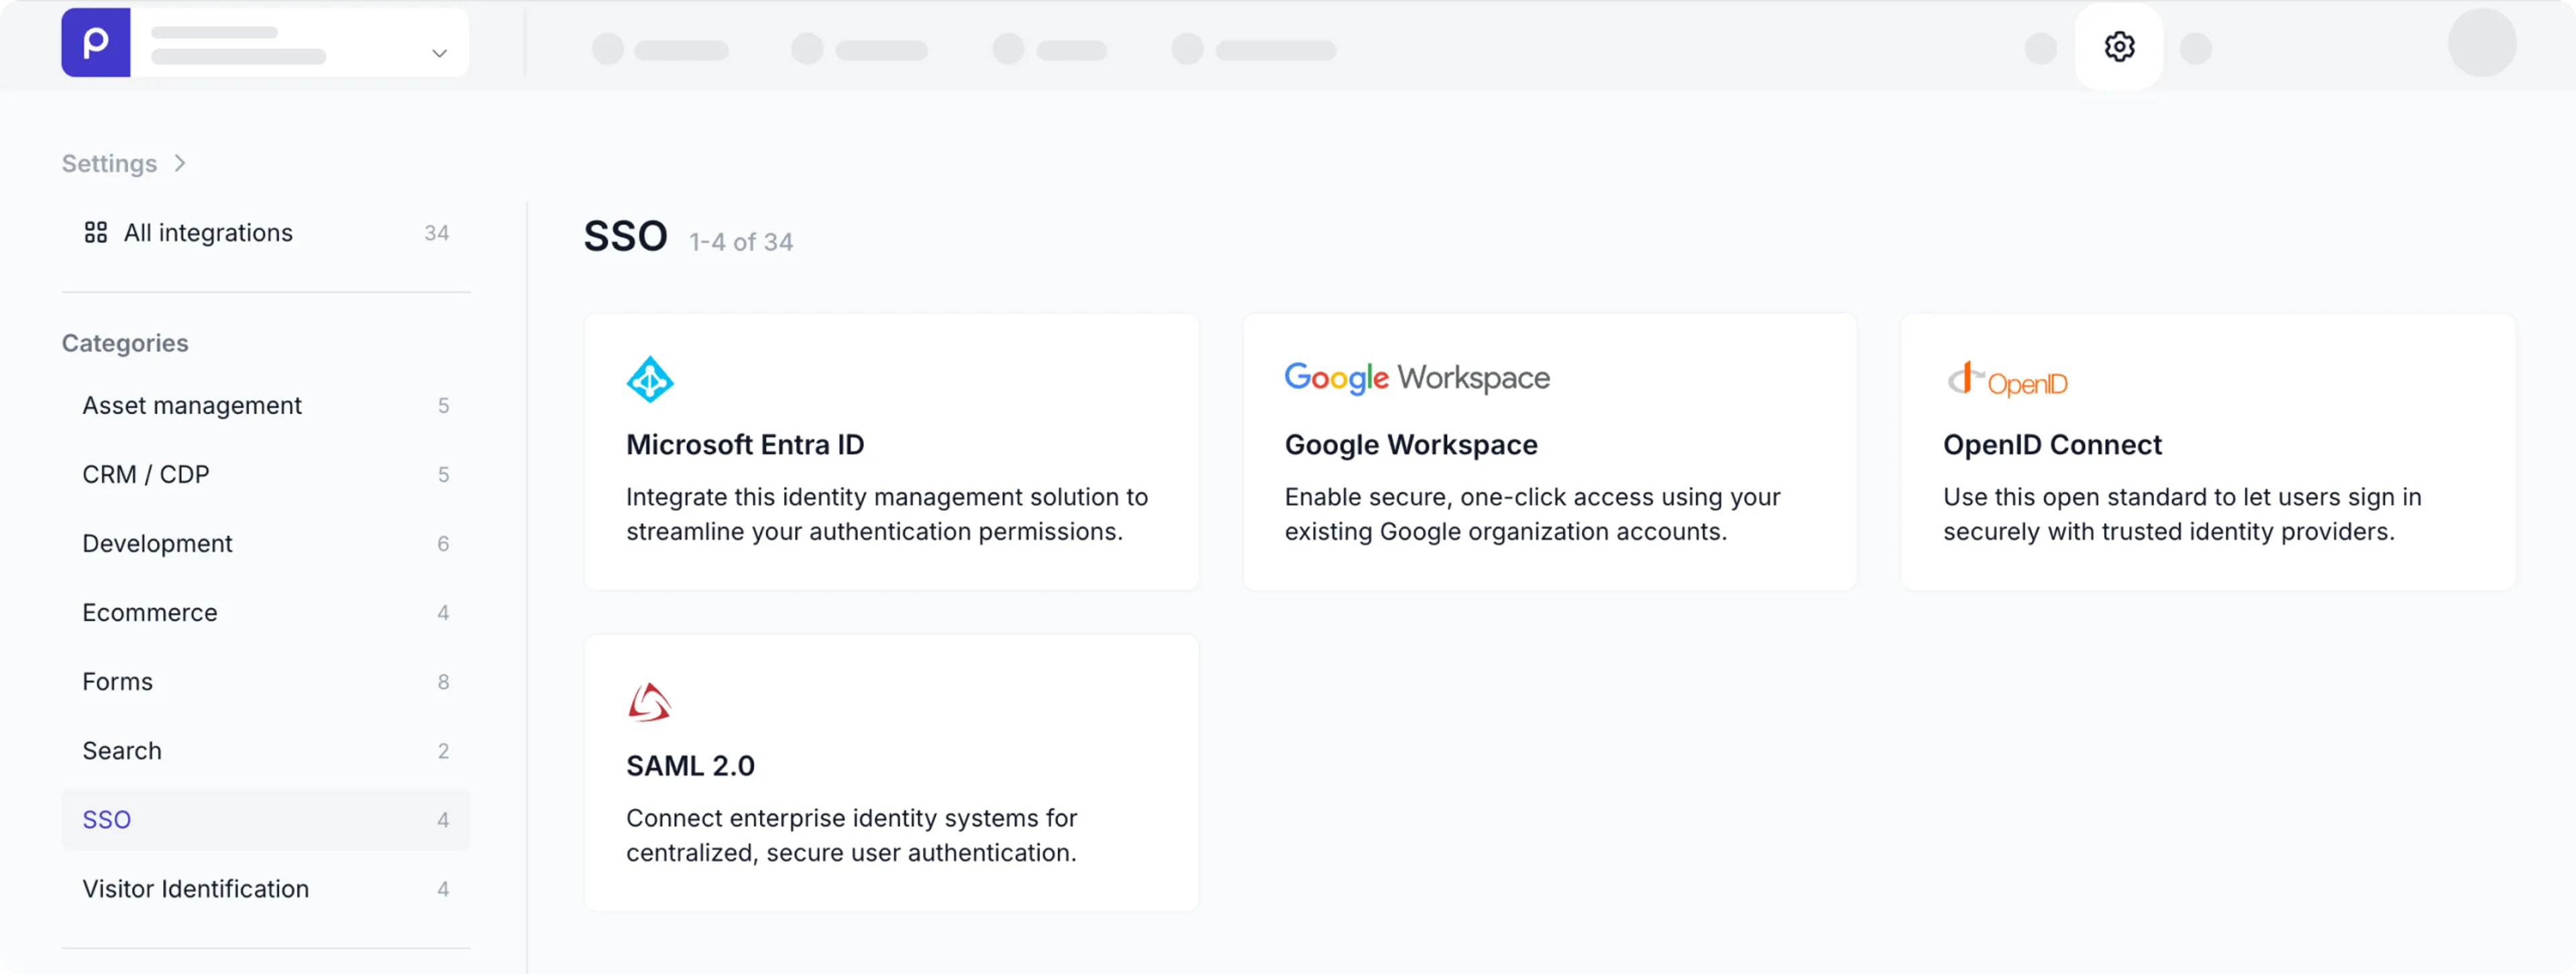
You can integrate with Microsoft Entra ID (Azure), Google Workspace, or any identity provider using SAML 2.0 or OpenID Connect open standards if you want to let users sign in from within your company SSO directory controlled by you or your organization.
If you do not have access to any of these integrations yet, contact our Sales team .
Microsoft Entra ID
To allow Prepr users to log in using single sign-on via Microsoft Entra ID, follow the steps below to set up the integration.
Register your app with Microsoft Entra ID
To create a Microsoft Entra ID app, follow the steps below:
-
Sign in to the Microsoft Entra admin center
-
If you have more than one tenant, go to Settings → Directories → subscriptions to switch to the tenant in which you want to register the application.
-
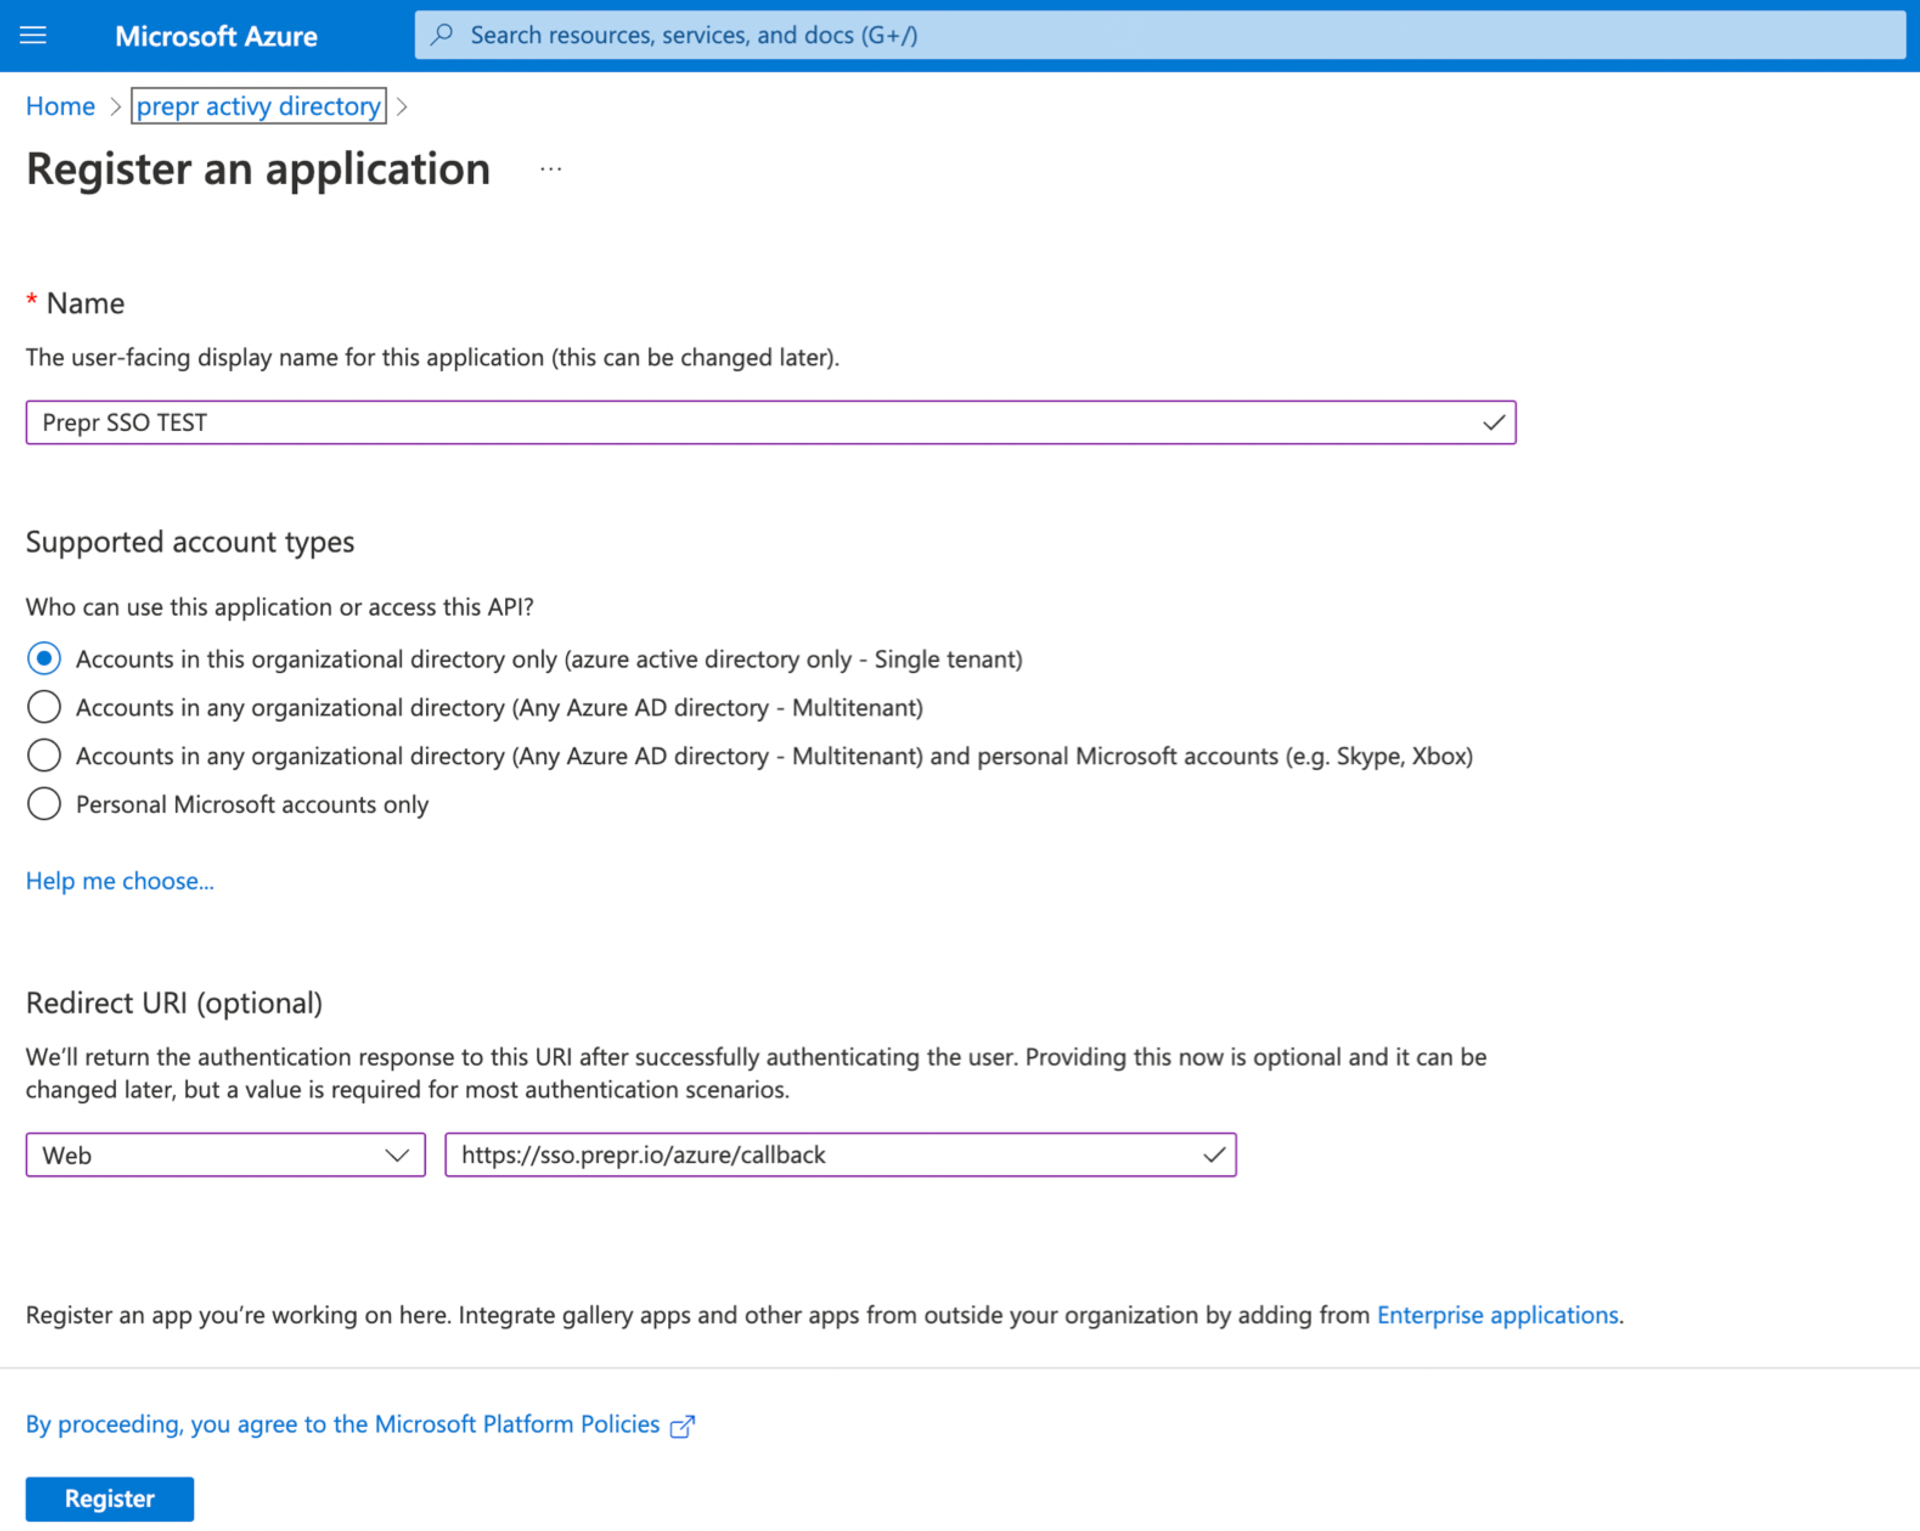
Go to App registrations and select New registration.
-
Enter
Prepr SSOas the Name for the new app. -
Select Accounts in this organizational directory only.
-
For the Redirect URI, select Web from the list and enter https://auth.prepr.io/azure/callback
-
Click the Register button.
-
If the app is registered successfully, the app’s overview page will be displayed.
-
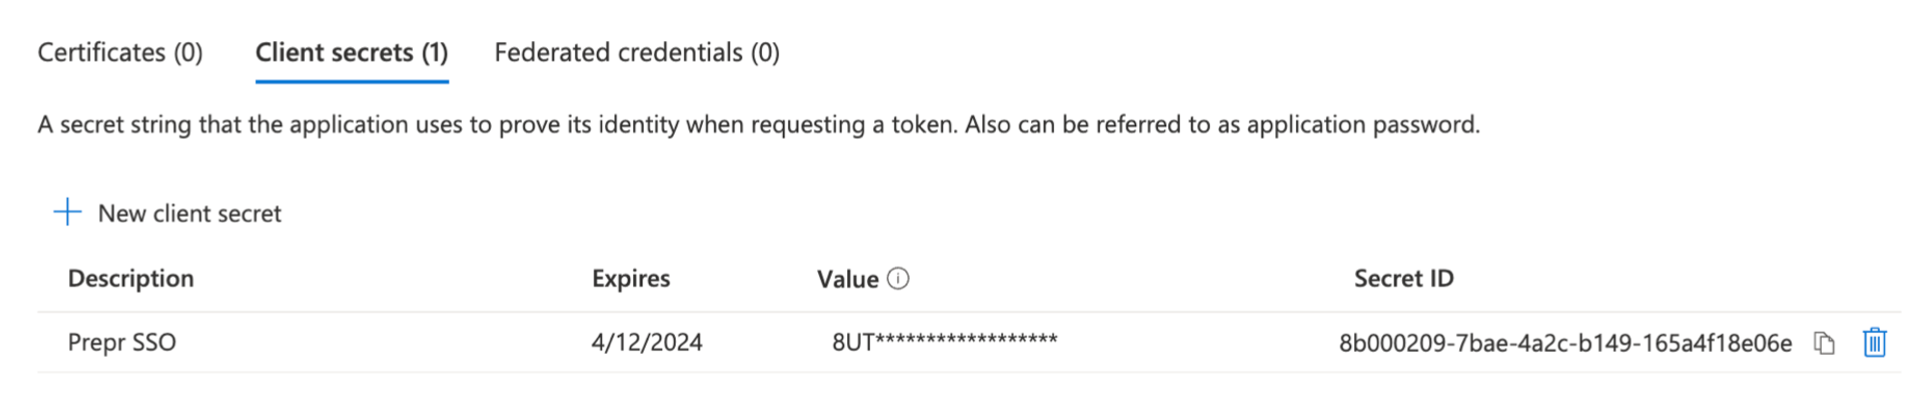
Click Certificates & secrets in the side menu on the left.
-
Click New client secret, enter Prepr SSO as the name, and select Expire in 24 months.
-
Click the Add button and copy the Secret Value.
The Secret Value is only visible once, so copy this to a safe place for now.
-
Go back to the Overview link in the side menu on the left.
-
Copy the Application (client) ID, and the Directory (tenant) ID.
Provide App credentials
After you registered Prepr in Microsoft Entra ID, please provide Prepr Support with the following details:
- App ID
- Secret value
- Tenant ID
After this setup, please give us a call, so we can finish your integration together.
Sign in with Microsoft Entra ID
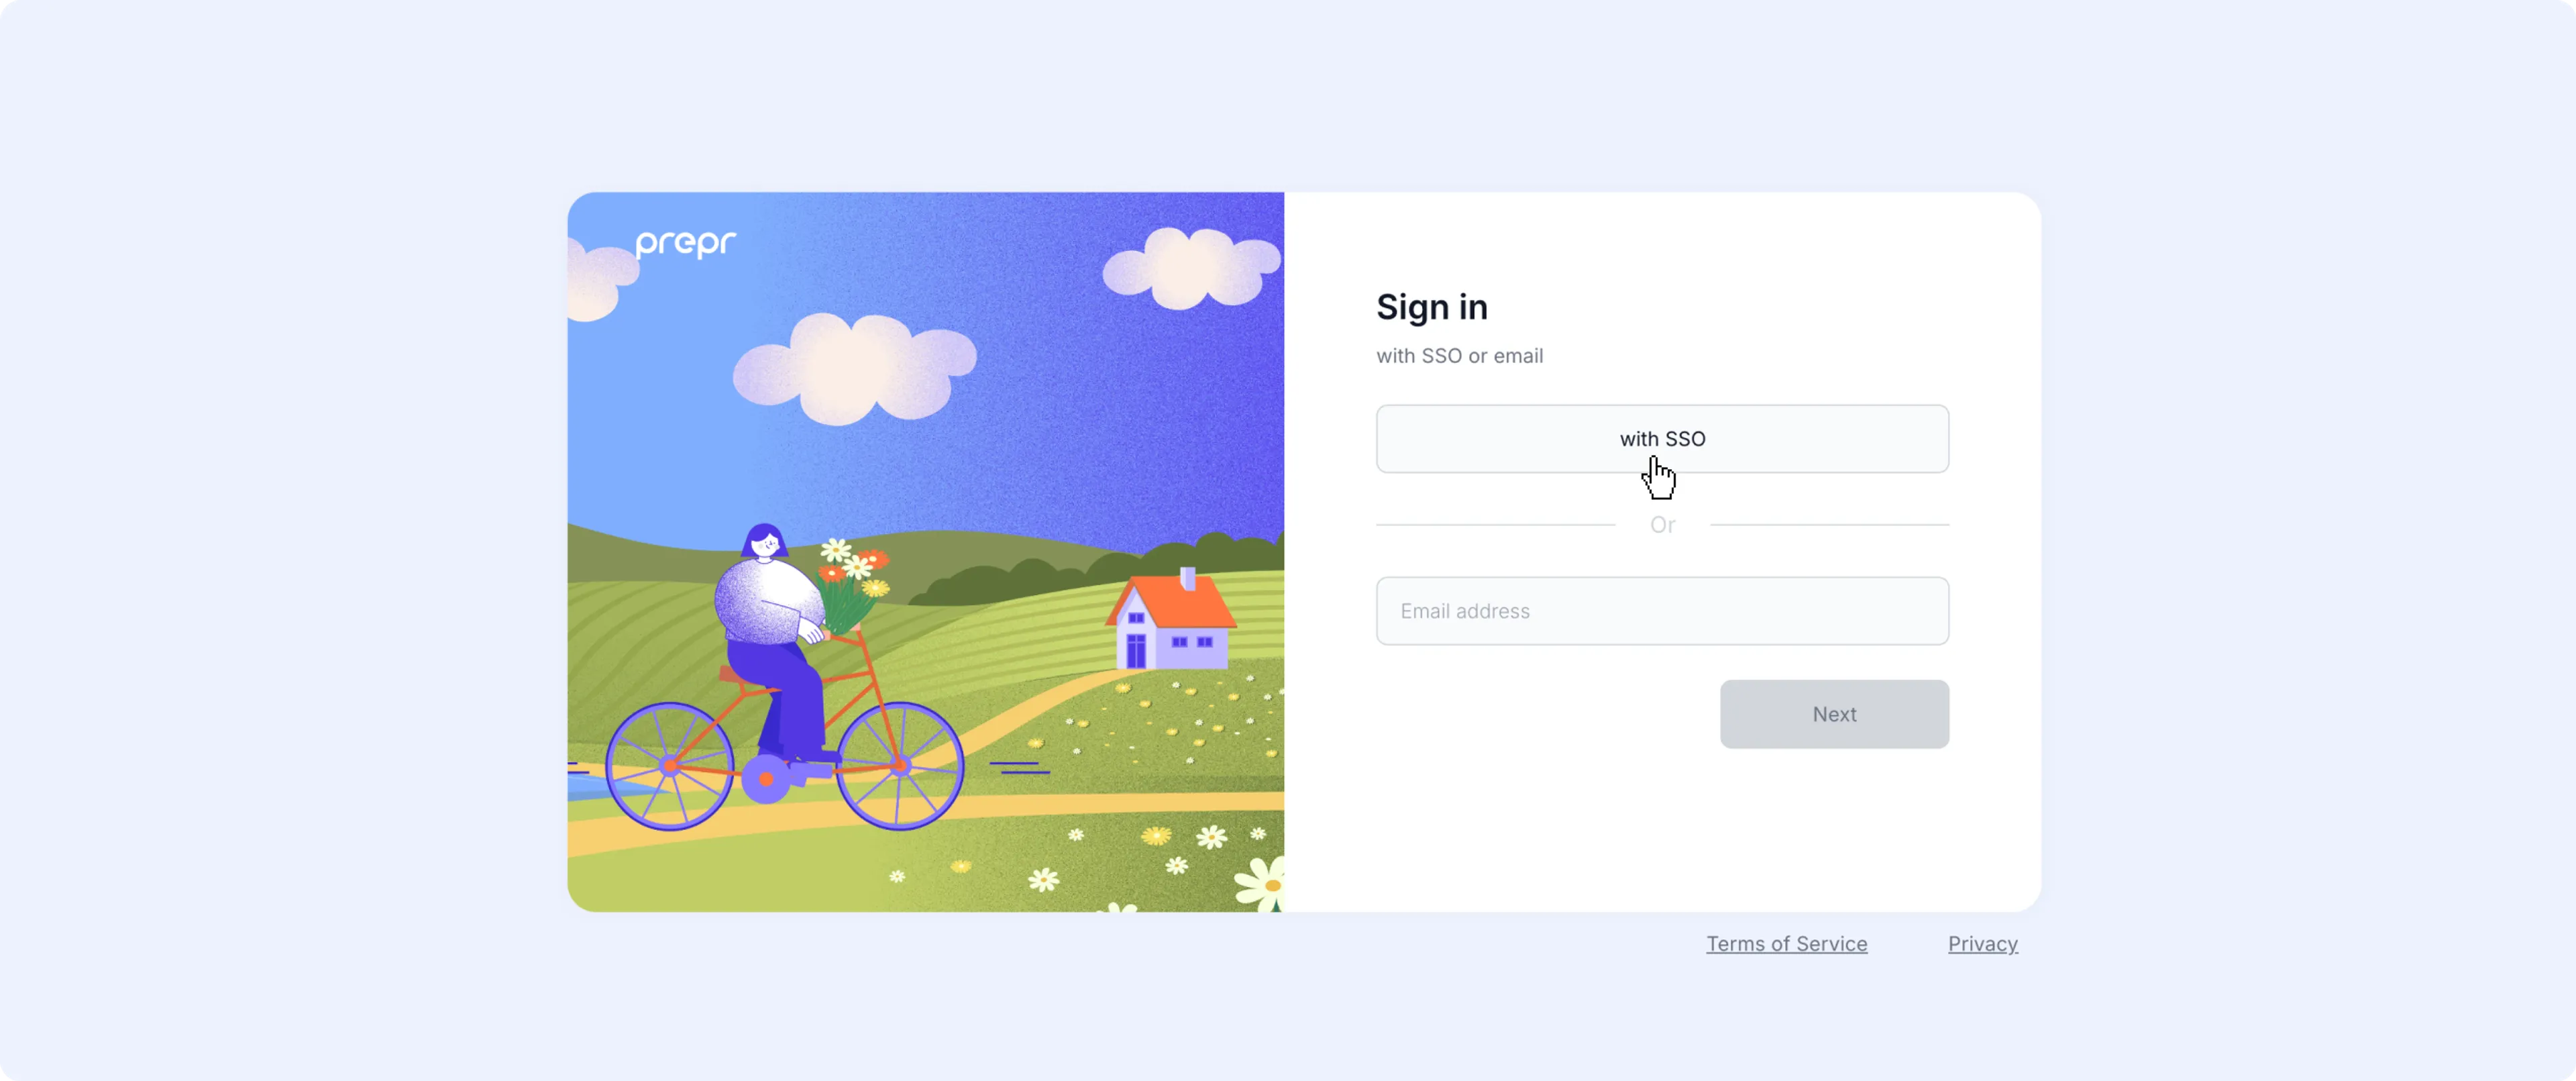
Once your Prepr account has a Microsoft Entra ID integration, the with SSO button will be available in the Prepr login screen.
When a Prepr user logs in for the first time, they’ll need to enter their Microsoft account credentials.
With the first login, they’ll receive the default role, usually defined by your Prepr admin. Check out the user management docs for more details.
If they already have a Prepr account with the same email address, this account will be merged and they will be recognized as a Microsoft Entra ID user.
The next time they log into Prepr, they’ll be recognized. If they’re already logged into their Microsoft Entra ID account, they automatically get logged into Prepr.
Once a Prepr user is flagged as an SSO user, they can no longer log in with the email and password combination.
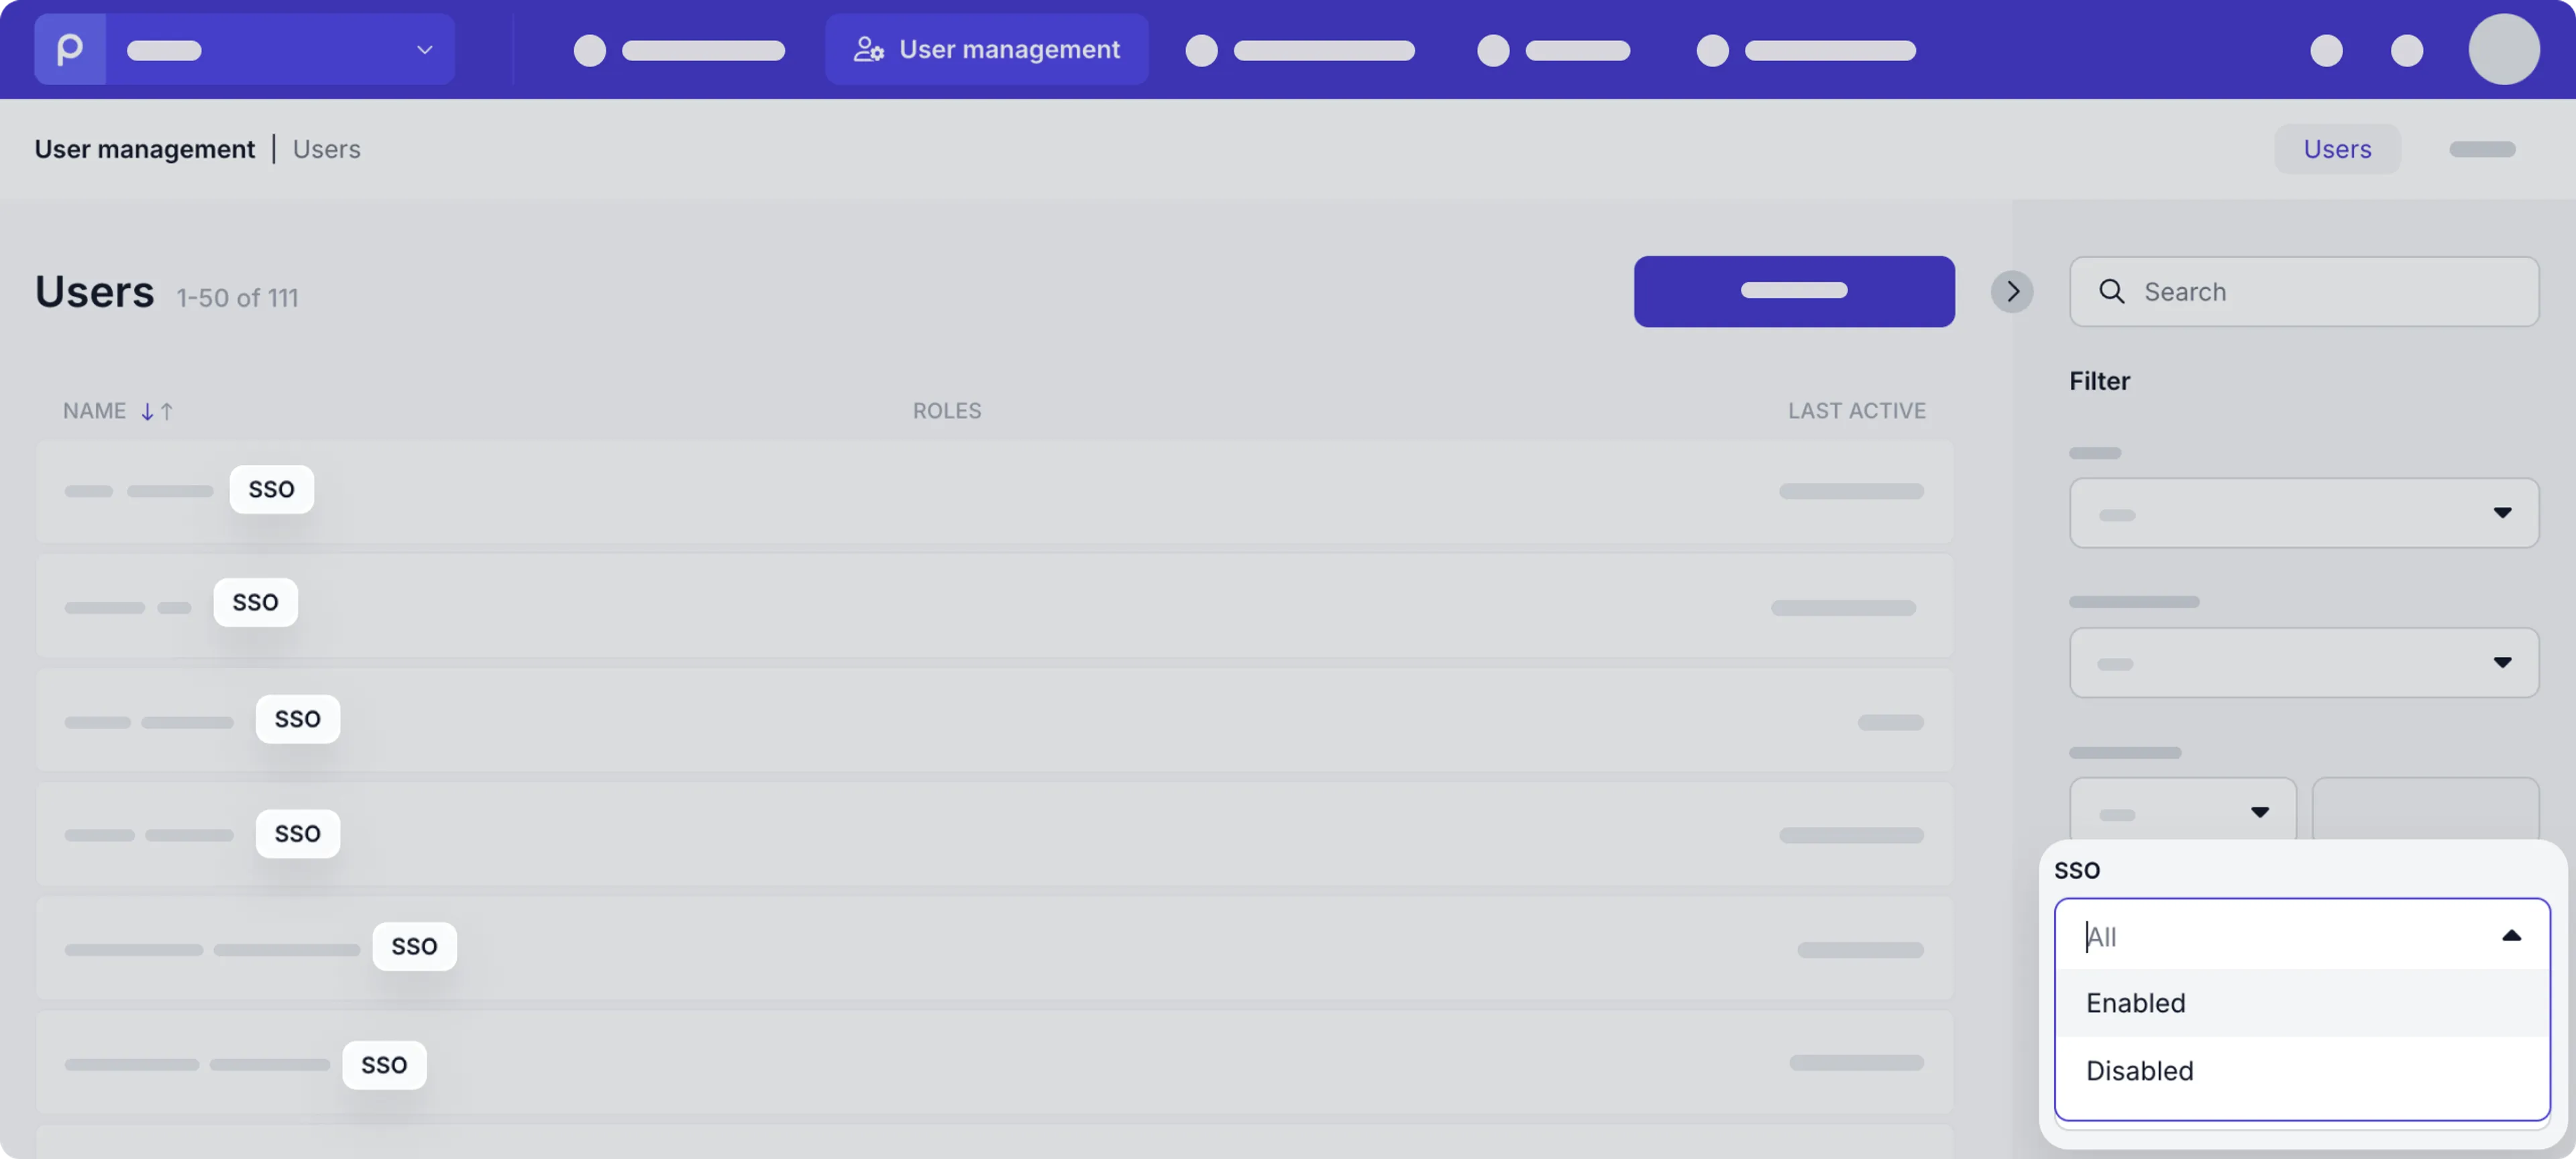
You can see which users are flagged as SSO users by going to the User management page in your organization. Each user who has signed in via SSO, can be recognized in the user list with an SSO label. You can also filter all users with this SSO label by selecting the Enabled value in the SSO drop down.
Google Workspace
To allow Prepr users to log in using Google single sign-on, follow the steps below to set up the integration.
Register your app in Google Workspace
-
Log in to the Workspace Admin dashboard.
-
Go to Apps → Web and mobile apps
-
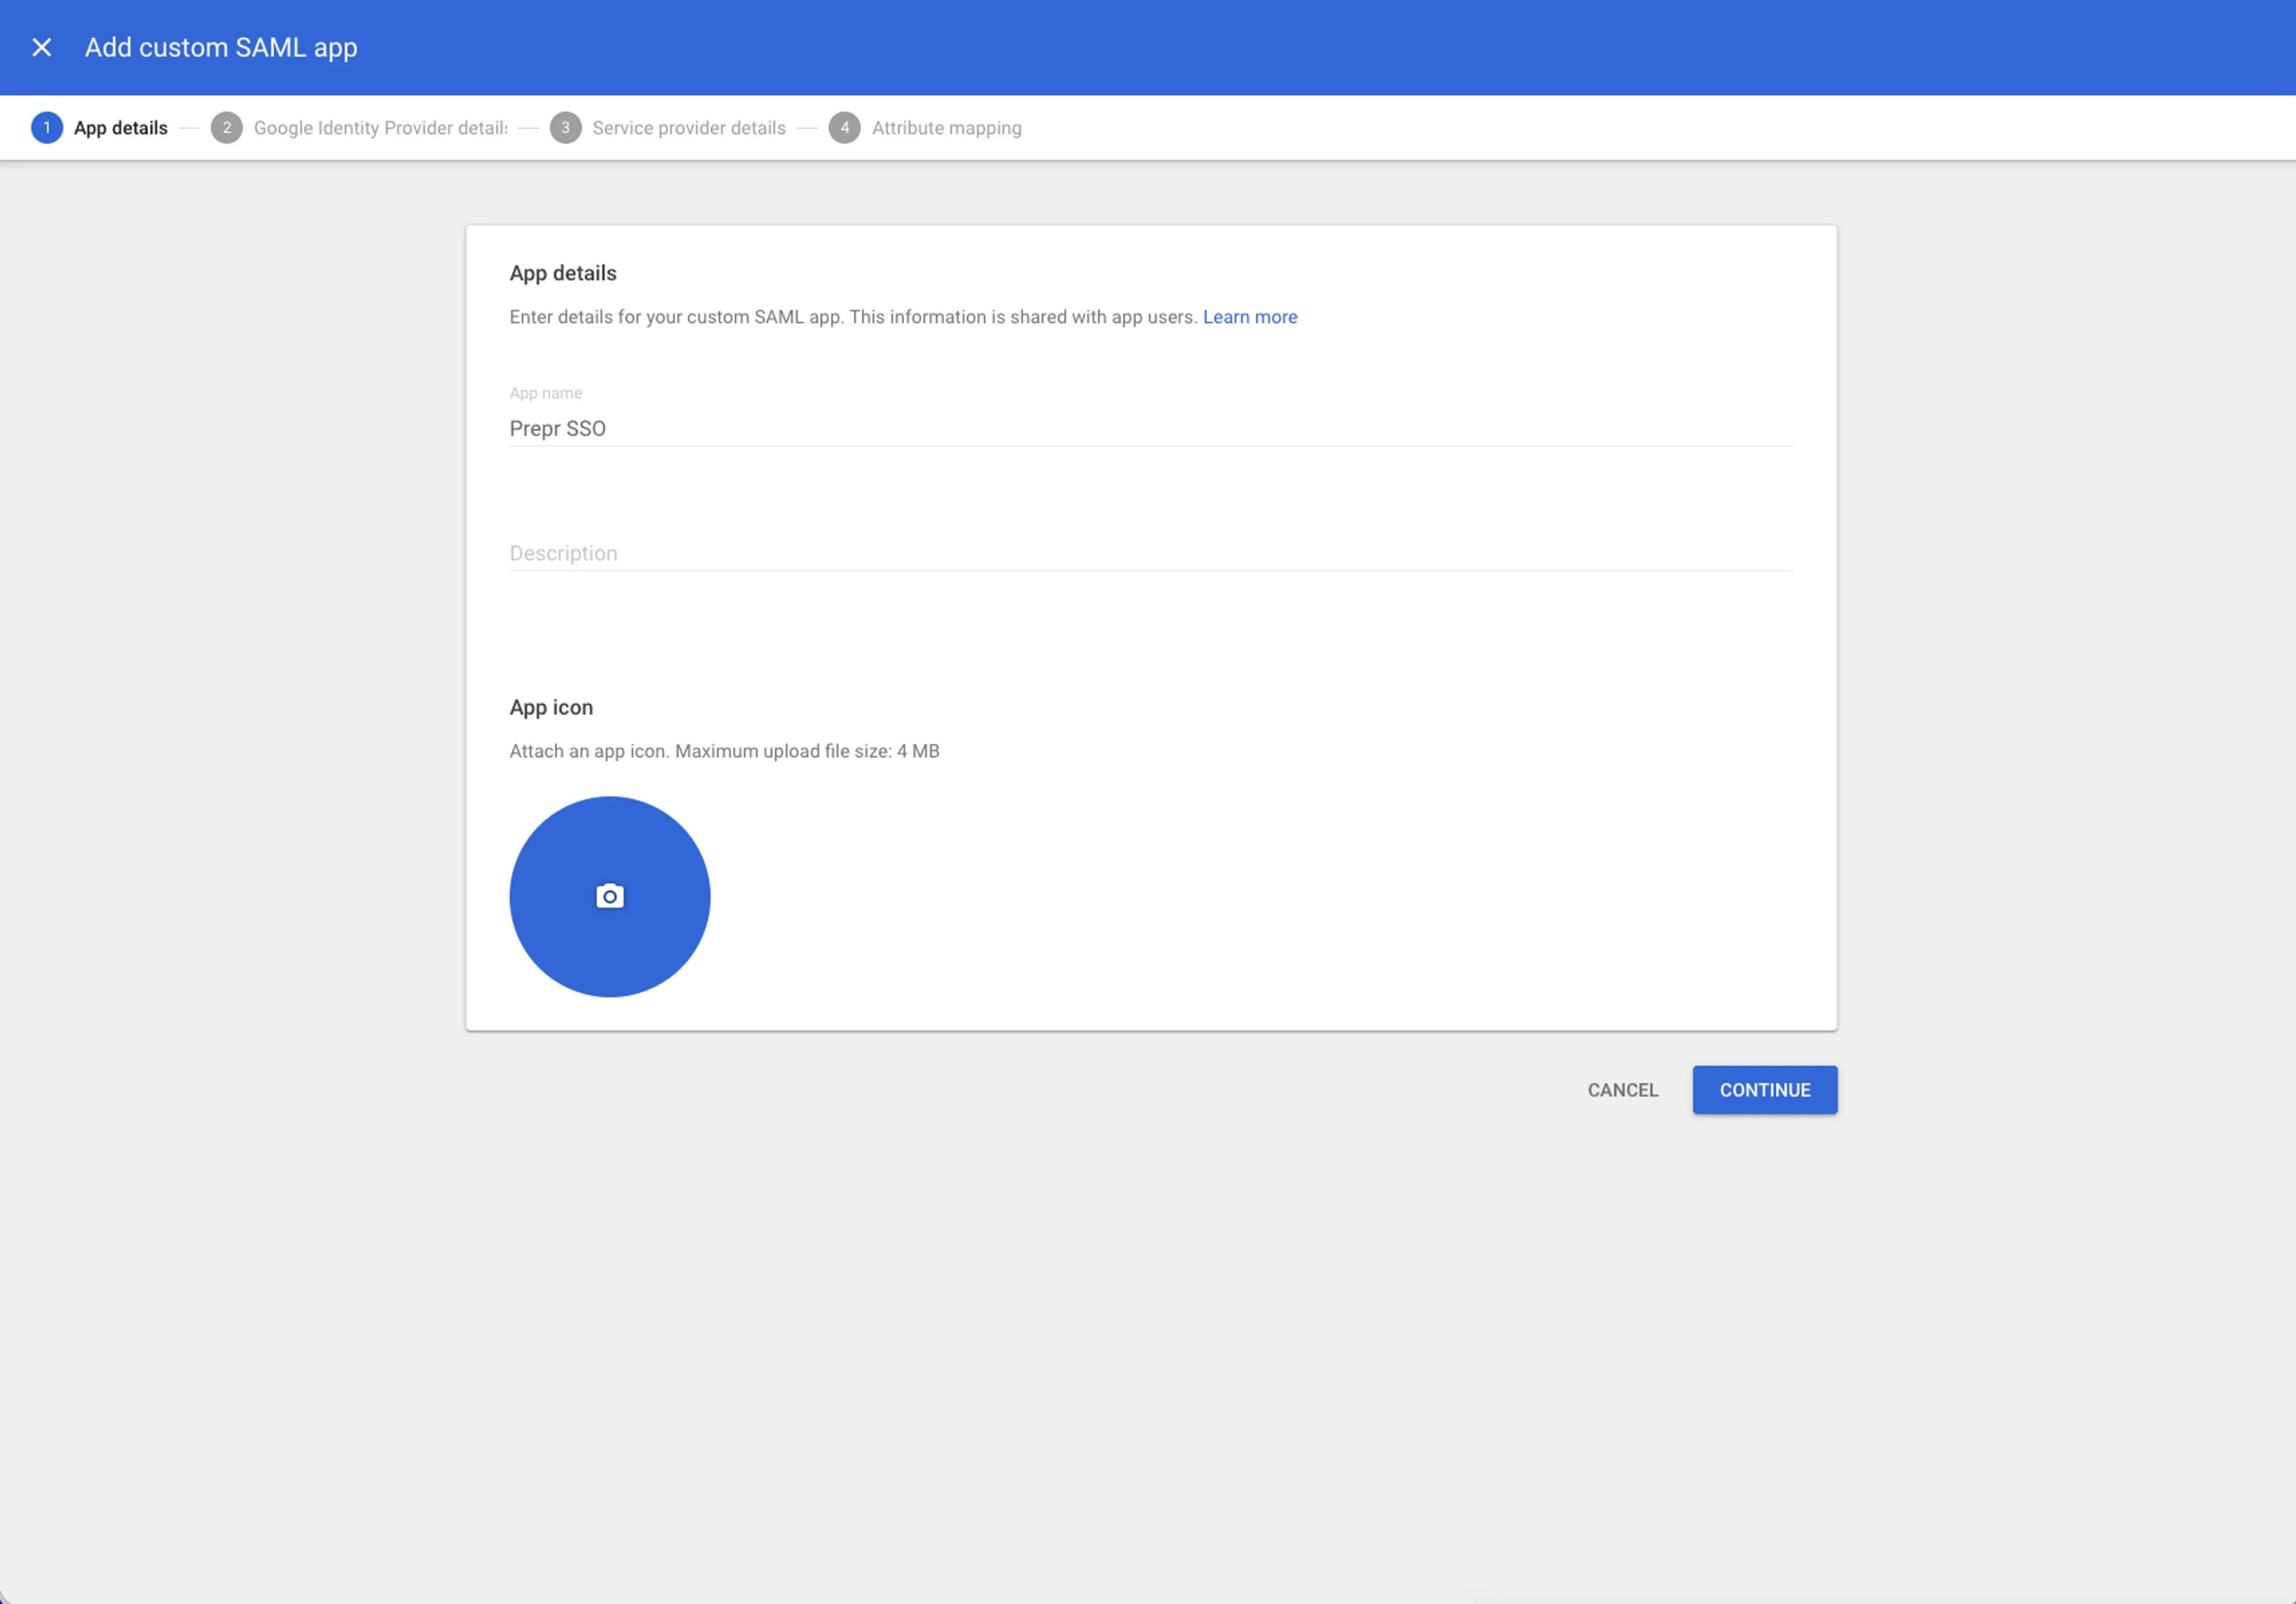
Click the Add app link and choose Add custom SAML app
-
Enter
Prepr SSOas the App name for the new app. (We can supply you with the round Prepr logo for the app icon.) -
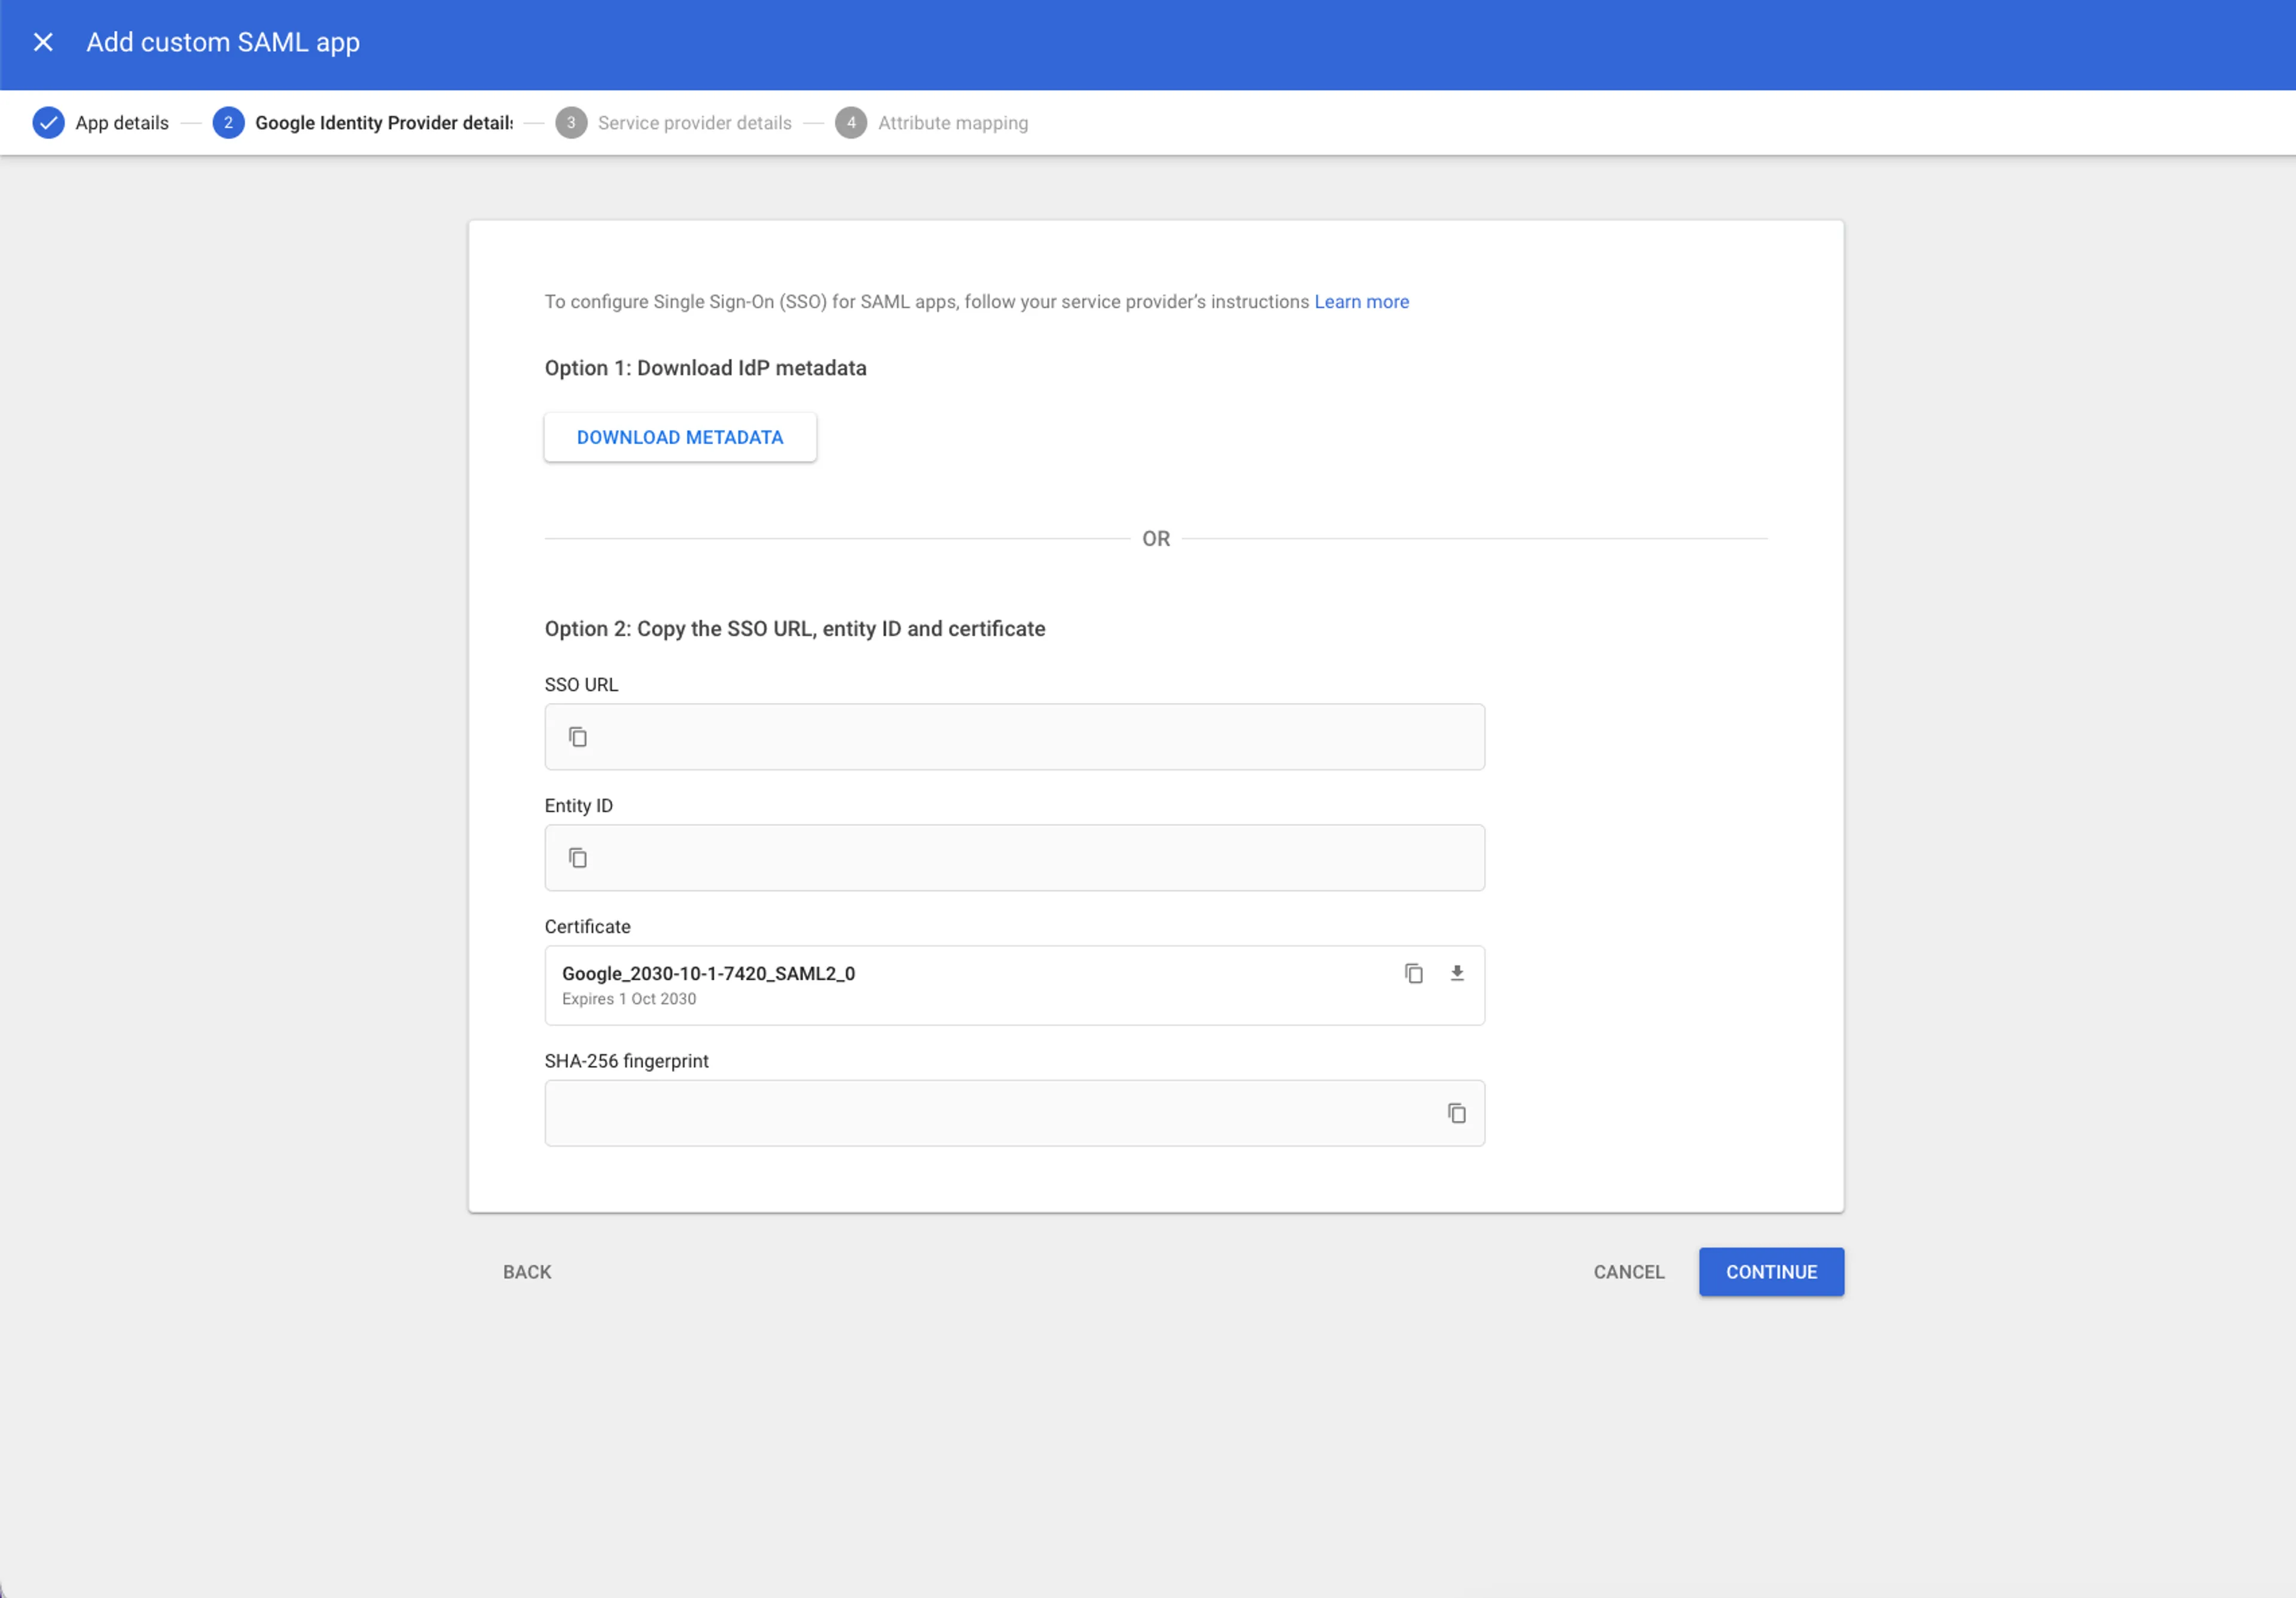
Download the IdP metadata file and click Continue.
-
Fill in the fields as follows:
- ACS URL:
https://auth.prepr.io/saml/acs - Entity ID:
https://auth.prepr.io/saml - Name ID format:
PERSISTENT - Name Id:
Basic Information -> Primary email
- ACS URL:
-
Click Continue and make three mappings:
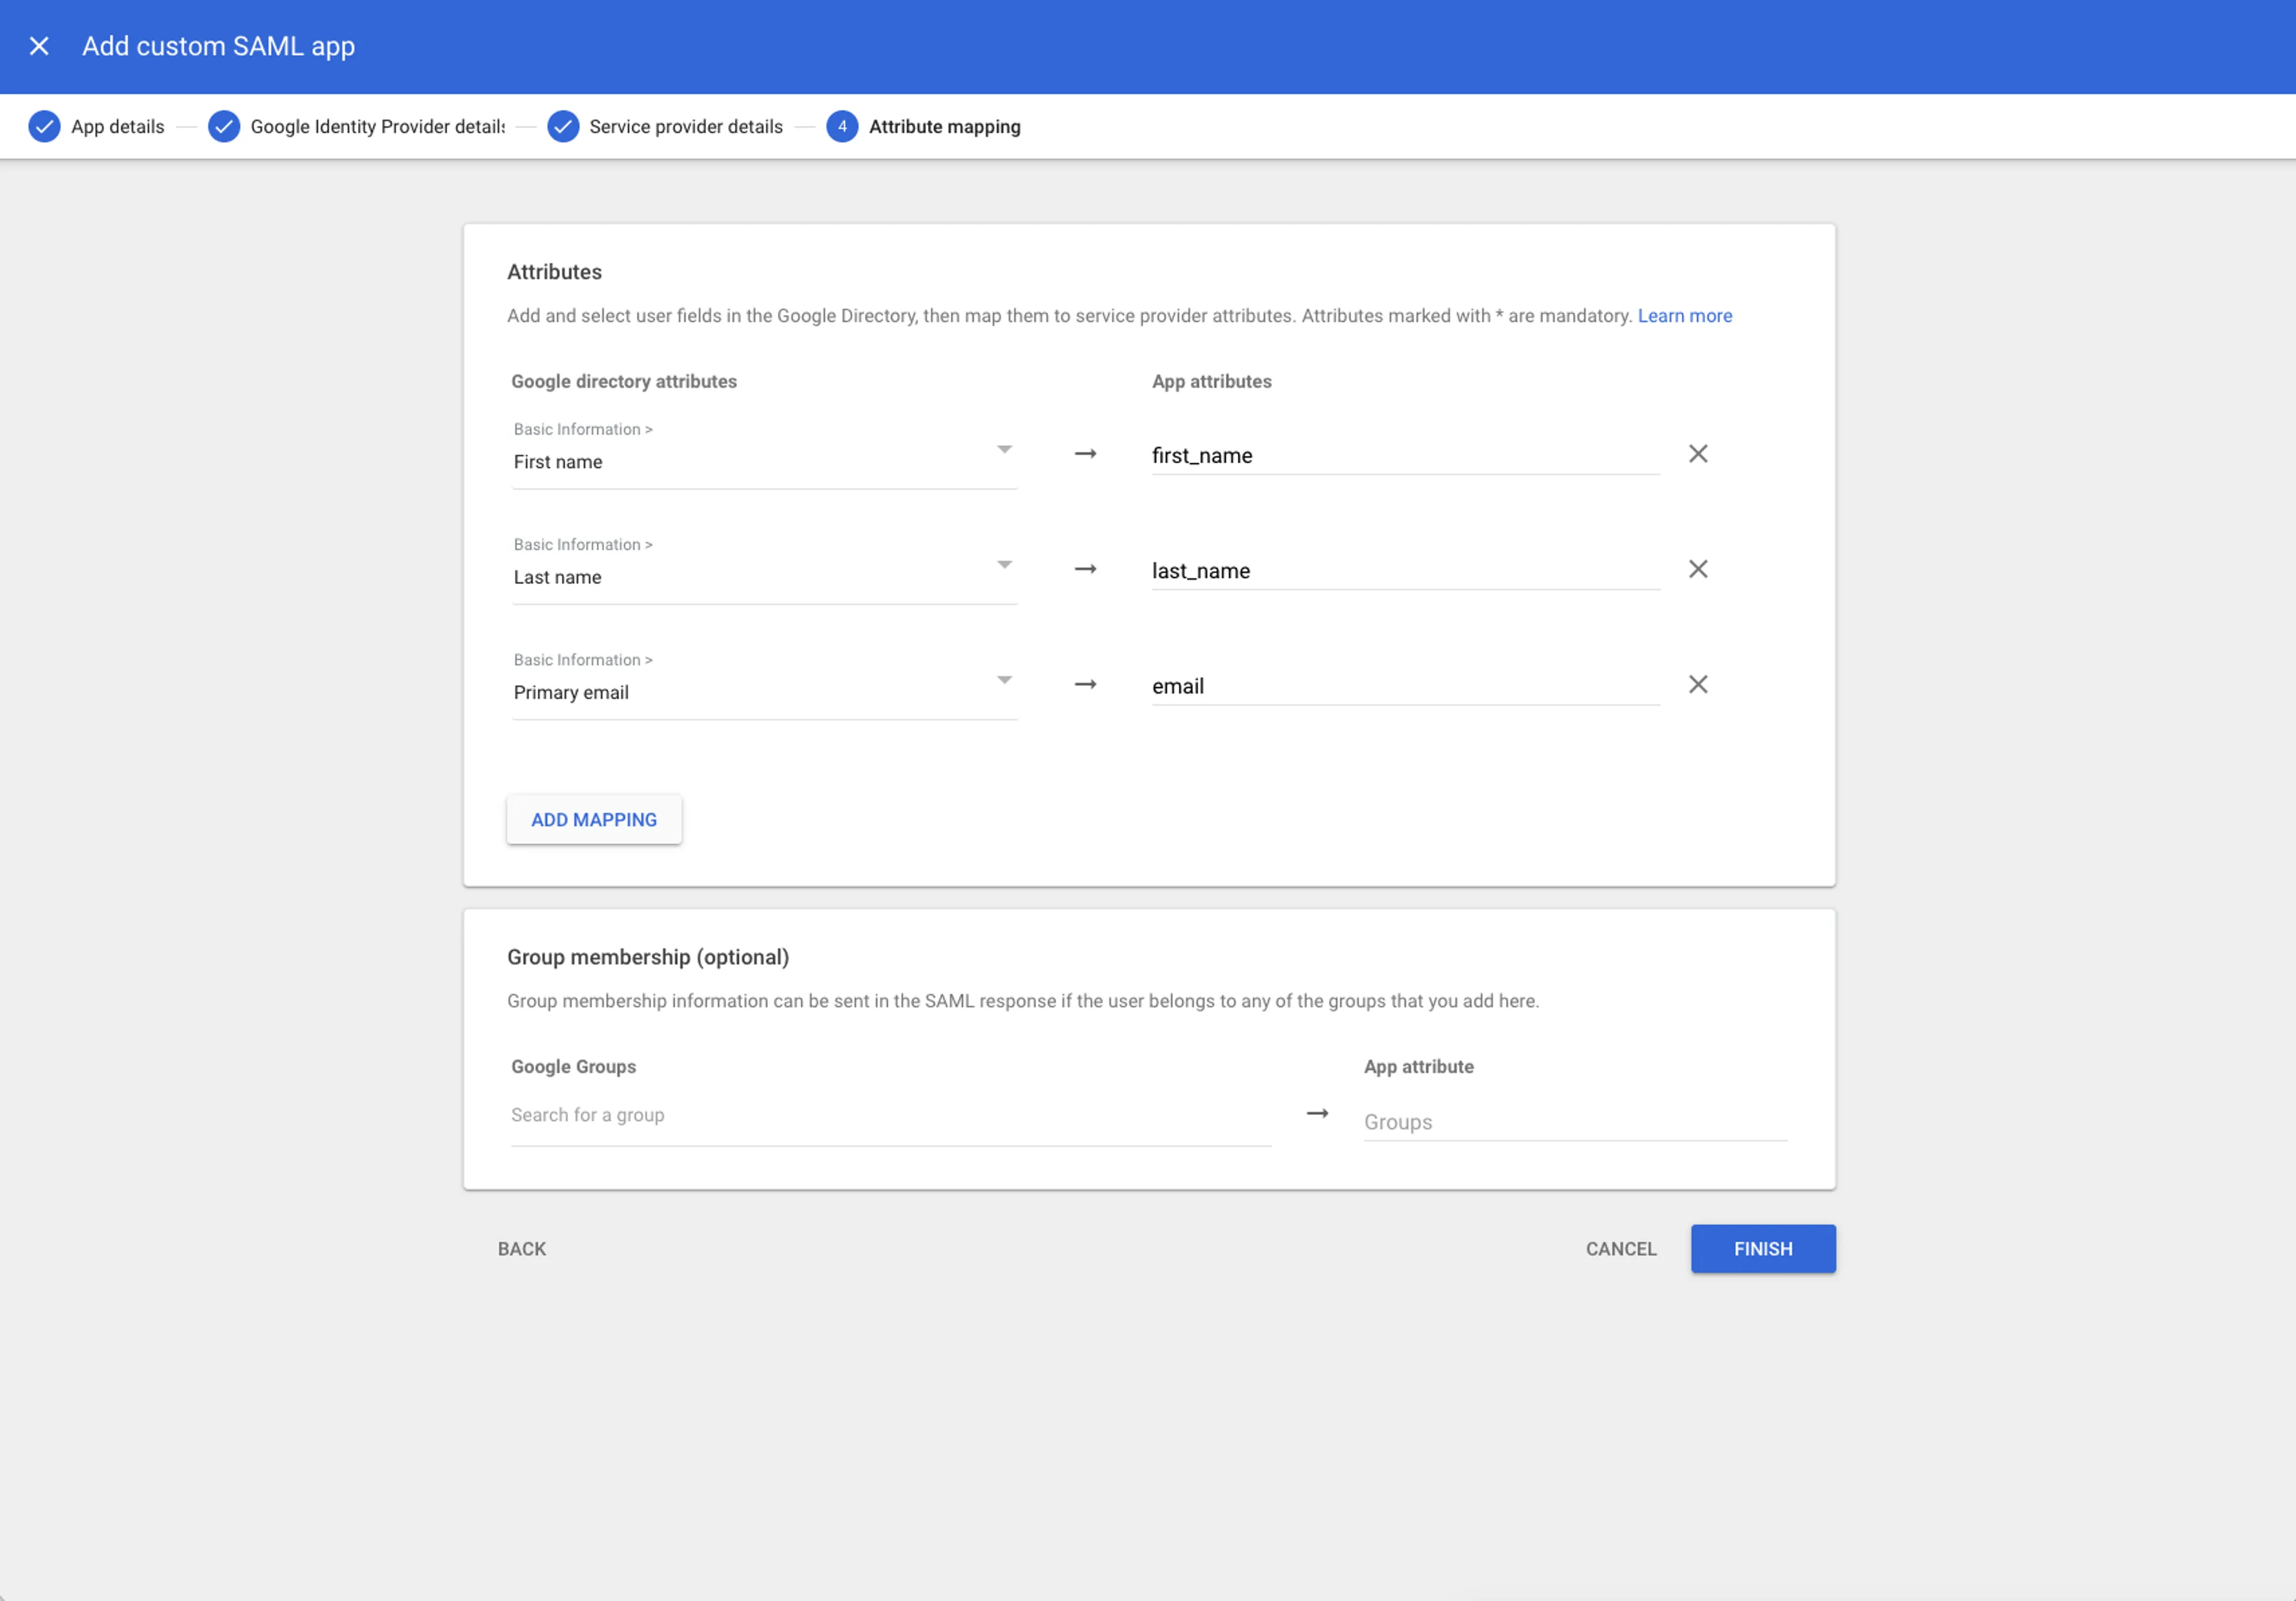
- First Name ->
first_name - Last Name ->
last_name - Primary email ->
email
- First Name ->
-
Finally, click the Finish button.
Provide App credentials
After you registered Prepr in Google Workspace, please provide Prepr Support with the IdP metadata file you downloaded in the previous step.
After this setup, please give us a call, so we can finish your integration together.
Sign in with Google Workspace
Once your Prepr account has a Google Workspace integration, the with SSO button will be available in the Prepr login screen.
When a Prepr user logs in for the first time, they’ll need to enter their Google Workspace credentials.
With the first login, they’ll receive the default role, usually defined by your Prepr admin. Check out the user management docs for more details.
If they already have a Prepr account with the same email address, this account will be merged and they will be recognized as a Google Workspace user.
The next time they log into Prepr, they’ll be recognized. If they’re already logged into their Google Workspace, they automatically get logged into Prepr when they click the with SSO button.
Once a Prepr user is flagged as an SSO user, they can no longer log in with the email and password combination.
You can see which users are flagged as SSO users by going to the User management page in your organization. Each user who has signed in via SSO, can be recognized in the user list with an SSO label. You can also filter all users with this SSO label by selecting the Enabled value in the SSO drop down.
OpenID Connect (OIDC)
To allow Prepr users to log in using single sign-on via an OpenID Connect identity provider, follow the steps below to set up the integration.
-
Set up your identity provider with the following with our redirect URI details.
- Redirect Domain: `https://auth.prepr.io
- Redirect URI:
https://auth.prepr.io/oidc/callback
-
To activate the integration with your OpenID Connect identity provider, please contact Prepr Support and supply us with the following configuration data:
- Client ID
- Client Secret
- Issuer URL
- Discovery endpoints
We also need the following mapping fields:
- Unique identifier
- First Name (optional)
- Last Name (optional)
After this setup, please give us a call, so we can finish your integration together.
SAML 2.0
To allow Prepr users to log in using single sign-on with an SAML 2.0 identity provider, follow the steps below to set up the integration.
- Set up the service provider (SP) config with the following details:
- SP Entity ID:
https://auth.prepr.io/saml - Assertion Consumer Service (ACS) URL:
https://auth.prepr.io/saml/acs - Supported field mappings:
first_name,last_name,email(The email field mapping is required.)
- To activate the integration with your SAML 2.0 identity provider, please contact Prepr Support and supply us with the following configuration data:
- IdP Entity ID (unique identifier of the IdP)
- SSO URL (a.k.a. “Single Sign-On URL” or “Login URL”)
- IdP X.509 Certificate
After this setup, please give us a call, so we can finish your integration together.