Snitcher
In this guide, you’ll learn how to activate the Snitcher integration in Prepr CMS. This integration provides you with the website visitor’s company profile data you can use to create segments for personalization.
Introduction
Snitcher is a B2B website visitor identification platform that identifies anonymous companies visiting a website by name and tracks their behavior. You can integrate with Snitcher to create segments in Prepr based on the visitor’s company profile data.
Activating Snitcher integration to identify visitors
Activate Snitcher in Prepr
First, activate the Snitcher integration in Prepr as follows:
-
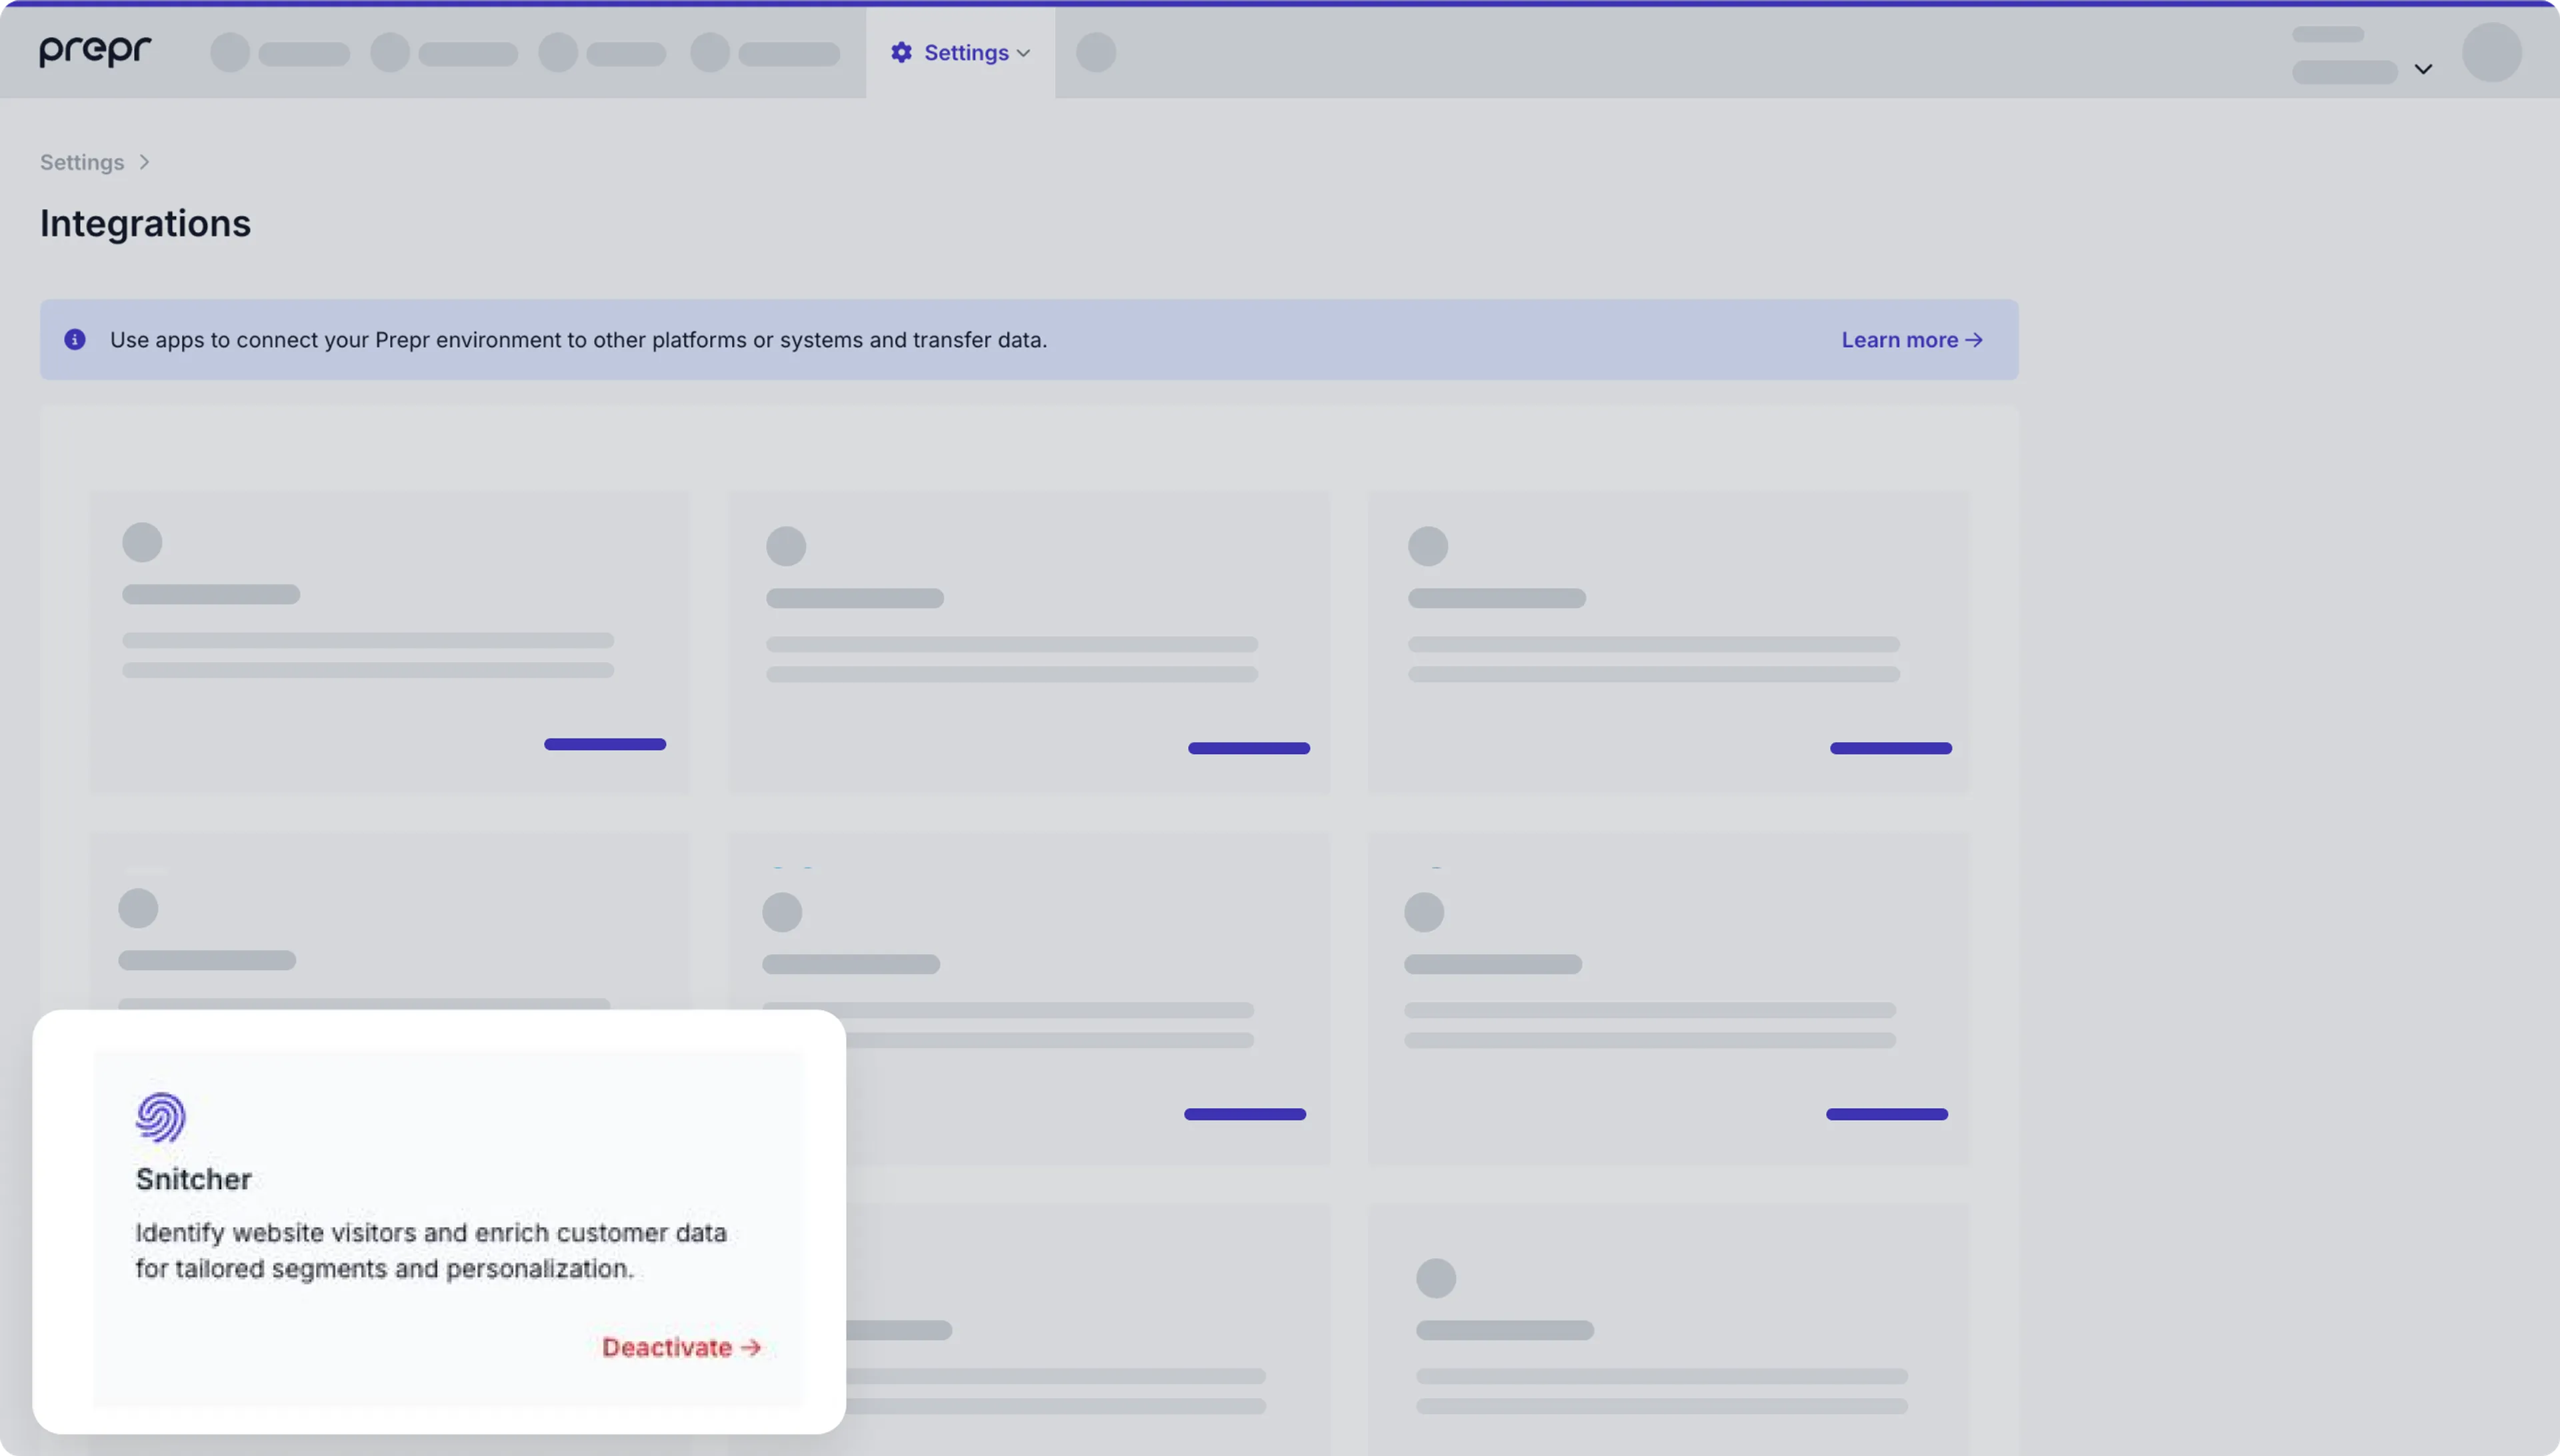
Log in to your Prepr account and click the icon and choose the Integrations and choose Snitcher. Click the Activate button.
-
Activate it by clicking the Try for free for 30 days button or contact our Sales team to activate the integration for longer than 30 days.
That’s it. You’ve connected Prepr to Snitcher making the company profile data available in your Prepr segments.
Get the Snitcher integration access token
You can get the Snitcher integration access token with the following steps:
-
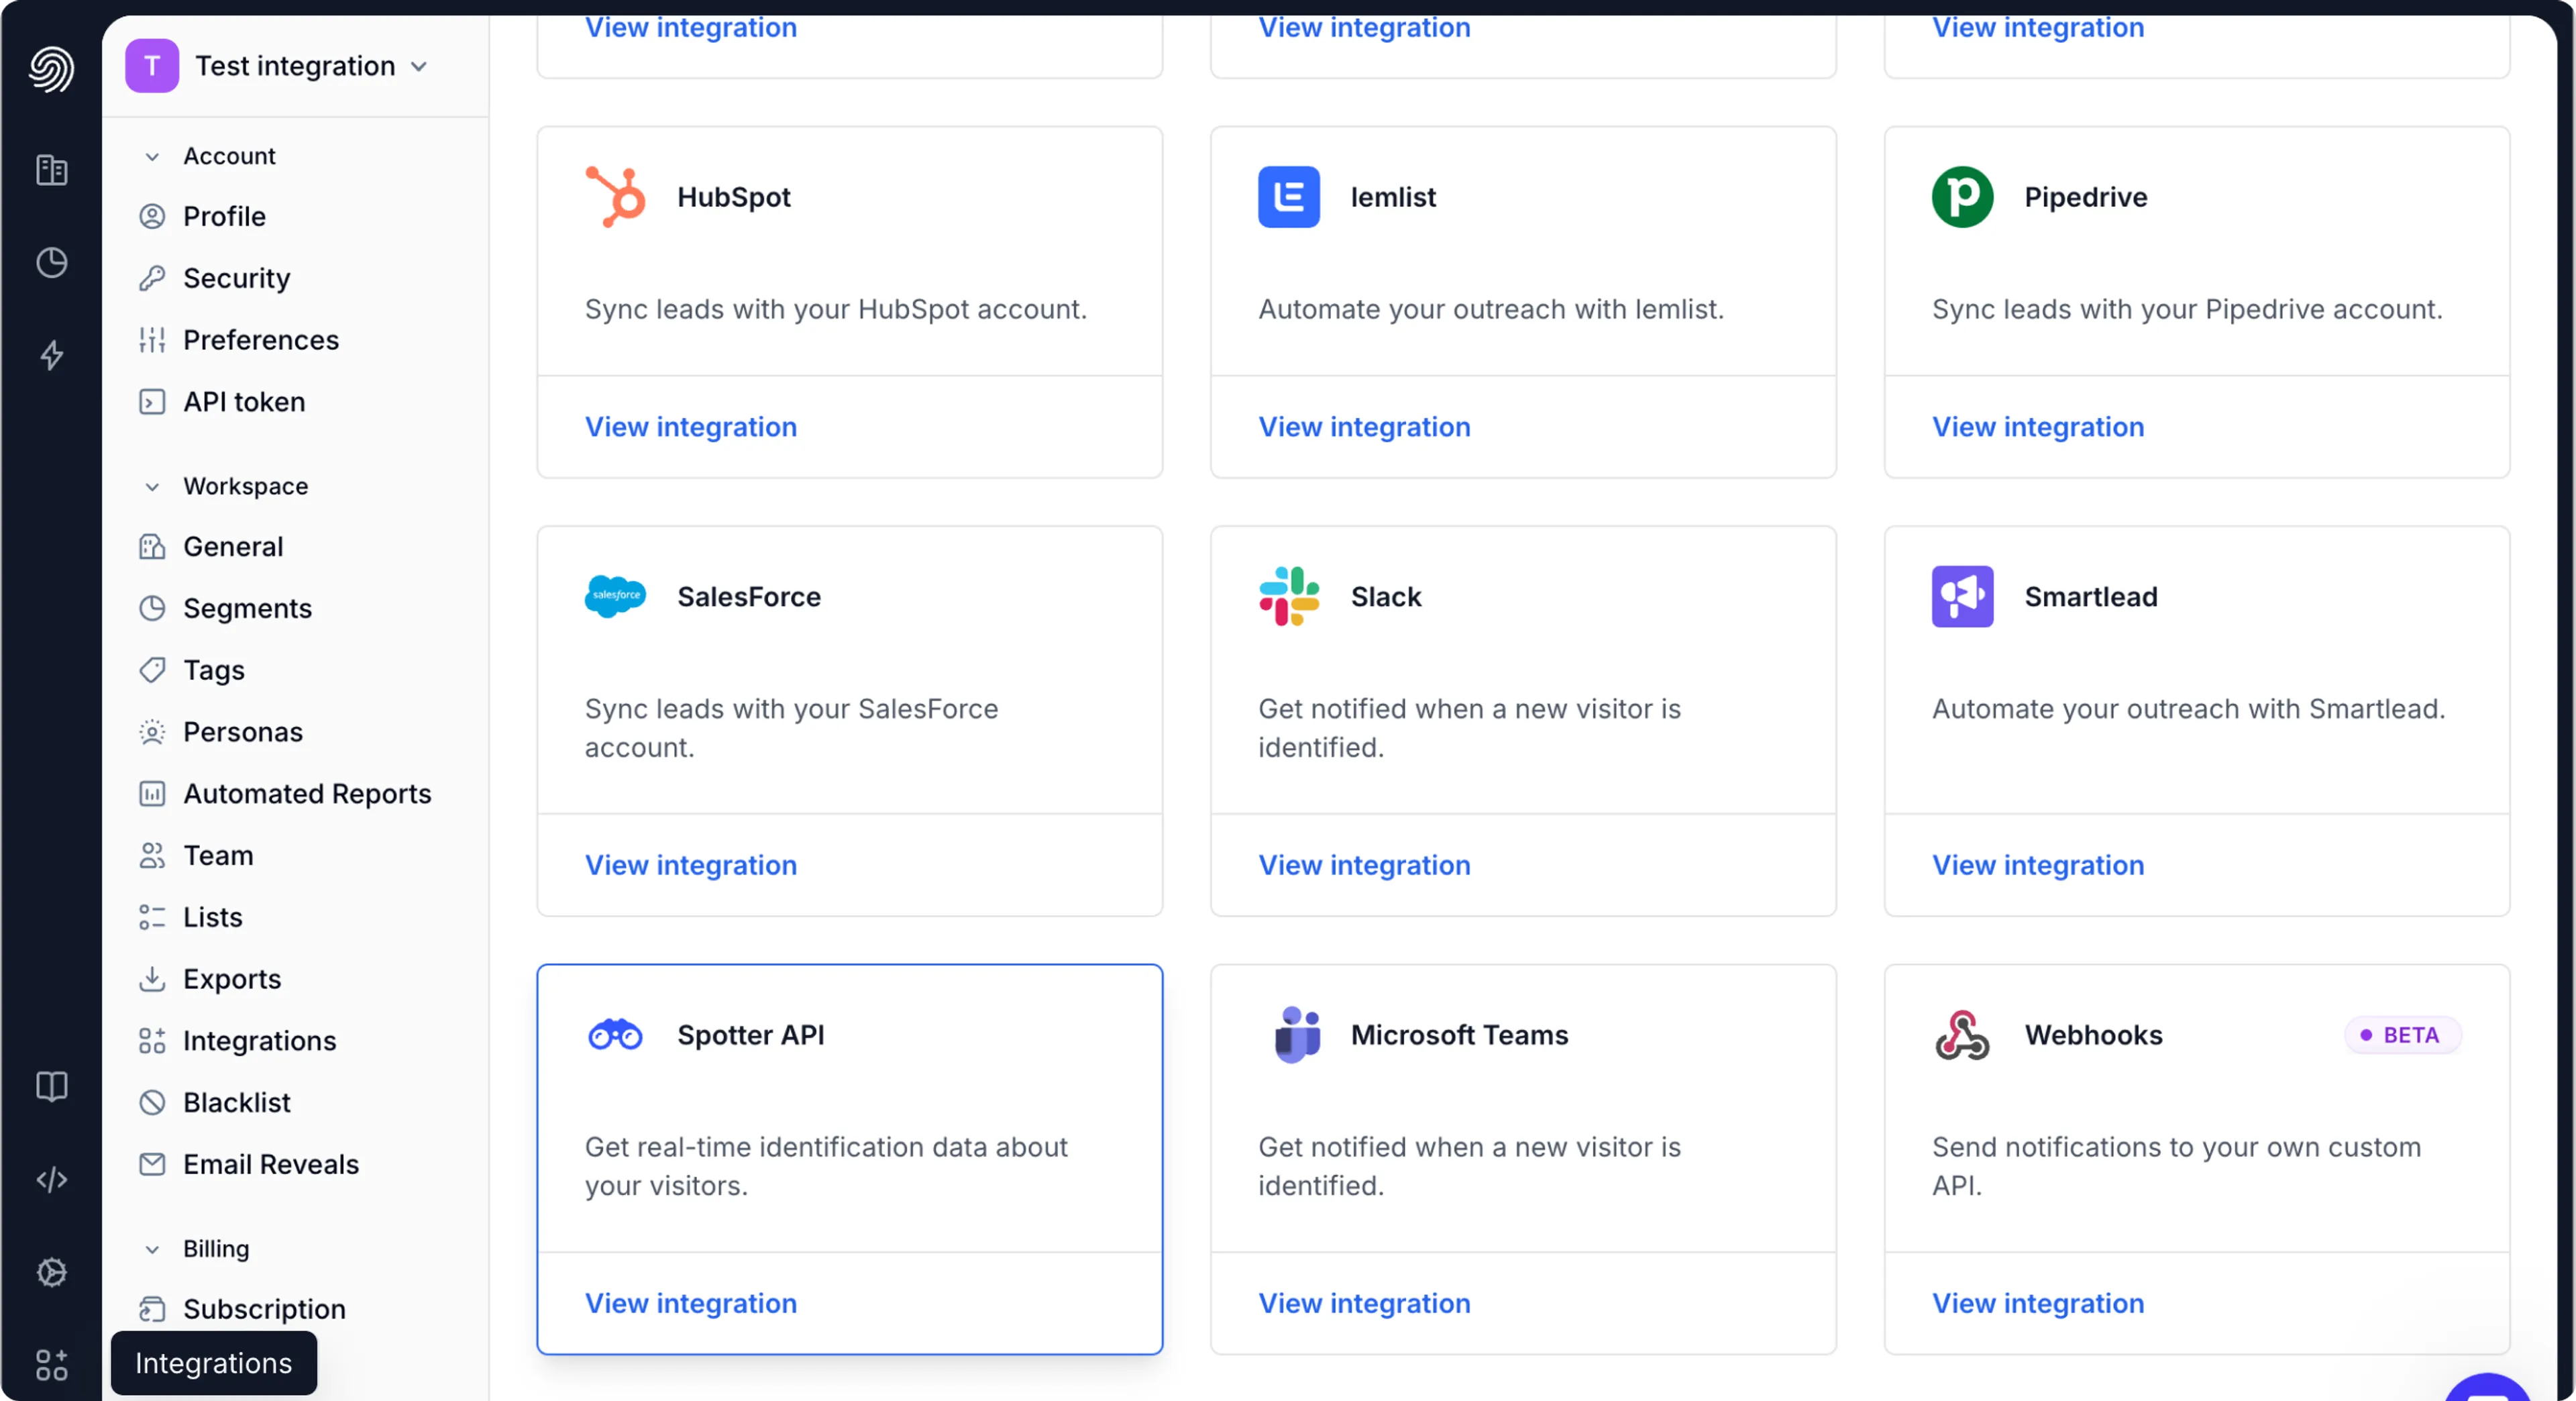
Sign in to your Snitcher dashboard and click the Integrations icon on the bottom left.
-
Choose the Spotter API option and click the Create token button. Copy and save the token value to a safe place.
Add company data to visitor profile
Now that you have the Snitcher integration access token, you can add the company data to the corresponding visitor profile in Prepr as follows:
-
Go to the code in your front end where the Snitcher tracking code was previously added.
-
Add the following code snippet above the Snitcher tracking code.
<!-- Snitcher analytics code --> <script> function sentToPrepr(identification) { // We want to ignore 'isp' type identifications if (identification && identification.type !== "isp") { var company = identification.company; prepr('event', 'Snitcher', company); } } window.SpotterSettings = { token: "<SPOTTER-ACCESS-TOKEN>", callback: sentToPrepr, }; {/* Your Snitcher tracking code For example: !function(s,n,i,t,c,h){s.SnitchObject=i;s[i]||(s[i]=function(){ (s[i].q=s[i].q||[]).push(arguments)});s[i].l=+new Date;c=n.createElement(t); h=n.getElementsByTagName(t)[0];c.src='//snid.snitcher.com/0000000.js'; h.parentNode.insertBefore(c,h)}(window,document,'snid','script'); snid('verify', '0000000'); */} </script> -
Replace the
<SPOTTER-ACCESS-TOKEN>placeholder with the access token you created and copied in Snitcher.
When this code is deployed, the front end updates the visitor profile for every web app visitor identified in Snitcher.
Include Snitcher segments in your Prepr segments
After activating the Snitcher integration, you can add segments based on Snitcher criteria.
-
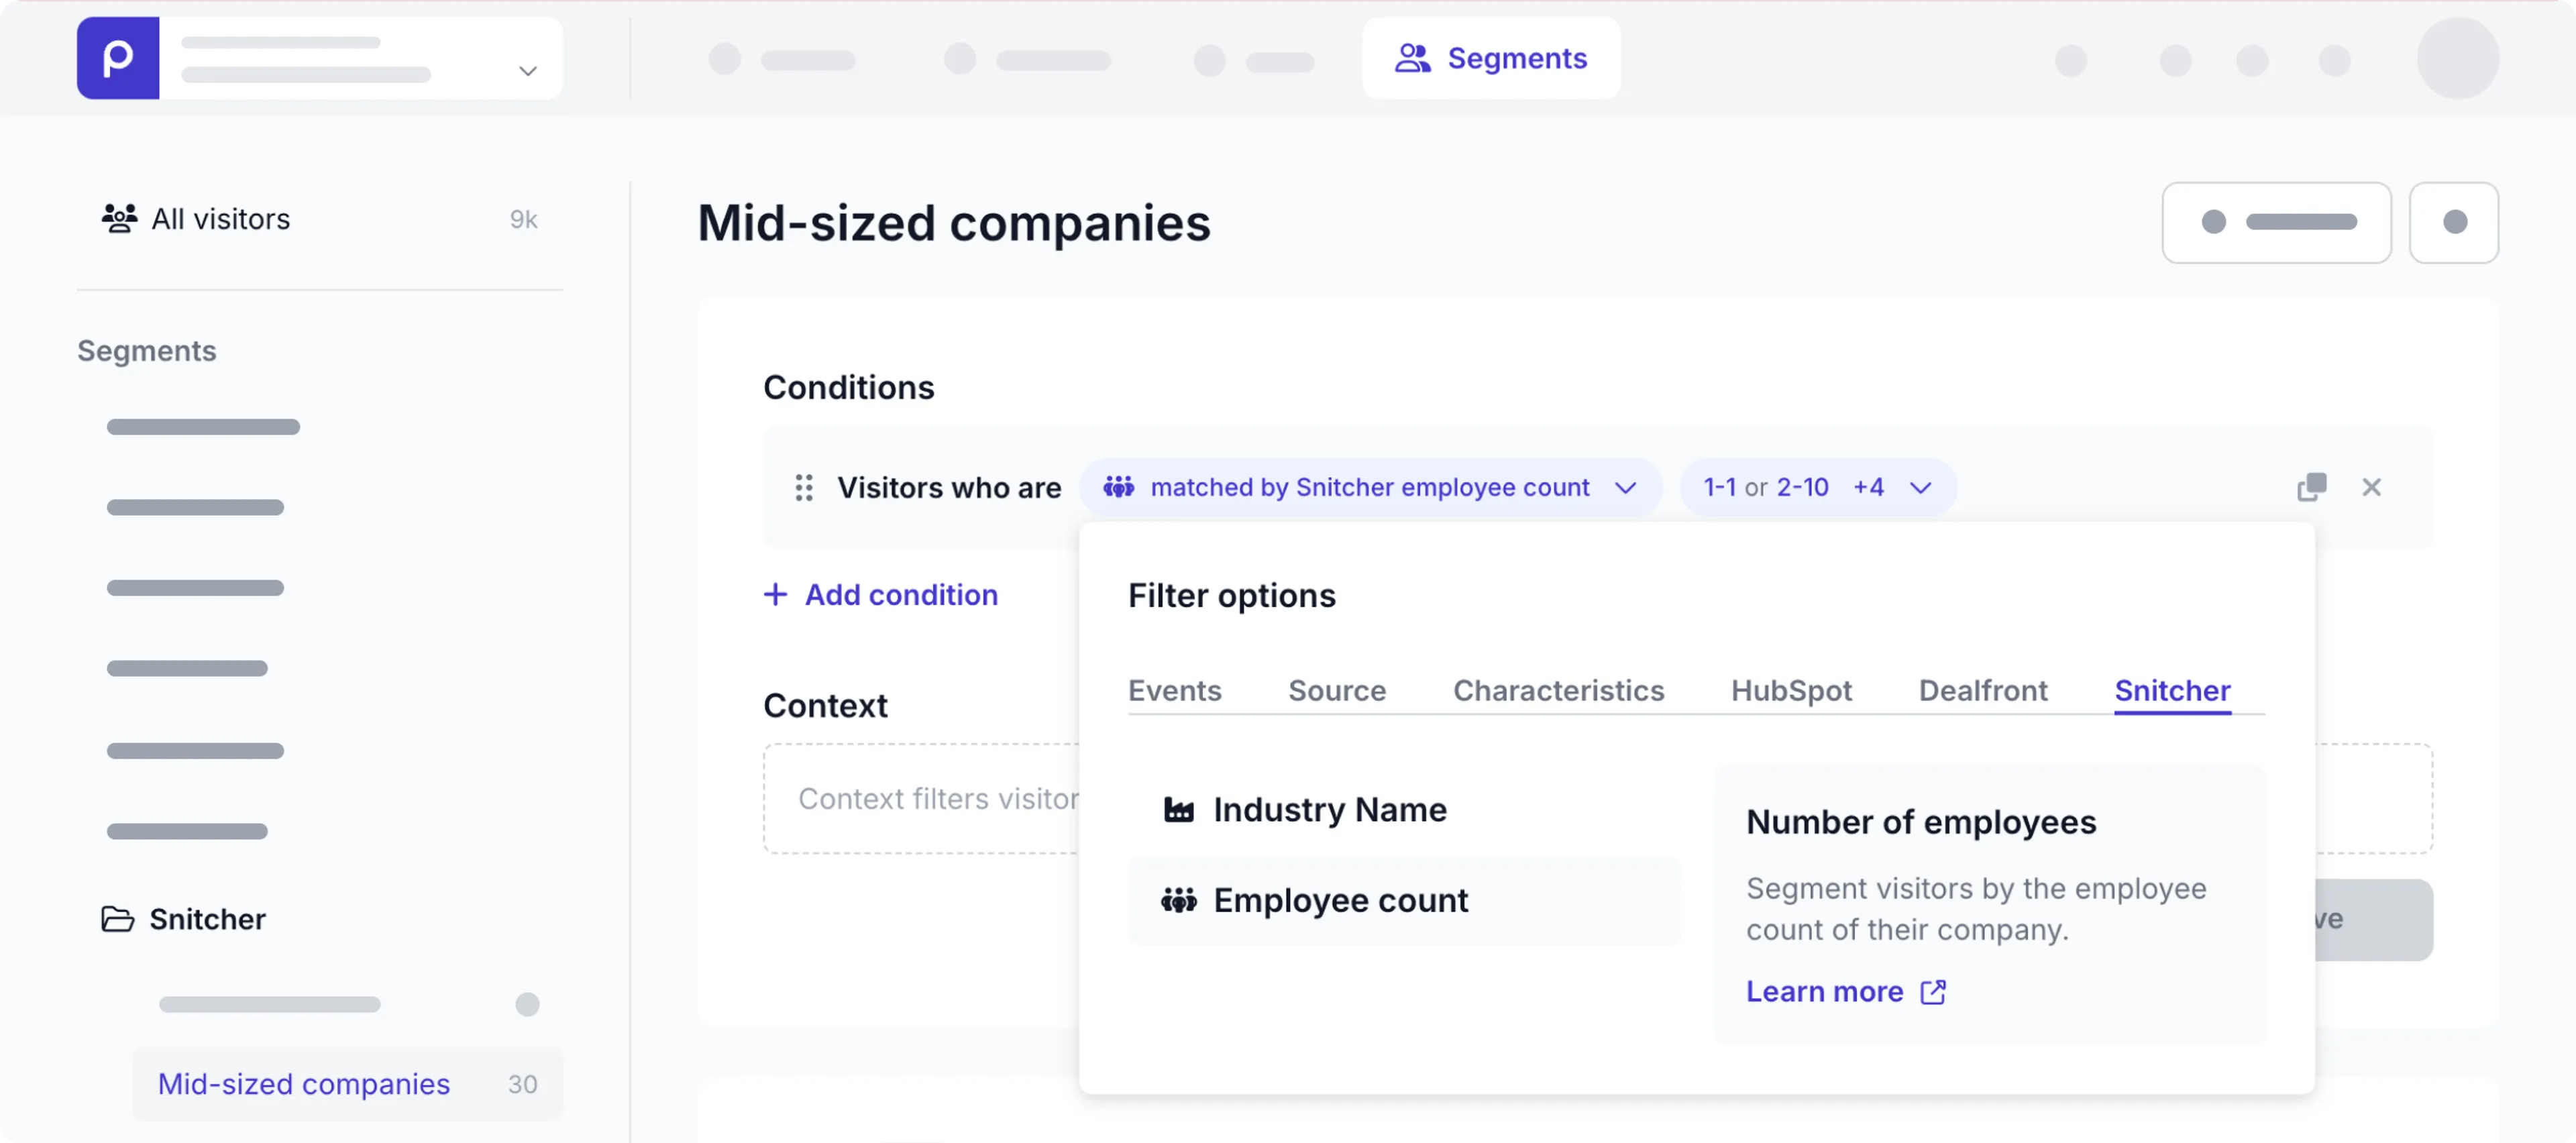
Go to Segments → + Add segment.
-
In the default condition, click the view link to open the Filter options.
-
Open the Snitcher tab and click the filter option you want to include, Industry Name, or Employee count in the segment.
-
You can then choose any of the values in the dialog window. Click Save to create the segment.
Now, your Snitcher segments are available to use in adaptive content. Check out the Adaptive content doc for more details.
That’s it. The Snitcher integration is activated and you can create adaptive content for your B2B website visitors.