Manage assets
This article explains where assets live in Prepr and which actions you can perform on them.
Introduction to managing assets
Prepr stores all your digital assets in the Media Library (in Prepr: the Media tab), making it easy to access, view, and manage your assets. You can add, edit, download, or delete files whenever needed; categorize, search, and filter assets on multiple attributes to find the right one quickly.
In addition, Prepr provides you with the API you can use for actions like uploading, updating, and deleting assets in batches, or applying image transformation options.
Please review the step-by-step instructions for managing your assets below.
Add a new asset
To add a new asset, proceed with the following steps:
-
Navigate to the Media tab.
-
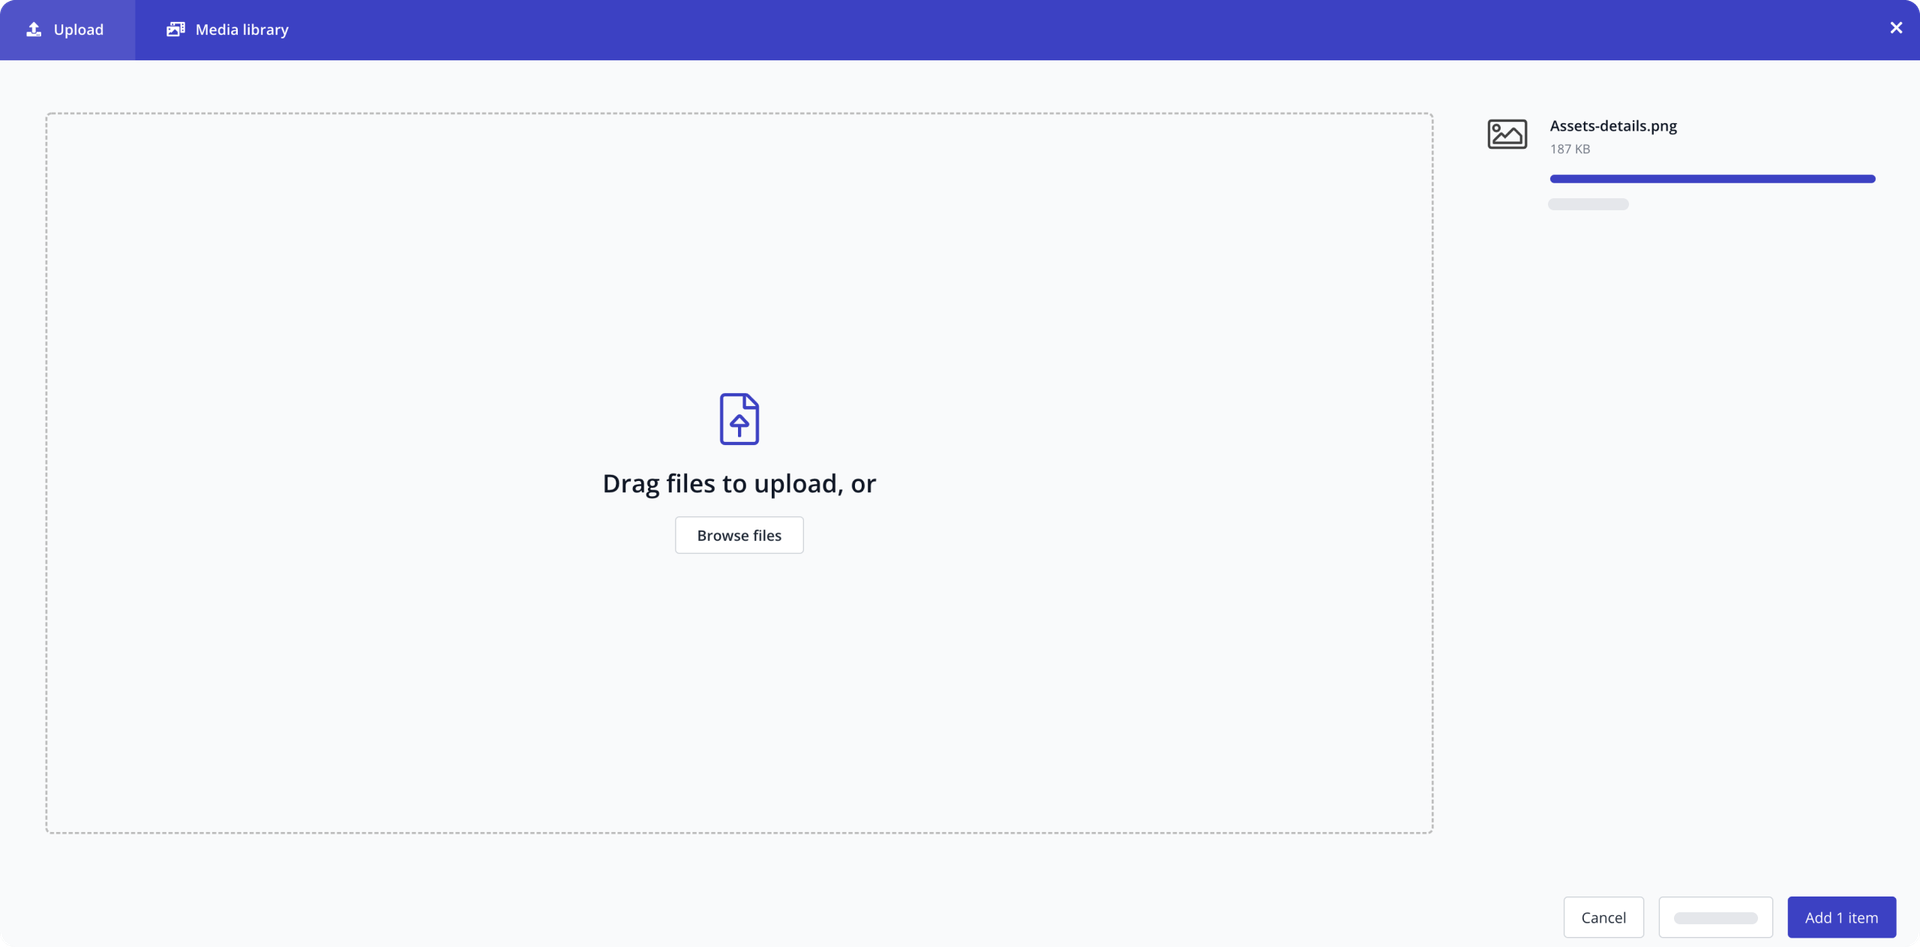
Click Upload assets on the right-hand sidebar. In the opened dialog window, drag and drop your file onto the window or browse the files to select and upload a file.
-
Once the upload is complete, click Add item to add a file to the Media Library.
You can also upload assets to a specific collection by opening the collection and uploading files from there. Read more in Add an asset to a collection.
Once done, click an asset to open its details.
To upload an asset using the API, refer to the REST API reference.
Explore asset details
On the Asset details page, you can review all the information about an asset.
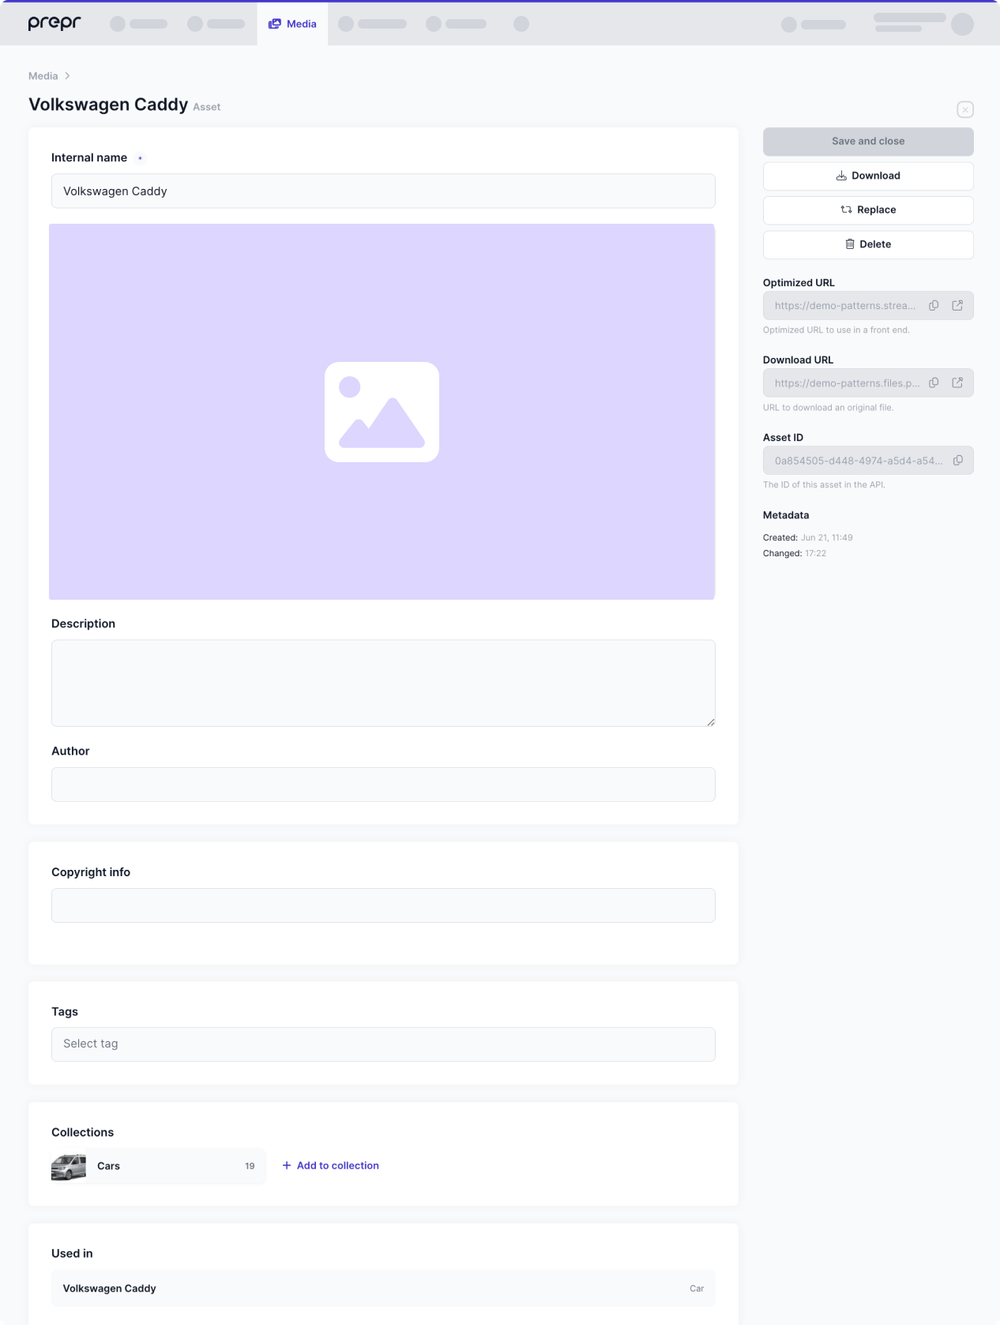
The asset details include:
- Internal name - This field is required and is used to enter the Title of the asset.
- Description - This optional field is used by editors to describe the asset.
- Author - This optional field can be used to enter the name of the photographer or the visual designer of the asset.
- Additional fields - Any additional fields can be added to the Asset model, such as Copyright info. When localization is enabled in the Asset field, a field will be available for each locale allowed in your environment. For more details, check out the Asset model doc.
- Tags – which tags are assigned to an asset (see Tags).
- Collections – to which asset group an asset belongs (see Collections).
- Used in content items - list of all content items that use this asset.
- Optimized URL – a URL you can use in your front end.
- Download URL – a URL to download an original asset file.
- Asset ID – a unique identifier of an asset you can refer to in the API requests.
- Playback ID – Public Mux Playback ID.
- Metadata – date and time when an asset is created, changed, etc.
The Description field is recommended for internal use. To describe your assets in a web application, use the Caption feature.
If you want to add information from the Description field to your web application, refer to the GraphQL API reference.
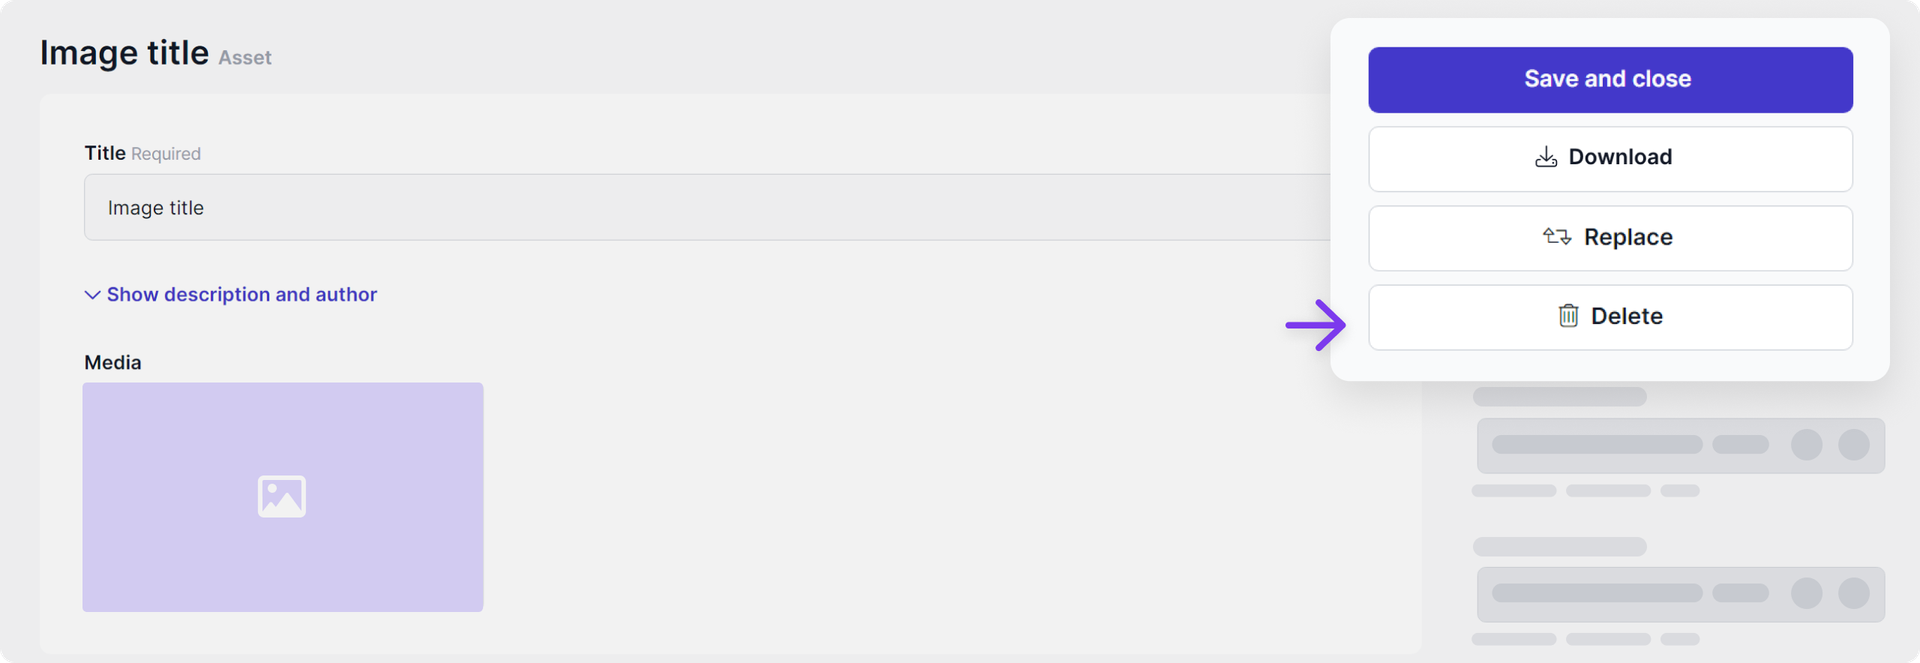
On the Asset details page, you can also edit, download, replace, and delete an individual asset. Please check out the further explanation.
Edit asset details
You can change your asset details, including its title, description, and author. To do it, follow the steps:
-
Go to the Media tab and click to open the needed asset file.
-
On the Asset details page, edit any field and make the changes.
-
On the right-hand sidebar, click Save and close to confirm.
Download an asset
You can download an individual asset to your local storage. For that, do as follows:
-
Go to the Media tab and click to open the needed asset file.
-
On the Asset details page, click Download original.
The original file will be saved to your default download folder.

Replace an asset
You can replace an existing file with a new one by following the steps:
-
Go to the Media tab and click to open the needed asset file.
-
On the Asset details page, click Replace.
-
In the opened dialog window, drag and drop or browse files.
-
Click Add item to confirm the action.

You can replace an asset with the same file type only — for example, images with images, videos with other videos, and so on.
To replace an asset using the API, refer to the REST API reference.
Delete an asset
You can delete an asset if you no longer need it.
Deleting an asset can cause broken web pages. Once you delete an asset from the Media Library, it becomes unavailable in a content item and, therefore, on all web pages where it was used.
The Delete action cannot be undone.
To delete an individual asset, follow these steps:
-
Go to the Media tab and click to open the needed asset file.
-
On the Asset details page, click Delete.
-
In the dialog window, click Delete again to confirm the action.
You can also perform the delete action on multiple assets by completing the following steps:
- Go to the Media tab and select assets by ticking in the top right corner of the asset thumbnails.
To select all assets, click the icon in the top action menu.
-
In the top action menu, click the icon.
-
In the opened dialog window, click Delete to confirm the action.
To delete assets in bulk, you must be assigned a role with the Allow bulk update content items and assets permission in the corresponding Prepr environment.
To delete an asset using the API, refer to the REST API reference.
Organize assets
In Prepr, you can organize your assets in a way that works for you. For example, choose to group assets into collections, add tags, or do both for better categorization and precise search. Find out more below.
Collections
A Collection represents a set of media files grouped by specific attributes and includes all types of assets. It can be a collection of profile pictures, banners, stock photos, etc.
Create a collection
To start with, create a collection by following these steps:
-
Navigate to the Media tab.
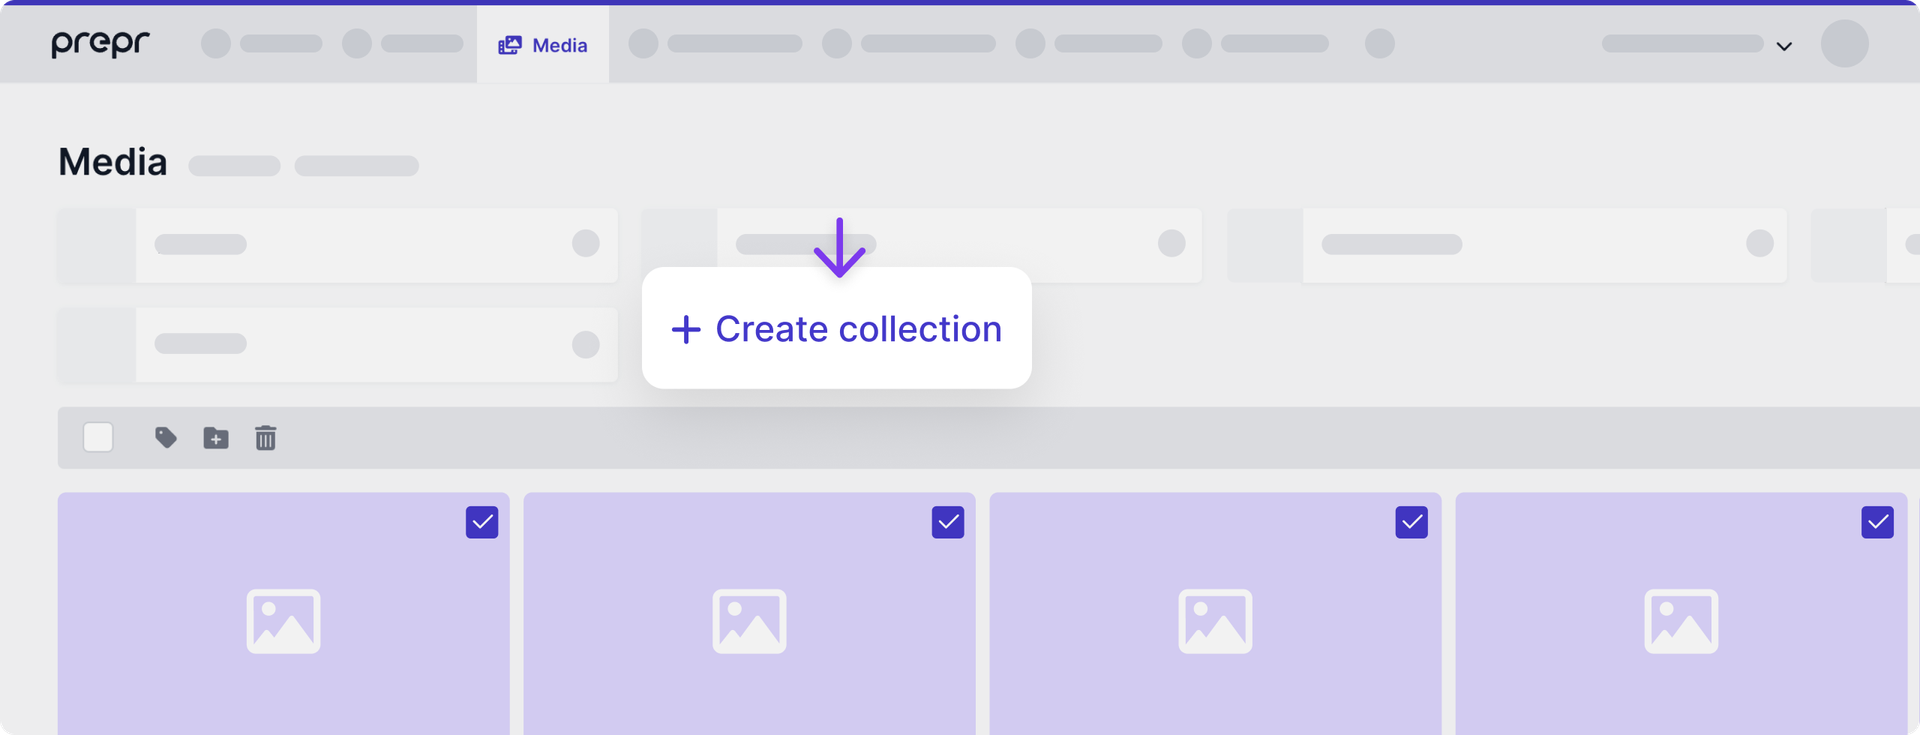
-
In the top action menu, click Create collection.
-
Enter the title for a collection.
-
Click Create to confirm.
Add assets to a collection
Now it is time to add assets to your collection. You have several options to do it:
- Add multiple assets to a collection from the Media Library.
- Add a single asset to a collection from the Asset detail page.
To add multiple assets to a collection, do as follows:
- Go to the Media tab and select assets by ticking in the top right corner of the asset thumbnails.
To select all assets, click the icon in the top action menu.
- In the top action menu, click the icon or drag and drop assets to the needed collection folder.
To add a single asset to a collection, do as follows:
-
Go to the Media tab and click to open the needed asset file.
-
On the Asset details page, click Add to collection.
-
Choose a collection from the drop-down menu.
-
On the right-hand sidebar, click Save and close to apply the changes.

Remove assets from a collection
Anytime, you can remove an asset from a collection in two ways:
- Remove multiple assets from a collection on the Collection page.
- Remove a single asset from a collection on the Asset detail page.
To remove several assets from a collection at a time, do as follows:
-
Go to the Media tab and click to open the needed collection.
-
Select assets by ticking in the top right corner of the asset thumbnails.
-
Click the folder icon in the top action menu.
-
In the opened dialog window, click Remove from collection to confirm the action.
To remove a single asset from a collection, do as follows:
-
Go to the Media tab and click to open the needed asset file.
-
On the Assets details page, go to the Collections section and hover a mouse cursor over the collection title.
-
Click the folder icon.
-
On the right-hand sidebar, click Save and close to apply the changes.
Removing an asset doesn't delete it from the Media Library.
Manage a collection
Additionally, you can perform the following actions on a collection:
- Set a collection cover. A collection cover gives an indication of the assets in the collection. The first added asset is the collection cover by default. To change the cover, hover a mouse cursor over an asset in the collection and click Set as cover.
-
Update a collection title. On the Collection details page, click on the Title field to activate the Edit mode. In the opened dialog window, enter a new title and save the changes.
-
Delete a collection. To delete an entire collection, go to the Collection details page, click Delete on the right and confirm the action.
Once a collection is deleted, the assets remain available in the Media Library.
Tags
A Tag is a meaningful label you can assign to your assets to differentiate between them while filtering. You can add tags in two ways:
- Tag multiple assets from the Media Library.
- Tag a single asset from the Asset detail page.
To tag several assets at once, do as follows:
-
Go to the Media tab and select assets by ticking in the top right corner of the asset thumbnails.
-
In the top action menu, click the icon.
-
Choose an existing tag or type a new one.
-
Click Add tag to confirm.

To tag a single asset, do as follows:
-
Go to the Media tab and click to open the needed asset file.
-
On the Asset details page, click the Tag field.
-
Choose an existing tag or type a new one.
-
On the right-hand sidebar, click Save and close to apply the changes.
That’s it. You have organized your assets in the Media Library. Now it is easier to find the right one. Let's see how to do this in the next paragraph.
Filter and search assets
Prepr gives you multiple search and filter options to navigate through the Media Library and find the needed assets with ease:
- Search the assets by the asset title or keywords in the asset description.
- Filter the assets by Asset type, Tags, Created on date, or the Unused checkbox.

Was this article helpful?
We’d love to learn from your feedback