Files
This guide describes adding different file formats such as PDF, ZIP, GIF, and more to your web application using Prepr.
Introduction
Prepr allows you to add several file formats to a web application. You can use popular file types like PDF and ZIP, for example, to publish a Press kit, Terms of use, or any other document you want your website visitors to download.
To add a file to a web application, you need to complete the following steps:
- First, allow using assets in a model.
- Next, add a file to a content item.
- Finally, retrieve a file using the API.
See the detailed instructions below.
This guide assumes you have already set up a content model. If not, we recommend starting with the following steps:
- Design a schema.
- Create a model. If you’re unsure about how to structure your content, check out our Example models for inspiration.
Step 1: Add an Assets field to your model
To use assets in your content items, you must first add the Assets field to a content model as follows:
- Click the Schema tab to open the Schema Editor.
- Click on a model to open its details.
- Click or drag the Assets field from the list of field types into your model.
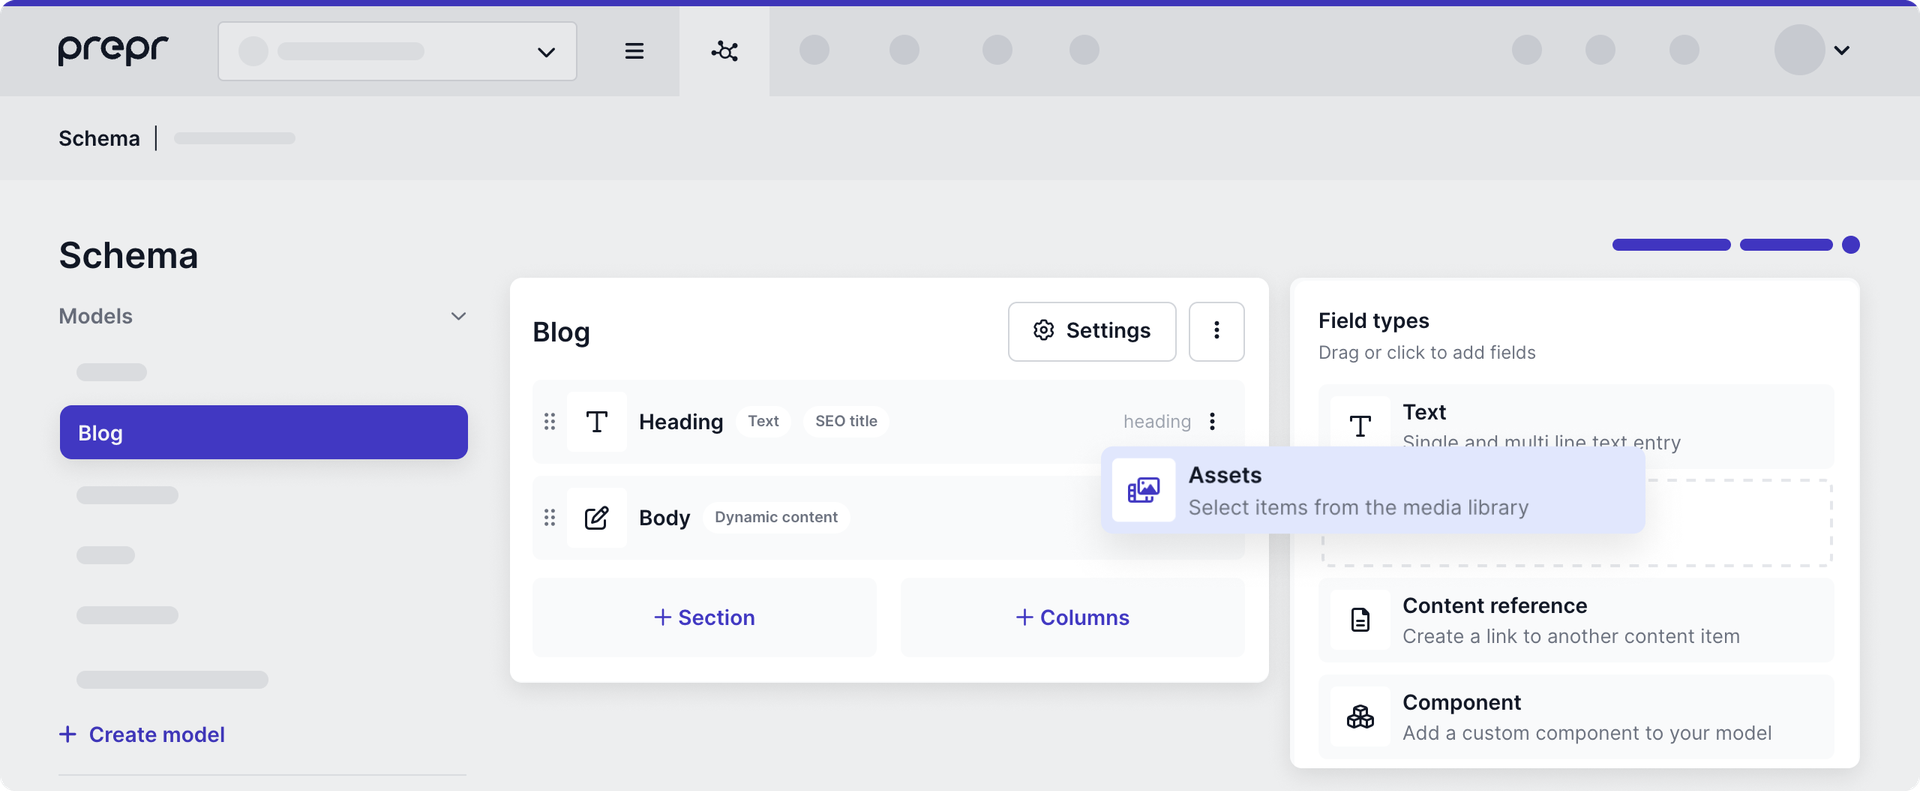
- Fill in the Assets field settings, then click Save to confirm. For more information, check out the Field types guide.
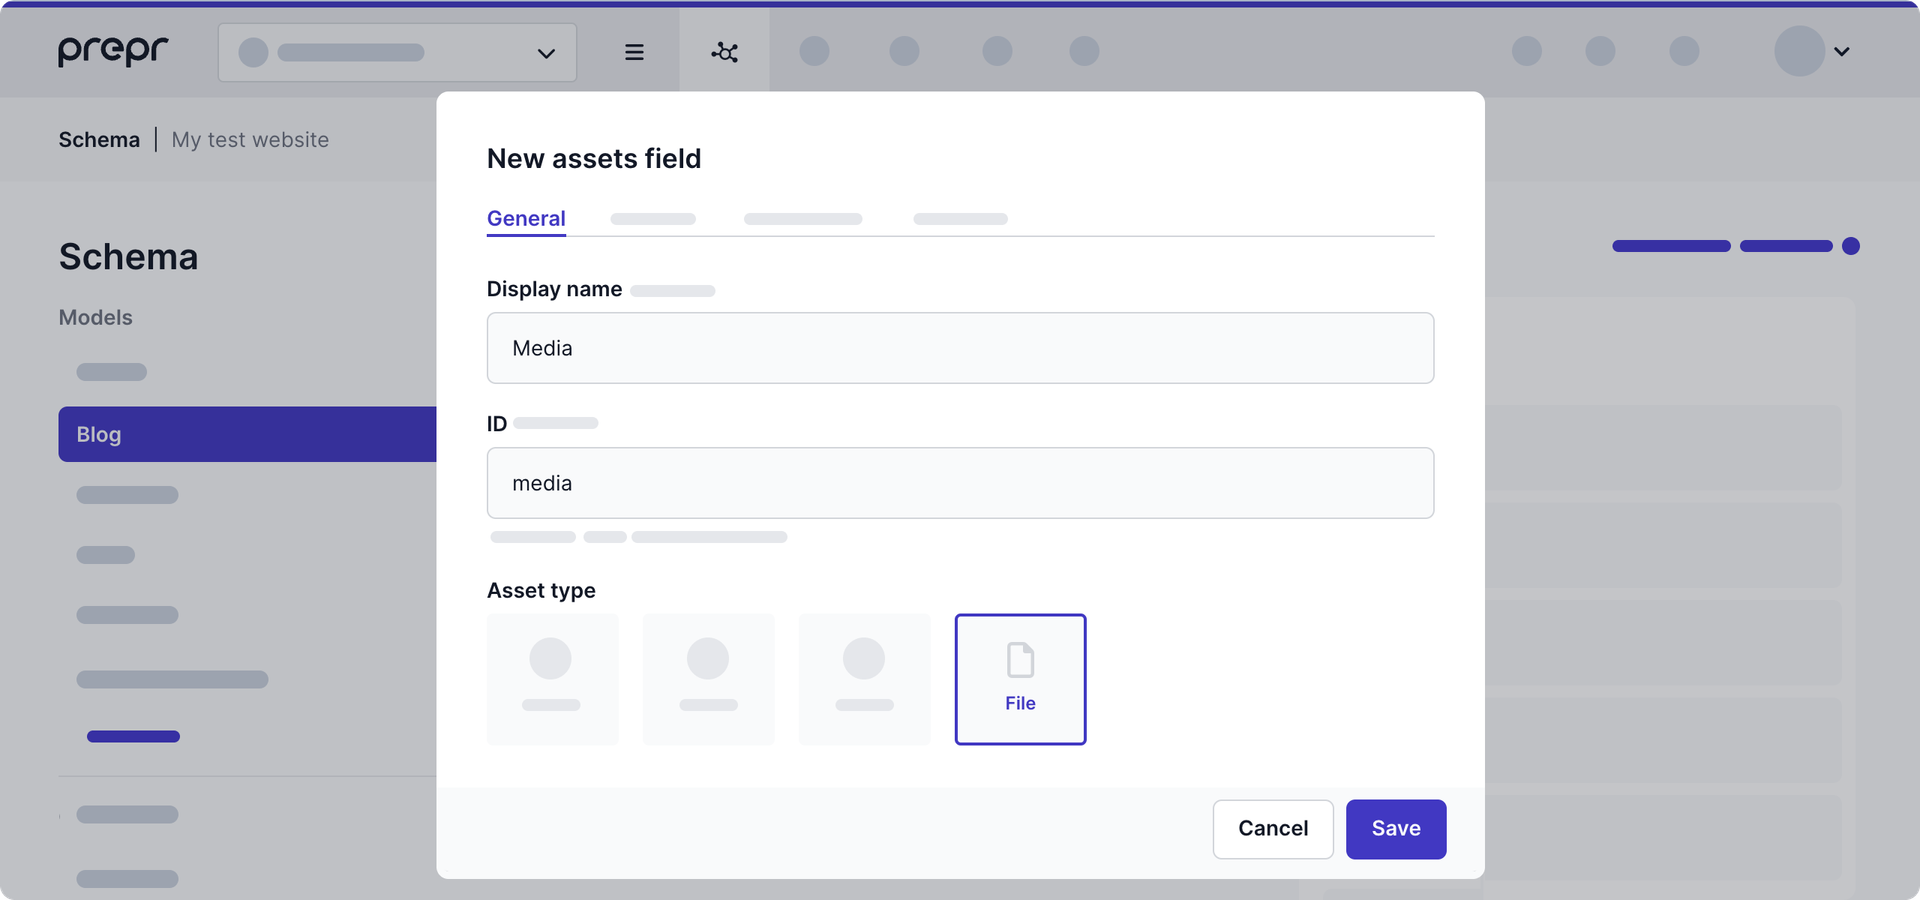
Make sure to select the File asset type in the General tab to allow adding files to this field.
In the Settings tab, you can also enable the Caption and Alignment features to configure your file in the Prepr Editor interface. For more information, see the Add a file to a content item step.
Once done, you can add a file to your content item.
Step 2: Add a file to a content item
Now that you have allowed using assets in a model, you can add a file to your content item as follows:
-
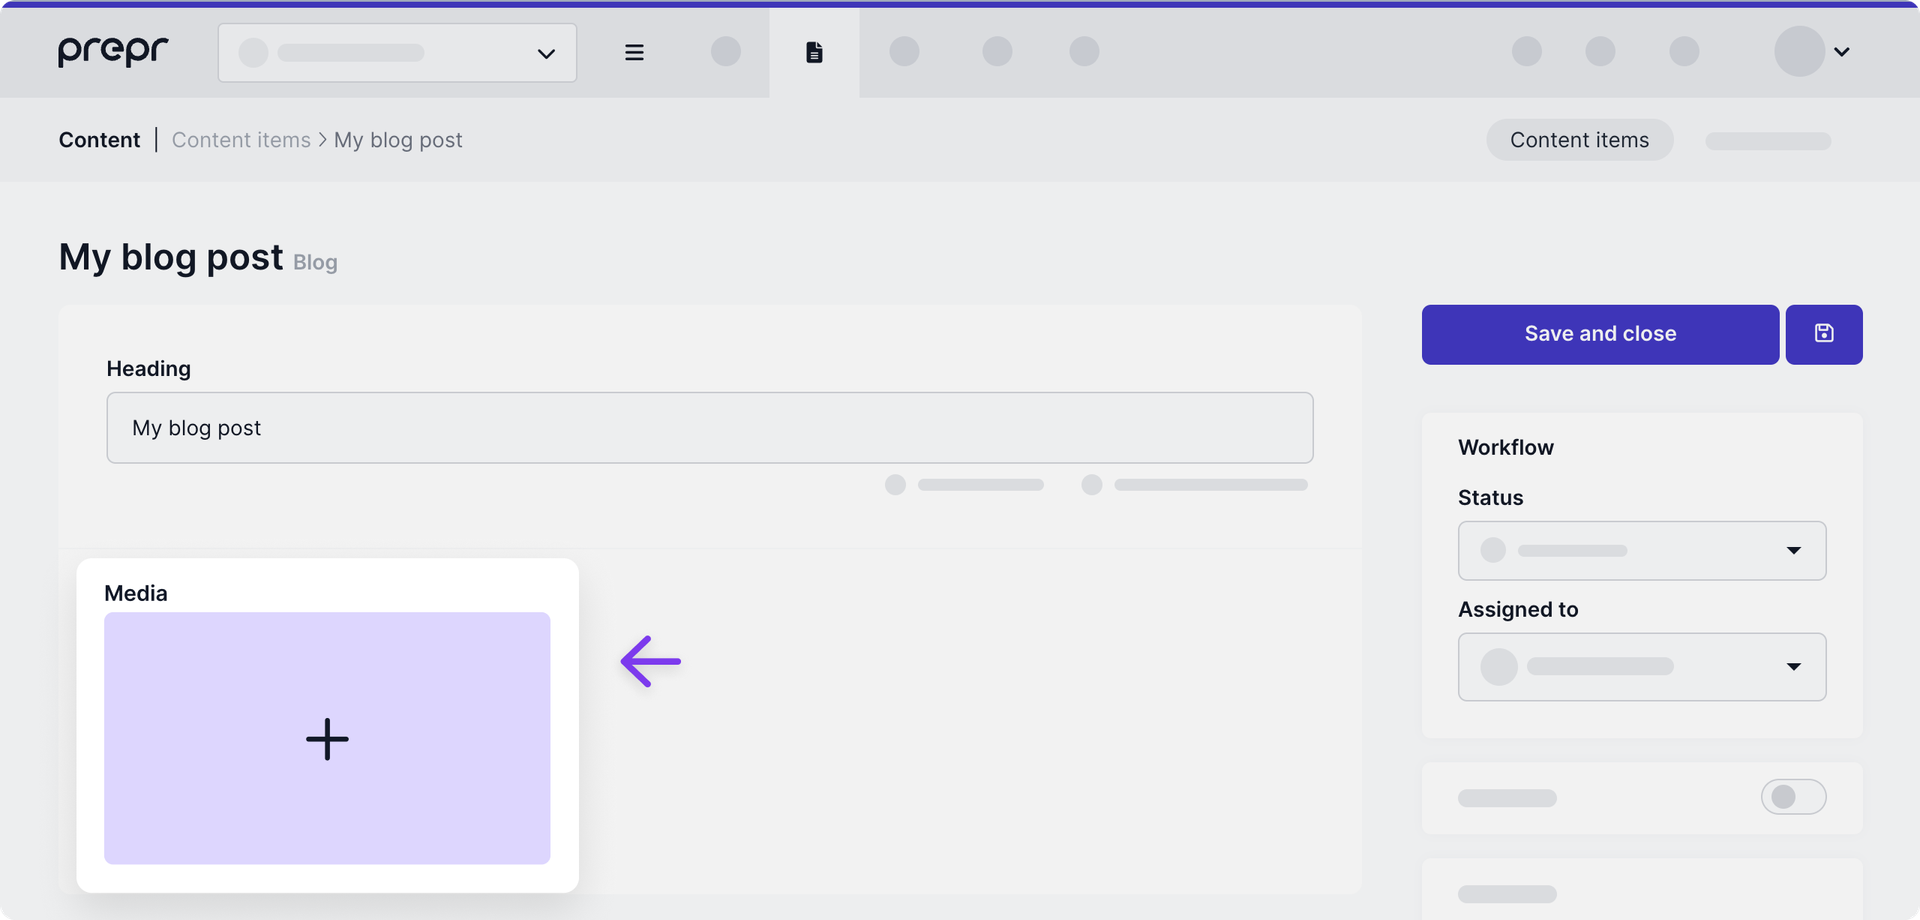
Navigate to the Content tab. You can either create a new content item or use an existing one.
-
On the Content item page, go to the media placeholder and click the icon.
-
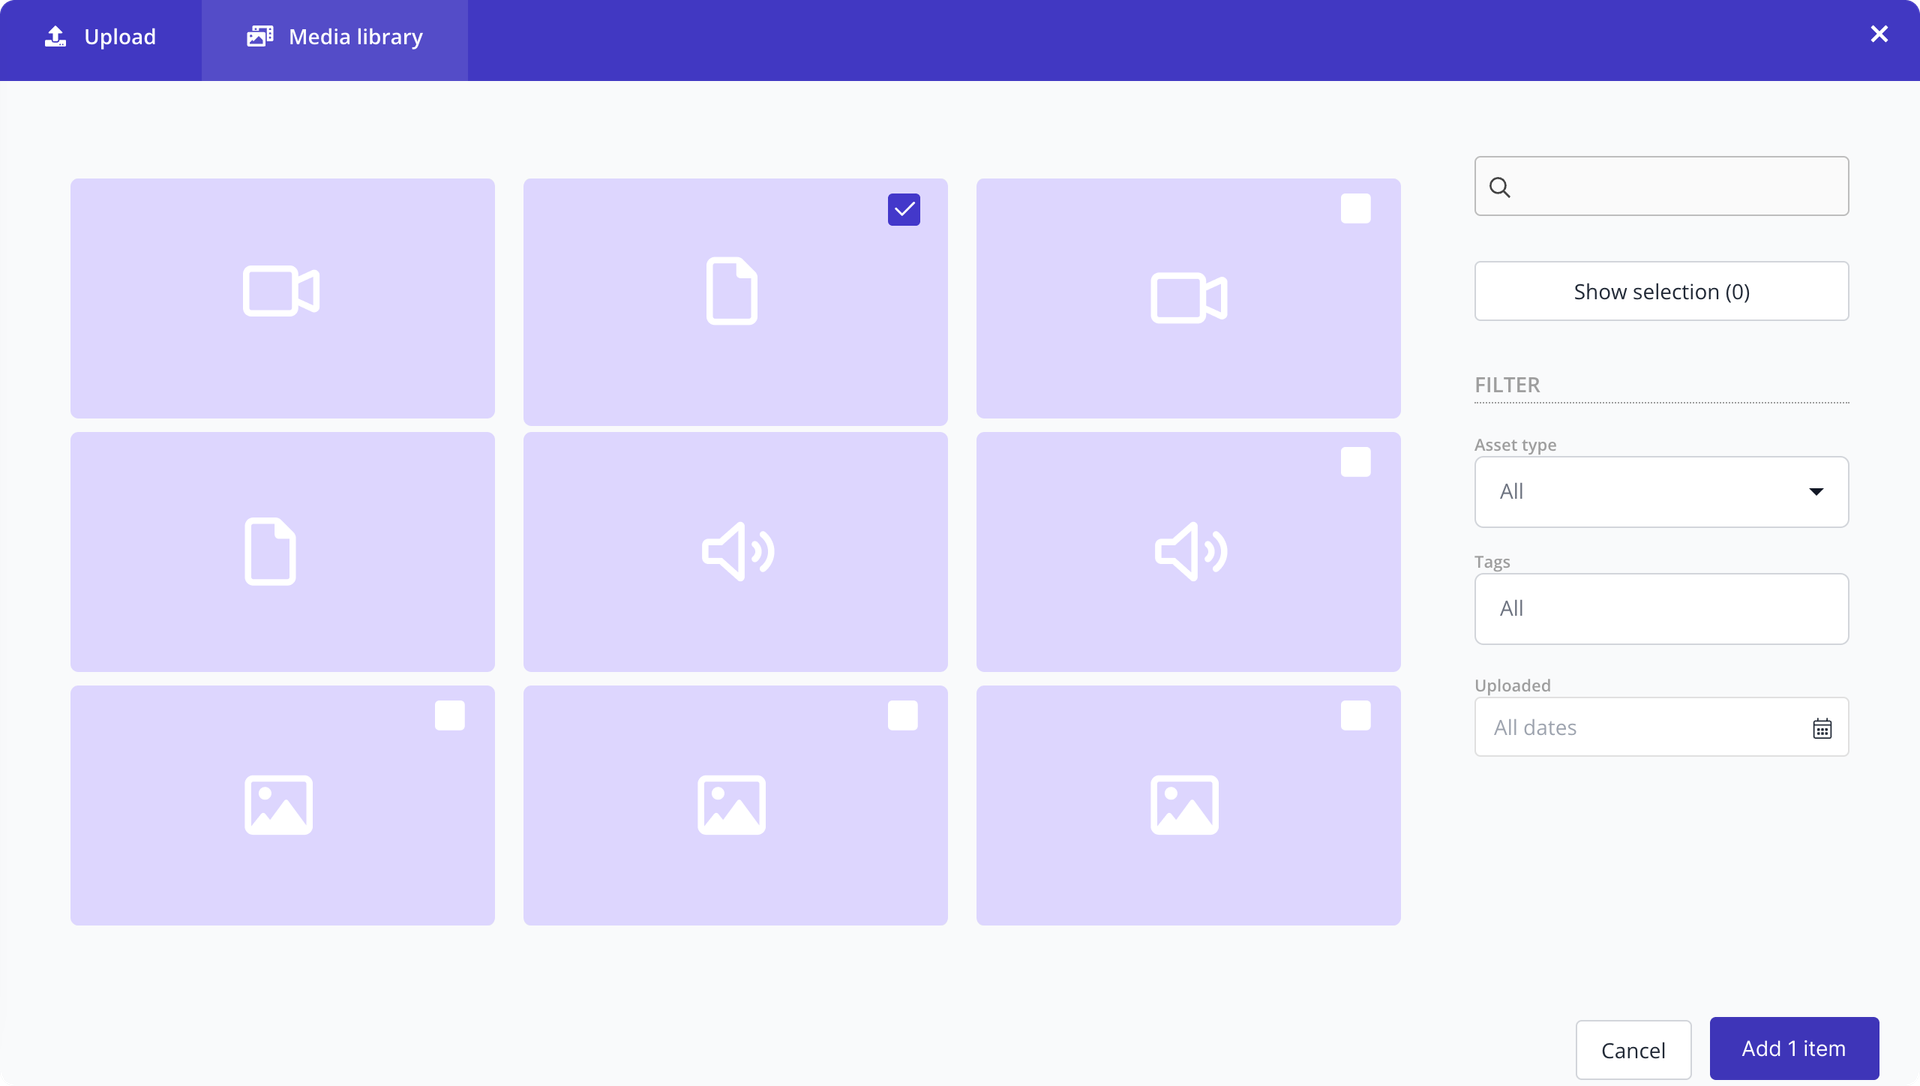
Select one or multiple images from the Media Library or upload new ones.
-
Click Add x items to confirm.
Optionally, you can edit a file in the Prepr Editor interface as follows:
- Add a caption to provide additional information about your file. If you run a multi-language application, you can easily localize image captions.
- Set alignment to define the position of a file on a web page.
On the Content item page, hover over a file and click the icon in the top right corner, then select the needed action.
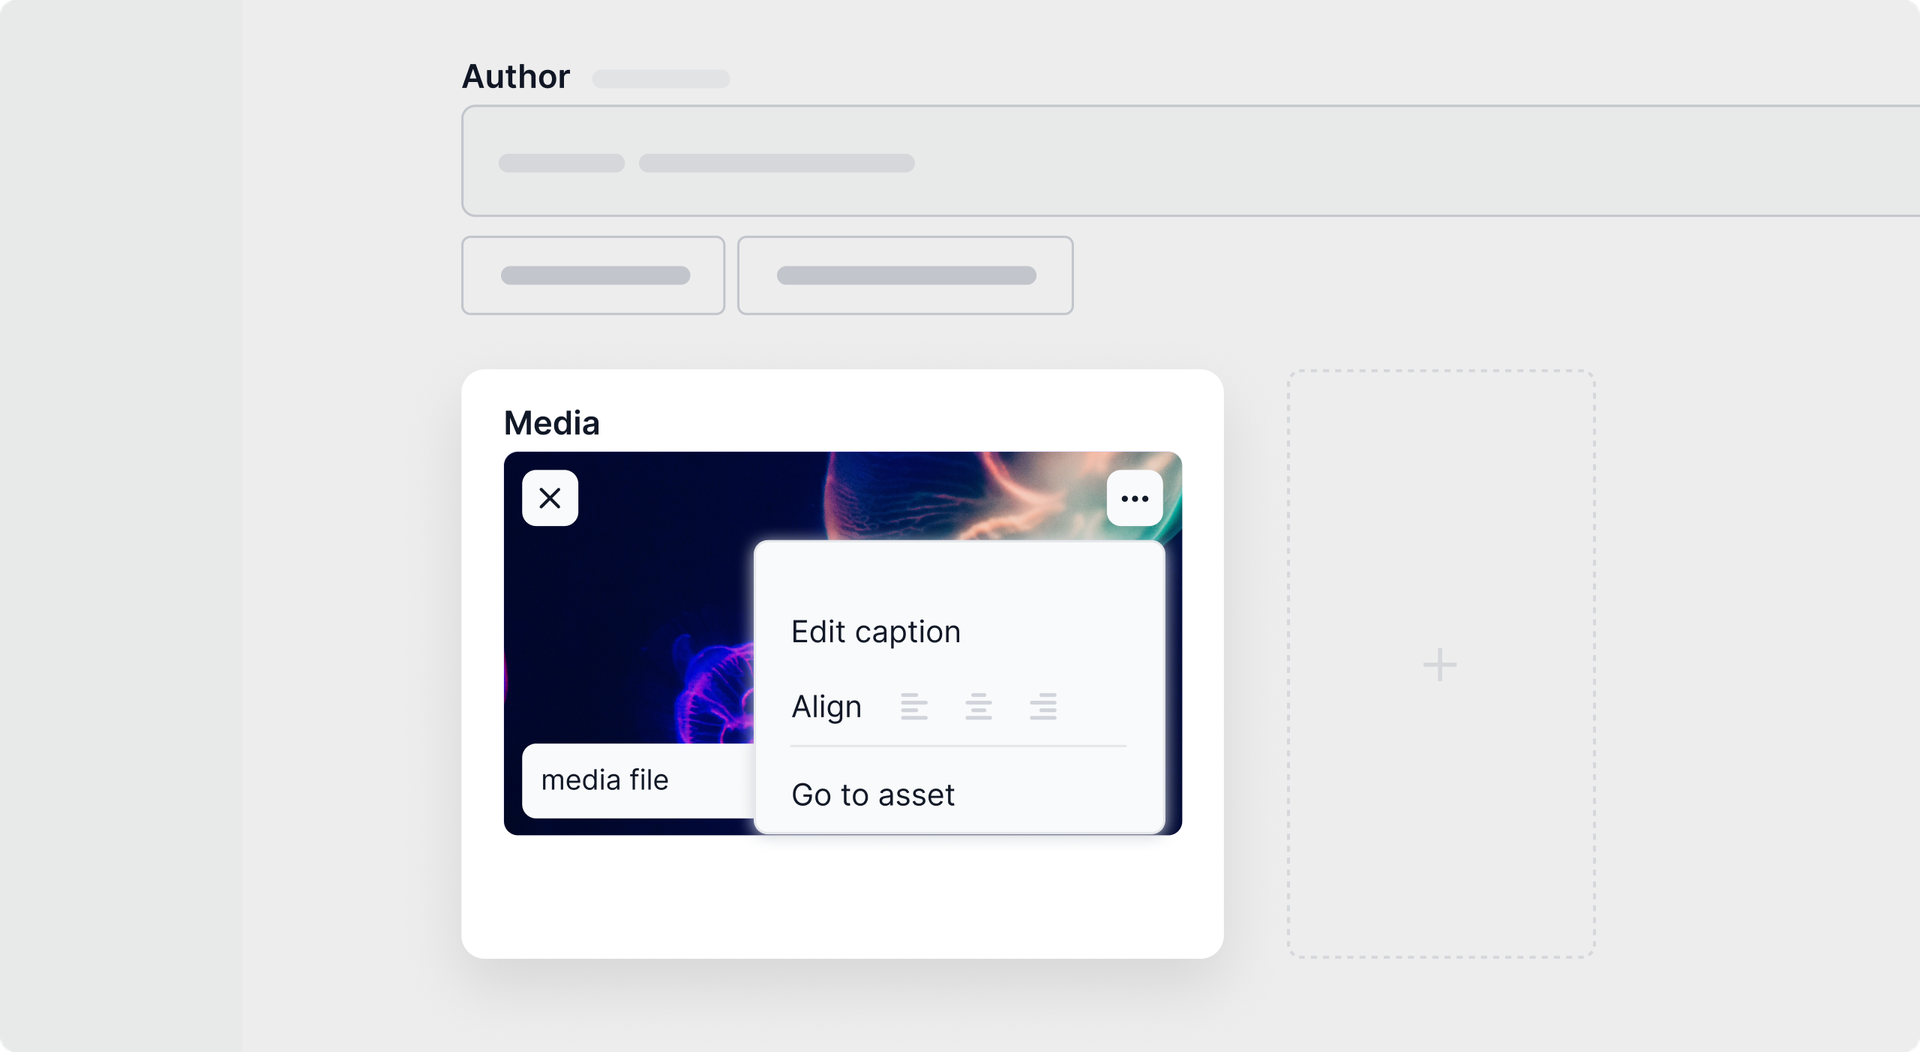
These features are only available if enabled in the Assets field settings.
Once done, proceed to the next step.
Step 3: Retrieve a file using the API
Once you have completed the previous steps, you can retrieve your file using the API.
Use the following snippets as a starting point to retrieve an identifier, a URL and the type of your file. You may want to add or remove arguments according to your desired set-up. For more information, see the GraphQL API reference.
query {
  Blog (id: "bb6e51df-94bb-4708-8cf8-40229058a2ab") {
    media {
      _id
      url
      mime_type
    }
  }
}
Please check out the Connecting front-end apps guide to learn more about retrieving content in a specific front-end framework.
That's it. Once you publish your content item, your file becomes available in your web application for download.
Want to learn more?
Check out the following guides to learn how to add other asset types to your web application:
Was this article helpful?
We’d love to learn from your feedback