Video and Audio
Follow this guide to learn how to add video and audio files to your web application using Prepr.
Introduction
Video and audio have become one of the most popular ways that people consume content. You can use video and audio in a variety of ways: from brand videos to instructional videos to audiobooks and news reports, and many more. Whatever goal you have, Prepr will help you embed your video/audio files in a web application with ease.
All the video and audio files uploaded to Prepr are stored in and played from Mux. You can read more about the Prepr and Mux integration in our blog post.
To play video/audio in a web application, you need to complete the following steps:
- First, allow using assets in a model.
- Next, add a video/audio file to a content item.
- Then, add a web player to your front end.
- Finally, retrieve a video/audio file using the API.
See the detailed instructions below.
Starting from June 22nd, 2022, the Mux integration is available to all new Prepr customers by default. If you’ve joined Prepr before this date, you can request a migration from the deprecated AWS integration to the Mux integration anytime. Please contact us at prepr.io/support (opens in a new tab).
This guide assumes you have already set up a content model. If not, we recommend starting with the following steps:
- Design a schema.
- Create a model. If you’re unsure about how to structure your content, check out our Example models for inspiration.
Step 1: Add an Assets field to your model
To use assets in your content items, you must first add the Assets field to a content model as follows:
- Click the Schema tab to open the Schema Editor.
- Click on a model to open its details.
- Click or drag the Assets field from the list of field types into your model.
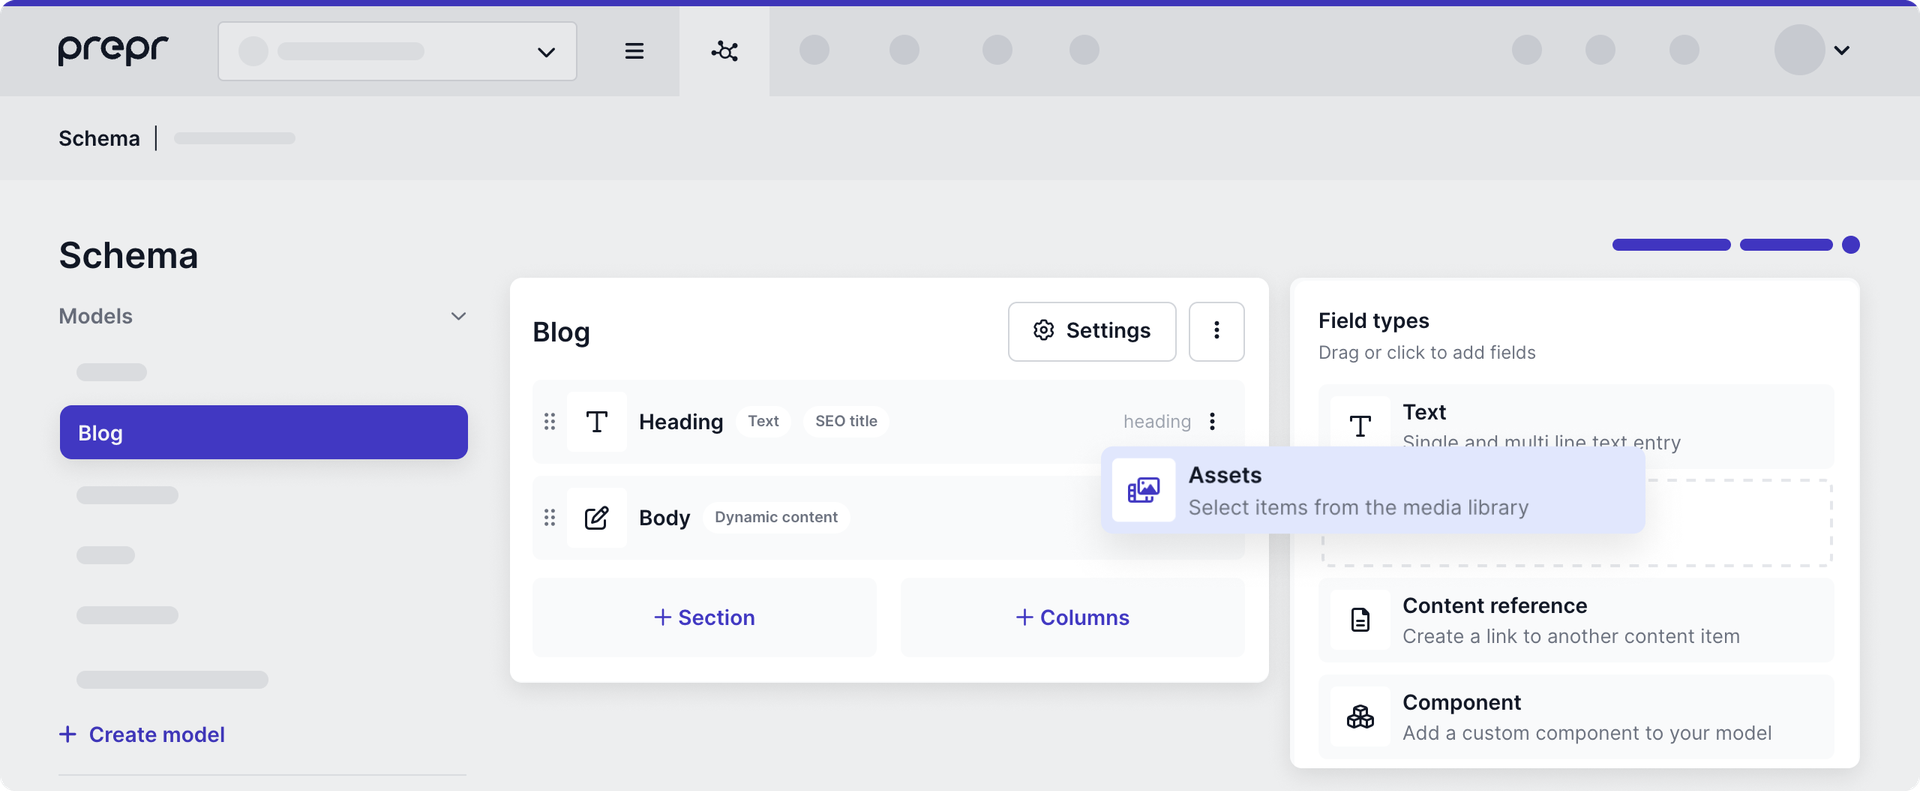
- Fill in the Assets field settings, then click Save to confirm. For more information, check out the Field types guide.
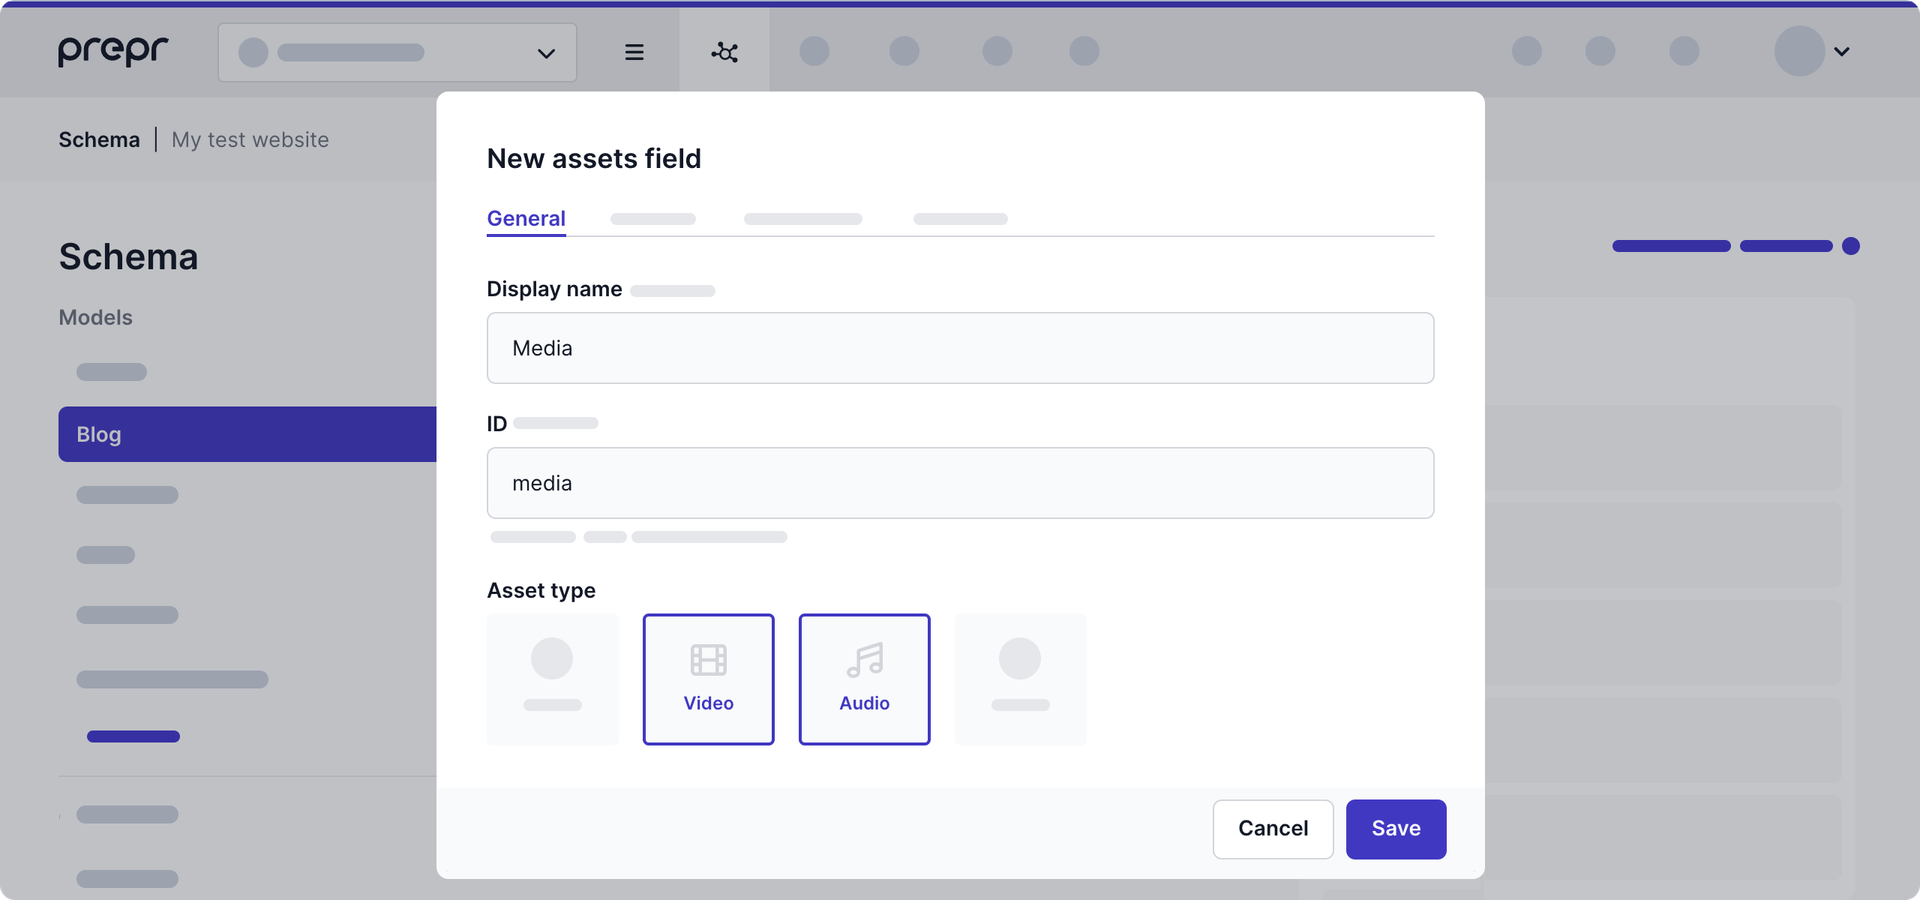
Make sure to select the Video and Audio asset type in the General tab to allow adding video or audio files accordingly to this field.
In the Settings tab, you can also enable the Caption and Alignment features to configure your video/audio in the Prepr Editor interface. For more information, see the Add a file to a content item step.
Once done, you can add a video/audio file to your content item.
Step 2: Add a file to a content item
Now that you have allowed using assets in a model, you can add video/audio to your content item as follows:
-
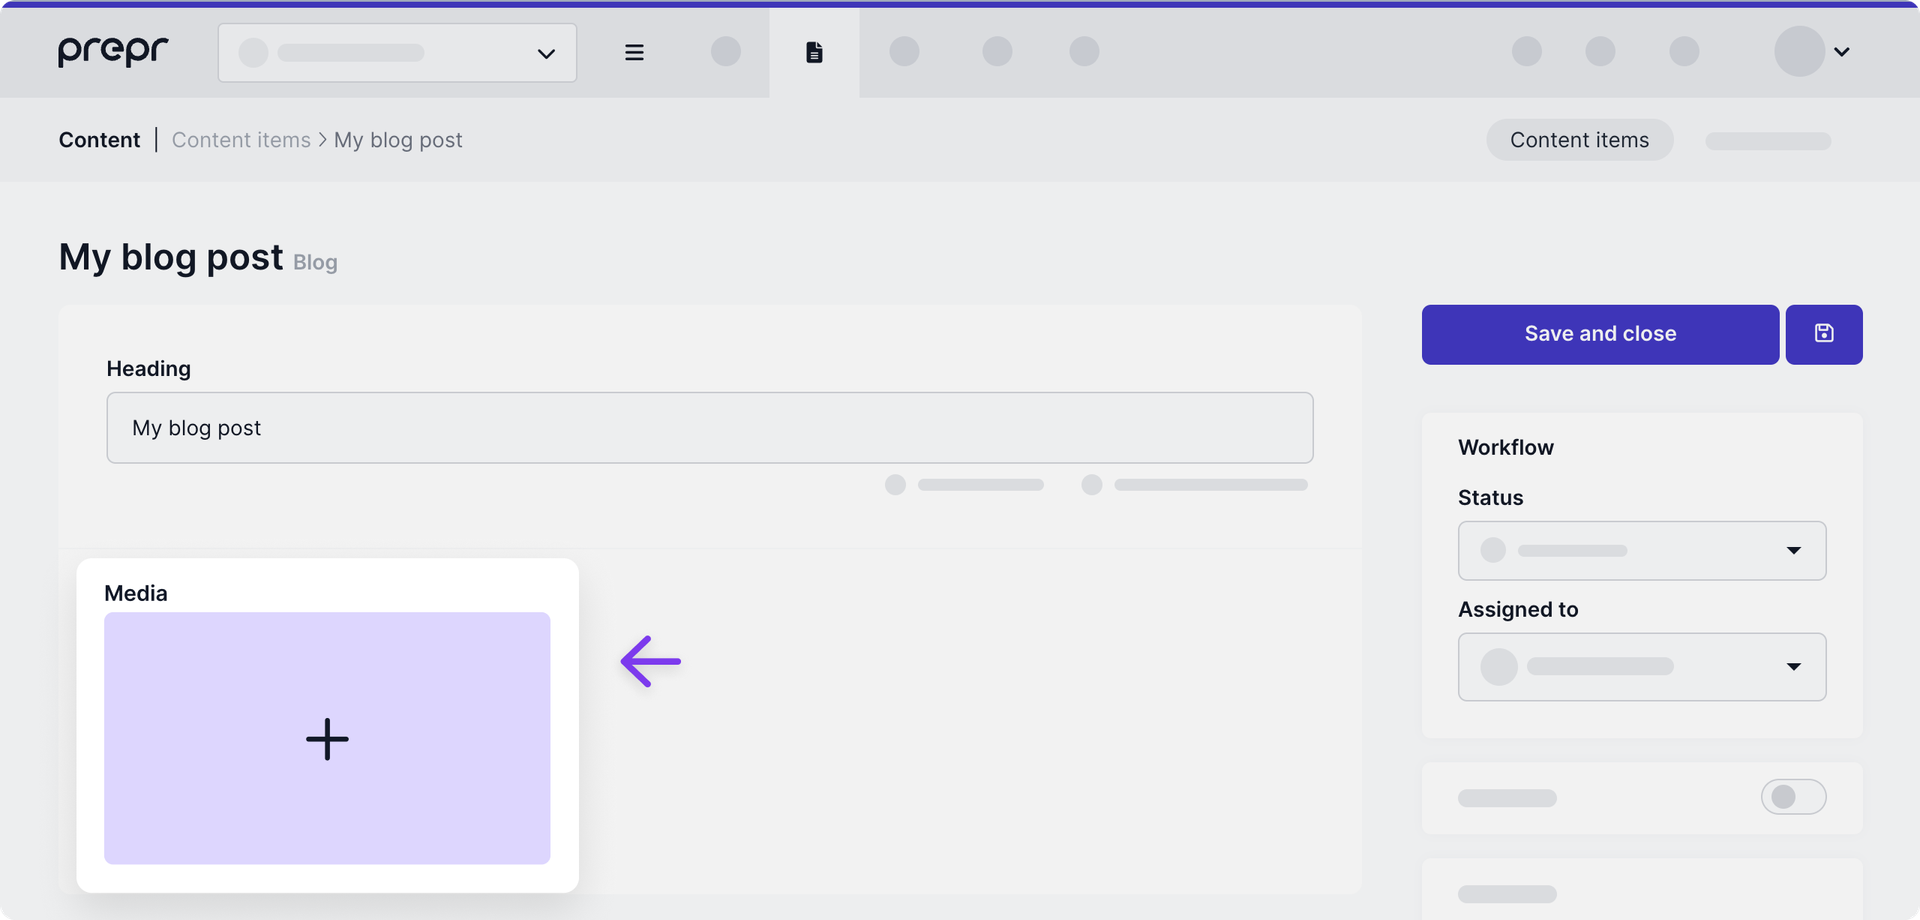
Navigate to the Content tab. You can either create a new content item or use an existing one.
-
On the Content item page, go to the media placeholder and click the icon.
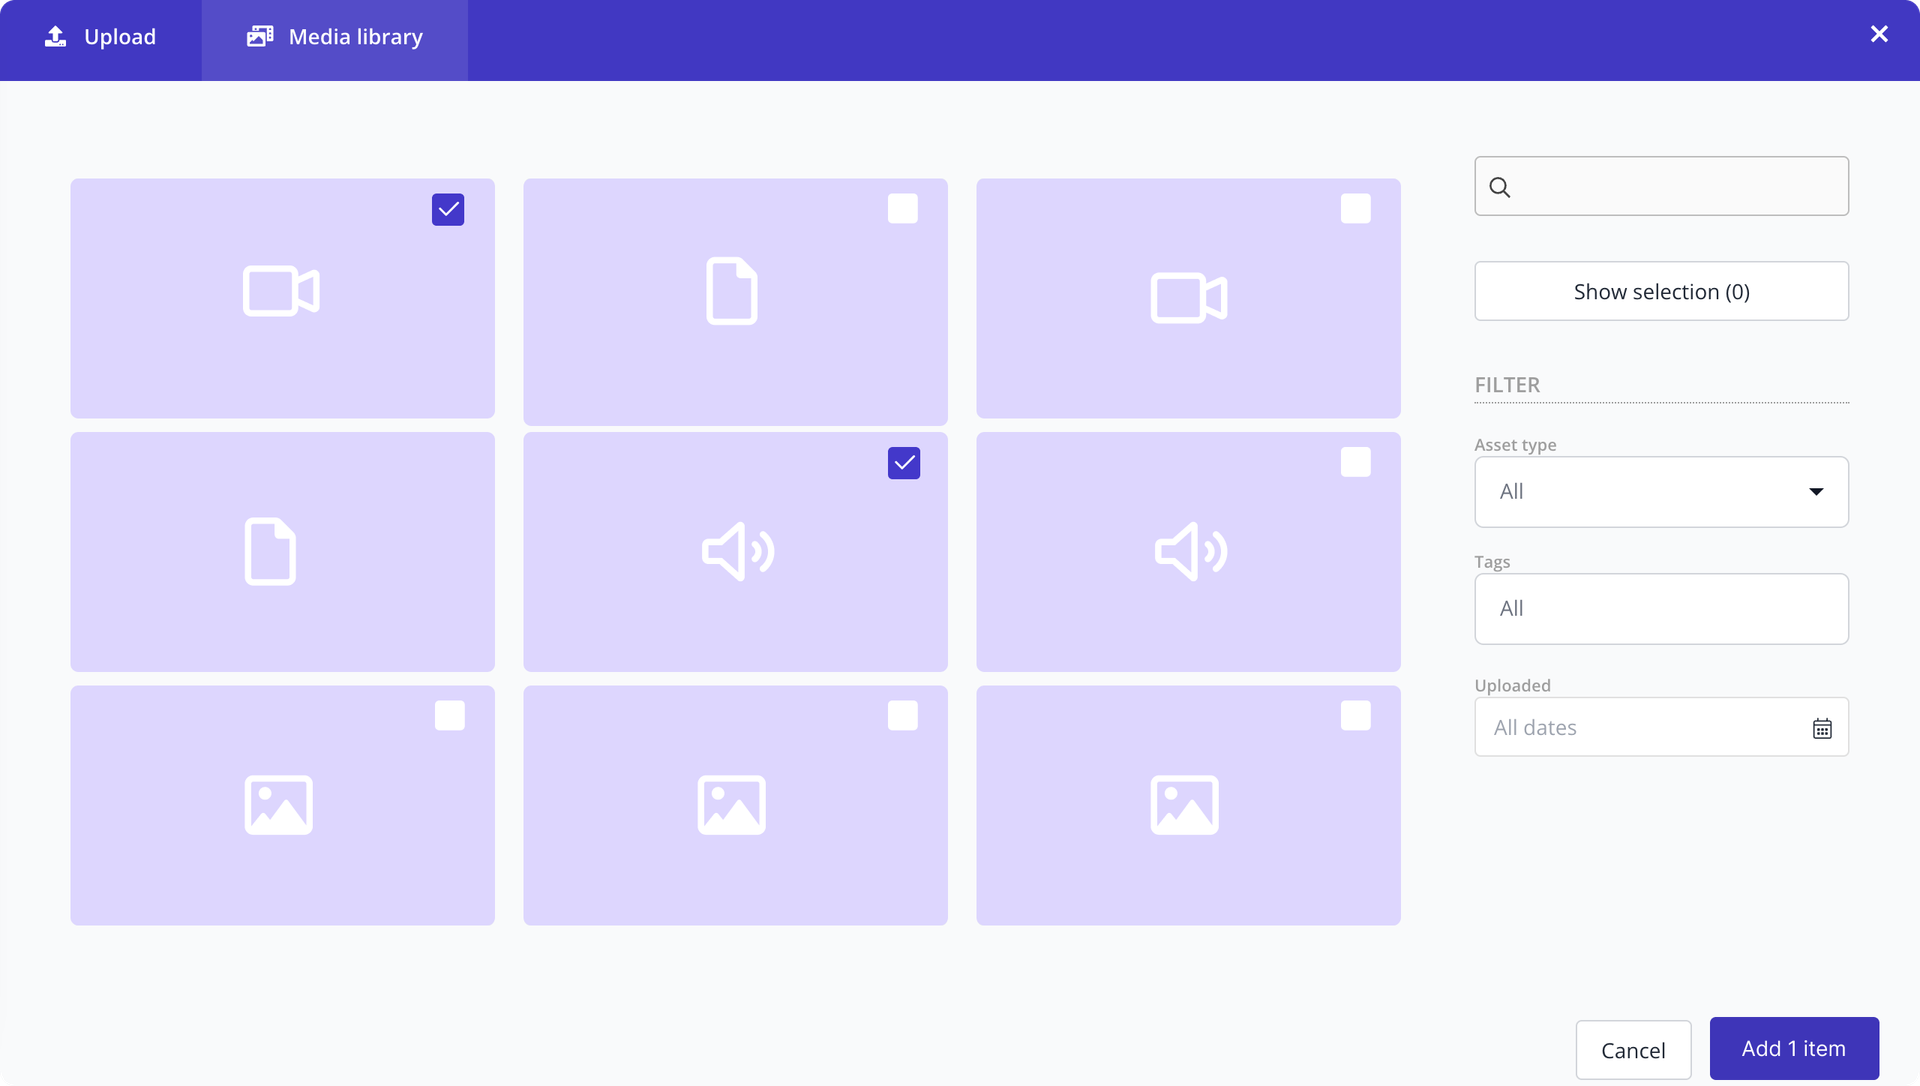
- Select one or multiple video/audio files from the Media Library or upload new ones.
- Click Add x items to confirm.
Optionally, you can edit your video/audio in the Prepr Editor interface as follows:
- Add a caption to describe your video/audio file. If you run a multi-language application, you can easily localize image captions.
- Set alignment to define the position of a video/audio file on a web page.
On the Content item page, hover over a video/audio file and click the icon in the top right corner, then select the needed action.
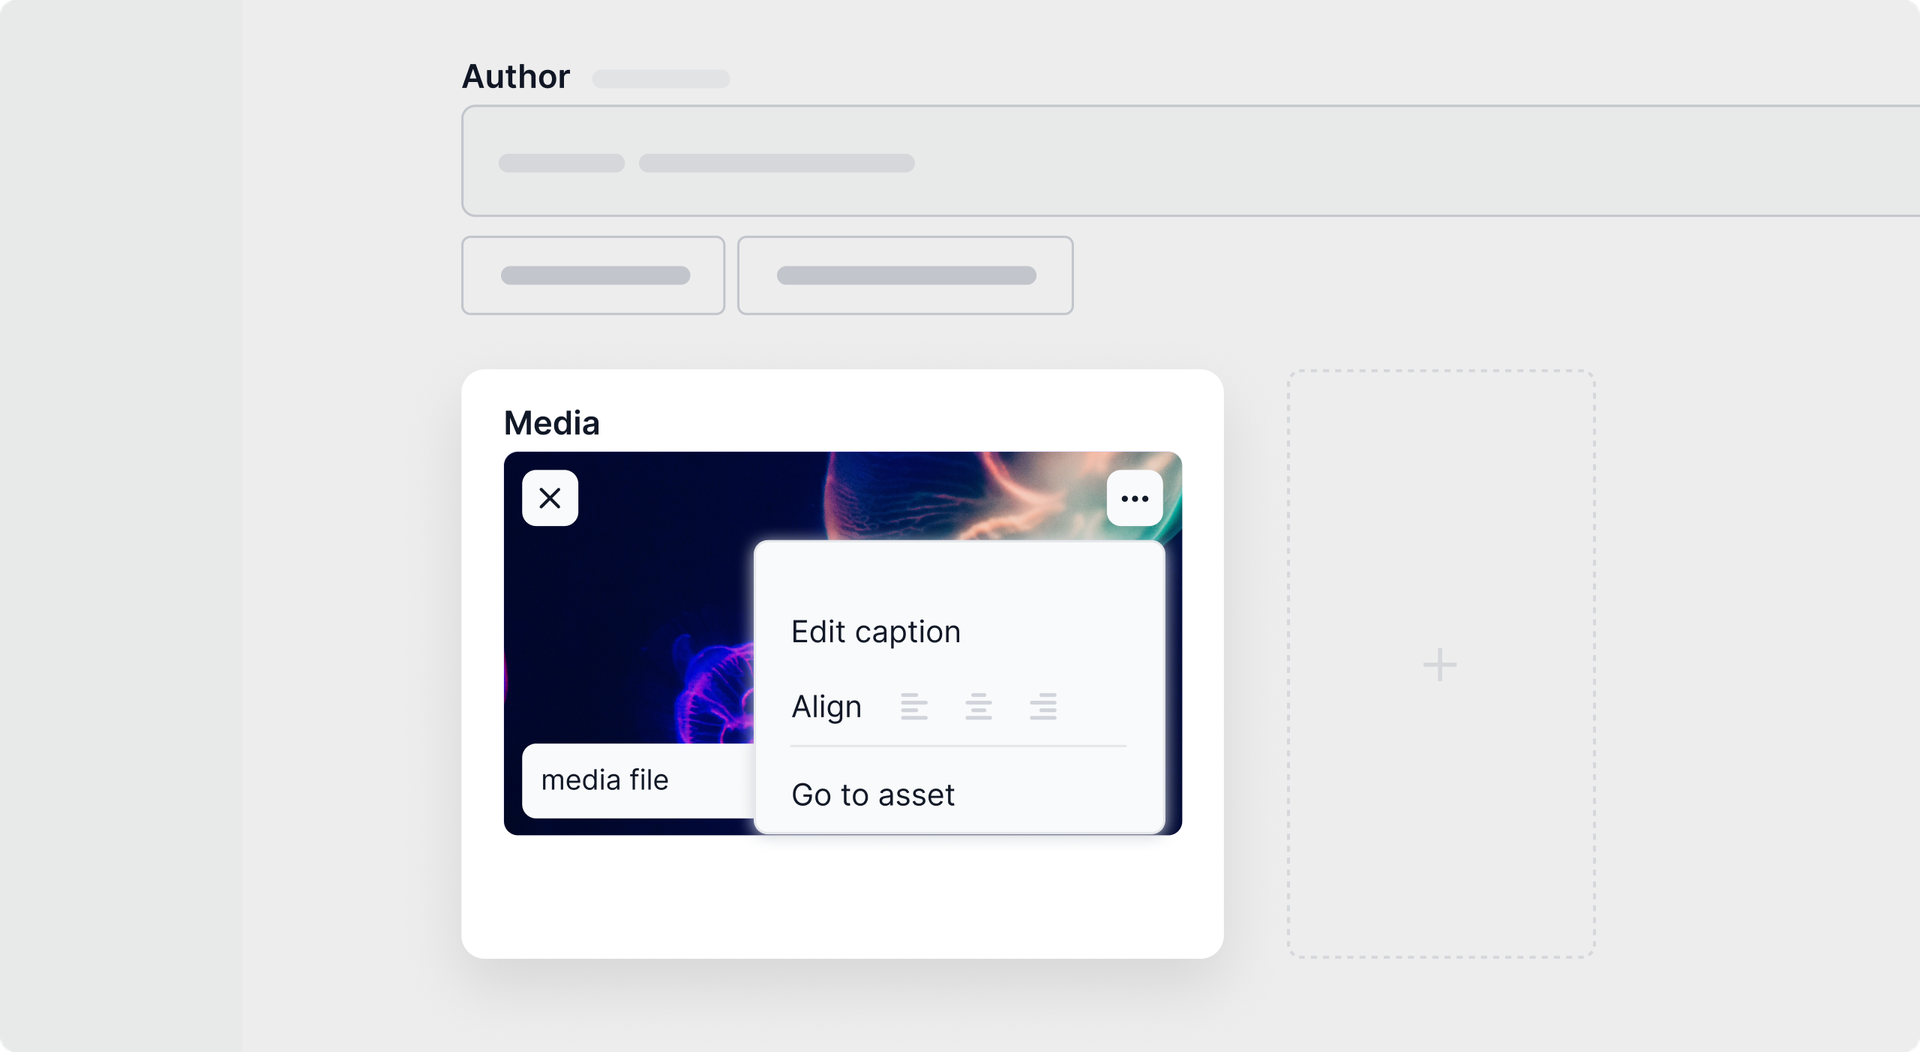
These features are only available if enabled in the Assets field settings.
Once done, proceed to the next step.
Step 3: Add a web player to your front end
Now that you’ve prepared a video/audio file for displaying, you can choose which web player to use in your web application.
Because Mux delivers your videos in the HTTP Live Streaming (HLS) format, we recommend using a player that supports HLS. Here are some popular players you may want to use:
- Mux Player (opens in a new tab) is a native player developed by Mux.
- HLS.js (opens in a new tab) is free and open source. HLS.js will be a good choice if you want to use the HTML5 video element's default controls or build your own UI elements.
- Agnoplay (opens in a new tab) is a fully agnostic, cloud-based player solution for web, iOS, and Android.
- JWPlayer (opens in a new tab) is a commercial player that supports HLS by default and uses HLS.js as an underlying HLS engine.
Check out other options in the Mux documentation (opens in a new tab).
You can add subtitles to your videos (supported for the Mux player only) and set a custom video thumbnail (available for all web players). Learn more in Edit and configure assets.
Step 4: Retrieve video/audio using the API
Once you have completed the previous steps, you can retrieve your video/audio file using the API to integrate with a web player.
Use the following snippets as a starting point to retrieve your live stream via the API. You may want to add or remove arguments according to your desired setup. For more information, see the GraphQL API reference.
To retrieve a playback_id, make sure you use the GraphQL API token version of 2022-08-15 or later.
To integrate your video with a 3rd party player, make sure to include the url field in your API request. It will return a video URL in the format: https://stream.mux.com/{PLAYBACK_ID}.m3u8.
For Mux Player, including the playback_id is sufficient.
query {
 Blog (id: "85a98d9c-3ab8-476d-9ef1-a00b6ed79a2d") {
   media {
     _id
     playback_id
     url
    }
   }
}
Fo more details on customizing the thumbnail for your Mux video, check out the Mux docs (opens in a new tab).
Please check out the Connecting front-end apps guide to learn more about retrieving content in a specific front-end framework.
That's it. Once you publish your content item, your video and audio file become available in your web application in the best possible format.
Want to learn more?
Check out the following guides to learn how to add other asset types to your web application:
Was this article helpful?
We’d love to learn from your feedback