Next.js Quick start guide
Estimated duration: 10 minutes
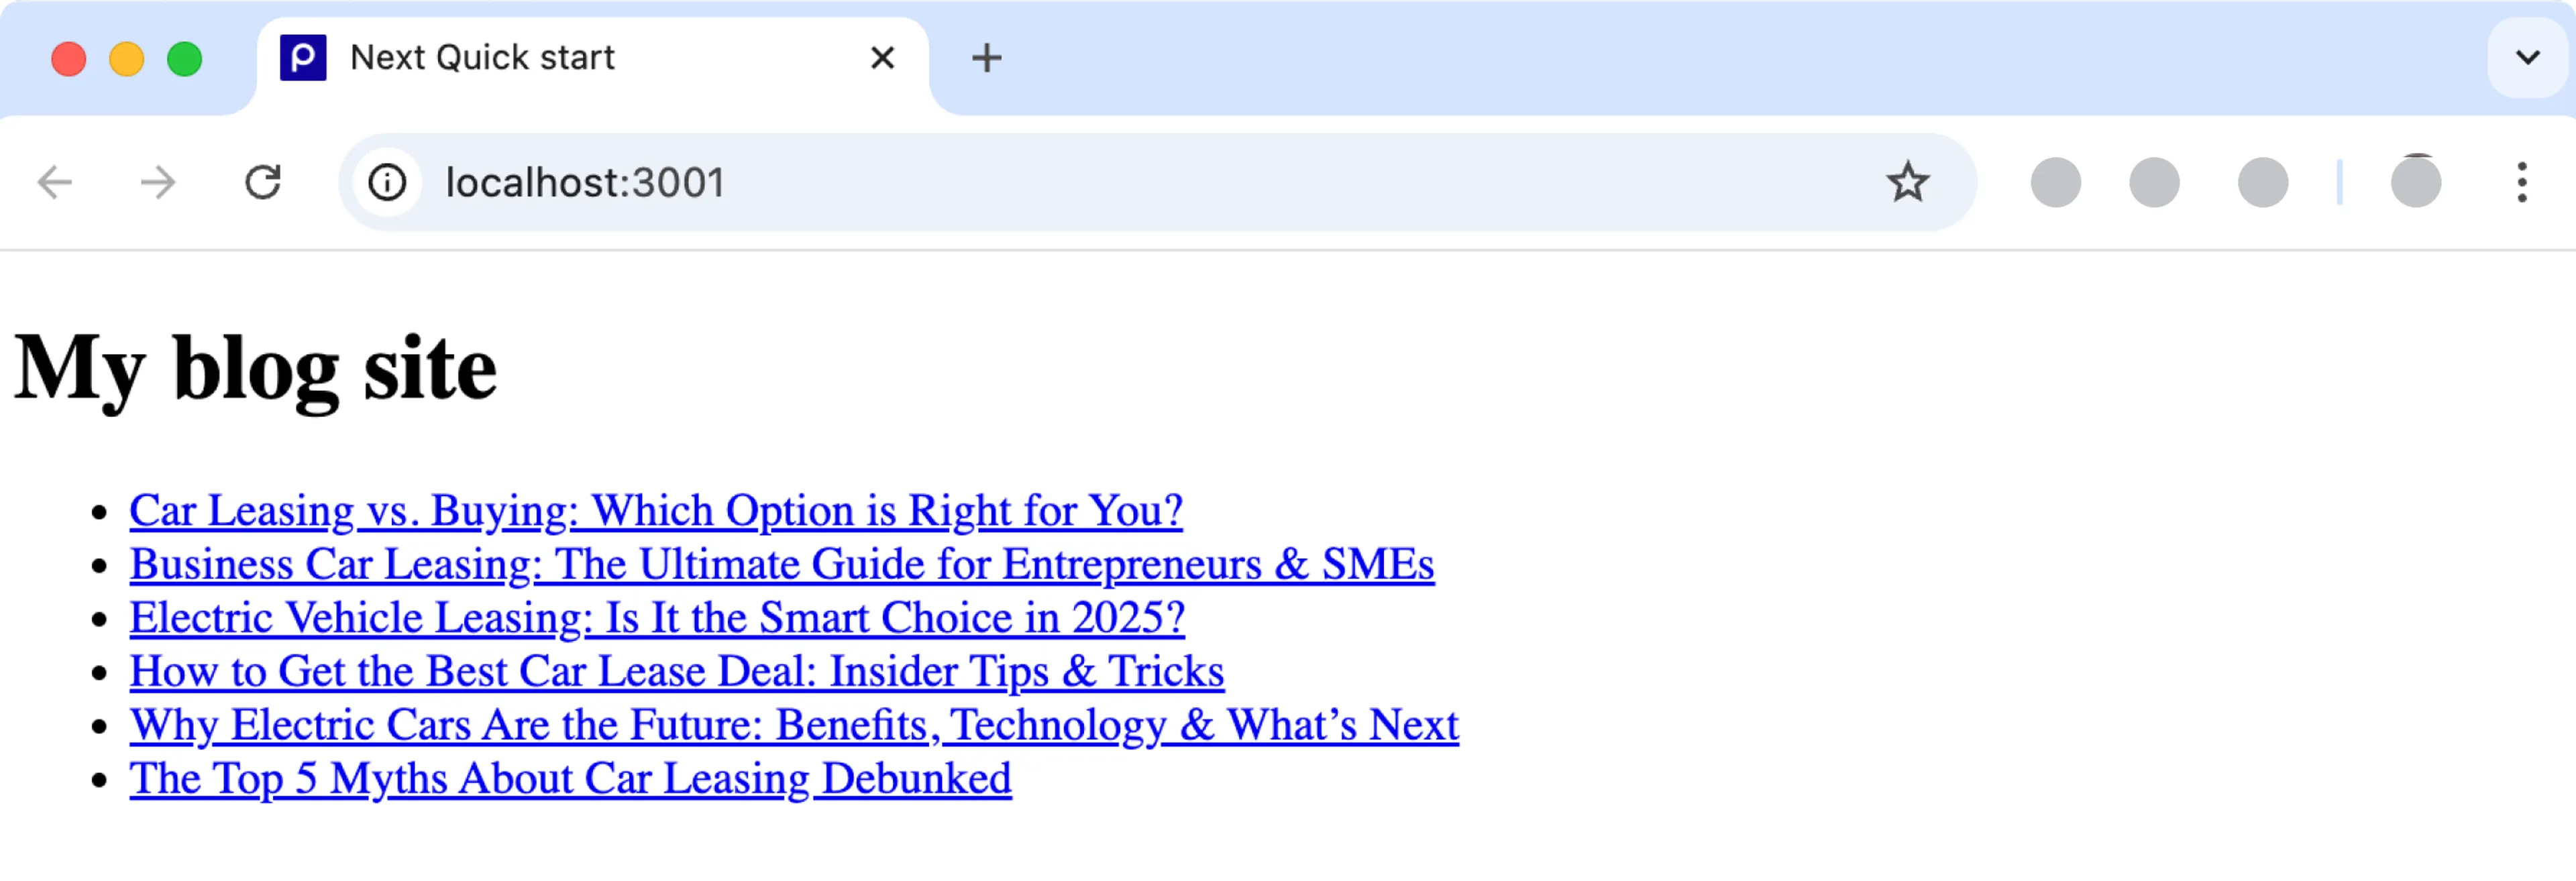
This guide shows you how to connect Prepr to a Next.js project to get data from Prepr CMS. You’ll learn how to make a simple blog with Next.js and Prepr CMS. By the end of this guide, you’ll have a working app that looks like the image below.
If you want to skip ahead, try out the zero installation demo on Stackblitz or clone the repository on GitHub to run the demo locally. These resources and the steps below are based on the latest version of Next.js.
Prerequisites
You need to have the following setup before you connect your Next.js project to Prepr.
Create a simple Blog website with Next.js and Prepr CMS
Create a new Next.js project
The instructions below show you how to create an empty Next.js project for your blog app. You can skip this step if you have an existing Next.js project.
-
Open a terminal, go to your development projects folder and execute the following command to create a new Next.js project called
prepr-next:npx create-next-app@latest prepr-nextMark the options (
YorN) as shown in the image below to create the same project structure used in this guide.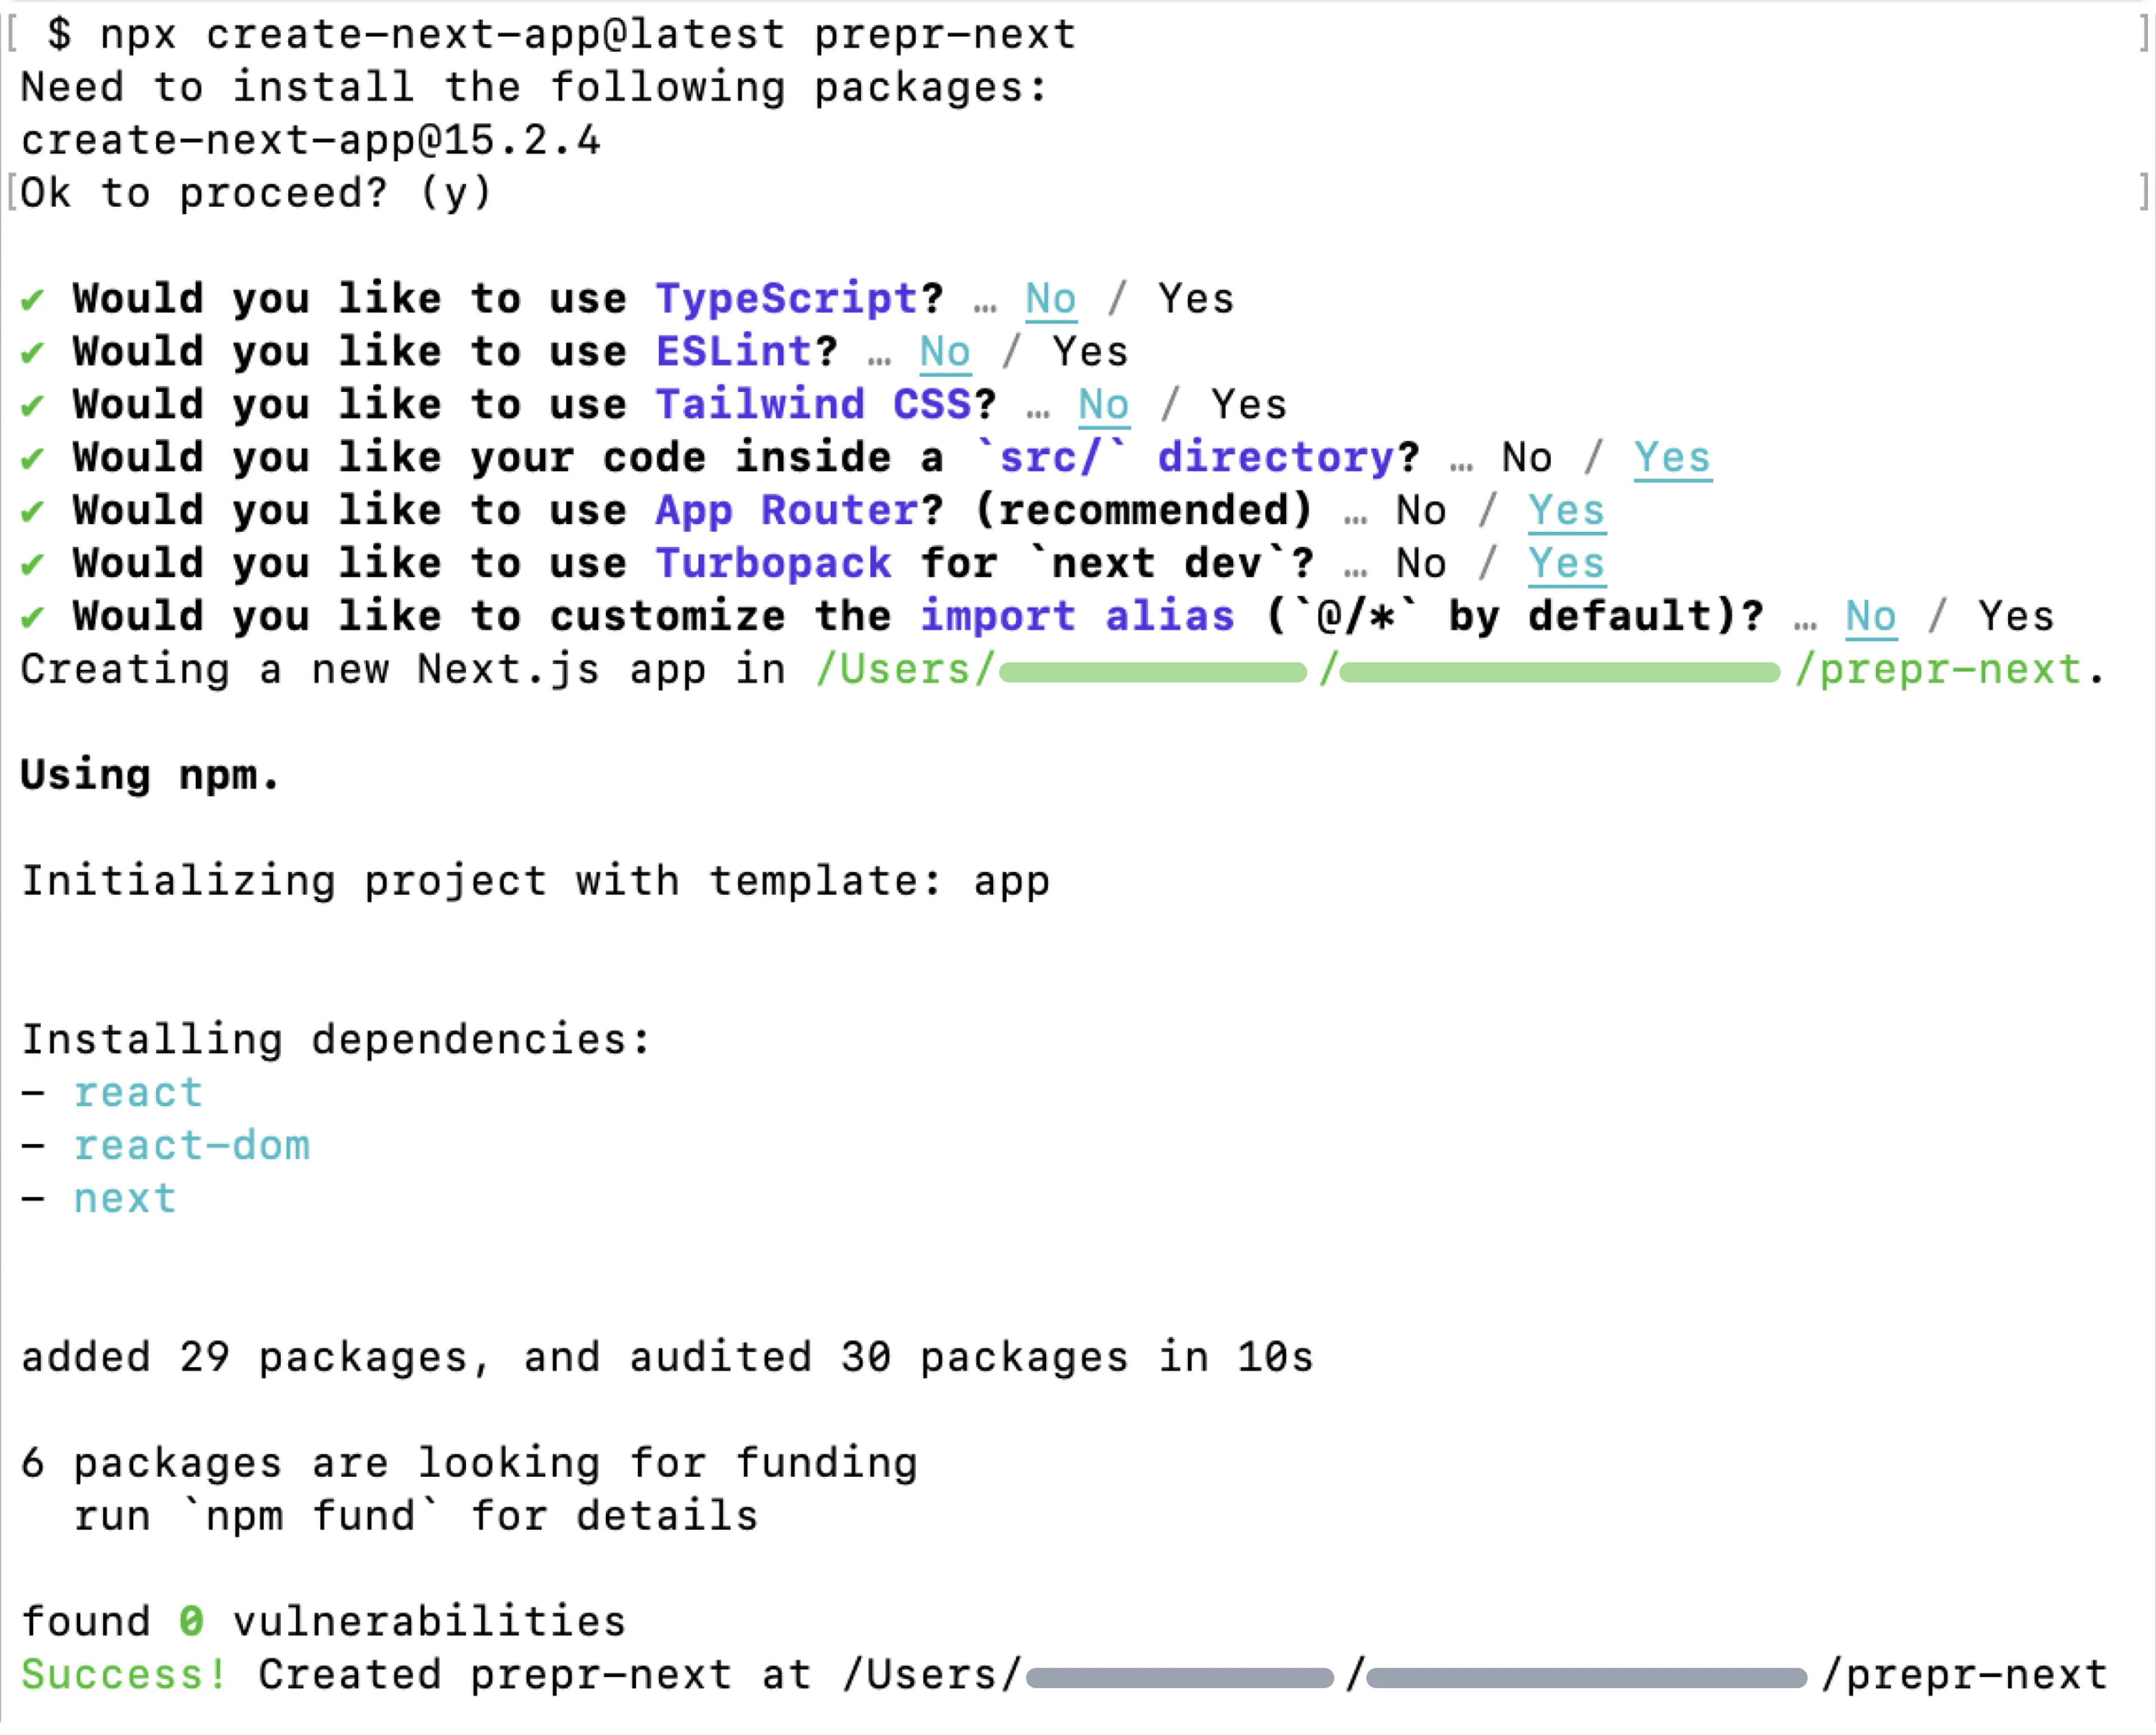
In this guide, we’ve chosen JavaScript instead of TypeScript. For more details on using TypeScript, check out the Next.js complete guide.
-
Now that the project is successfully created, go to the
prepr-nextfolder, the root directory of the project, and run the project with the following commands in the terminal:cd prepr-nextnpm run dev -
You should now be able to view your app on your localhost, for example,
http://localhost:3000/. -
Open your project with your preferred code editor.
-
Go to the
src/appfolder and replace the code in thepage.jsfile with the following code to display your blog:./src/app/page.jsexport default async function Home() { return ( <div> <h1>My blog site</h1> </div> ); } -
Go to the
layout.jsfile in thesrc/appfolder and replace the default code with the simplified layout below../src/app/layout.jsexport const metadata = { title: 'My blog site', description: 'A simple blog app project', } export default function RootLayout({ children }) { return ( <html lang="en"> <body>{children}</body> </html> ) } -
Empty the
globals.cssfile in theappfolder to remove the existing formatting.
You should now see something like the image below on your localhost.

Install Apollo Client
Apollo Client is an integration tool that helps to retrieve CMS data with GraphQL. The instructions below show you how to install Apollo Client so that you can add GraphQL queries to request data from the Prepr API.
-
Stop the server you started in the above step (
CTRL-C) and execute the following command in the terminal:npm install @apollo/client graphql -
In the
srcdirectory of the project, create a file calledapollo-client.js. Copy the following code to this file to import and initialize Apollo Client:./src/apollo-client.jsimport { ApolloClient, InMemoryCache, HttpLink } from "@apollo/client"; const httpLink = new HttpLink({ uri: `https://graphql.prepr.io/${process.env.PREPR_ACCESS_TOKEN}`, }); const client = new ApolloClient({ link: httpLink, cache: new InMemoryCache(), }); export default client;This client will be used to make API requests to endpoints provided by the Prepr CMS across your Next application.
-
We recommend using environment variables to store sensitive information like access tokens. To add environment variables, create a
.envfile in the root directory of your project and add the access token like this:./.envPREPR_ACCESS_TOKEN=<YOUR-ACCESS-TOKEN> -
Replace the placeholder value
<YOUR-ACCESS-TOKEN>with an access token from Prepr. Get an access token by logging into your Prepr account:
a. Click the icon and choose Access tokens to view all the access tokens.
b. Click to open the GraphQL Production access token and use this value to only retrieve published content items on your site.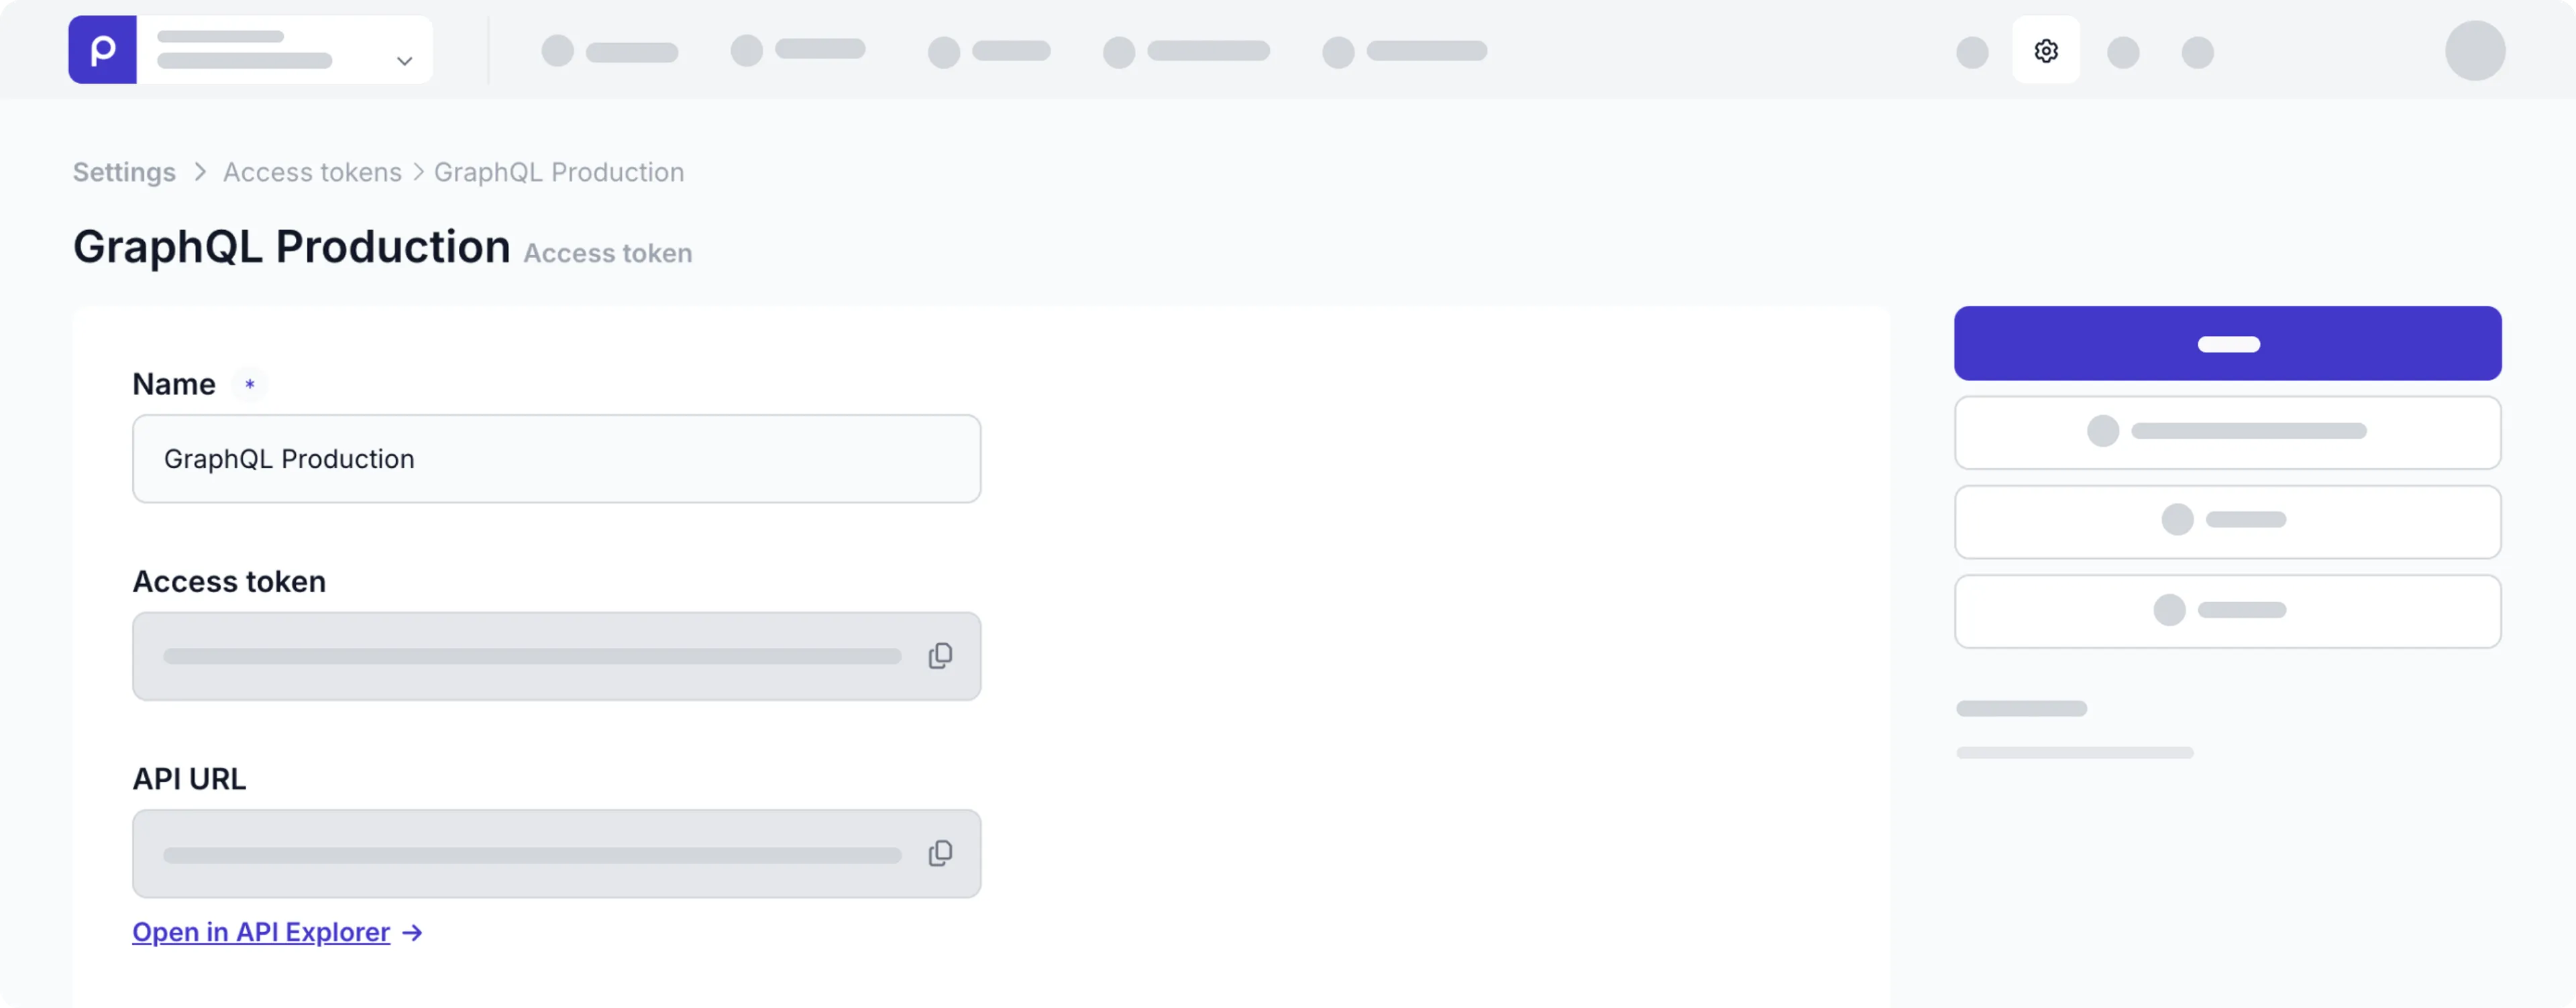
Use the GraphQL Production access token to request published content items for your live app and use the GraphQL Preview token to make a preview of unpublished content items for your content editors.
-
Execute the following command to restart the server and to make sure that Apollo Client is installed correctly:
npm run dev
If your app runs without errors, then the setup above was done correctly. The next step is to fetch content from Prepr using the installed Apollo Client.
Troubleshooting
Build error: Failed to compile - Module not found: Can't resolve '@apollo-client'
Cause: The path to the src folder has not been defined.
Solution: Make sure your jsconfig.json has the following path defined:
{
  "compilerOptions": {
    "paths": {
      "@/*": ["./src/*"]
    }
  }
}
Once done, go back to the beginning of this step and reinstall Apollo Client.
Add a GraphQL query
Now that Apollo Client is installed and connected to Prepr, fetch the blog posts by adding a GraphQL query.
-
Create a
queriesfolder in thesrcdirectory of your project and create a file namedget-posts.js. -
Add the following query to this file to retrieve all blog posts:
./src/queries/get-posts.jsimport { gql } from "@apollo/client"; export const GetPosts = gql` query { Posts { items { _id _slug title } } } `You can create and test GraphQL queries using the Apollo explorer from Prepr. Open the API Explorer directly in Prepr from a specific Post content item or the access token details.
If you’re using preloaded demo data in your Prepr CMS environment as mentioned above in the Prerequisites section, you should have a few published blog posts as shown in the below image. The query retrieves the ID, Slug, and Title of each blog post.

In the next step, we’ll fetch and process the query response.
Fetch multiple blog posts
Now that the query has been added, fetch the blog posts from Prepr and display them in the app.
-
Open the
page.jsfile in theappfolder and replace the content with the code below to display the data retrieved from the query.For different rendering and caching options, check out the Next.js docs for more details.
./src/app/page.jsimport { GetPosts } from "@/queries/get-posts"; import client from "@/apollo-client"; import Link from "next/link"; export const revalidate = 0; async function getData() { // Execute the query and return the results const {data} = await client.query({ query: GetPosts, }); return data.Posts.items; } export default async function Home() { const posts = await getData(); return ( <div> <h1>My blog site</h1> <ul> {posts.map((post) => ( //List the fetched blog posts <li key={post._id}> <Link href={`/${post._slug}`}>{post.title}</Link> </li> ))} </ul> </div> ); }
Now when you view the website on your localhost, you’ll see something like the image below.
Fetch each blog post
Now you have the list of blog posts with links to them. When a visitor clicks a blog post link, your app should open a detailed post page automatically. However, we haven’t created the detailed page yet. Now, when you click the link, a new page opens with the slug in the URL, but a Page 404 error is displayed.
The instructions below show you how to set up the routing from the main page to the detailed page and how to fetch the blog post details based on the slug of the blog post that was clicked.
-
Create a file called
get-post-by-slug.jsin thequeriesfolder and add the following to query a specific post by its slug:./src/queries/get-post-by-slug.jsimport { gql } from "@apollo/client"; export const GetPostBySlug = gql` query ($slug: String) { Post (slug: $slug) { _id title cover { url(width: 300, height: 250) } content { __typename ... on Text { _id body text } ... on Assets { items { _id url(width: 300, height: 250) } } } } } `Now that the query is added, fetch the individual post by its slug. Fetch the title, the cover image and the post content.
The Post content is stored in a Dynamic content field. Check out the GraphQL docs for more details on how to fetch the data within this field.
-
Go to the the
src/appfolder and create a new folder called[slug]. Create a newpage.jsin this folder and add the code below to fetch a specific blog post by its slug and display the post details../src/app/[slug]/page.jsimport client from "@/apollo-client"; import {GetPostBySlug} from "@/queries/get-post-by-slug"; export const revalidate = 0; async function getData(slug) { const {data} = await client.query({ query: GetPostBySlug, variables: { slug } }) return data.Post } export default async function PostPage(props) { const params = await props.params; const {slug} = params; const post = await getData(slug); return ( <> <h1> {post?.title} </h1> <div className="my-10" key={post?.cover.url}> <img src={post?.cover.url} /> </div> {/* Loop through content types in post content */} {post?.content.map((contentType) => { //Display image if it exists if (contentType.__typename === 'Assets' && contentType.items.length) { return ( <div className="my-10" key={contentType.items[0]?._id}> <img src={contentType.items[0]?.url} /> </div> ) } //Display text as HTML if (contentType.__typename === 'Text') { return ( <div key={contentType._id} dangerouslySetInnerHTML={{__html: contentType.body}}></div> ) } })} </> ) }
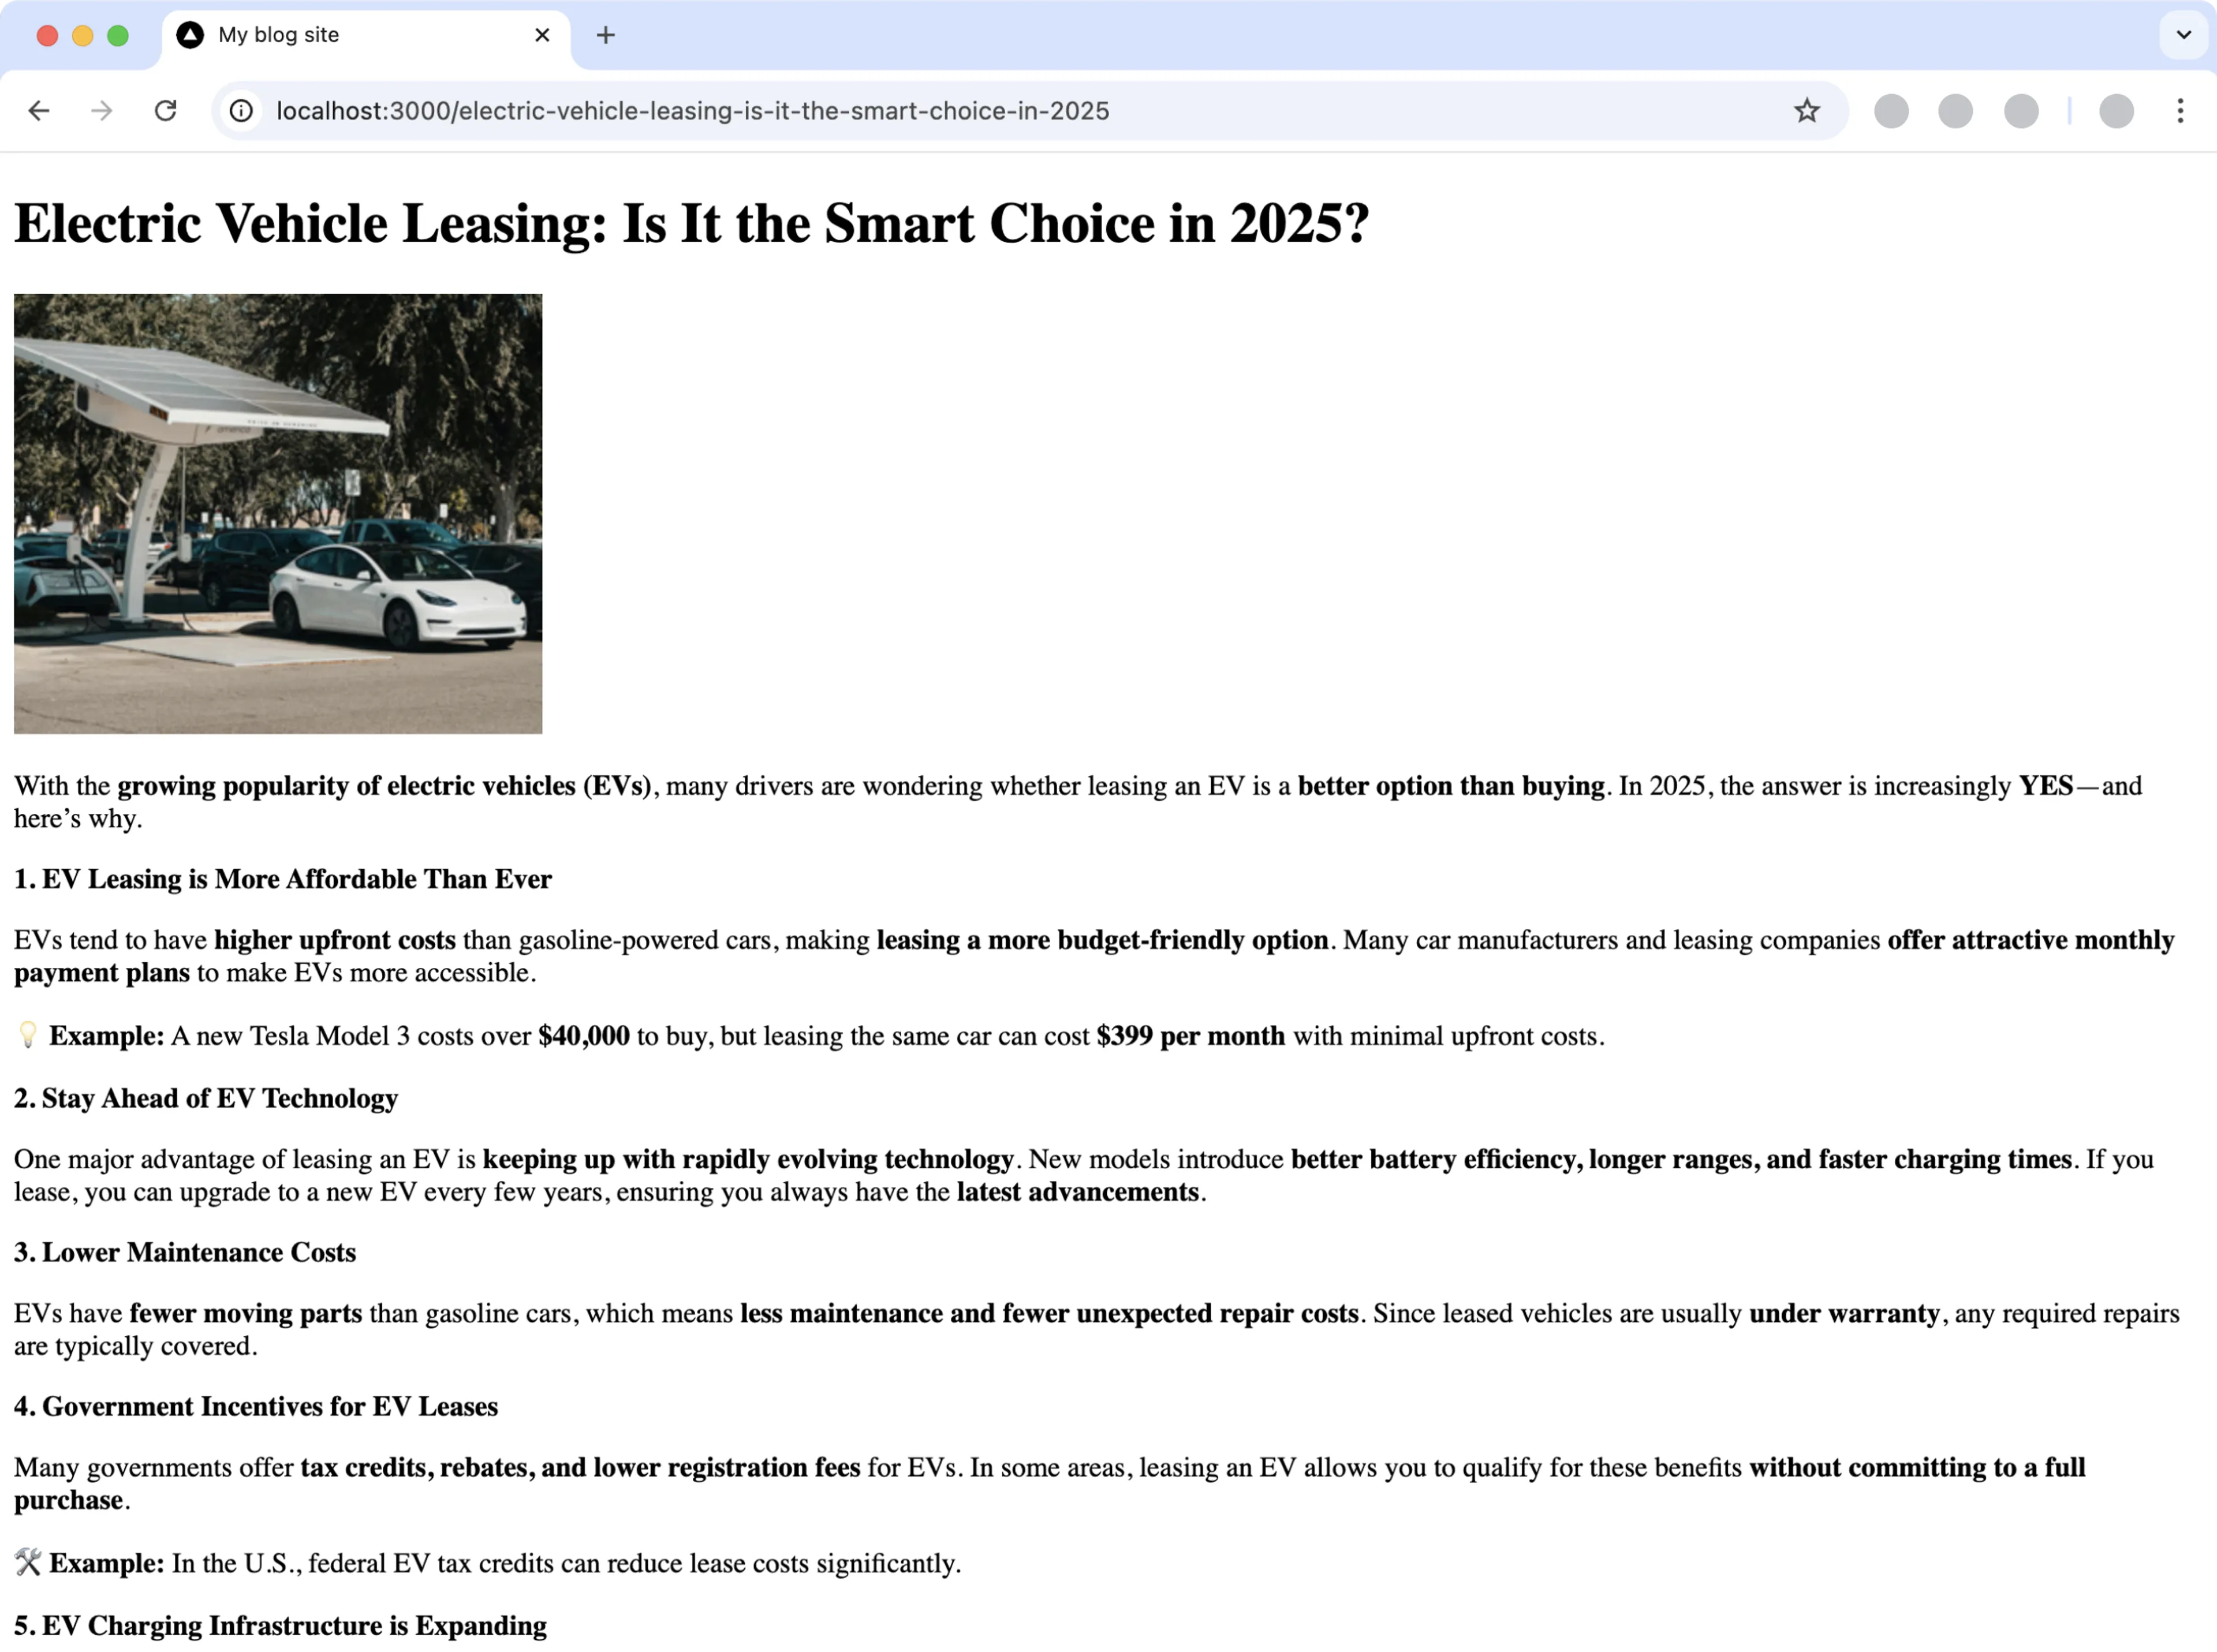
Now, when you view your site, you can click a blog post which will direct you to that specific post like in the image below.
Troubleshooting
Error: Page 404 after clicking the blog post link.
Cause: The app cannot find the detailed blog post page.
Solution: Make sure your detailed page.js is in the correct folder: src → app → [slug]
All done
Congratulations! You have successfully connected a Next project to Prepr for a simple Blog app.
Next steps
To learn more on how to expand your project, check out the following resources: