Managing content items
Easily manage your content items by using some basic features in Prepr.
Introduction
This article shows you how to perform the following core tasks to manage your content:
- Create a content item
- Publish a content item
- Manage versions
- Delete a content item
- Find your content items
Create a content item
To add a new content item:
- Go to the Content tab. Here you’ll find a list of all content items in your Prepr environment.
- Click the Add item button. The availability of models depends on the user role and permissions you have.
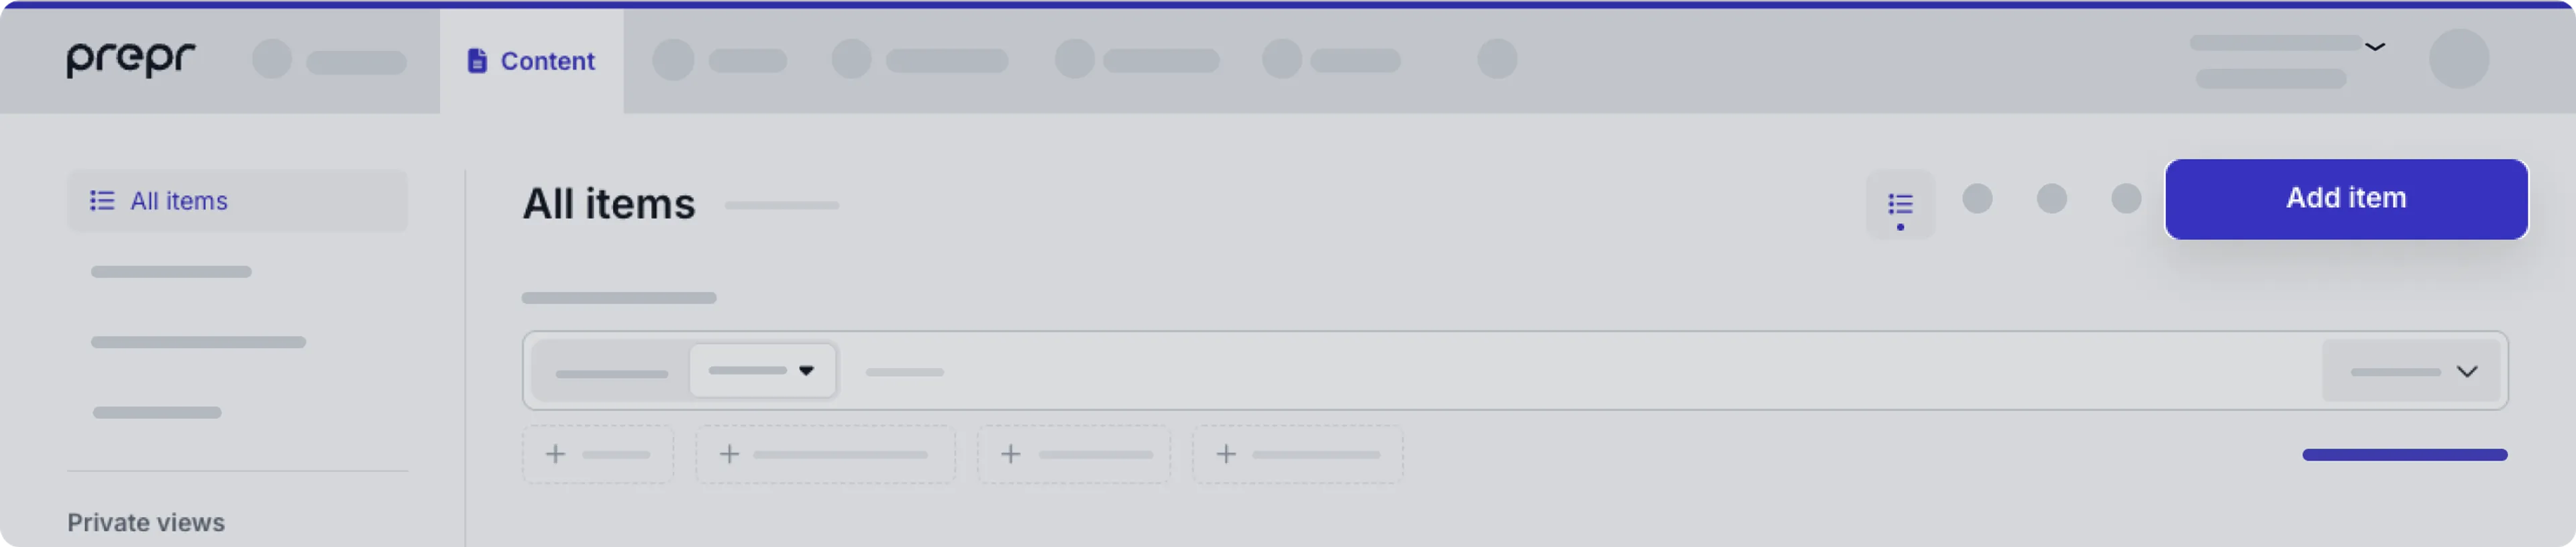
- Select a model.
Now the content item is created and you can start composing your content.
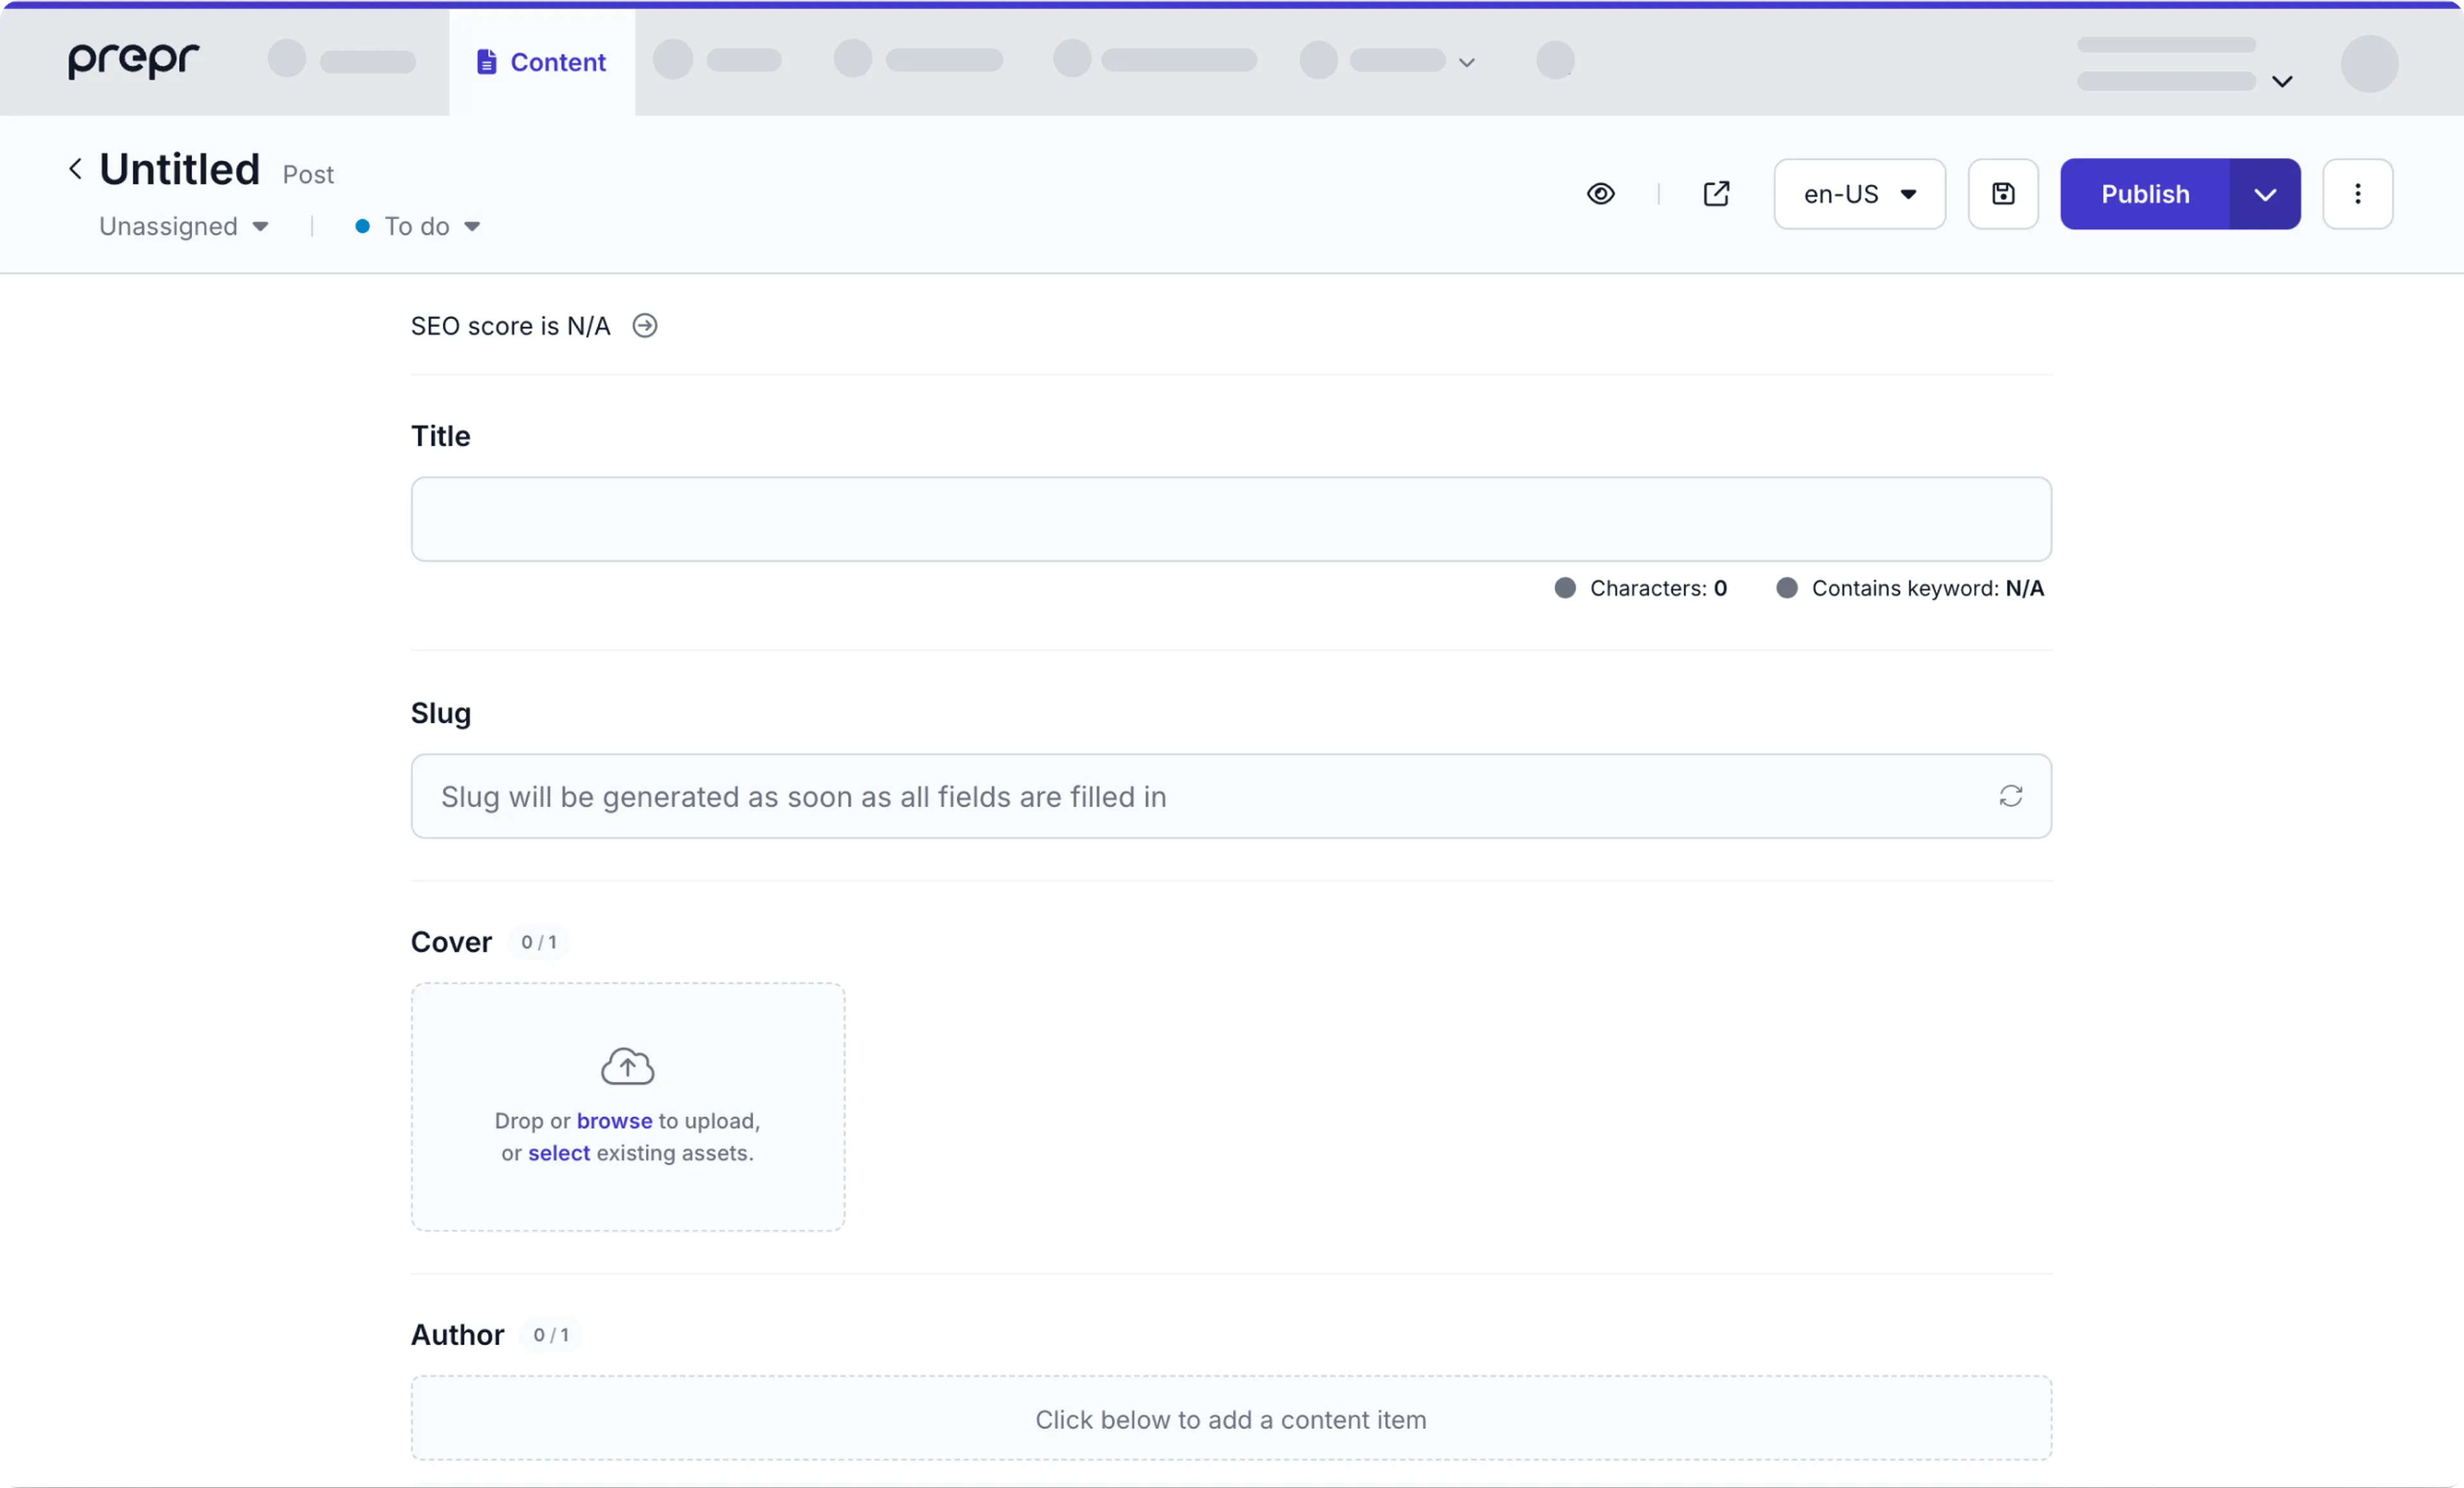
The shown fields depend on the model settings in the Schema. The fields marked with an * are required.
Guidance and help text
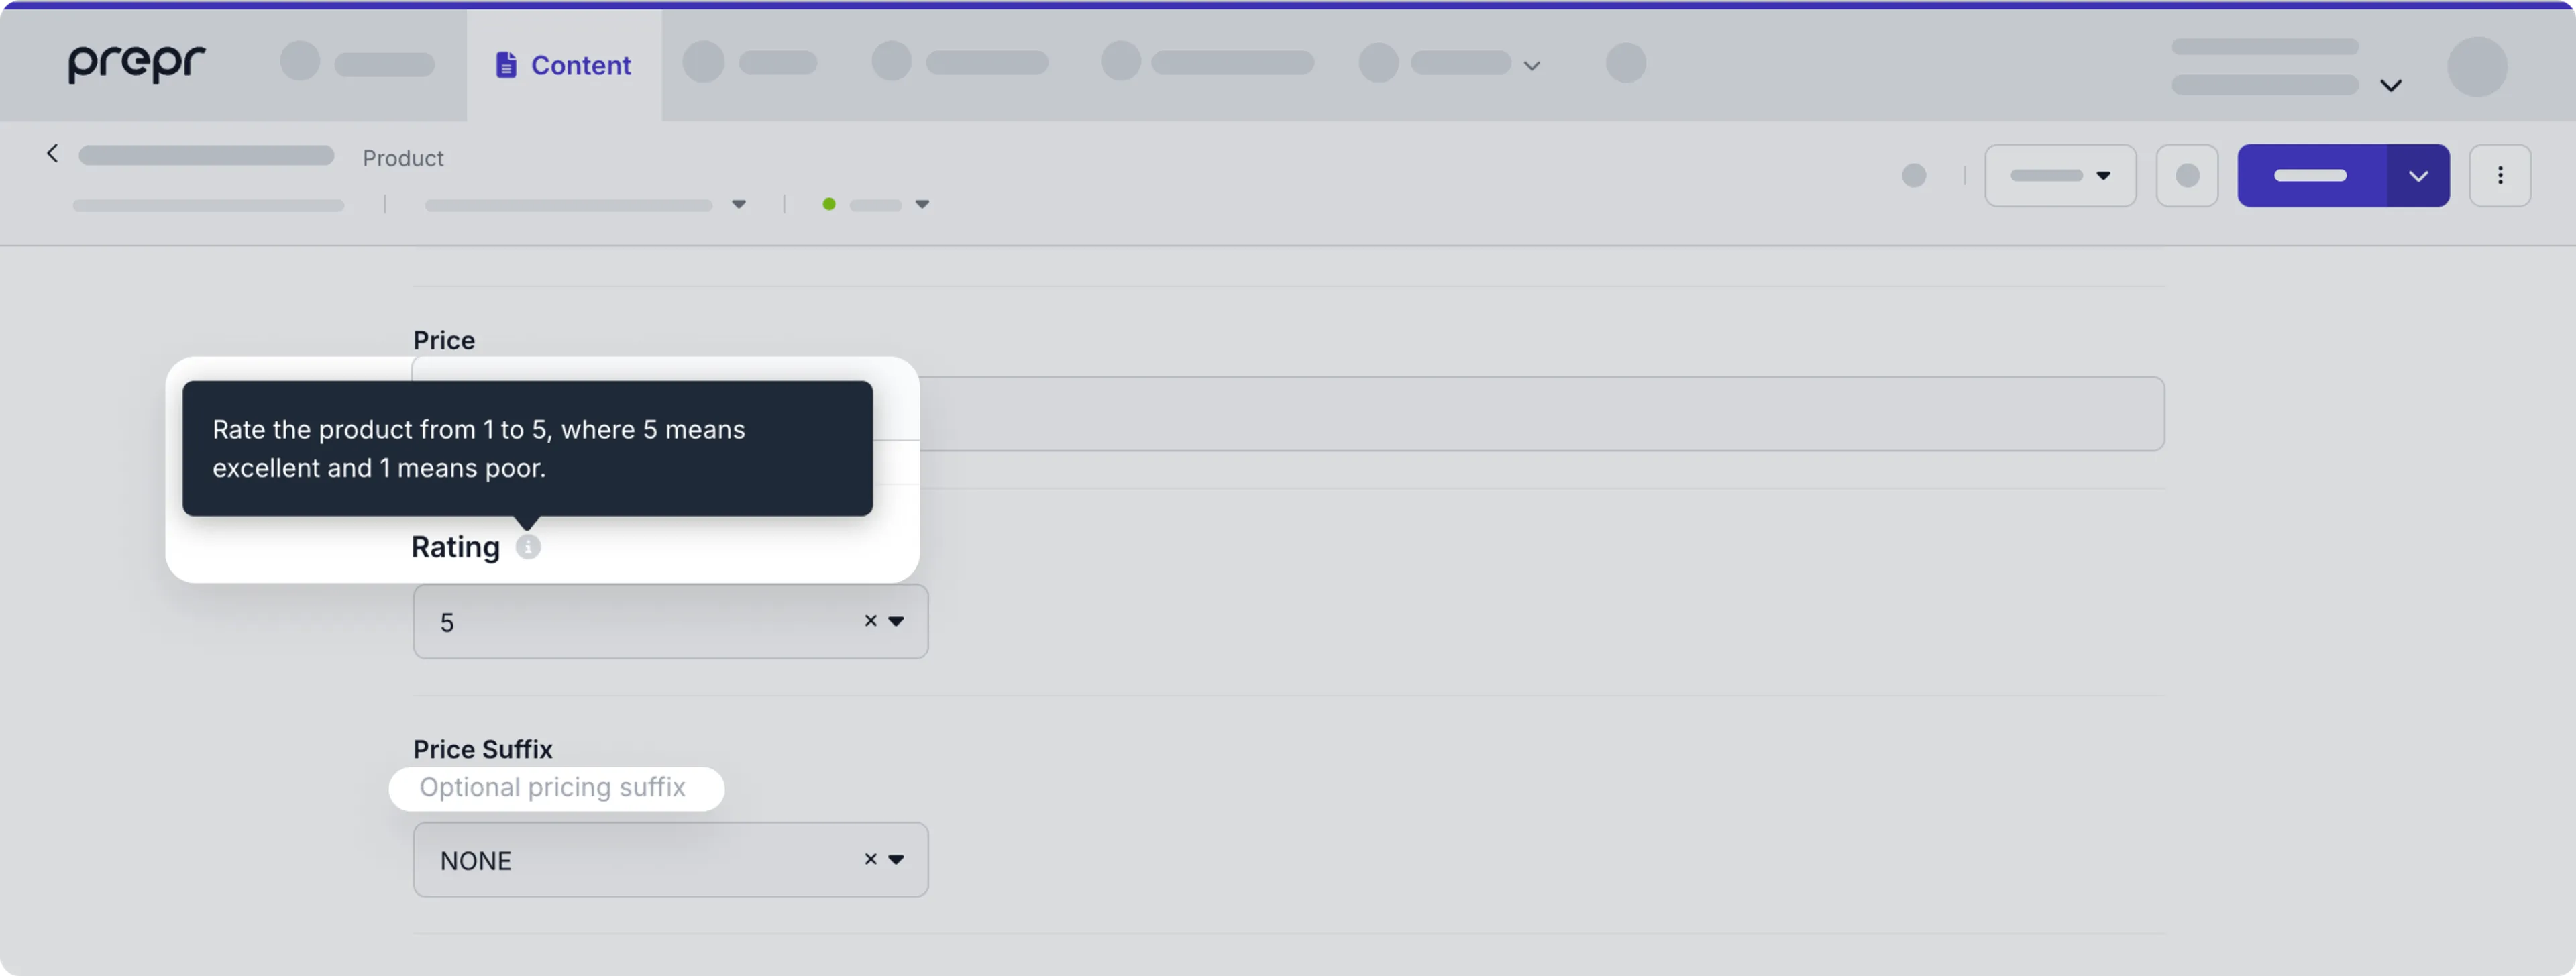
Depending on the setup of each field, you might see some help text for additional information about the content you need to create.
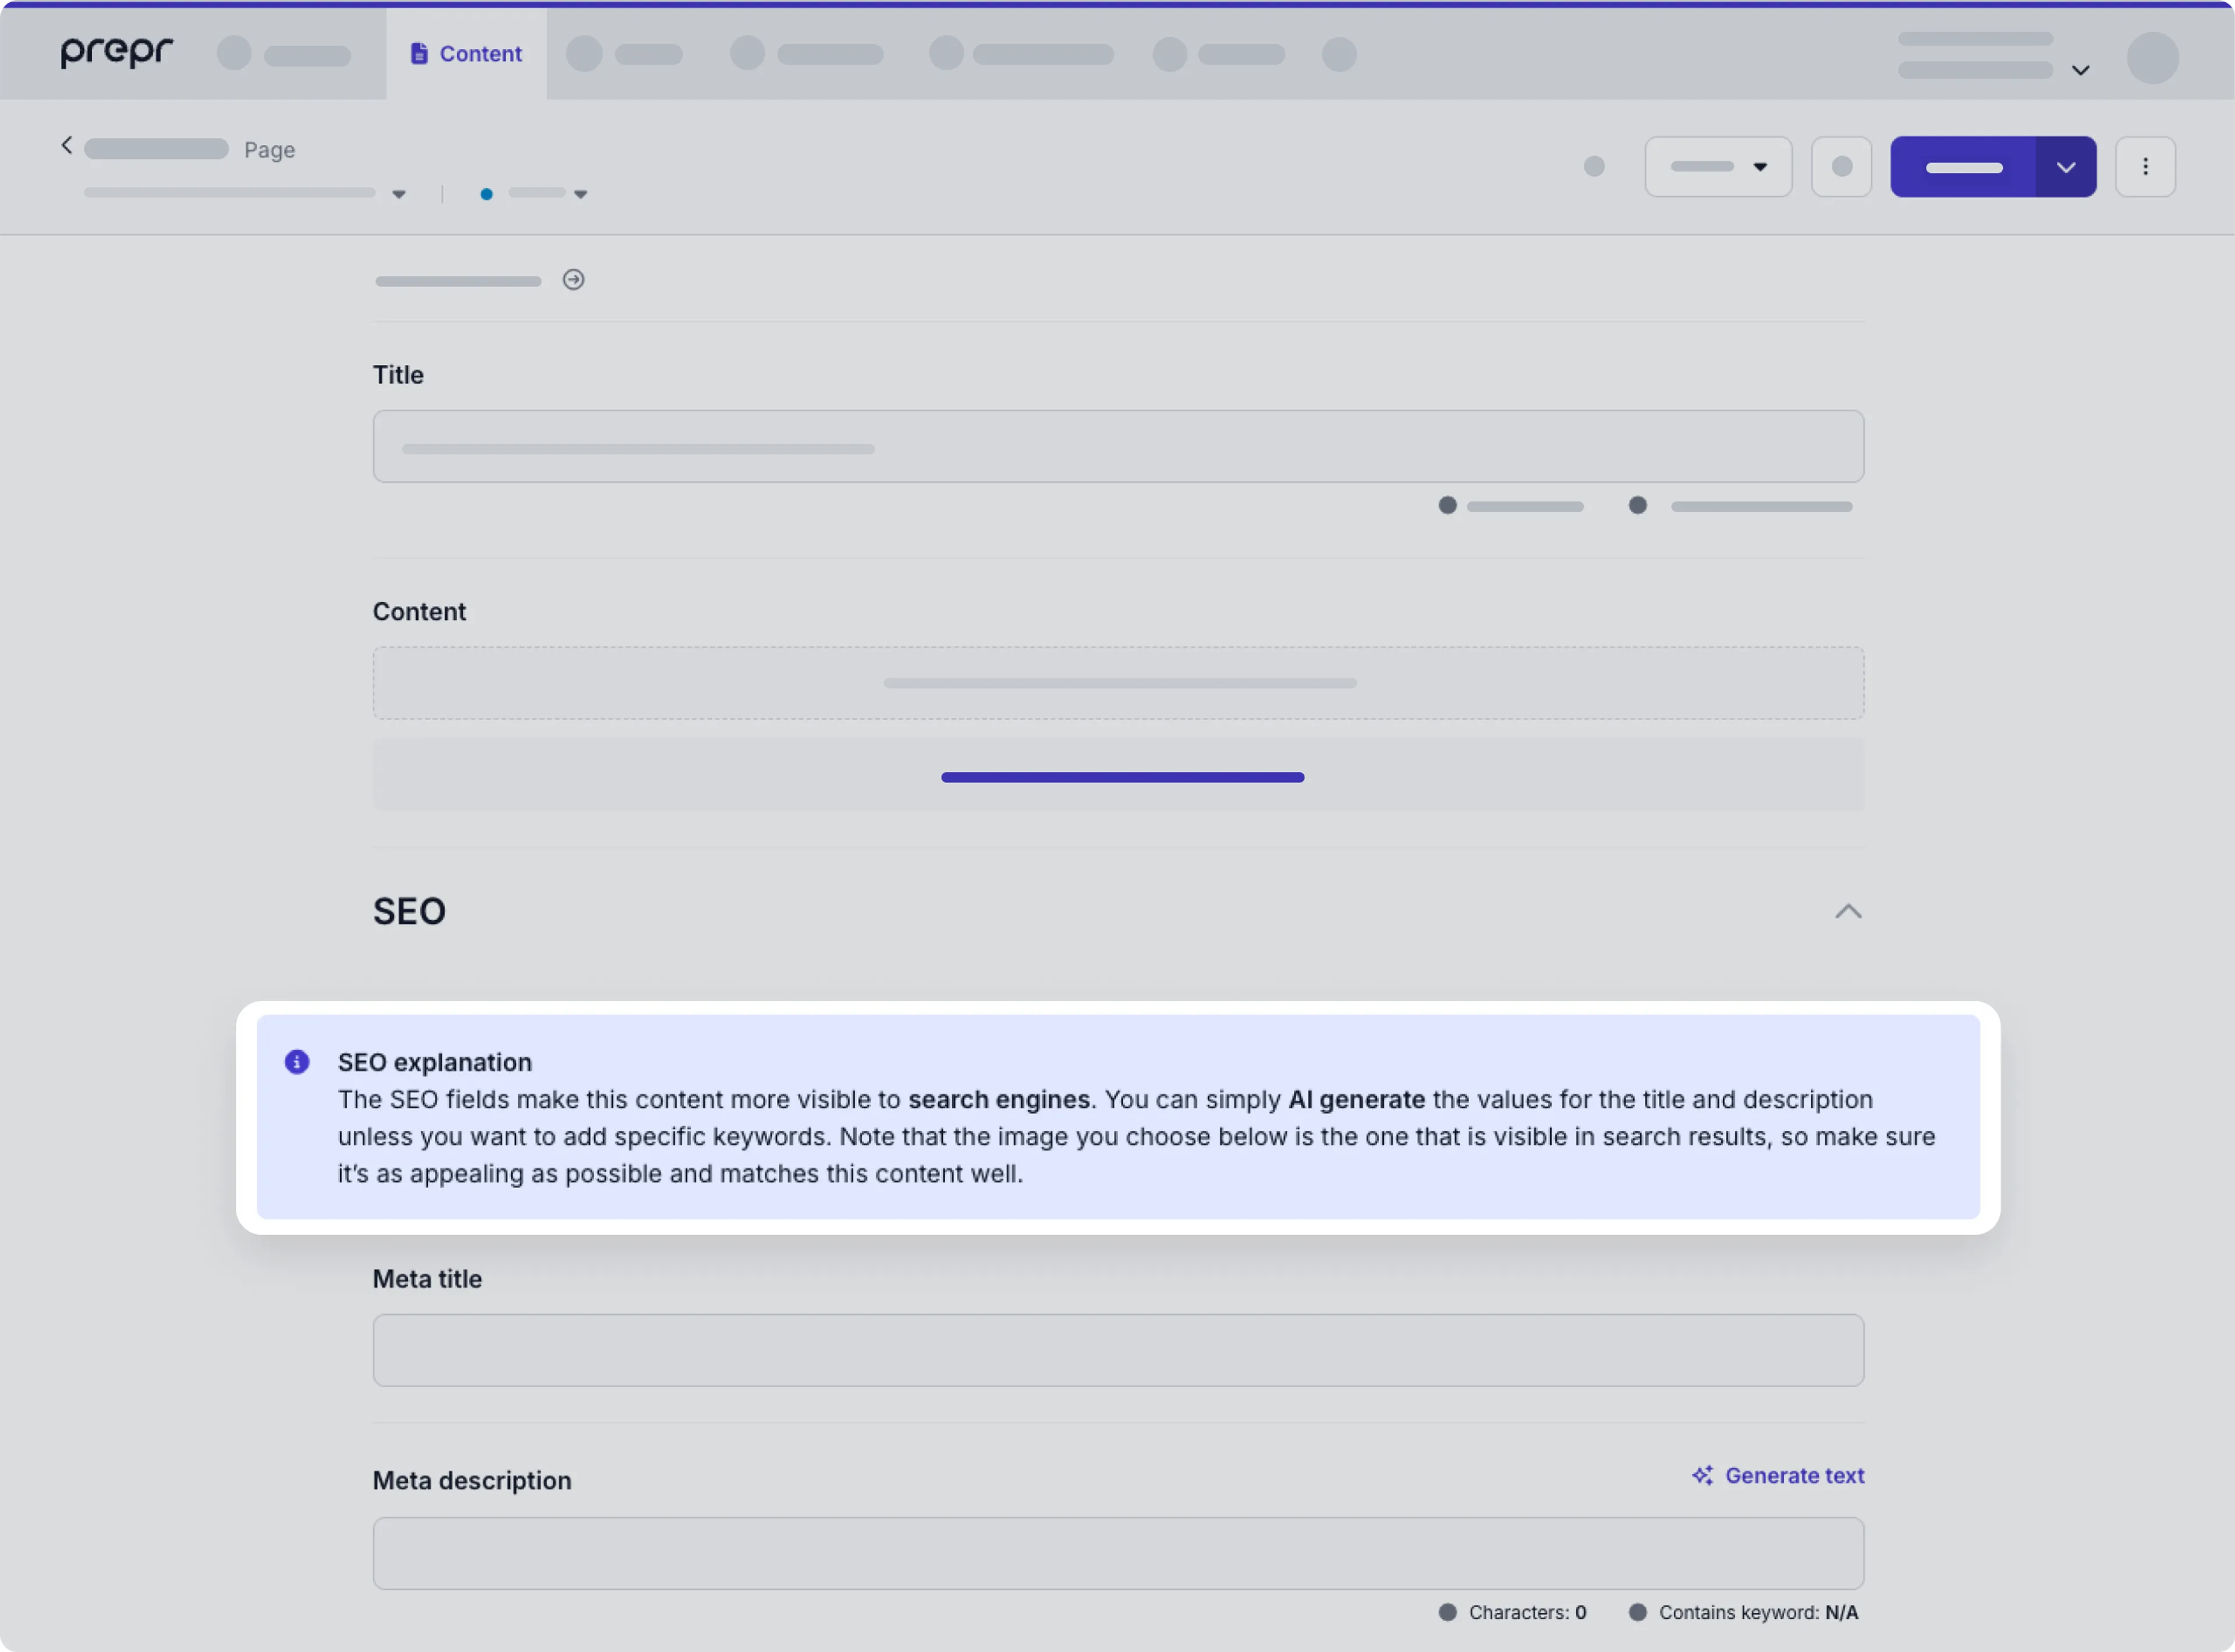
You might also see some additional highlighted guidance. Check out the Help text field for setup details.
You can also create language variants of your content item in a multi-lingual setup. Check out the Localization doc for more details.
You can use the shortcut Ctrl + S to save the content item.
Use AI to generate or optimize text
If enabled for your content text fields, you can Ask AI to generate or optimize content using different options.
-
Enter your own prompt
You can enter your own prompt to generate new content or to adjust existing text like in the example below.

-
Optimize using quick actions
You can simply choose from the list of available actions to request AI to optimize your text quickly.

-
Generate new text using predefined prompts
You can choose to quickly generate text for a field based on a predefined prompt. For example, to generate an SEO title based on the main title of an article.

For setup details, check out the AI text assistant guide.
Duplicate a content item
When you need to duplicate a content item, you can do so in a couple ways:
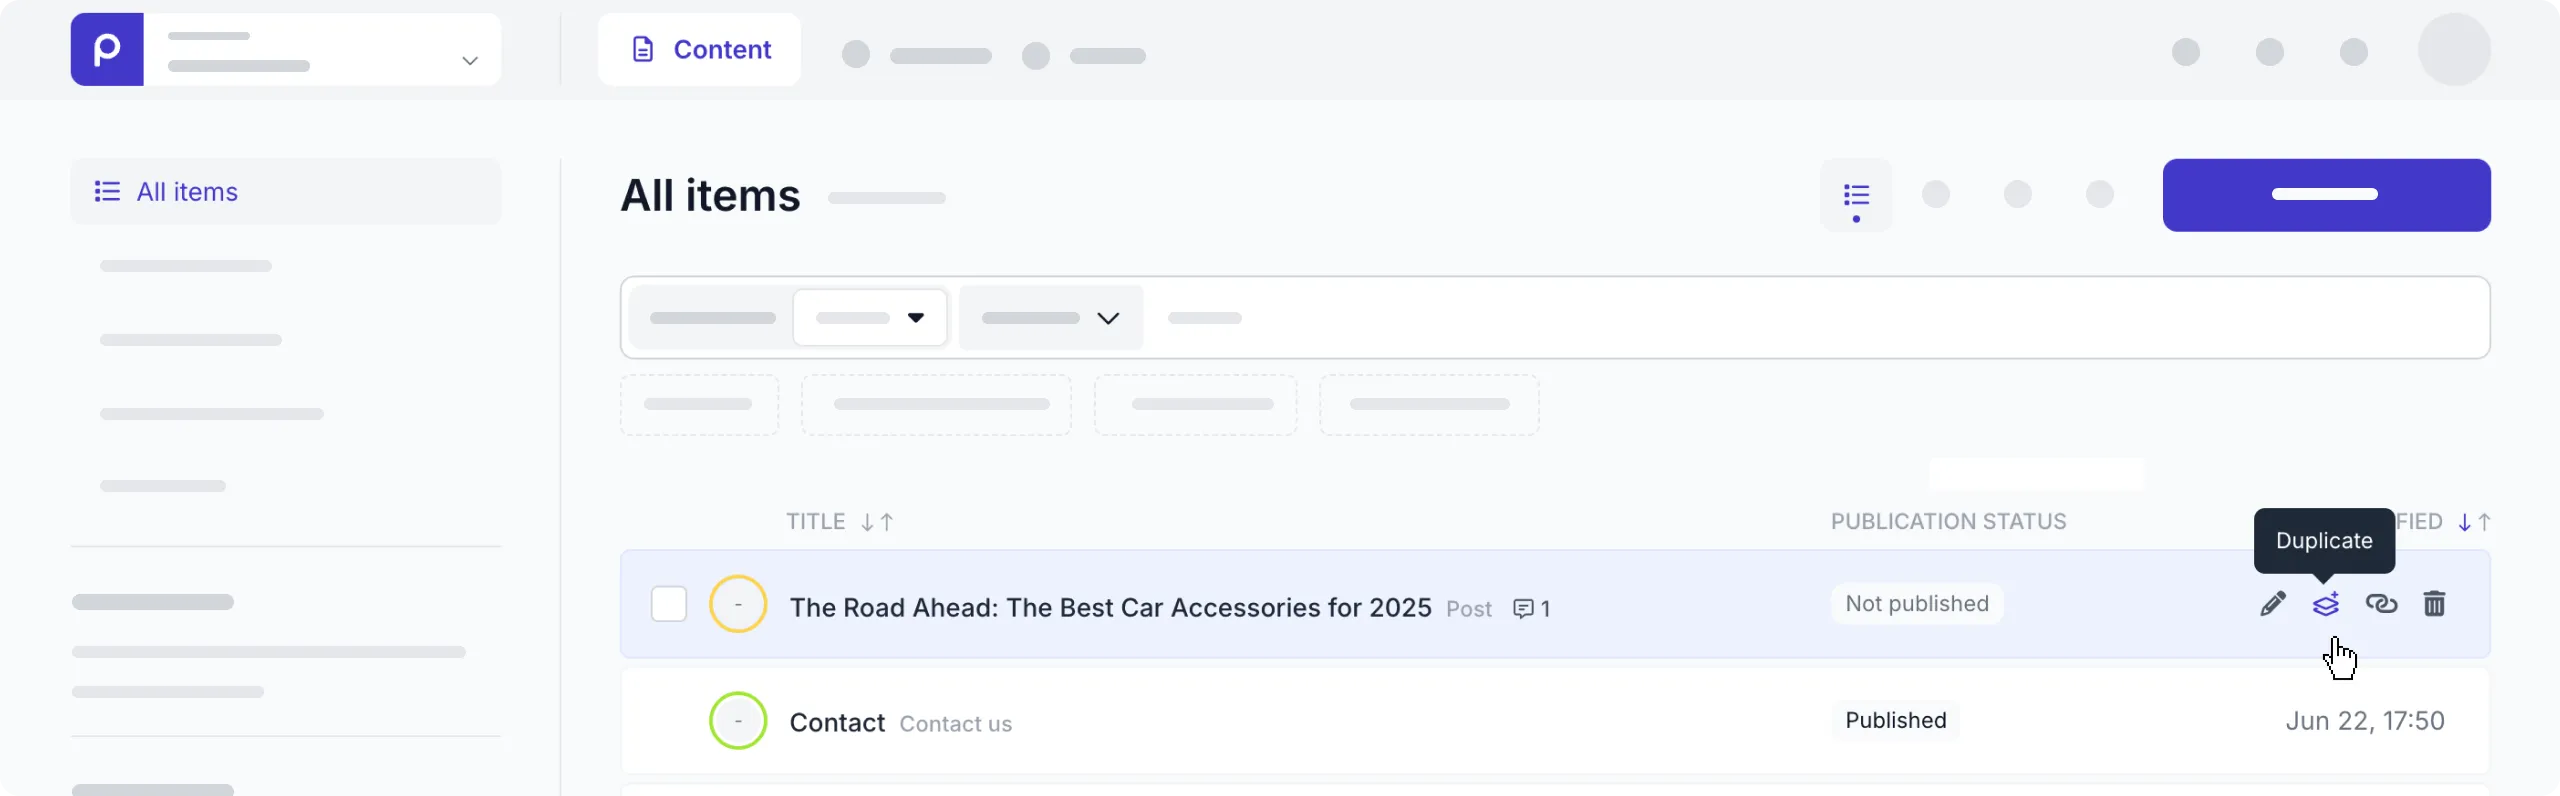
From the Content items list
- Go to the Content tab.
- Hover over the content item you want to duplicate to make the actions visible, and click the icon.
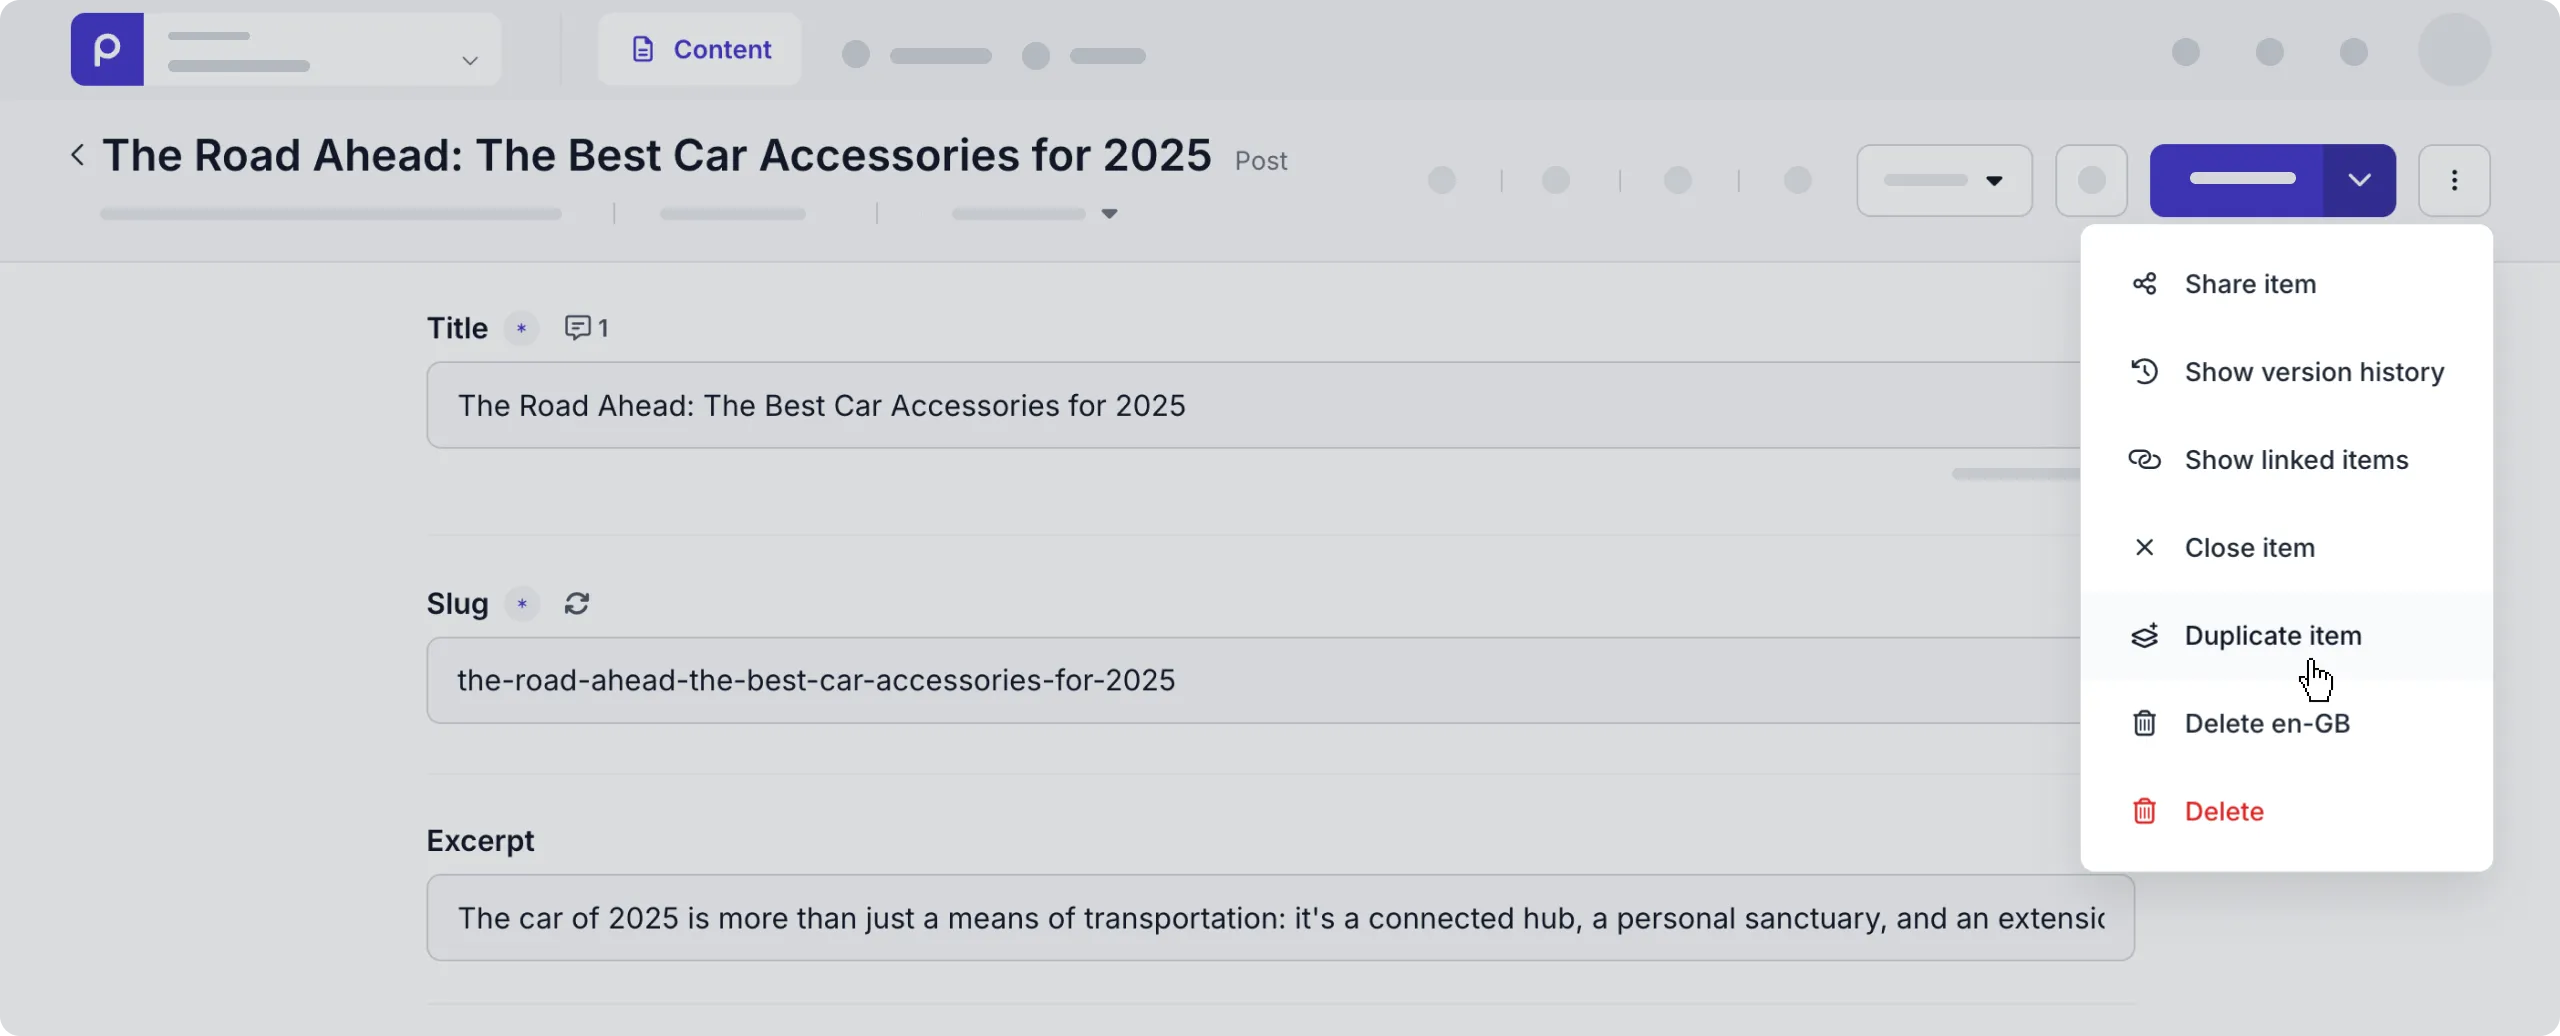
- From the Content item page
-
Go to the Content tab.
-
Click to open a content item you want to duplicate.
-
Click the button to open the drop-down list and choose the Duplicate item option.
Publish a content item
When you’re happy with the content item that you created and want it to be used and displayed in the web app, all you need to do is publish the content item.

You can publish a content item directly by clicking the Publish button or selecting one of the other publish options in the drop-down list,
or by using shortcut keys Ctrl + P to publish the content item.
If your content item has any unpublished child content items, either content references or in a stack field, you need to choose to either publish all content items including the unpublished child items or only the parent content item.

When you publish the content item directly, the Workflow stage of the content item is automatically changed to Done. Check out the Collaboration and workflows doc for more details on workflow stages.
If you want to make changes to a published content item, edit the content item and click the icon to save the changes without publishing them. This means there’ll be two versions; your saved version and the published version. You can then publish the saved version of the content item after making your changes.
Schedule a content item
When you want content item changes to be published in the future, you can schedule a content item. To schedule a content item, simply click to open the Publish actions list and click the Schedule option.
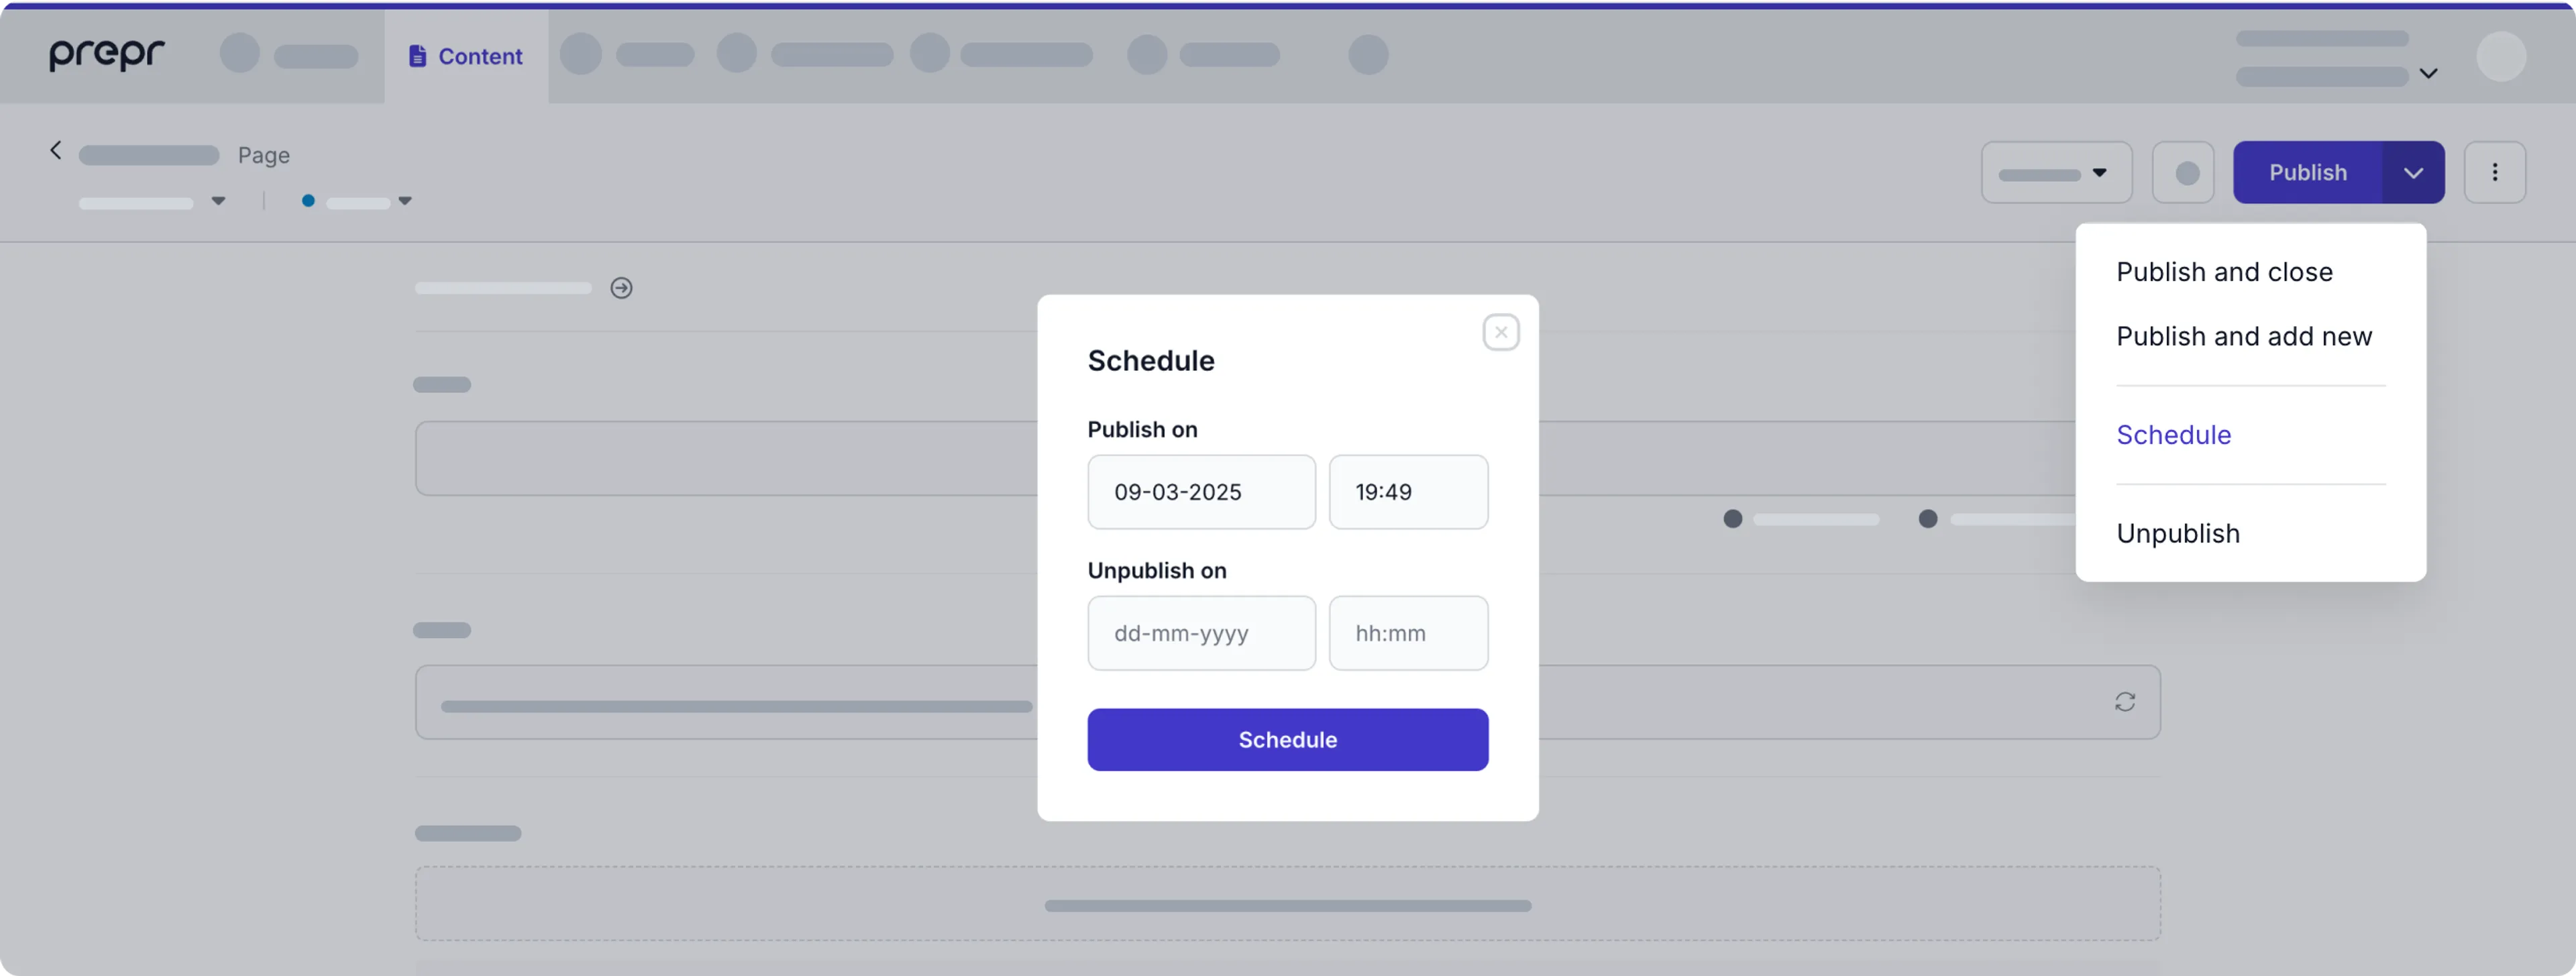
Then select the date and time for when you want the content item to be published by the web app. The content item will be marked as Scheduled until the date and time that you selected. You can update the scheduled content item any time before the scheduled date and time without needing to reschedule the content item.
If you schedule a content item, make sure the workflow stage is set to Done if you want it to be published automatically on the Publish on date.
Check out the Calendar view to get a clear overview of scheduled items. To reschedule a content item in the calendar view, you can simply drag and drop the item to the desired date or click the icon and choose the Reschedule option.

Alternatively, you can click the Reschedule option in the content item when it’s already published or scheduled. When you reschedule a published content item, the First Published at date and time is set to the new date and time you choose.

This means you can order the content items in the front end when they’re ordered by the First Published at date and time.
When you choose to schedule a content item, you can also enter the Unpublish on date and time for temporary content. When this date and time is reached the content item will be Archived and no longer available to the web app.
You can see all scheduled content items in the List view by filtering on the Publication status or the Kanban view by viewing the Done column for Scheduled items.
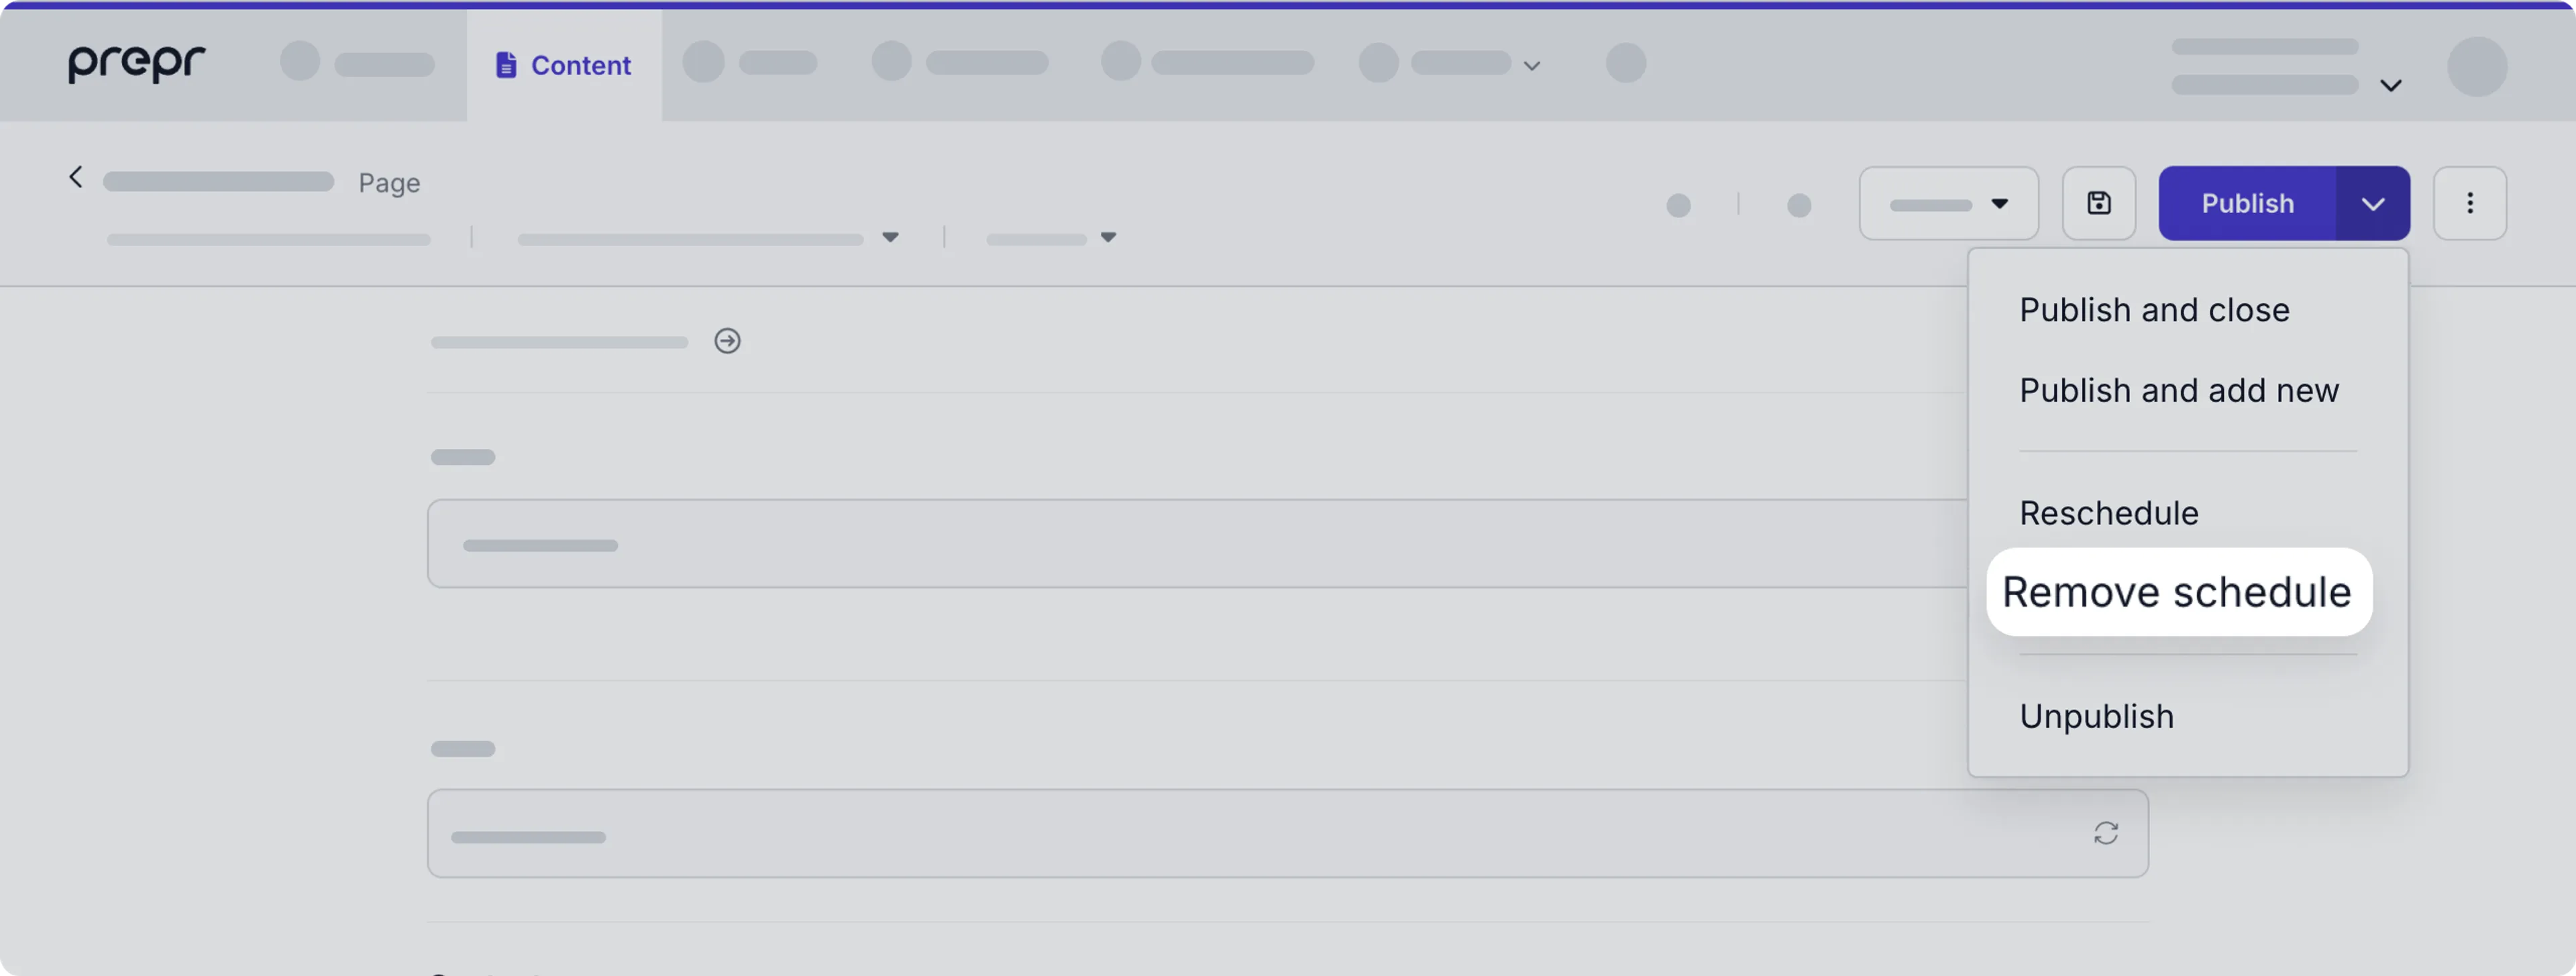
You can remove a schedule from a scheduled content item by opening the Publish drop-down list and choosing the Remove schedule option. When you remove the schedule the workflow stage of the content item is set to In progress.
Preview content items
You have a couple of options to preview content items to check what your content changes look like in the web app directly from Prepr.
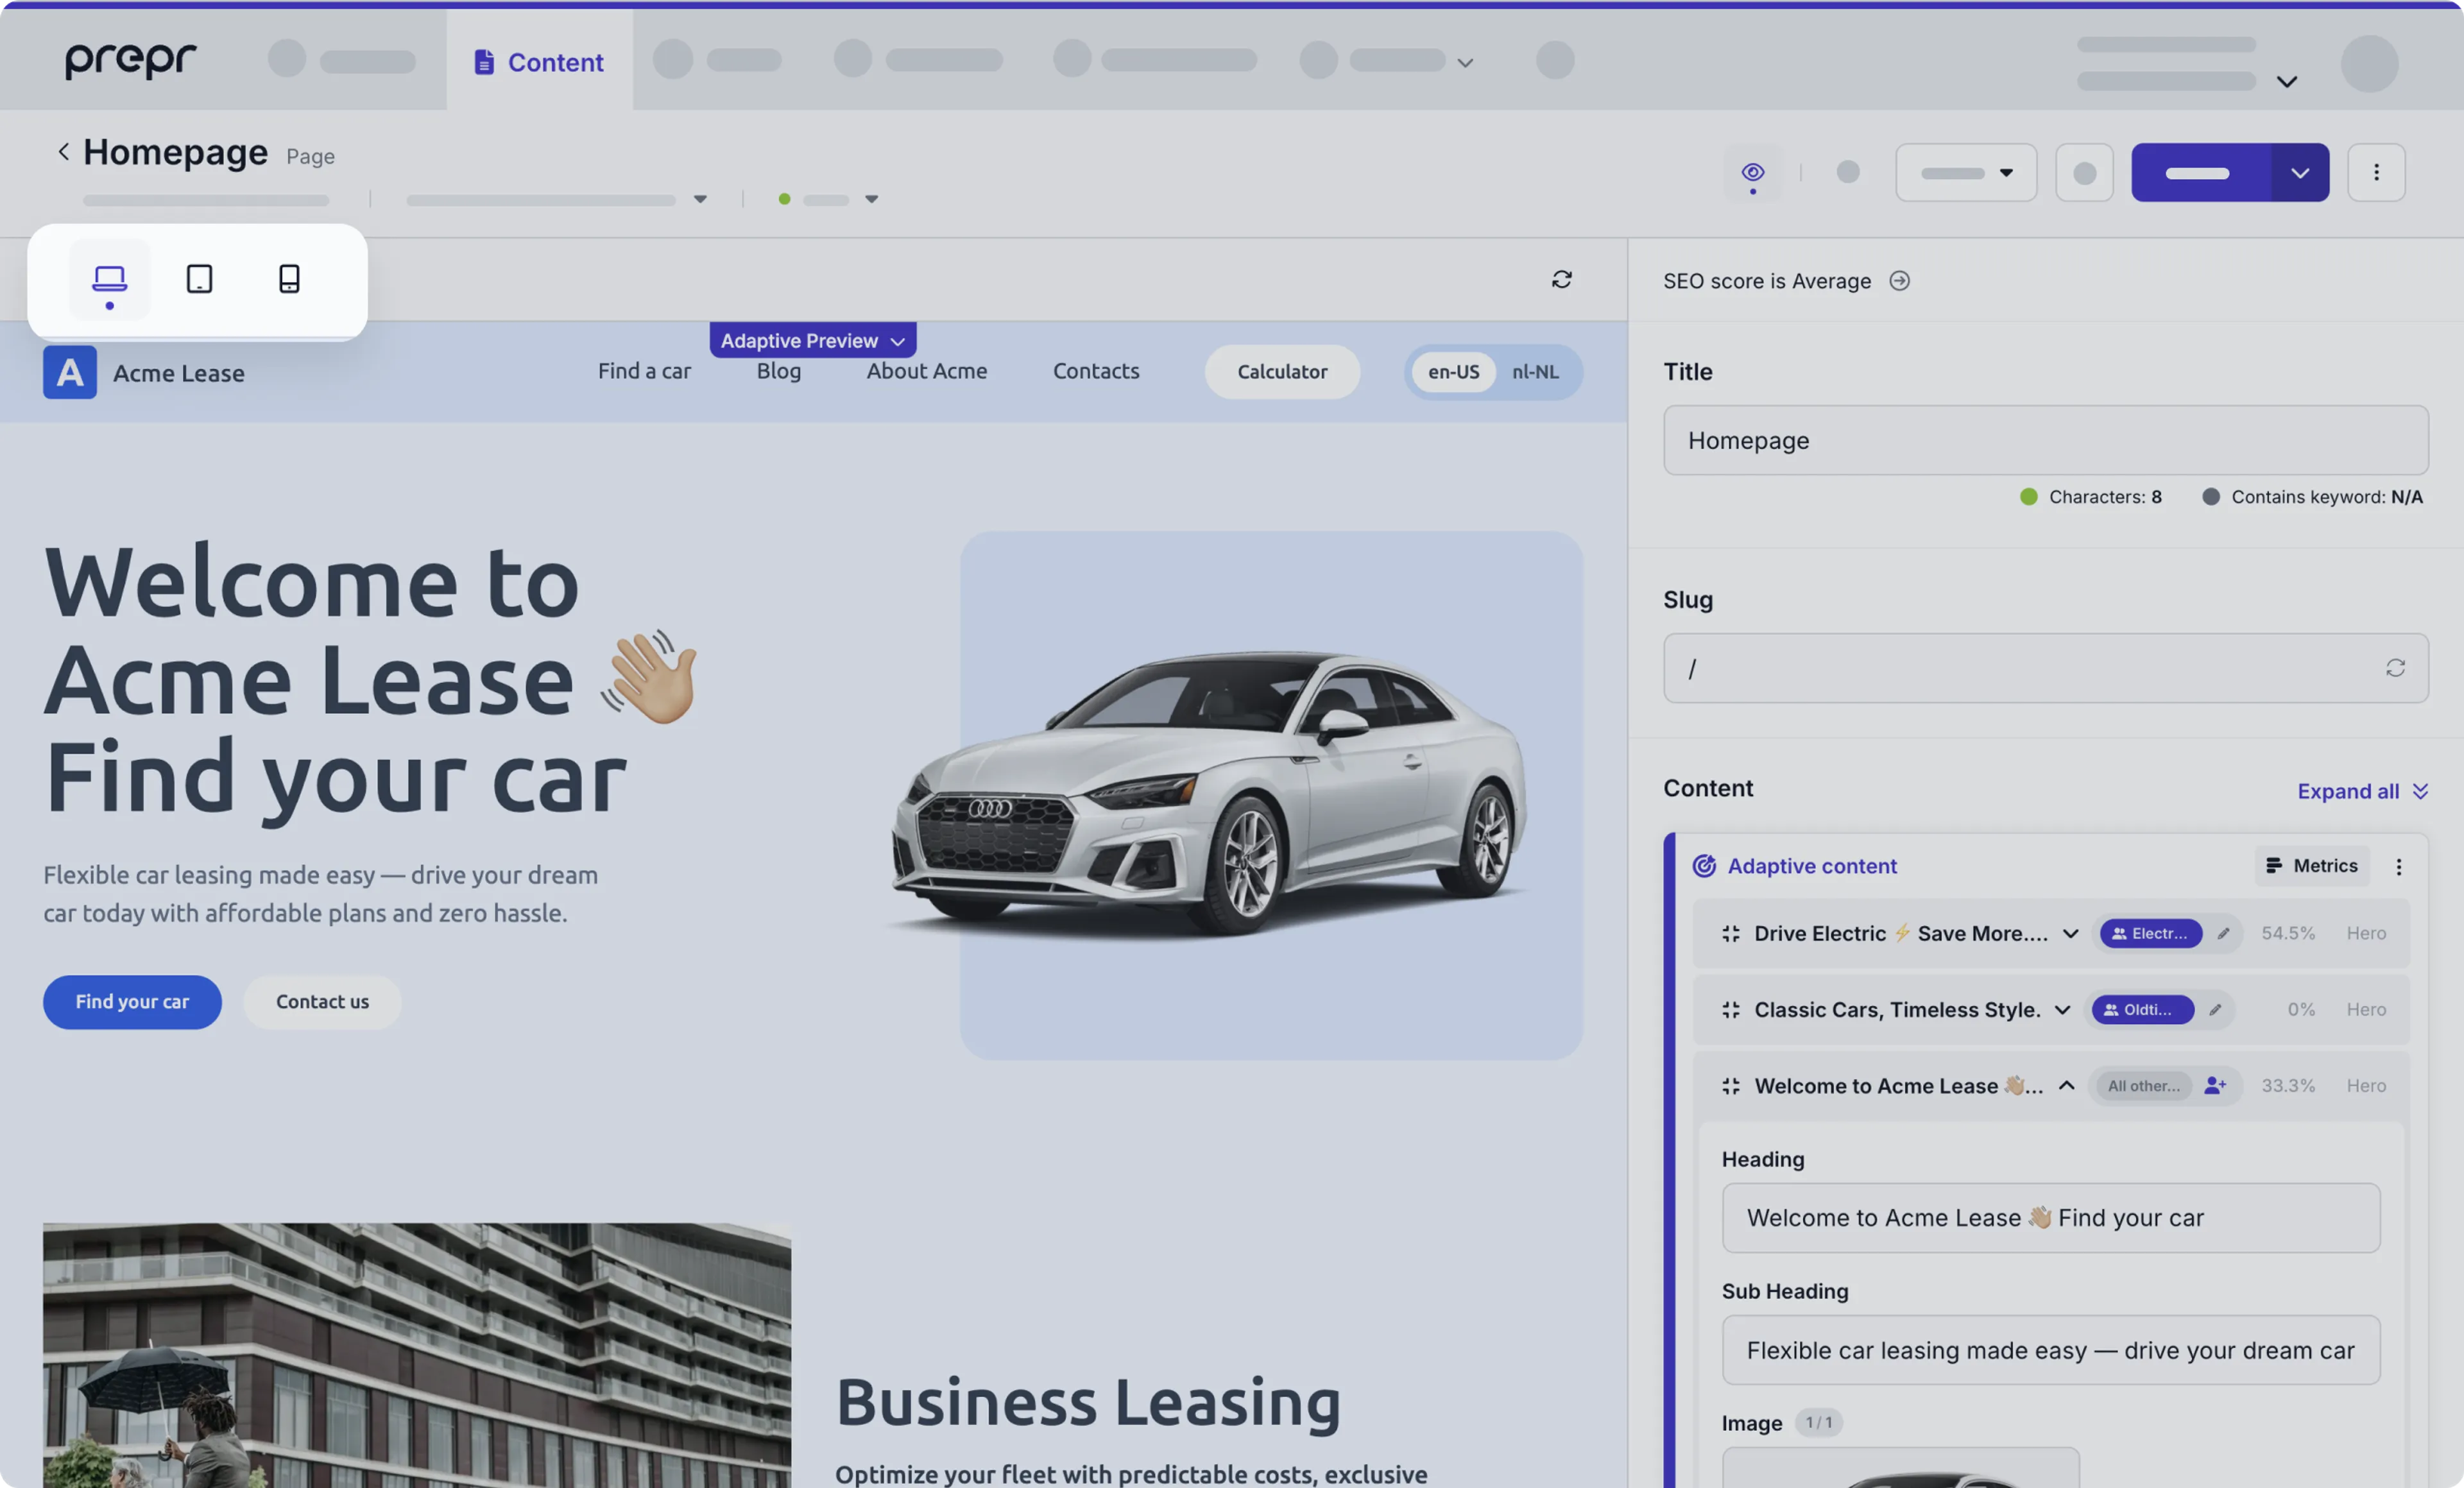
Visual Editing
You can click the icon to open Visual Editing. Visual Editing is a live preview of a content item in a side-by-side view. Simply save the content item to see your content changes instantly in this view.
![]()
When editing content in this live preview mode, you’ll notice the following additional options:
-
You can choose different screen sizes to get an accurate view of the page on different devices.
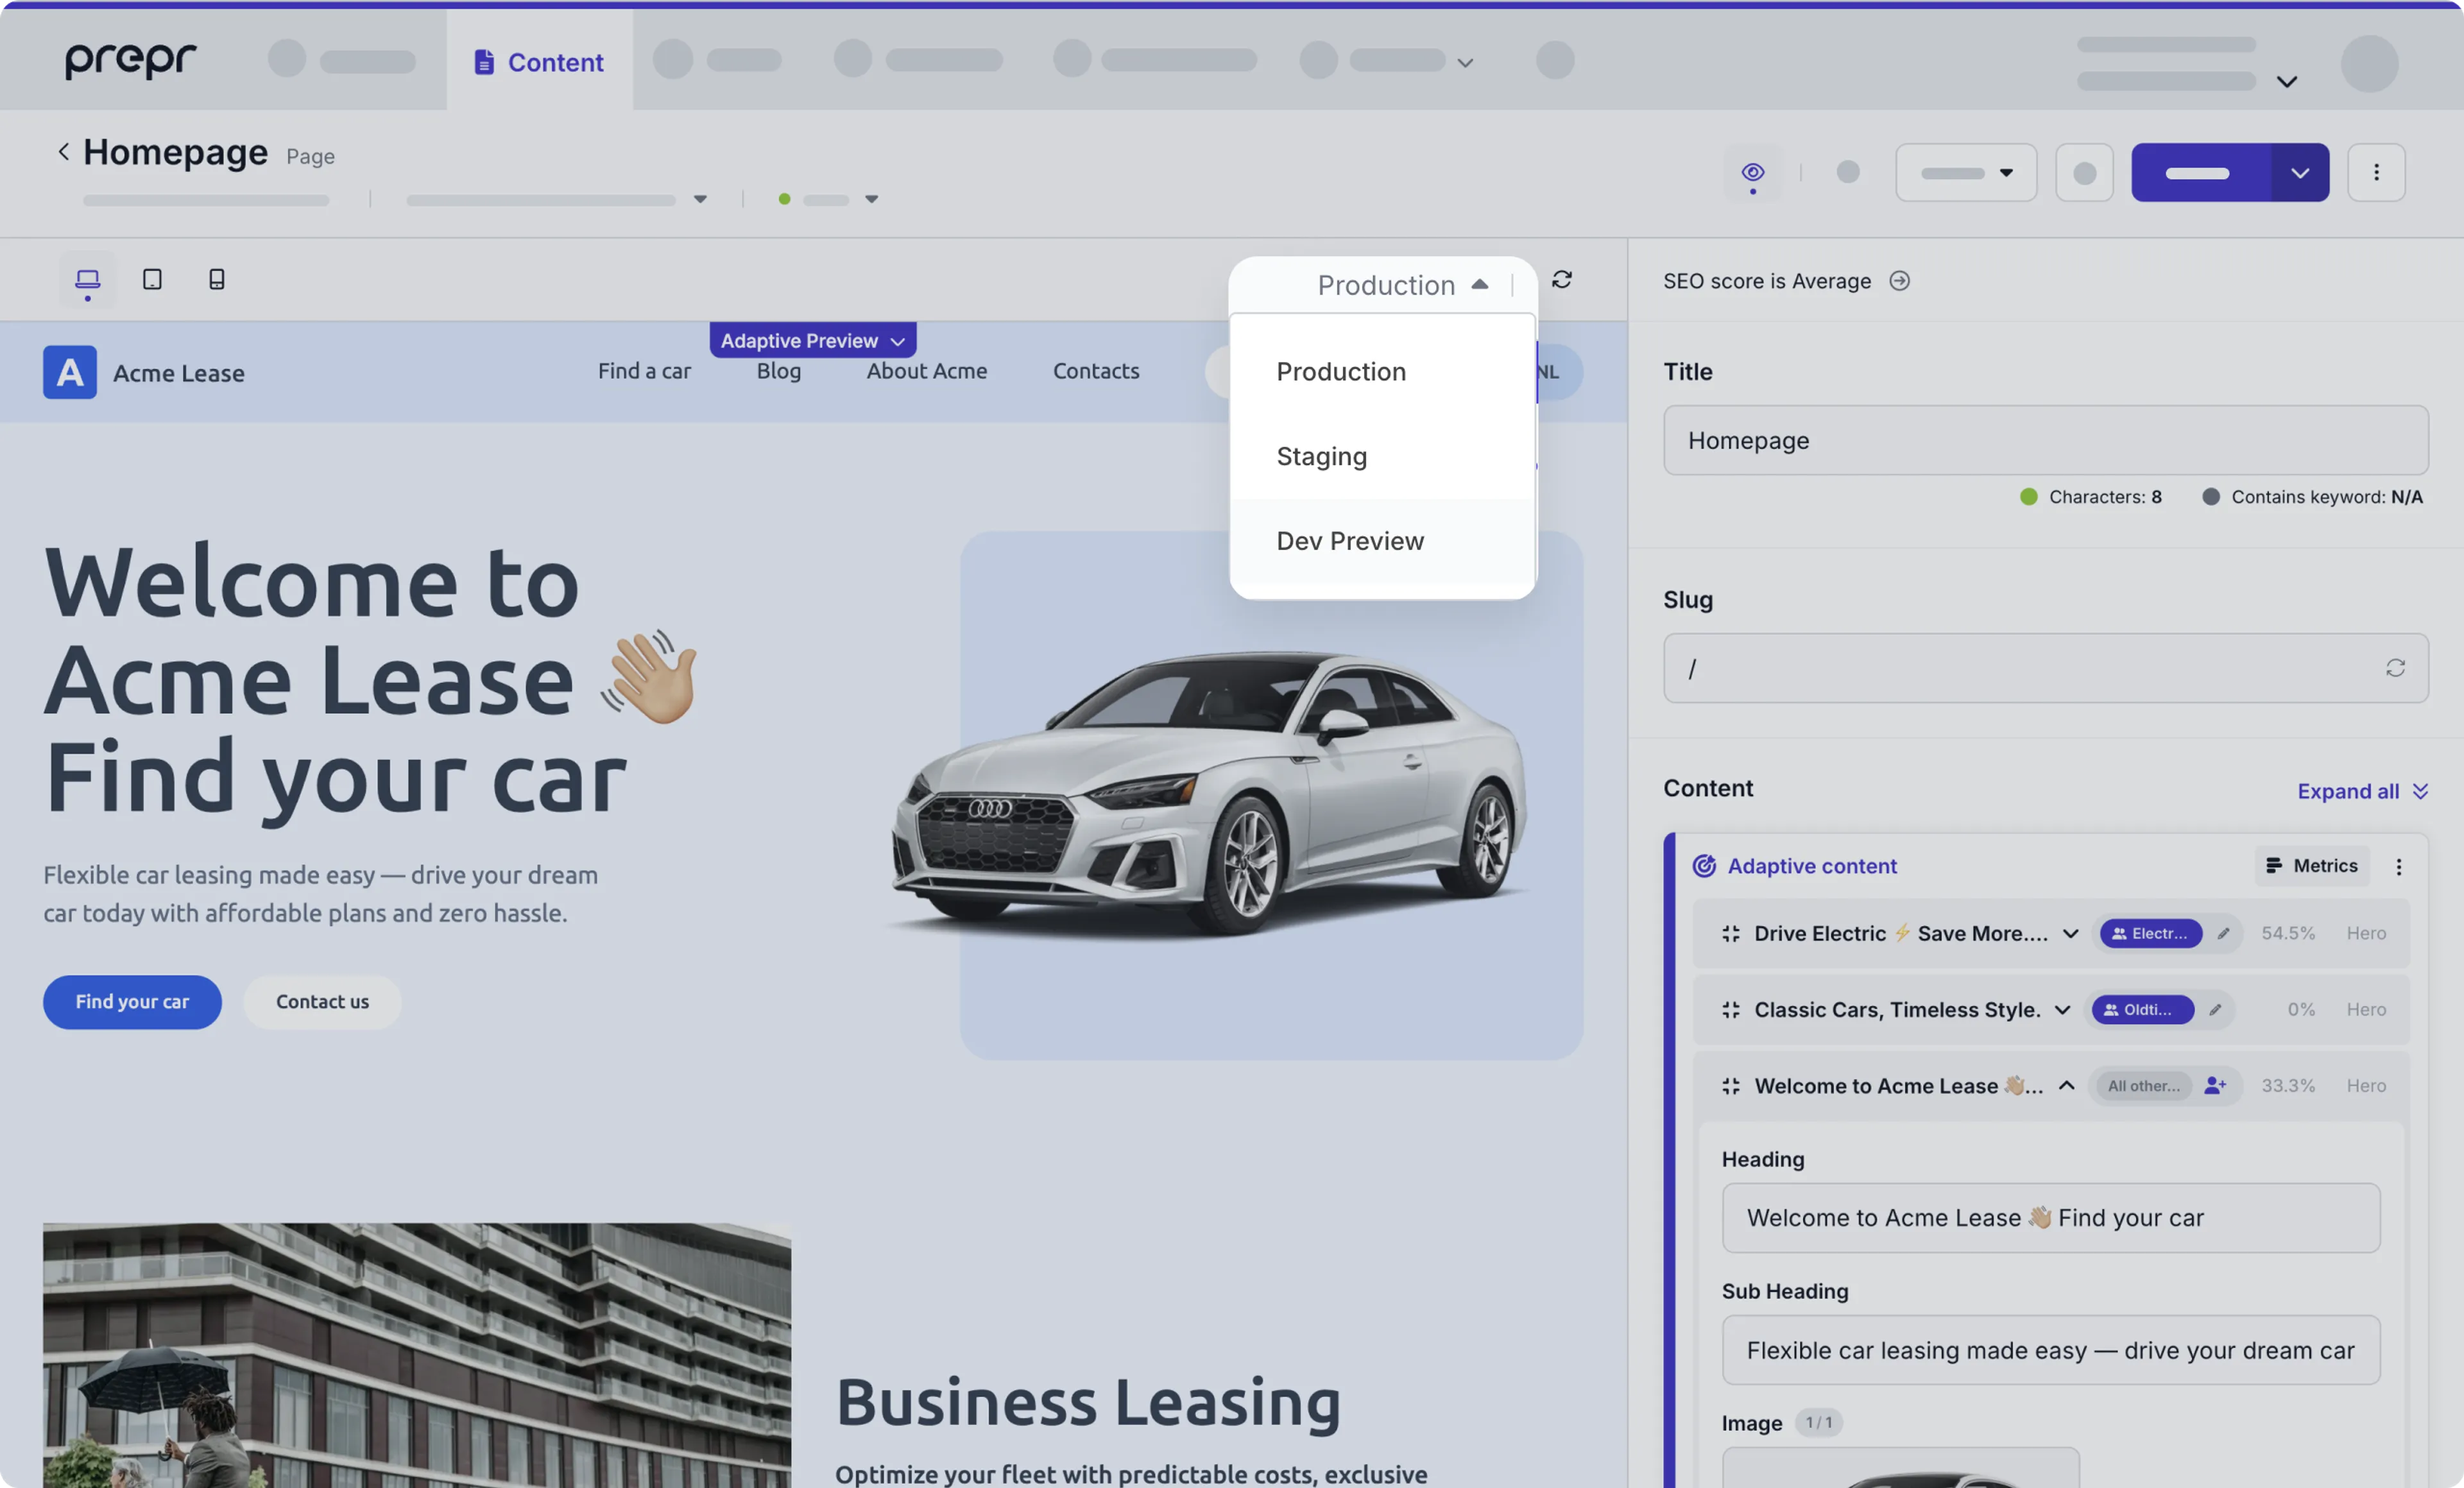
-
When multiple URLs are enabled for Visual editing, for example, for test and development environments, you can switch to a different environment.
To set up Visual Editing, check out the setup doc.
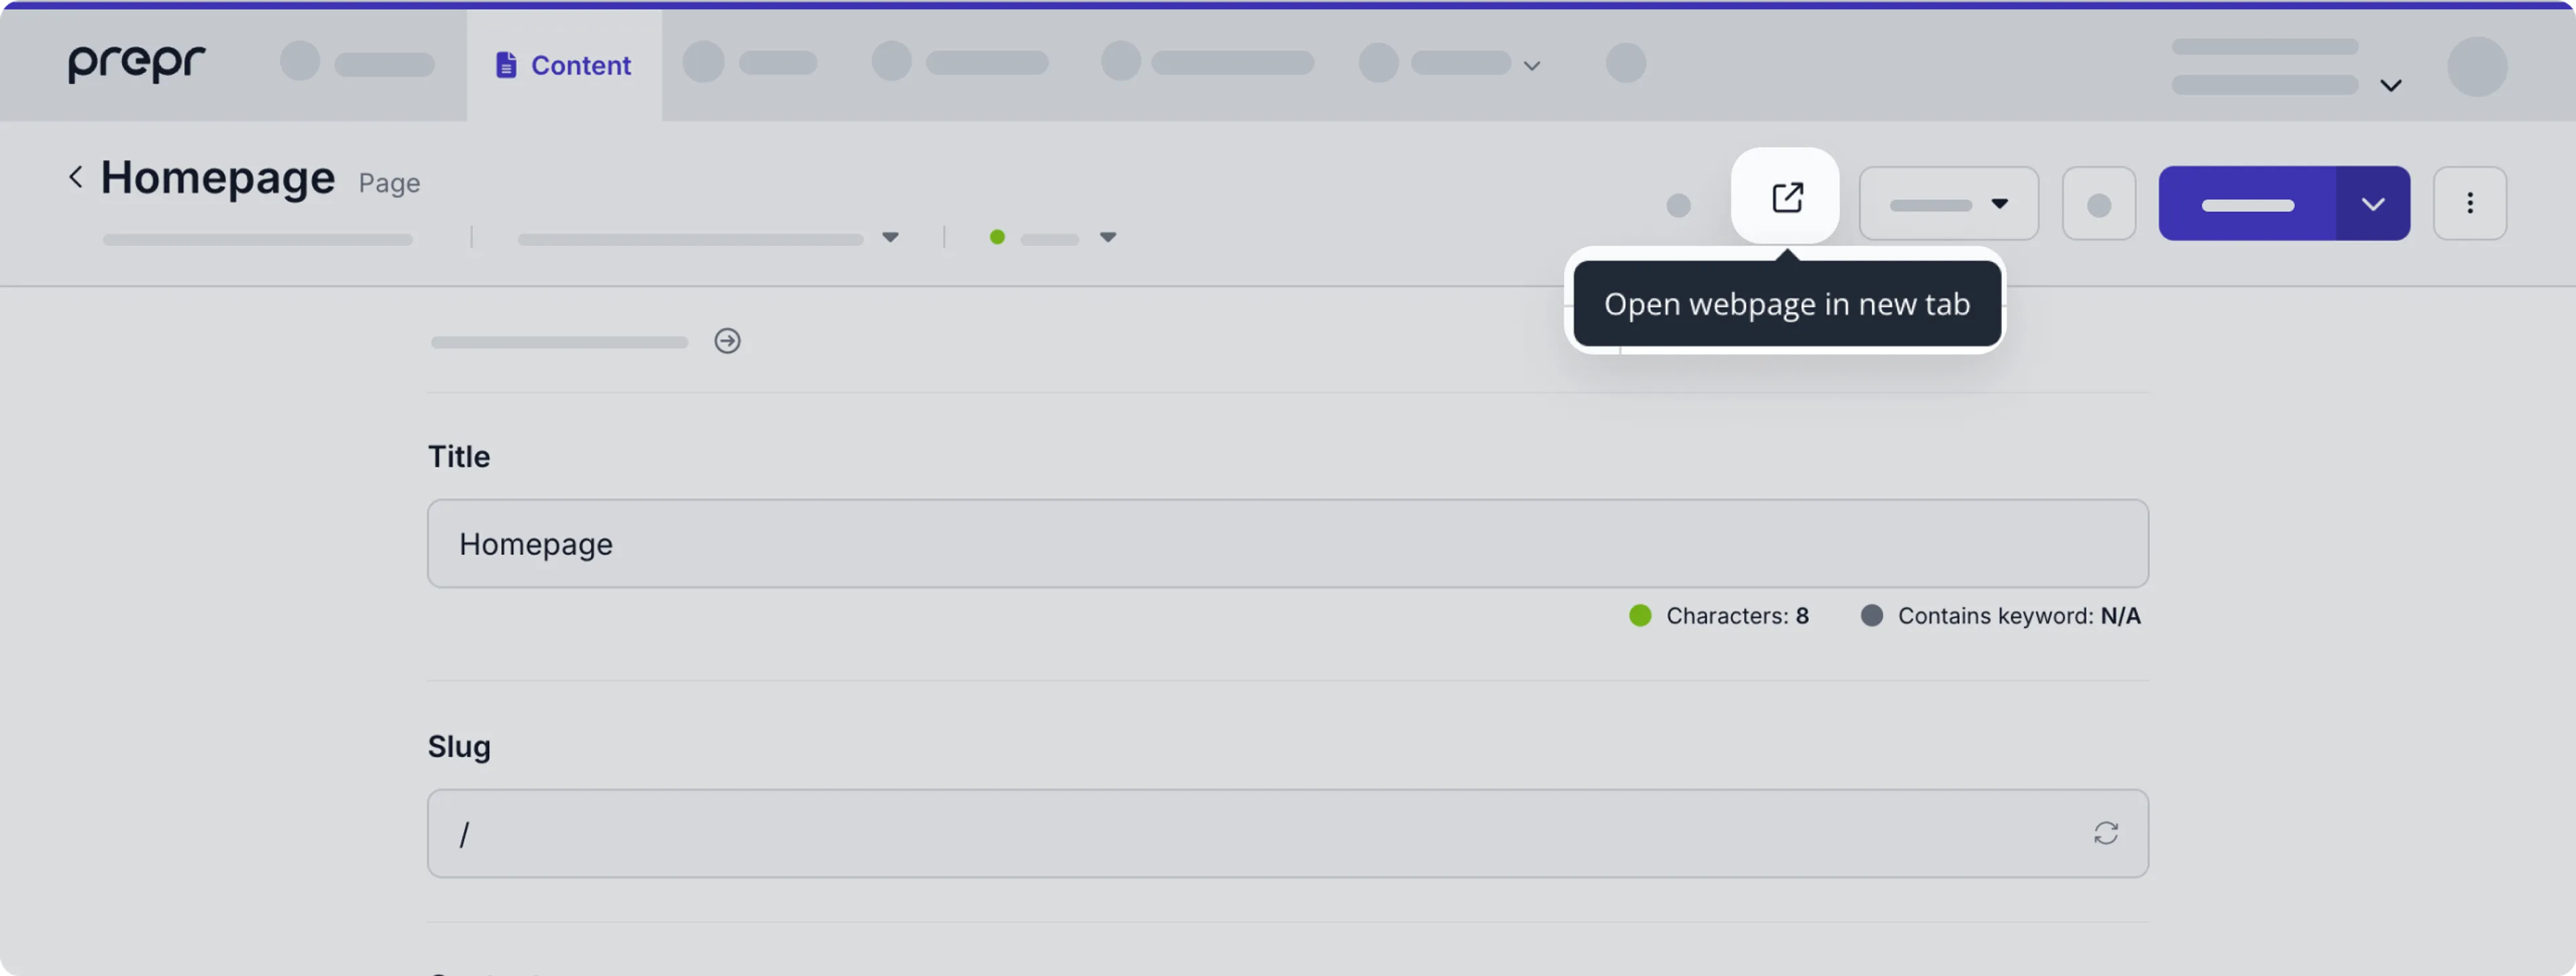
Preview in a separate tab
Another option to preview your content item is to click the icon to open the preview in a separate tab.
To set up one or more preview URLs, check out the setup doc.
Manage versions
Content item versioning enables you to do the following tasks:
- Reset your last content item edits.
- Keep track of all the changes in a content item.
- Revert to a previous version when needed.
- Look for older versions in your content item.
- See every change made in a content item.
You can find content item versions in one of the following ways:
-
Click the date link in the publish info text at the top left to open the activity log. And click the Show earlier versions link.

-
Or click the button to open the drop-down list and choose the Show version history option.
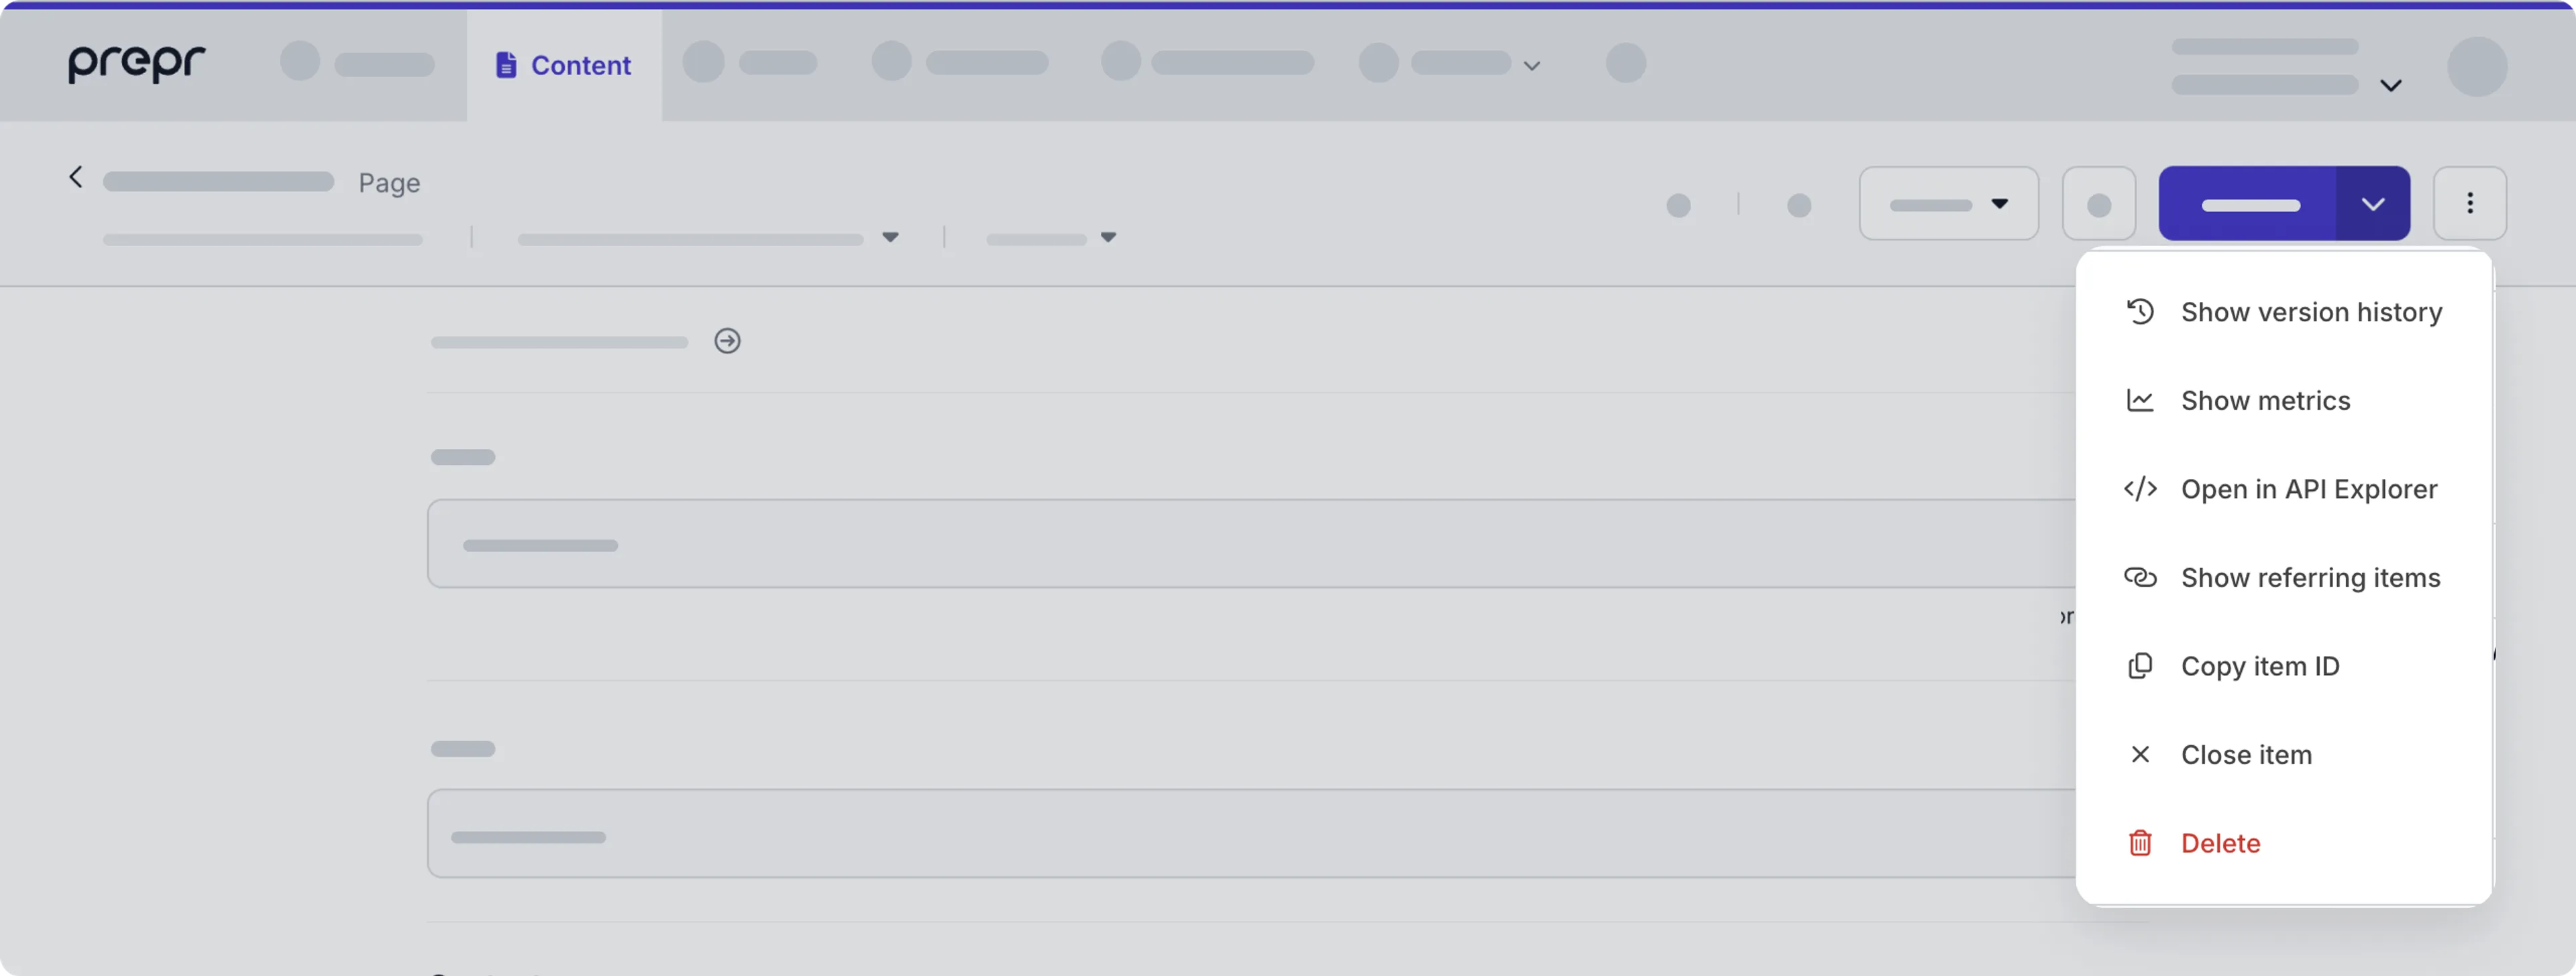
You can then see the list of previous versions for this content item.
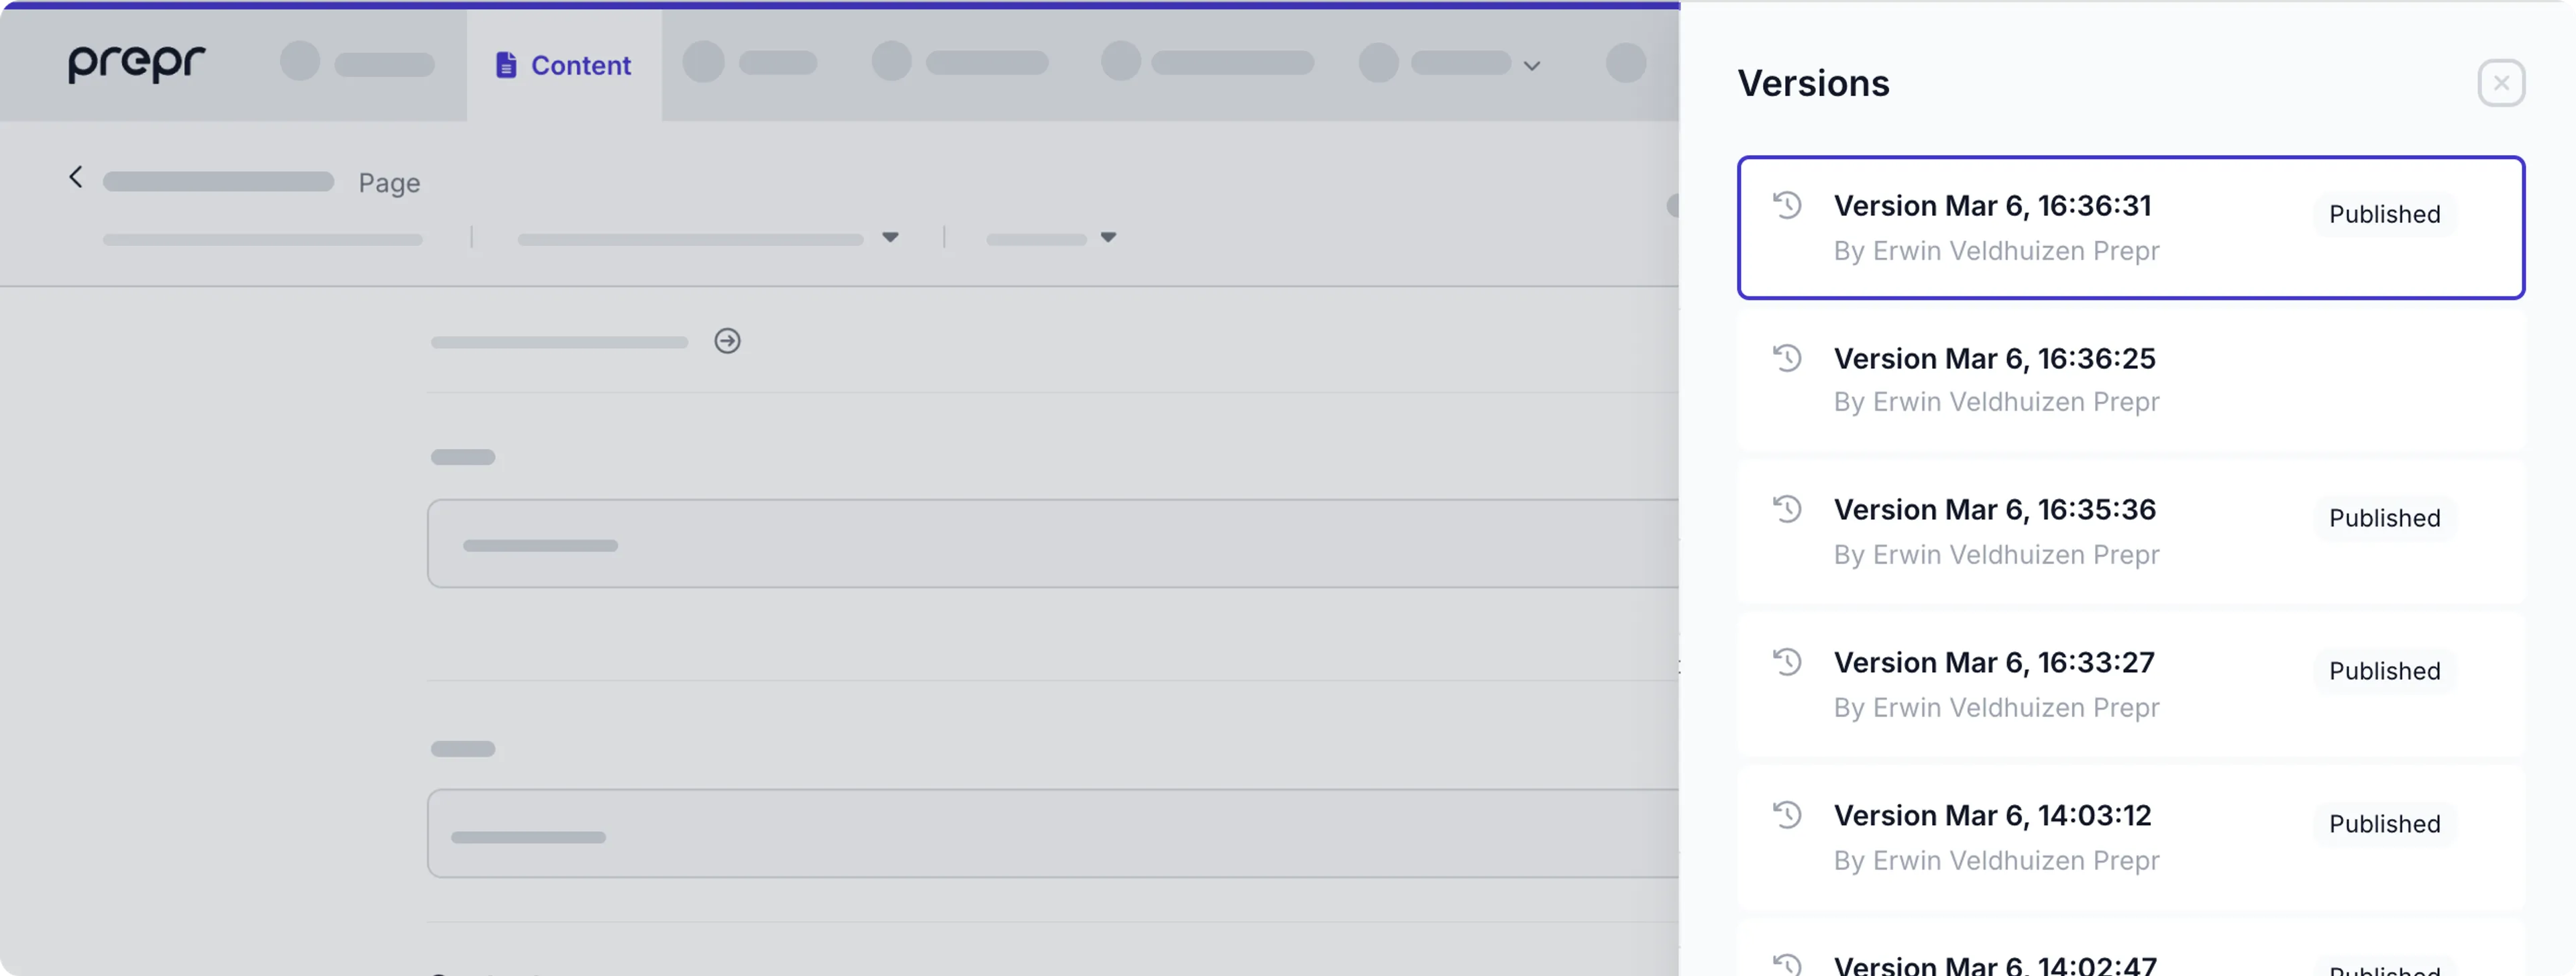
Select one of the versions and click View to open the specific content item version. The yellow notification bar at the bottom of the page indicates that you are viewing an older content item version.
To restore a previous version, click Restore to open this version for further editing.
Take note of the following when viewing earlier versions:
- All fields and drag-and-drop elements are versioned.
- There is no version history of the slug and workflow settings.
- Content item versioning is available per locale.
View linked content items
You can view all the linked items for a content item by following the steps below.

-
In the Content page, hover over the content item for which you want to view all linked items and click the icon.
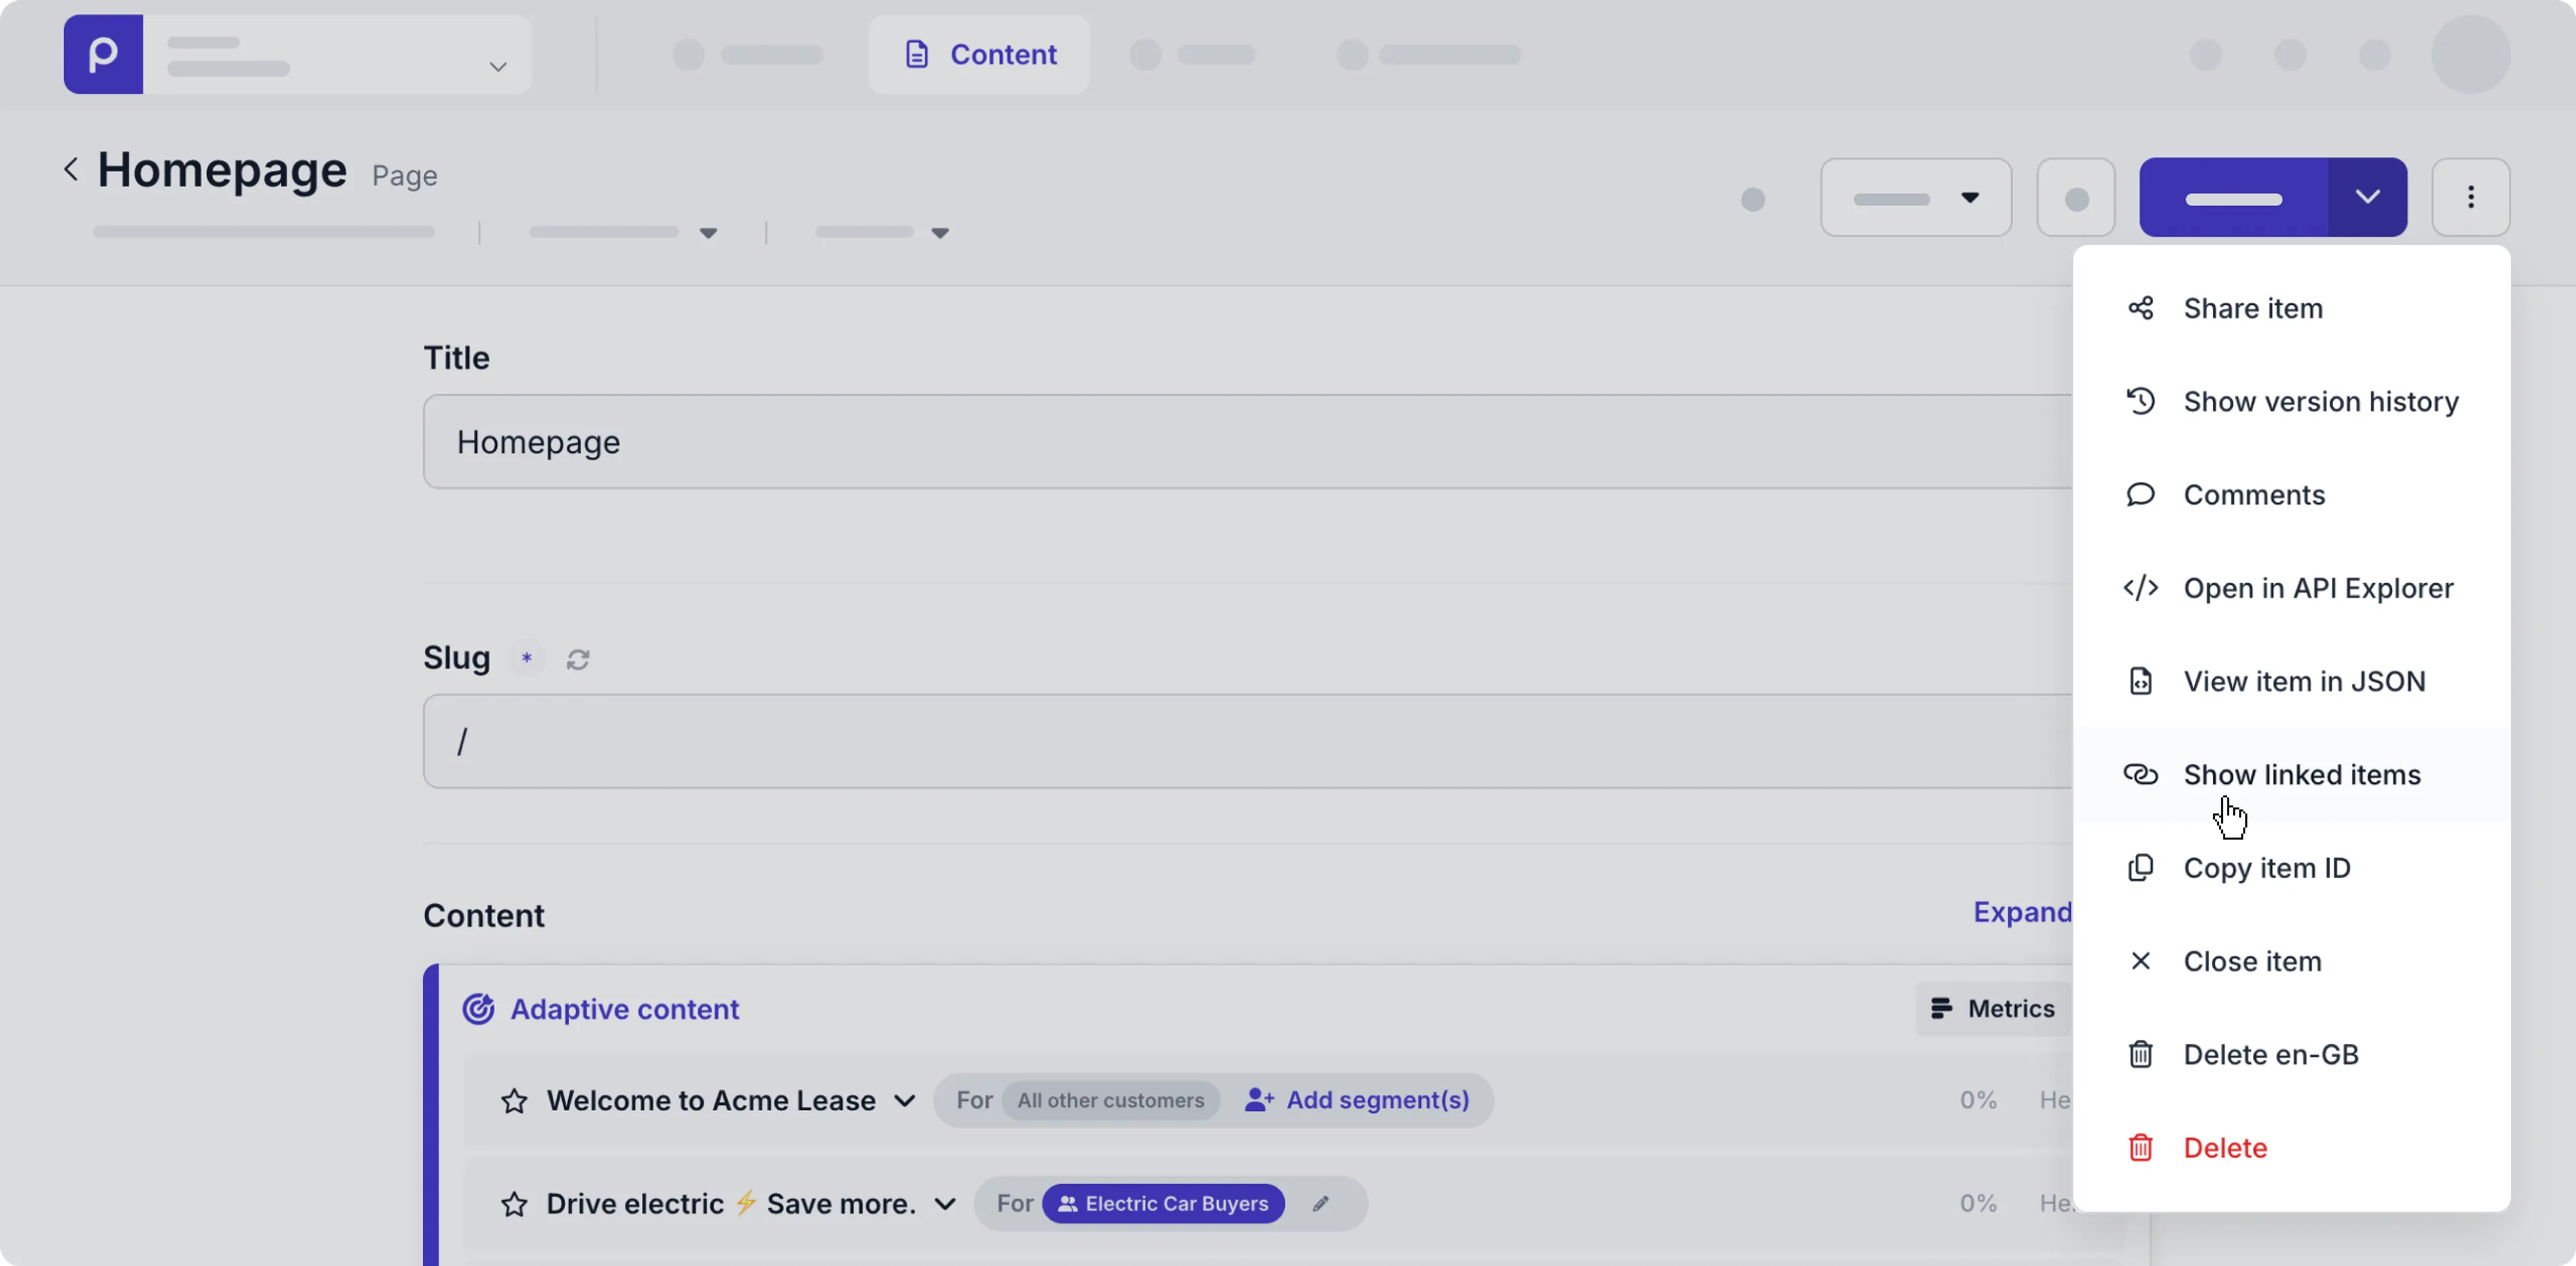
-
Or open a content item and click the button to open the drop-down list and choose the Show linked items option.
-
In the updated filter criteria, you can choose either:
- From: to view all content items that includes this content item as a content reference.
- To: to view all content items this content item links to.
Share a content item
You can share a content item with one or more users who have limited access to content items by following the steps below.
-
Go to the Content tab.
-
Click to open a content item you want to share.
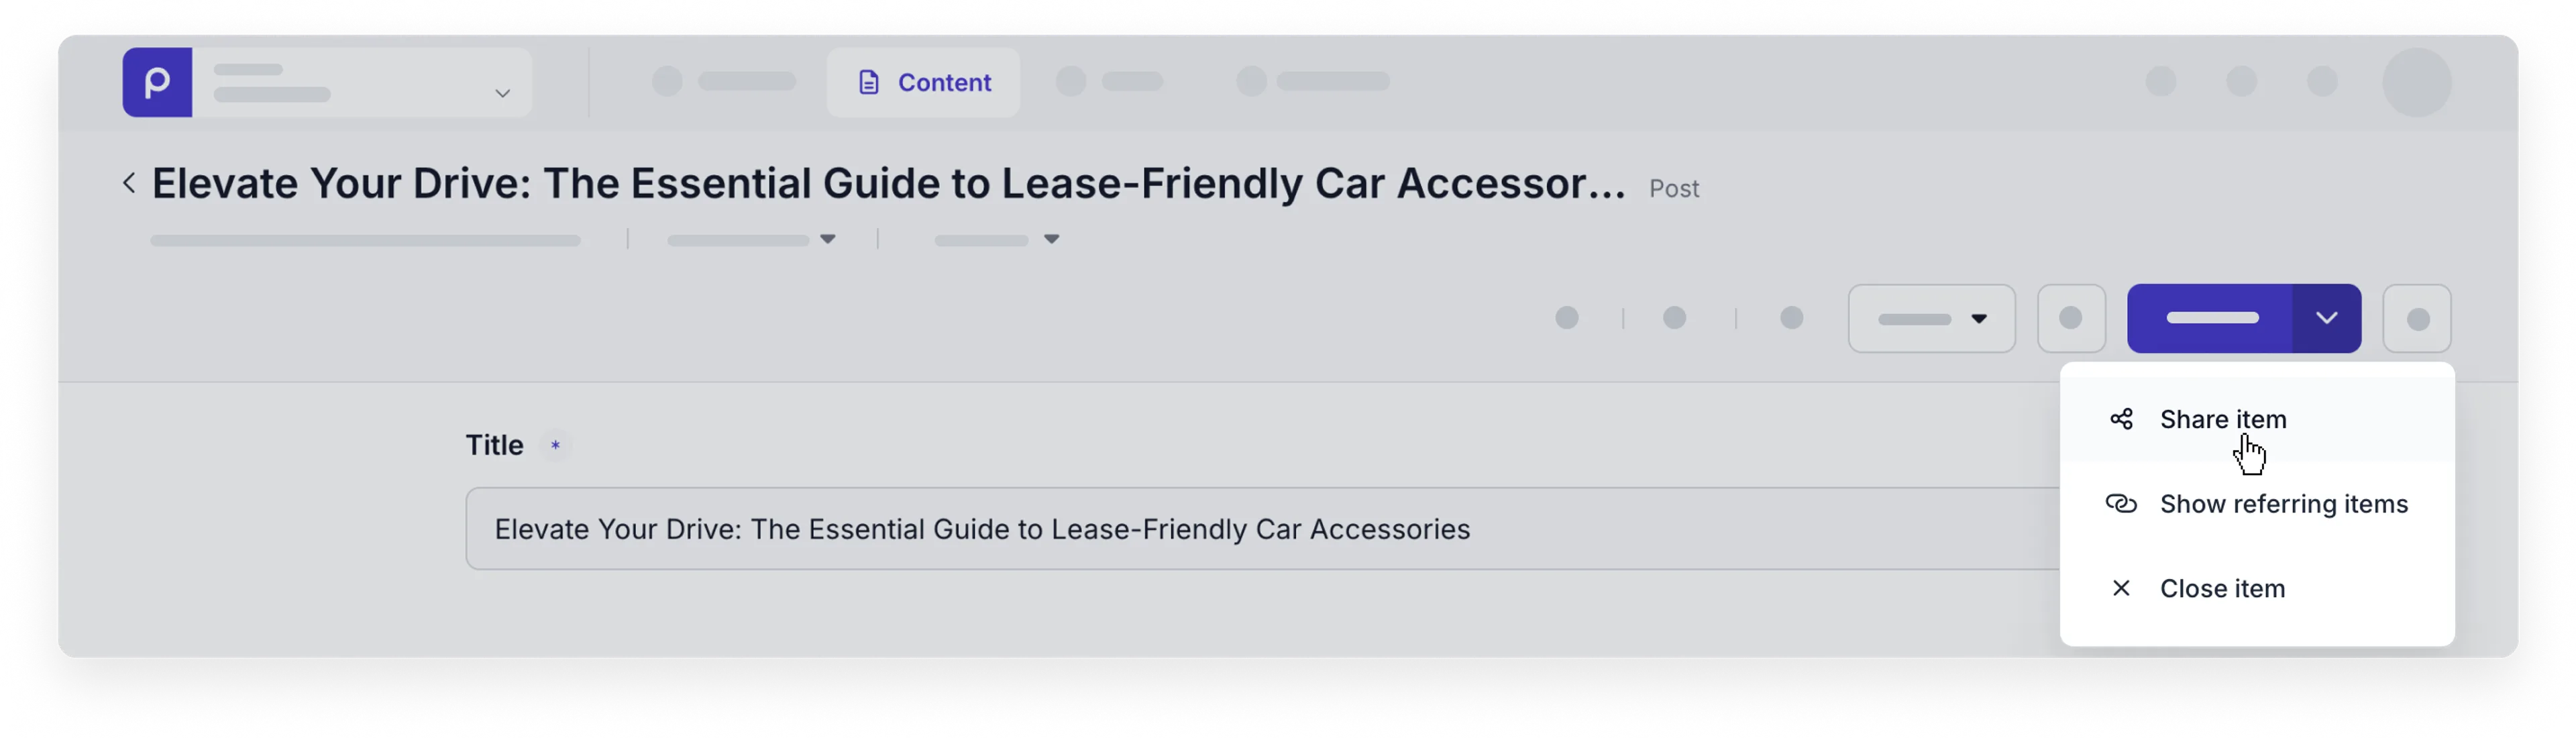
-
Click the button to open the drop-down list and choose the Share item option.
If you don’t see the Share item option, contact our Sales team for more details.
-
In the pop-up window, choose one or more users you want to share the content item with and click the Save button.
Once shared, the users you selected will see the content item in their content item list.
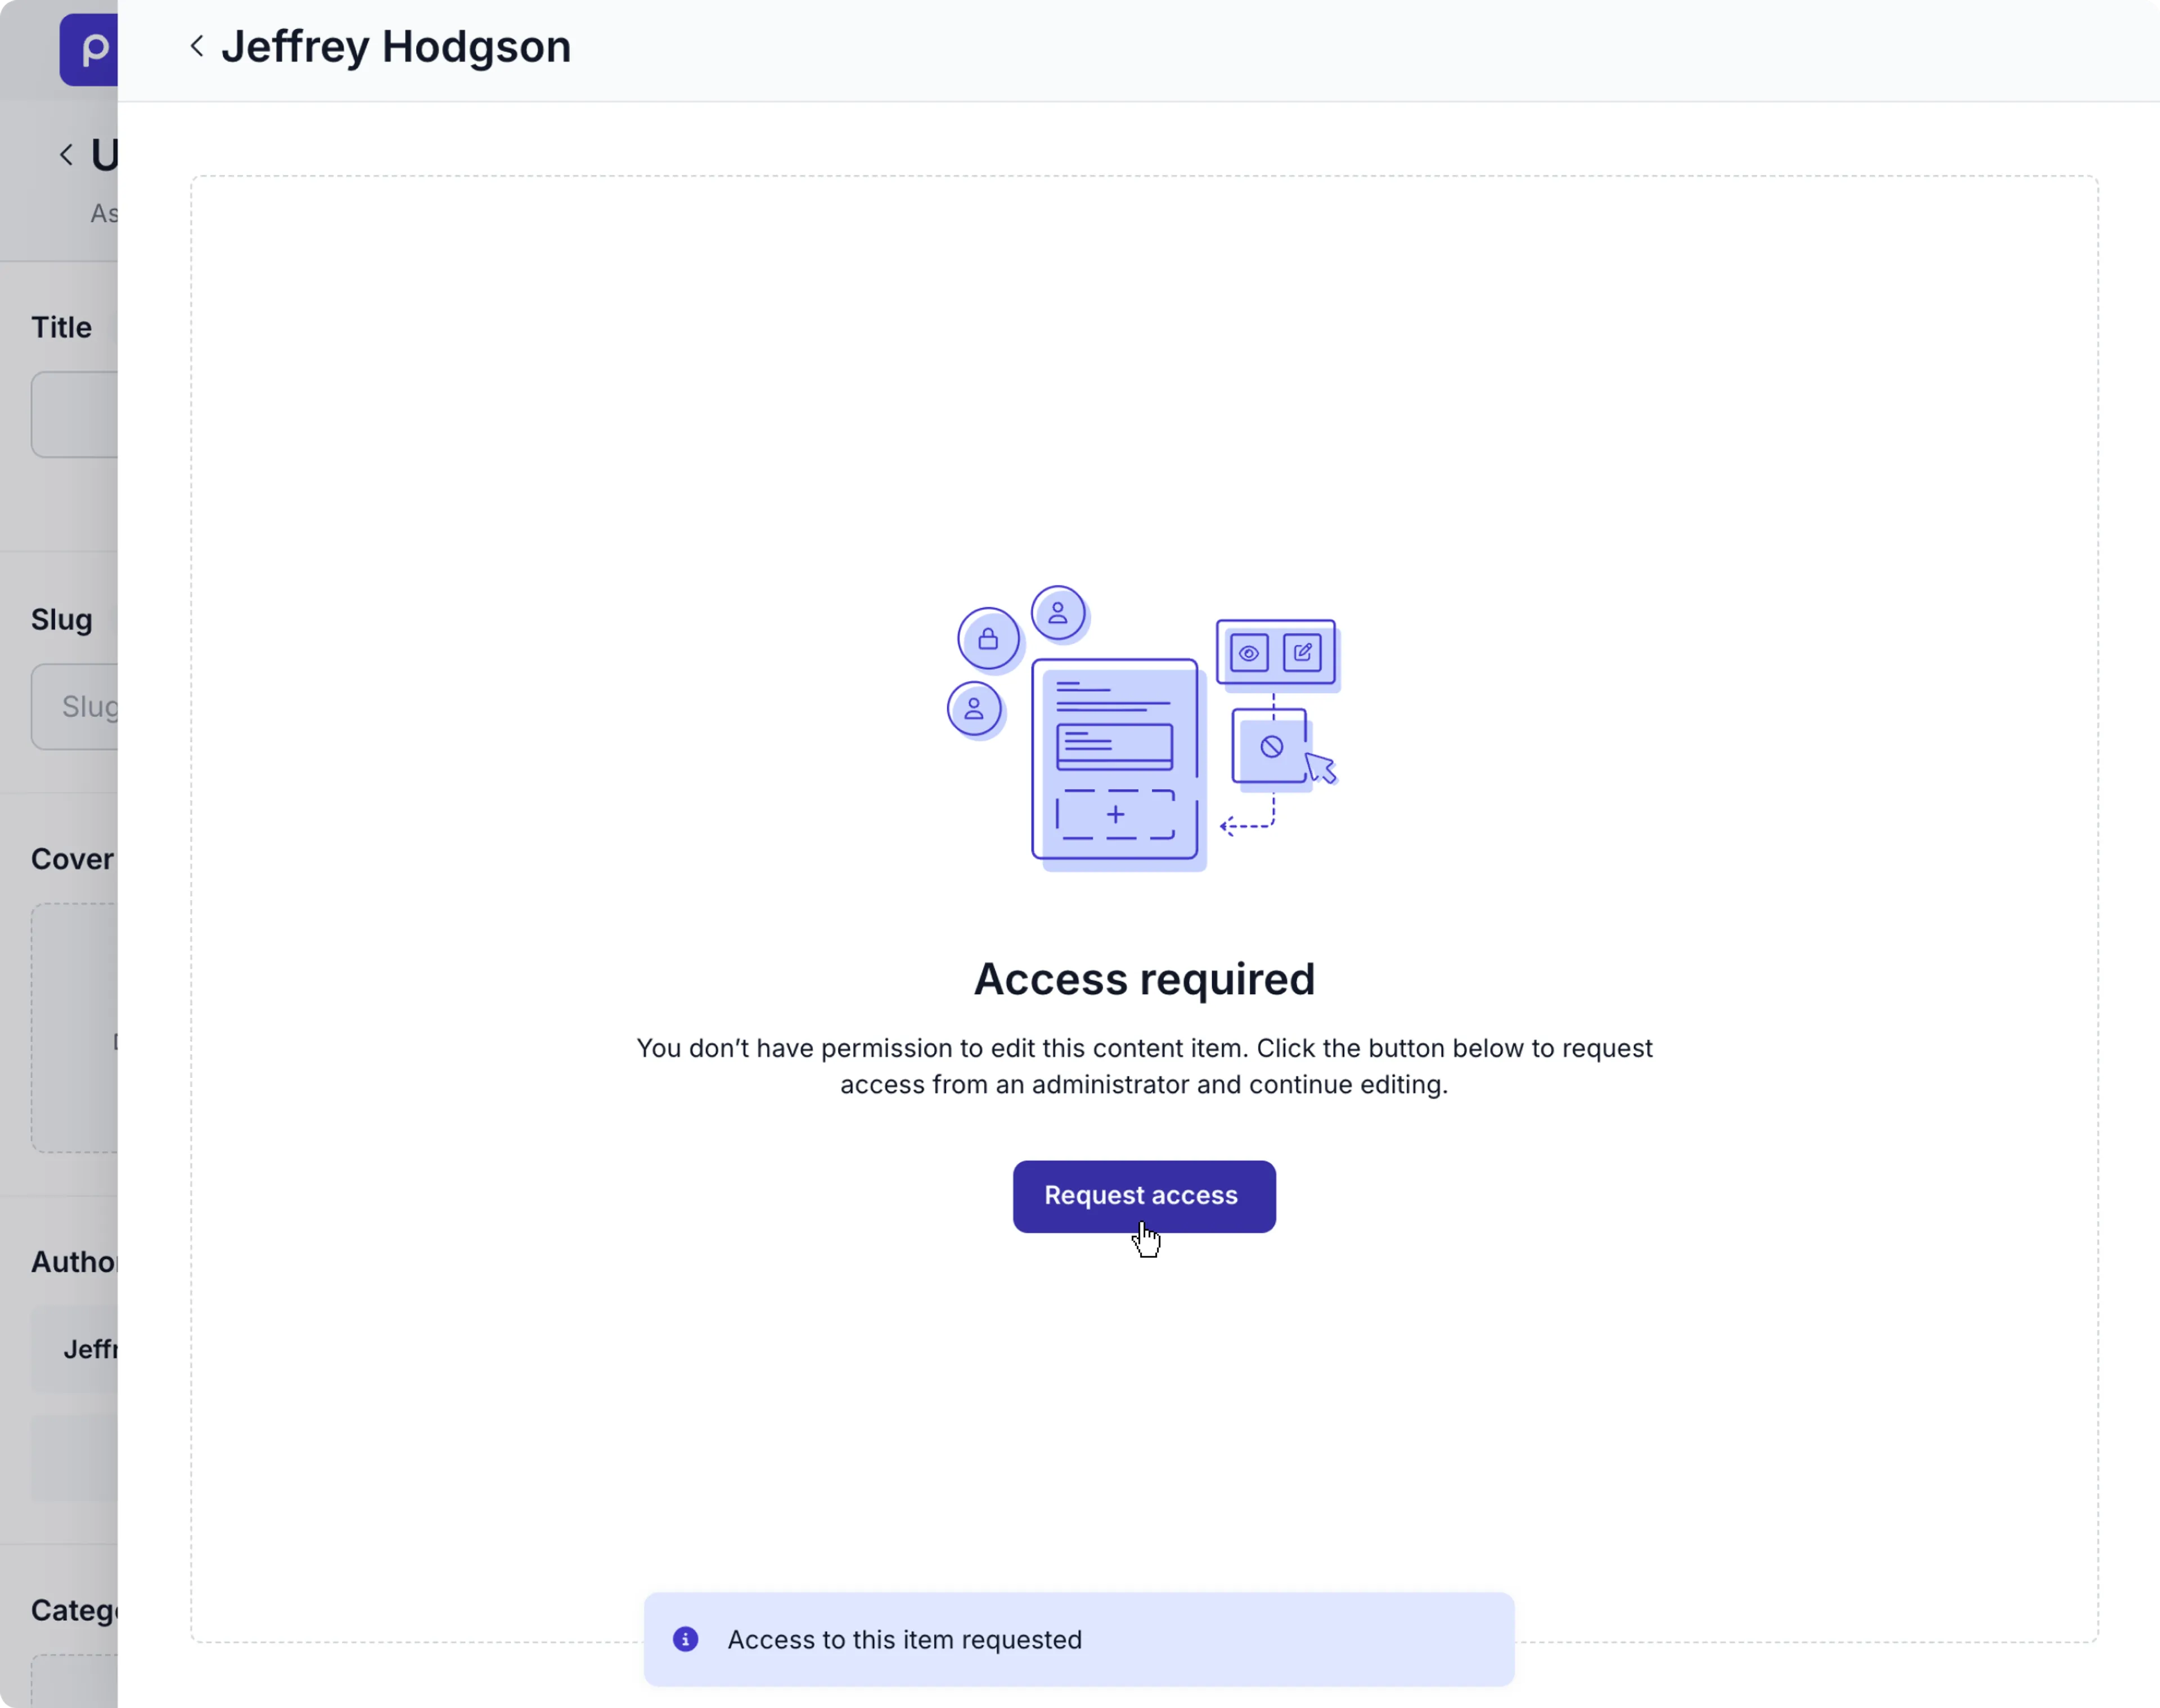
When users don’t have access to a linked content item, they can directly request access to view or edit it in the content page.
Delete a content item
When you need to delete a content item, you can do so in a couple ways:
From the Content items list
- Go to the Content tab.
- Hover over the content item you want to delete to make the actions visible, and click the icon.
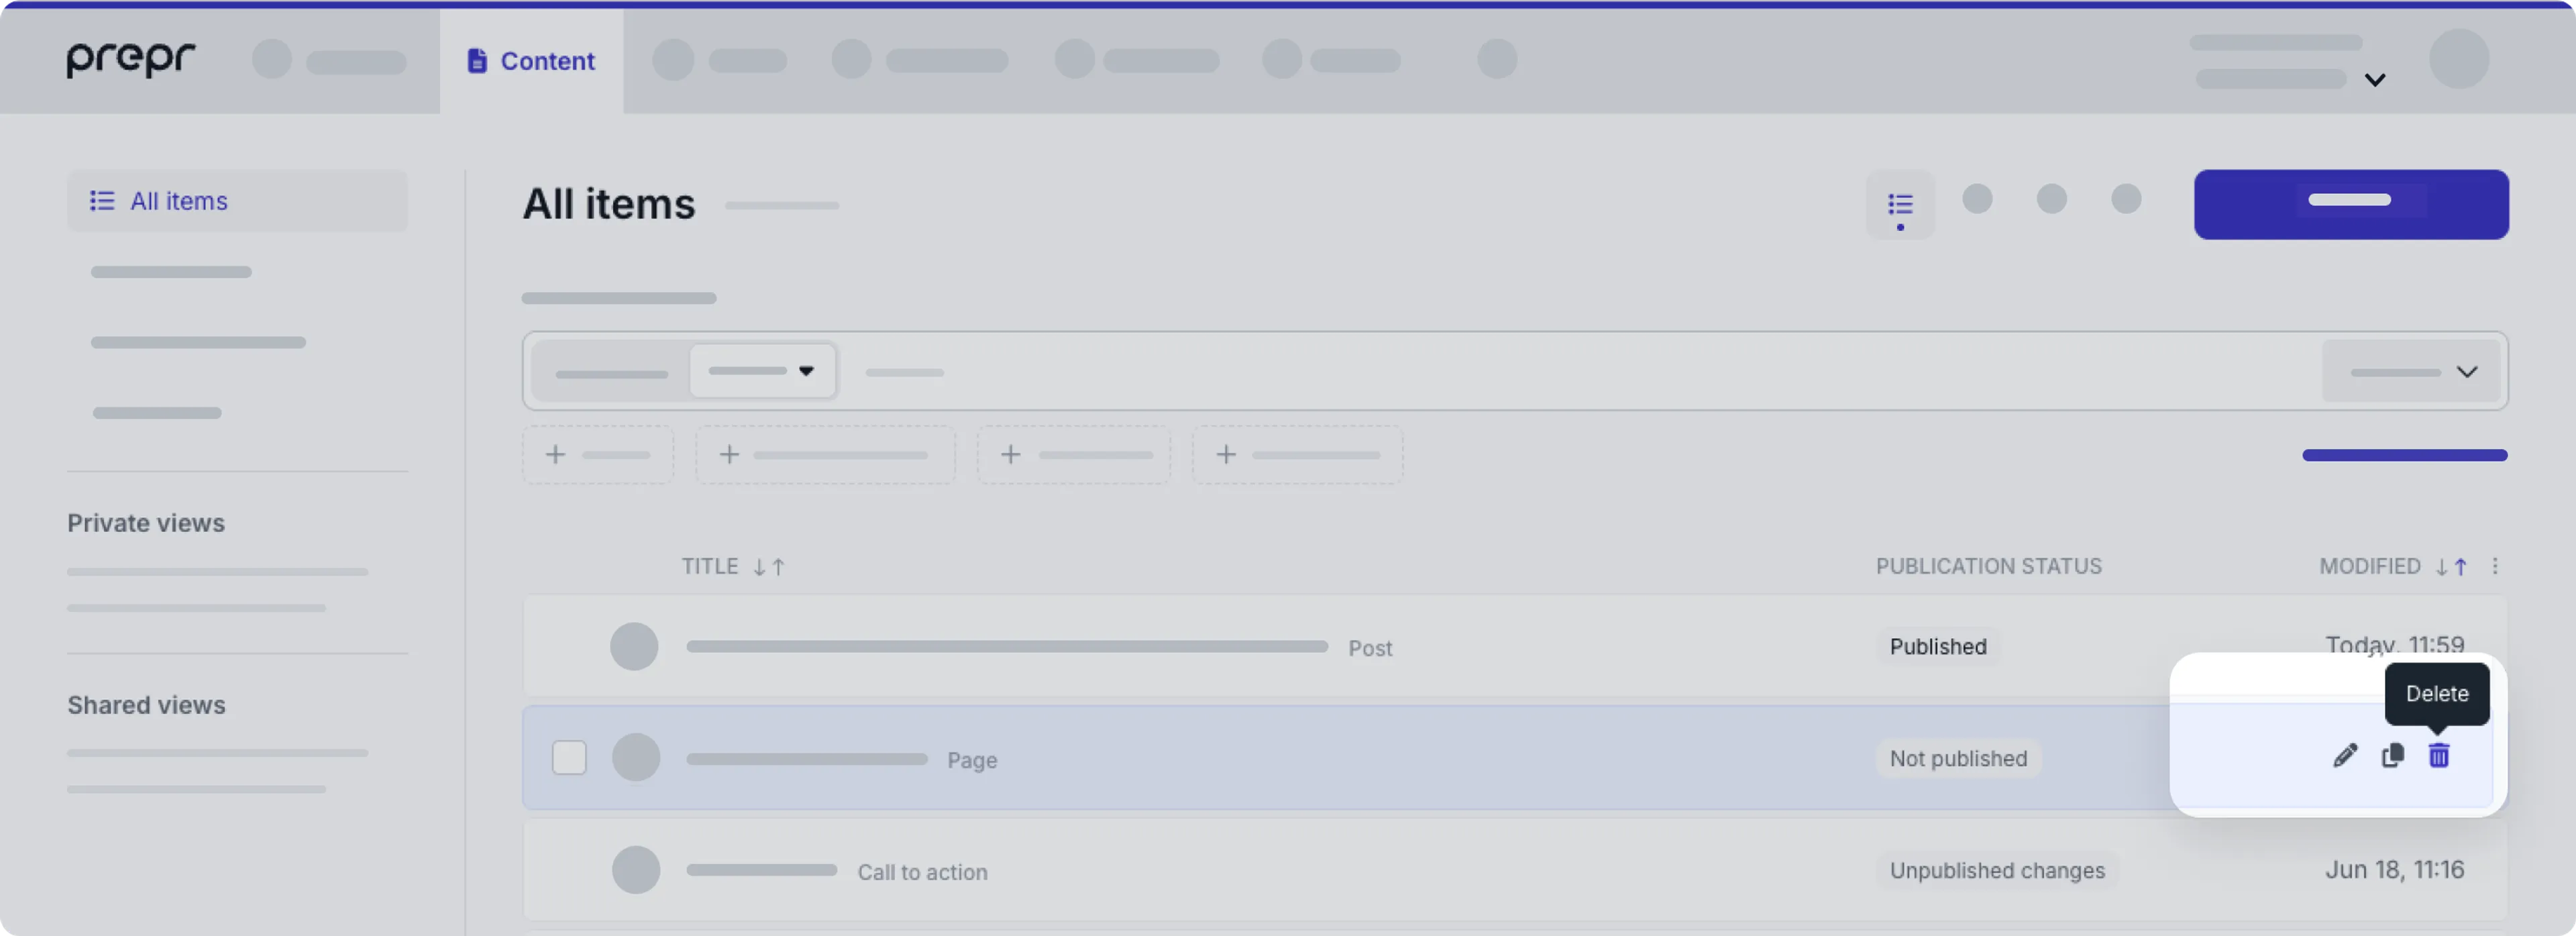
- In the pop-up window, click Delete again to confirm the action.
- From the Content item page
-
Go to the Content tab.
-
Click to open a content item you want to delete.
-
Click the button to open the drop-down list and choose the Delete option.
-
In the pop-up window, click Delete again to confirm the action.
When you delete a published content item, this item is no longer available to your web app. If you see a deleted item on your web app longer than expected, contact your development team or web administrator to refresh the app.
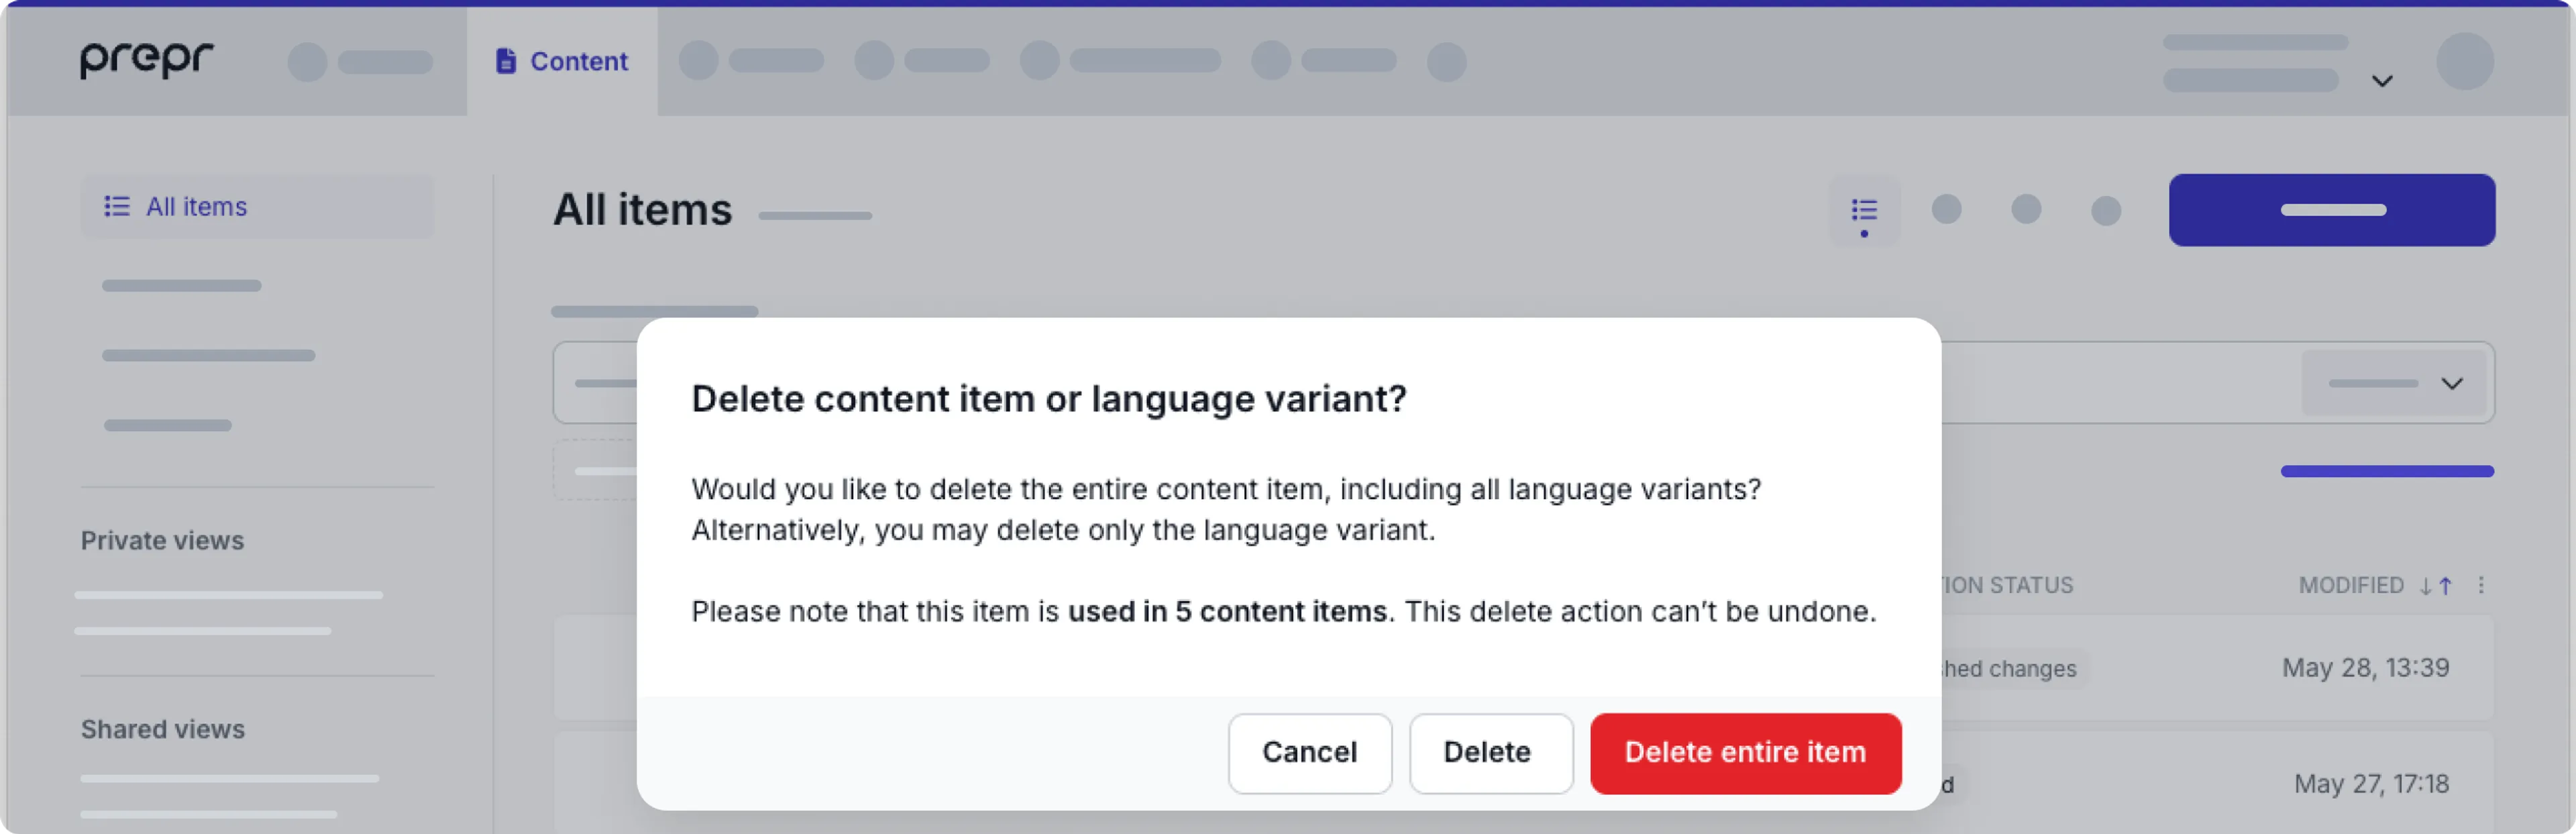
Delete a language variant
If you manage multi-language content, then you also have the option to delete a specific language variant. Click to delete a content item and then choose a preferred option:
It is also possible to delete a language variant using the API. Please refer to the GraphQL API docs for more information.
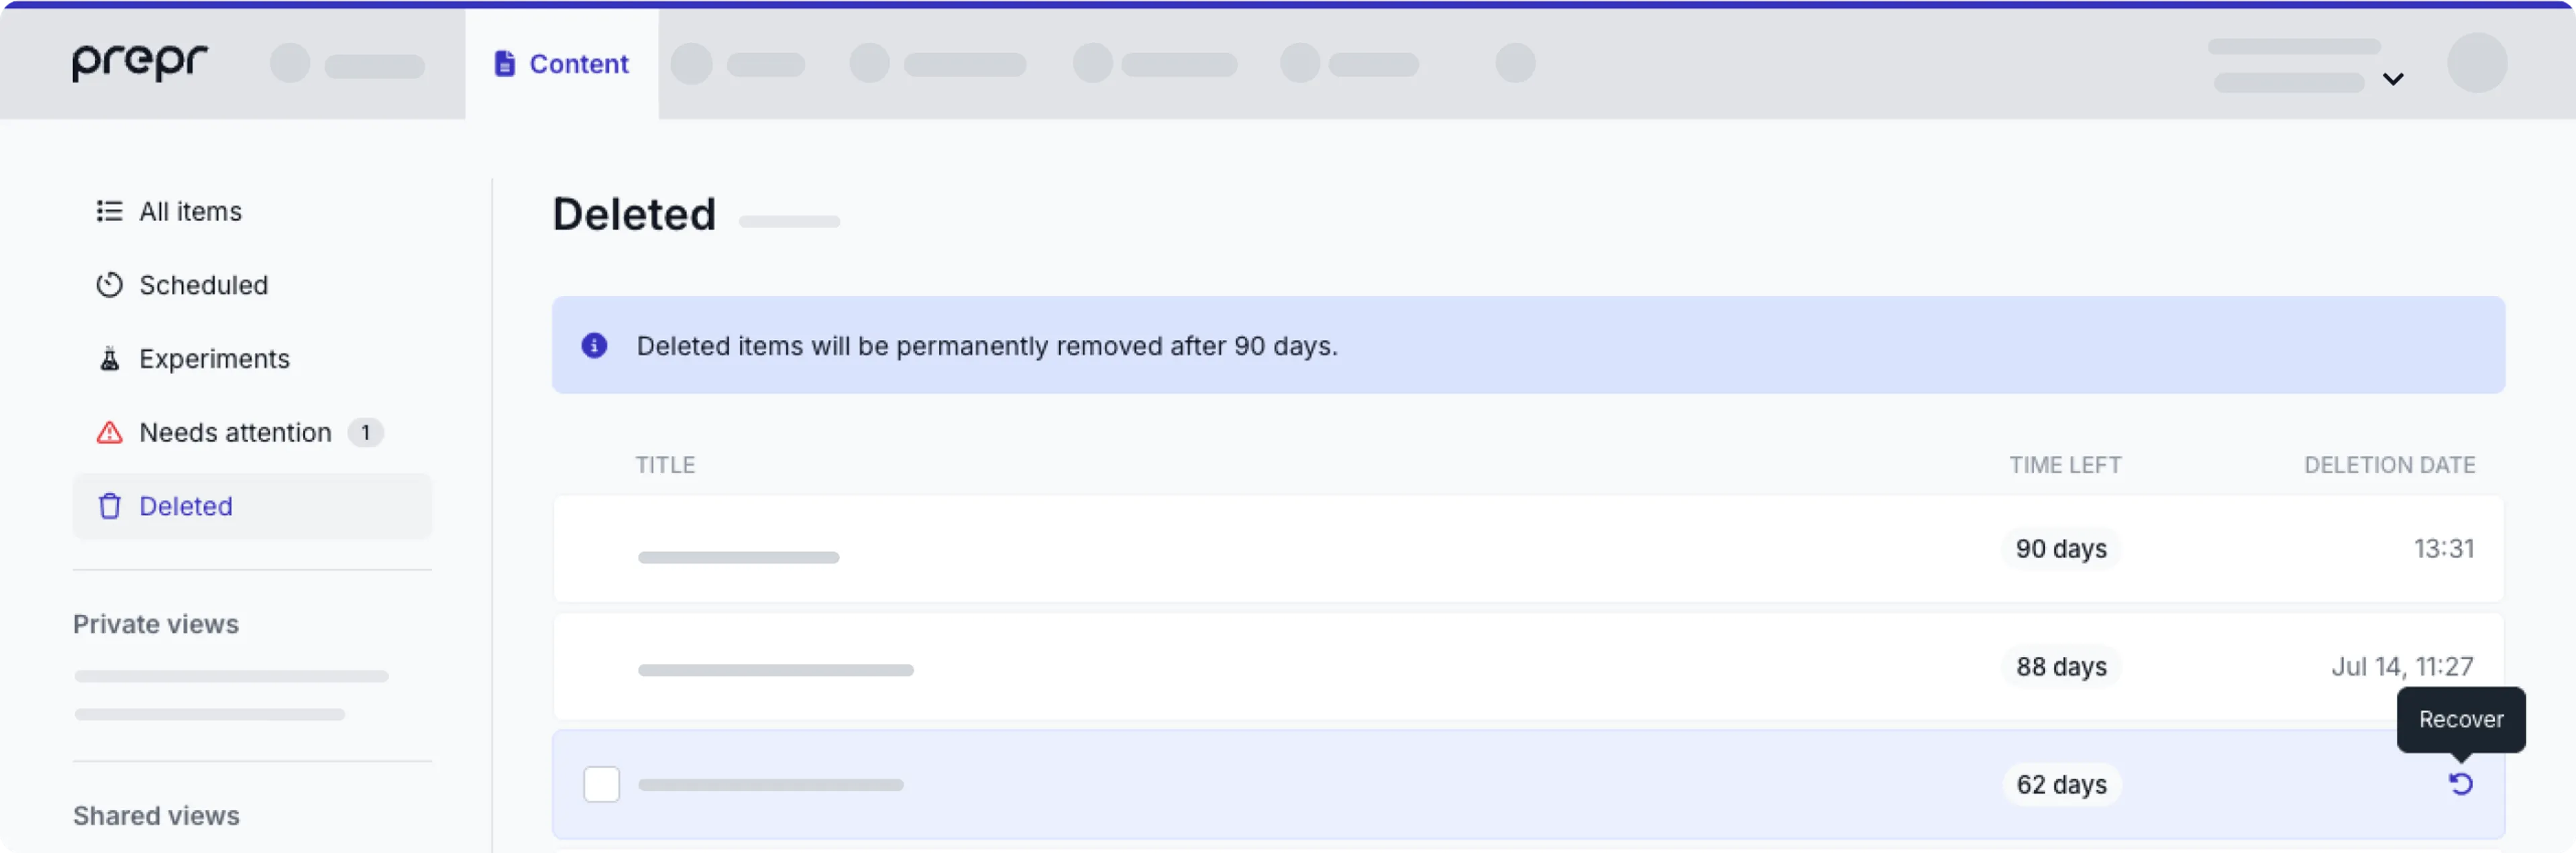
Recover a deleted item
You can recover a deleted item by clicking the Deleted view to list all the deleted content items.
Hover over the content item you want to recover and click the Recover link.
When the Recover item? pop-up window appears, click the Yes, recover button to confirm.
The restored content item no longer appears in the list of deleted items. Click the All items view to see your recovered item.
When you recover a previously deleted content item, it’s unassigned and the workflow stage is set to To Do. Make sure to Publish the recovered content item, if needed.
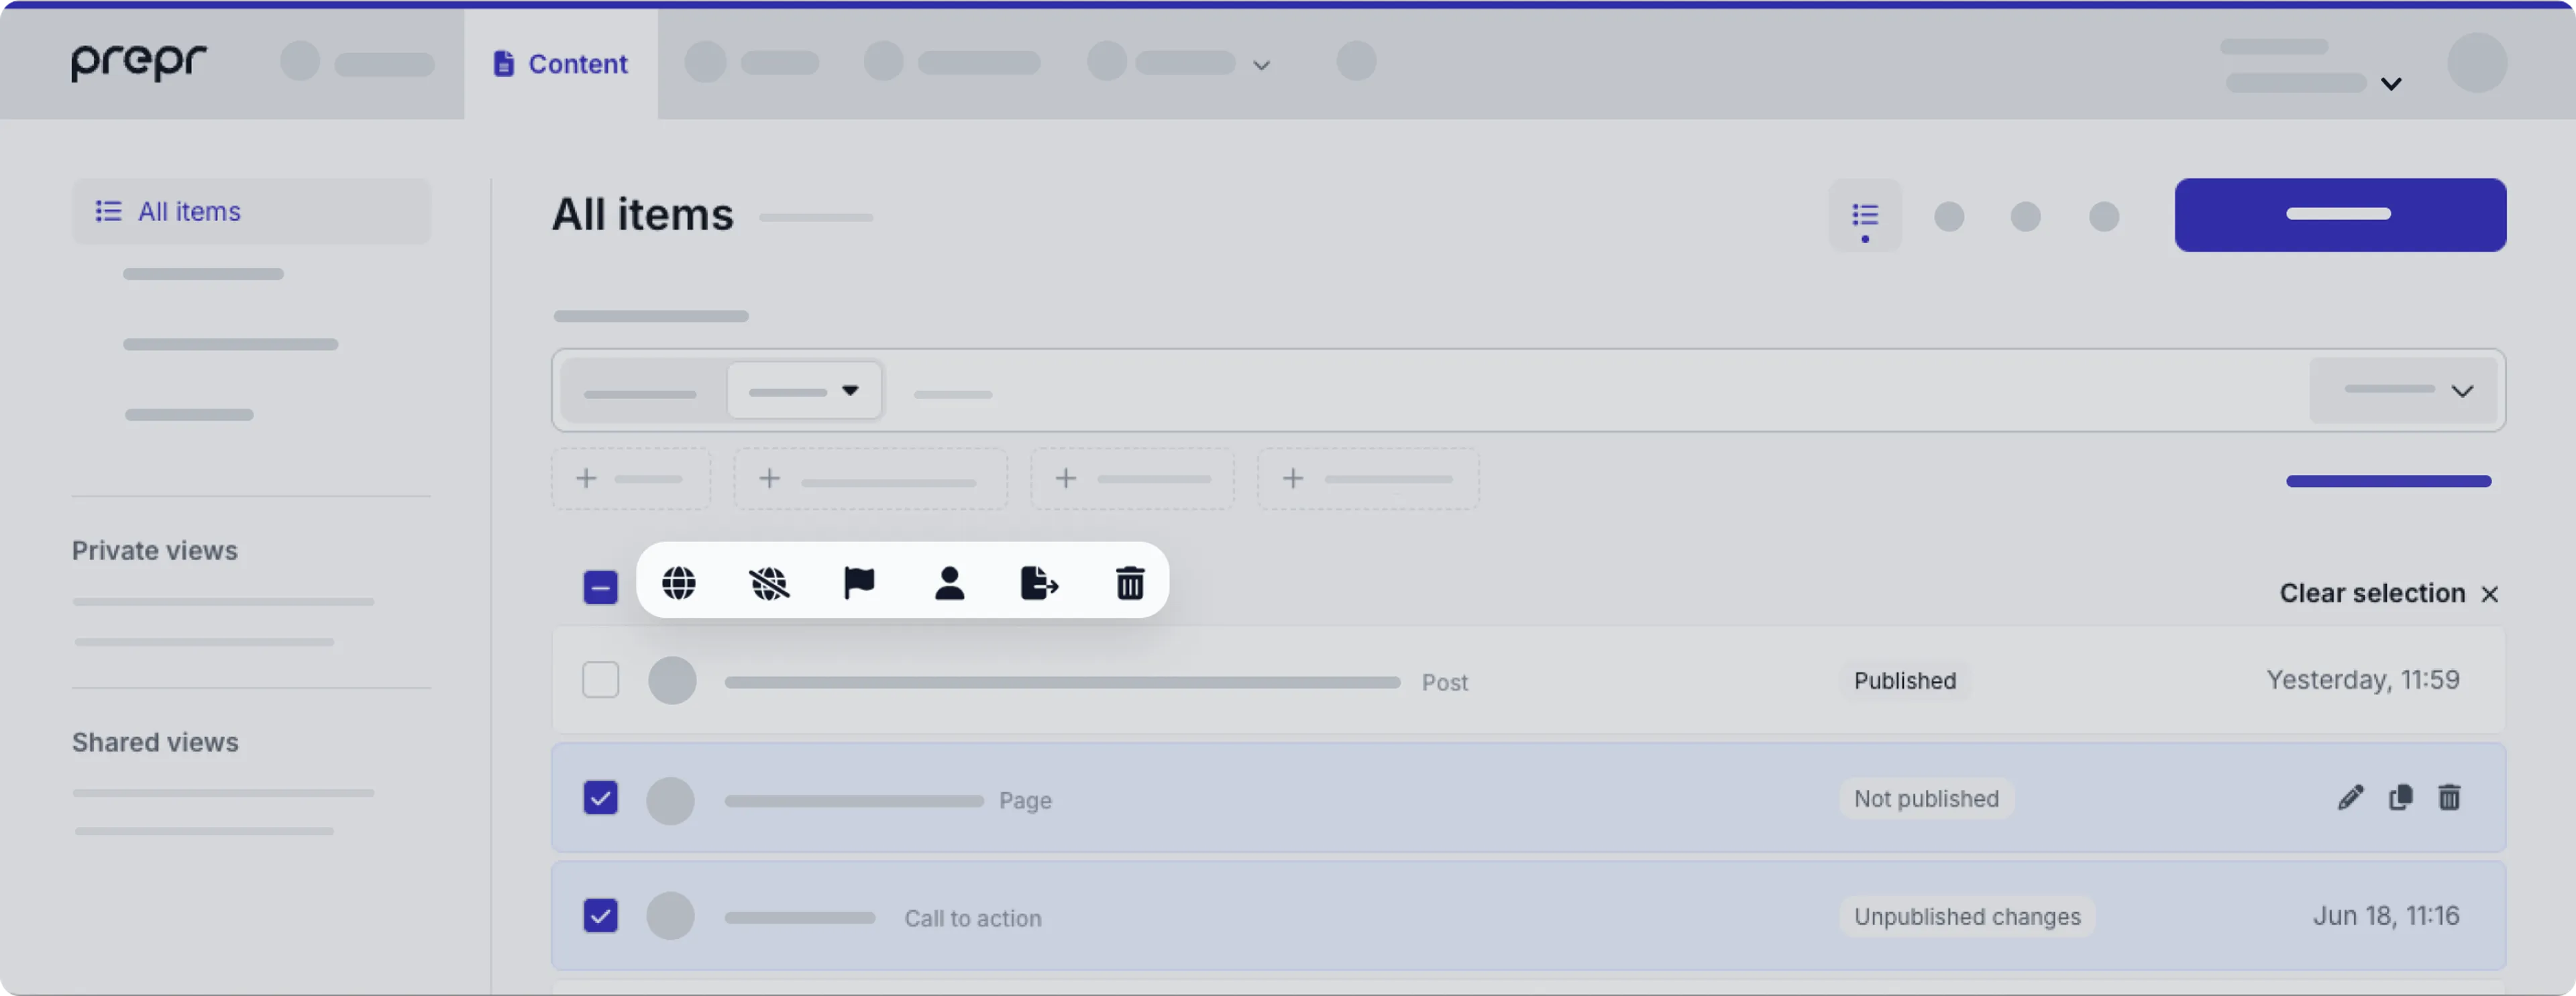
Bulk actions on content items
In some cases you may want to perform certain actions on multiple content items at once. To view and trigger bulk actions, go to the Content tab. Hover over the content items and select the checkbox for the content items on which you want to perform the bulk action.
Let’s look at each of these actions in more detail.
Publish now or later
In some cases you might want to publish large batches of content items, such as campaigns or updates that span several pieces of content. You can do this by following the steps below.

- Choose the content items that you want to publish in the content item list.
- Click the icon to Publish now or later.
- Click the Publish button to publish the content items right away.
- Or if you want to schedule the content items to be published later, choose a future date and time and click the Schedule button.
- Check the number of content items in the confirmation message and click the Yes, publish button or the Yes, schedule button.
And that’s it, you’ve published multiple content items simultaneously.
If any of the selected content items fail validation, like missing values, then these will not be included in the process. Be sure to check the count of content items in the confirmation message.
Unpublish now or later
In some cases you might want to unpublish large batches of content items, such as outdated articles. You can do this by following the steps below.

- Choose the content items that you want to unpublish in the content item list.
- Click the icon to Unpublish now or later.
- Click the Unpublish button to unpublish the content items right away.
- Or if you want to schedule the content items to be unpublished later, choose a future date and time and click the Schedule button.
- Check the number of content items in the confirmation message and click the Yes, unpublish button or the Yes, schedule button.
And that’s it, you’ve unpublished multiple content items simultaneously.
Change workflow stage to
In some cases you might want to change the workflow stage of multiple content items, for example, when you’ve created a batch of content items and need to move them to the Review stage. You can do this by following the steps below.
- Choose the content items in the content item list for which you want to change the workflow stage.
- Click the icon to Change workflow stage to.
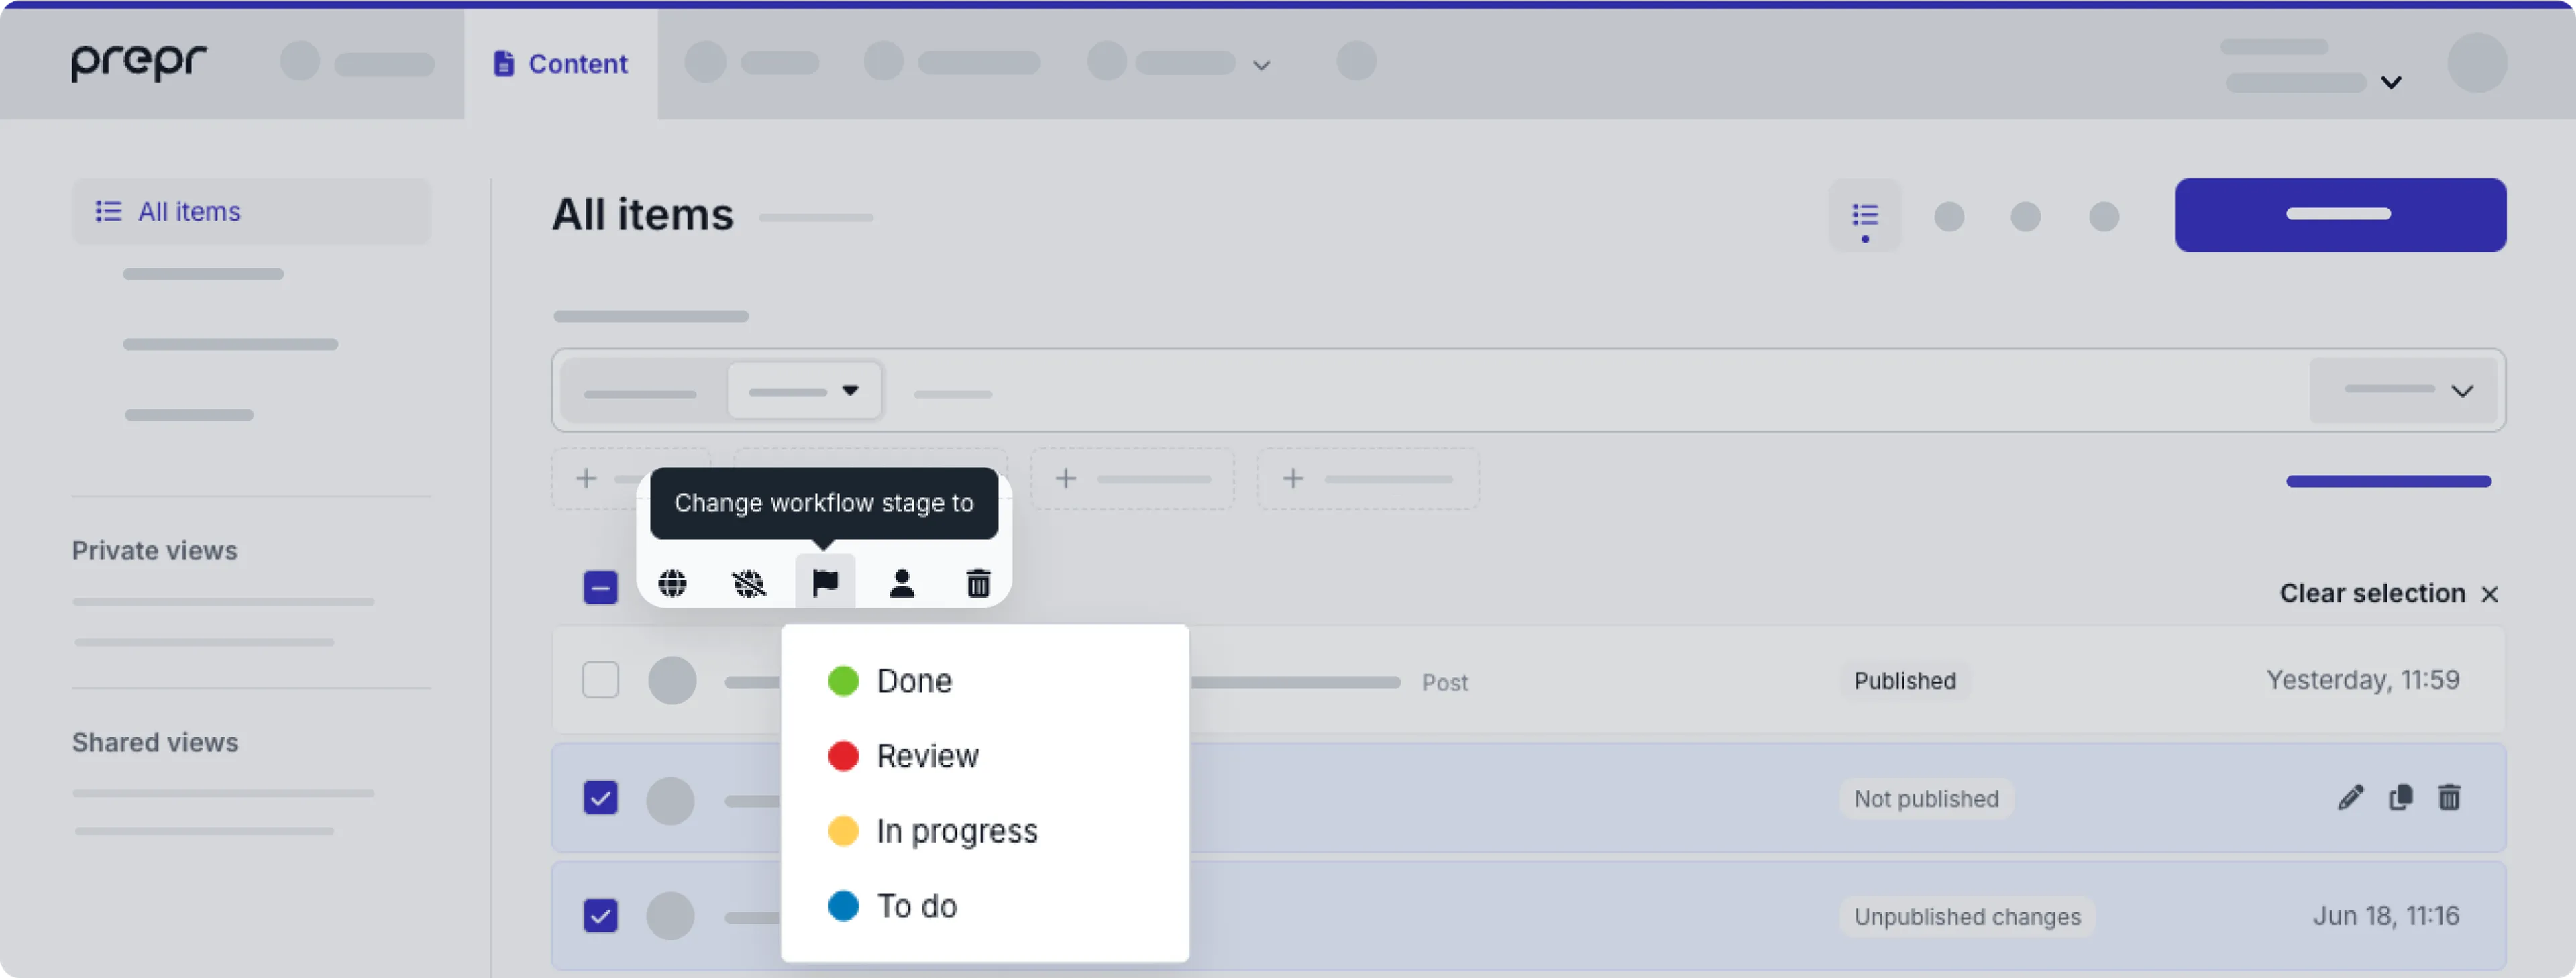
- Choose your desired stage, for example Review from the drop-down list.
And that’s it, you’ve change the workflow stage for multiple content items simultaneously.
Assign to
In some cases you might want to assign multiple content items to the same user, for example, when you’ve created a batch of content items and need someone to review them. You can do this by following the steps below.
- Choose the content items in the content item list you want to assign.
- Click the icon to Assign to.
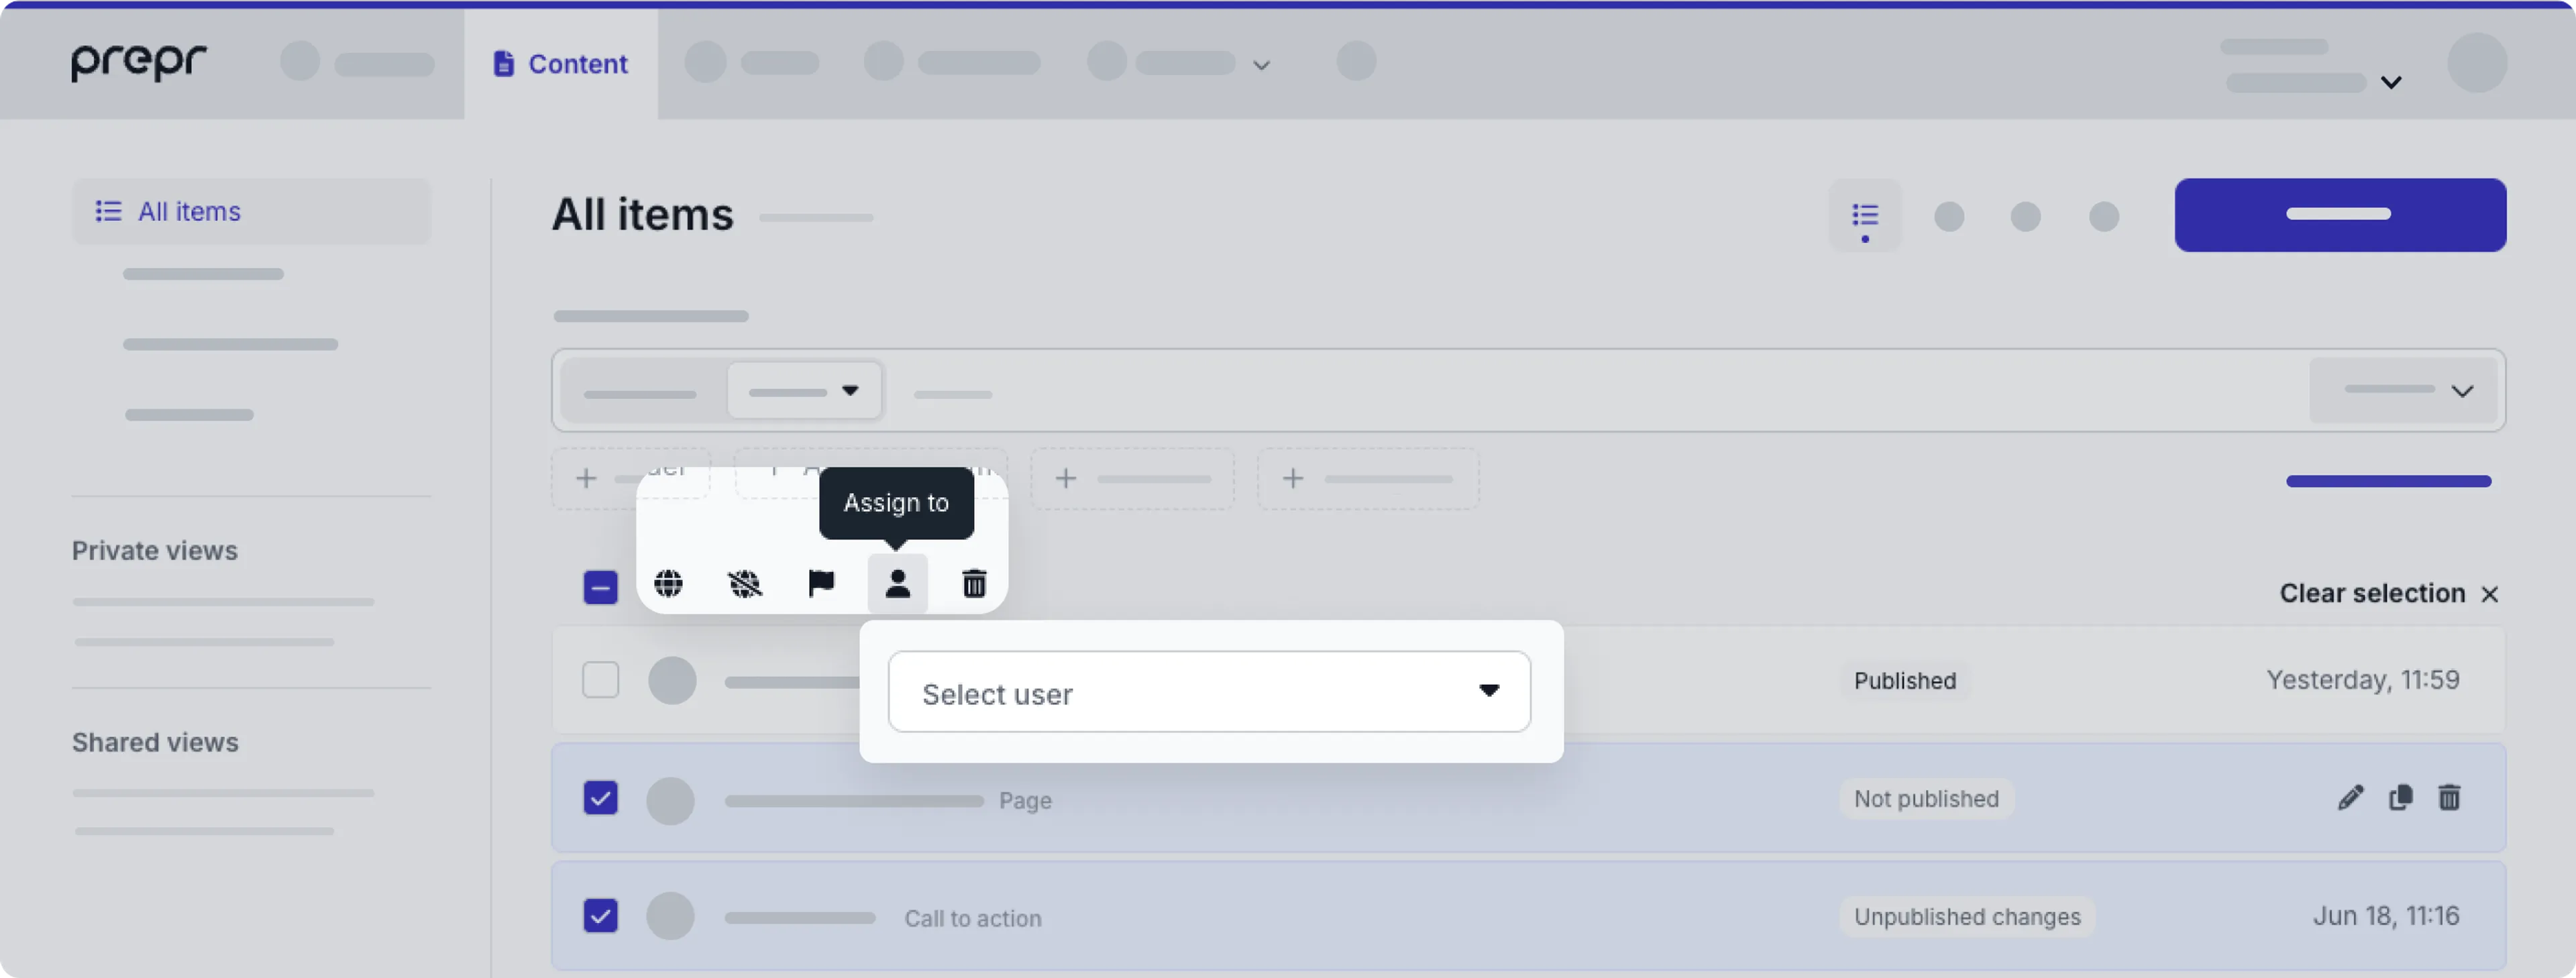
- Choose the user from the drop-down list.
And that’s it, you’ve assigned multiple content items to a single user simultaneously.
Export to
In some cases it’s necessary to export content from one environment to another, for example, when you want to do system testing in your development environment with realistic content from the production environment.
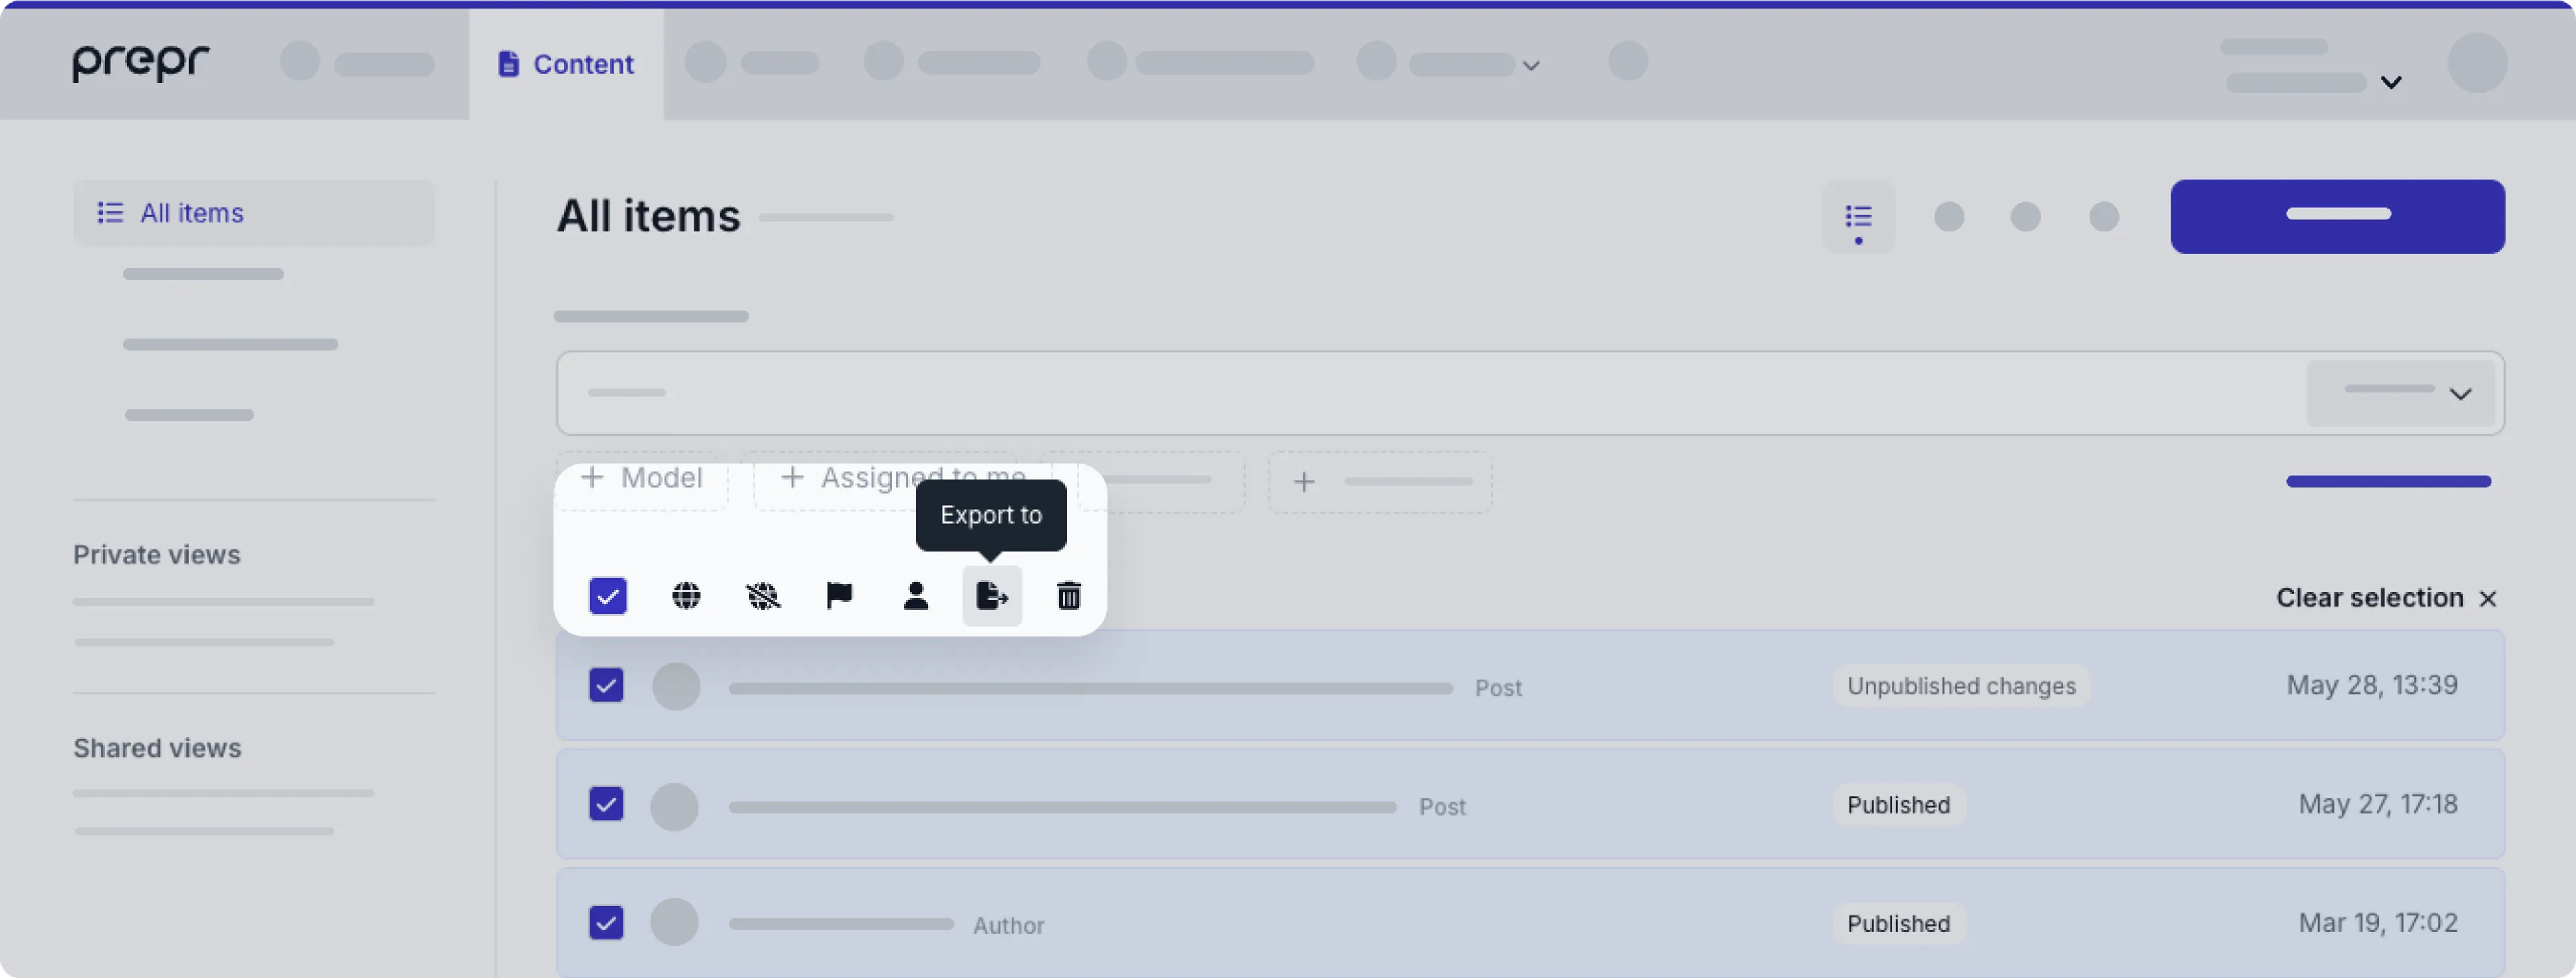
You won’t see the action in the list of bulk actions if you don’t have access. This action is usually part of an overall CI/CD process and requires special permissions. Check out the Syncing content doc for more details.
Share
You can share multiple content items with specific users by following the steps below.
-
Choose the content items you want to share with a user, by hovering over each content item and clicking each checkbox.
-
To select all content items, click the icon at the top of the list.

-
Click the icon at the top of the list to share all the selected content items.
If you don’t have access to the icon, contact our Sales team for more details.
-
Choose the user you want to share the content items with.
Once shared, the user you selected will see the content items in their content item list.
When users don’t have access to a linked content item, they can directly request access to view or edit it in the content page.
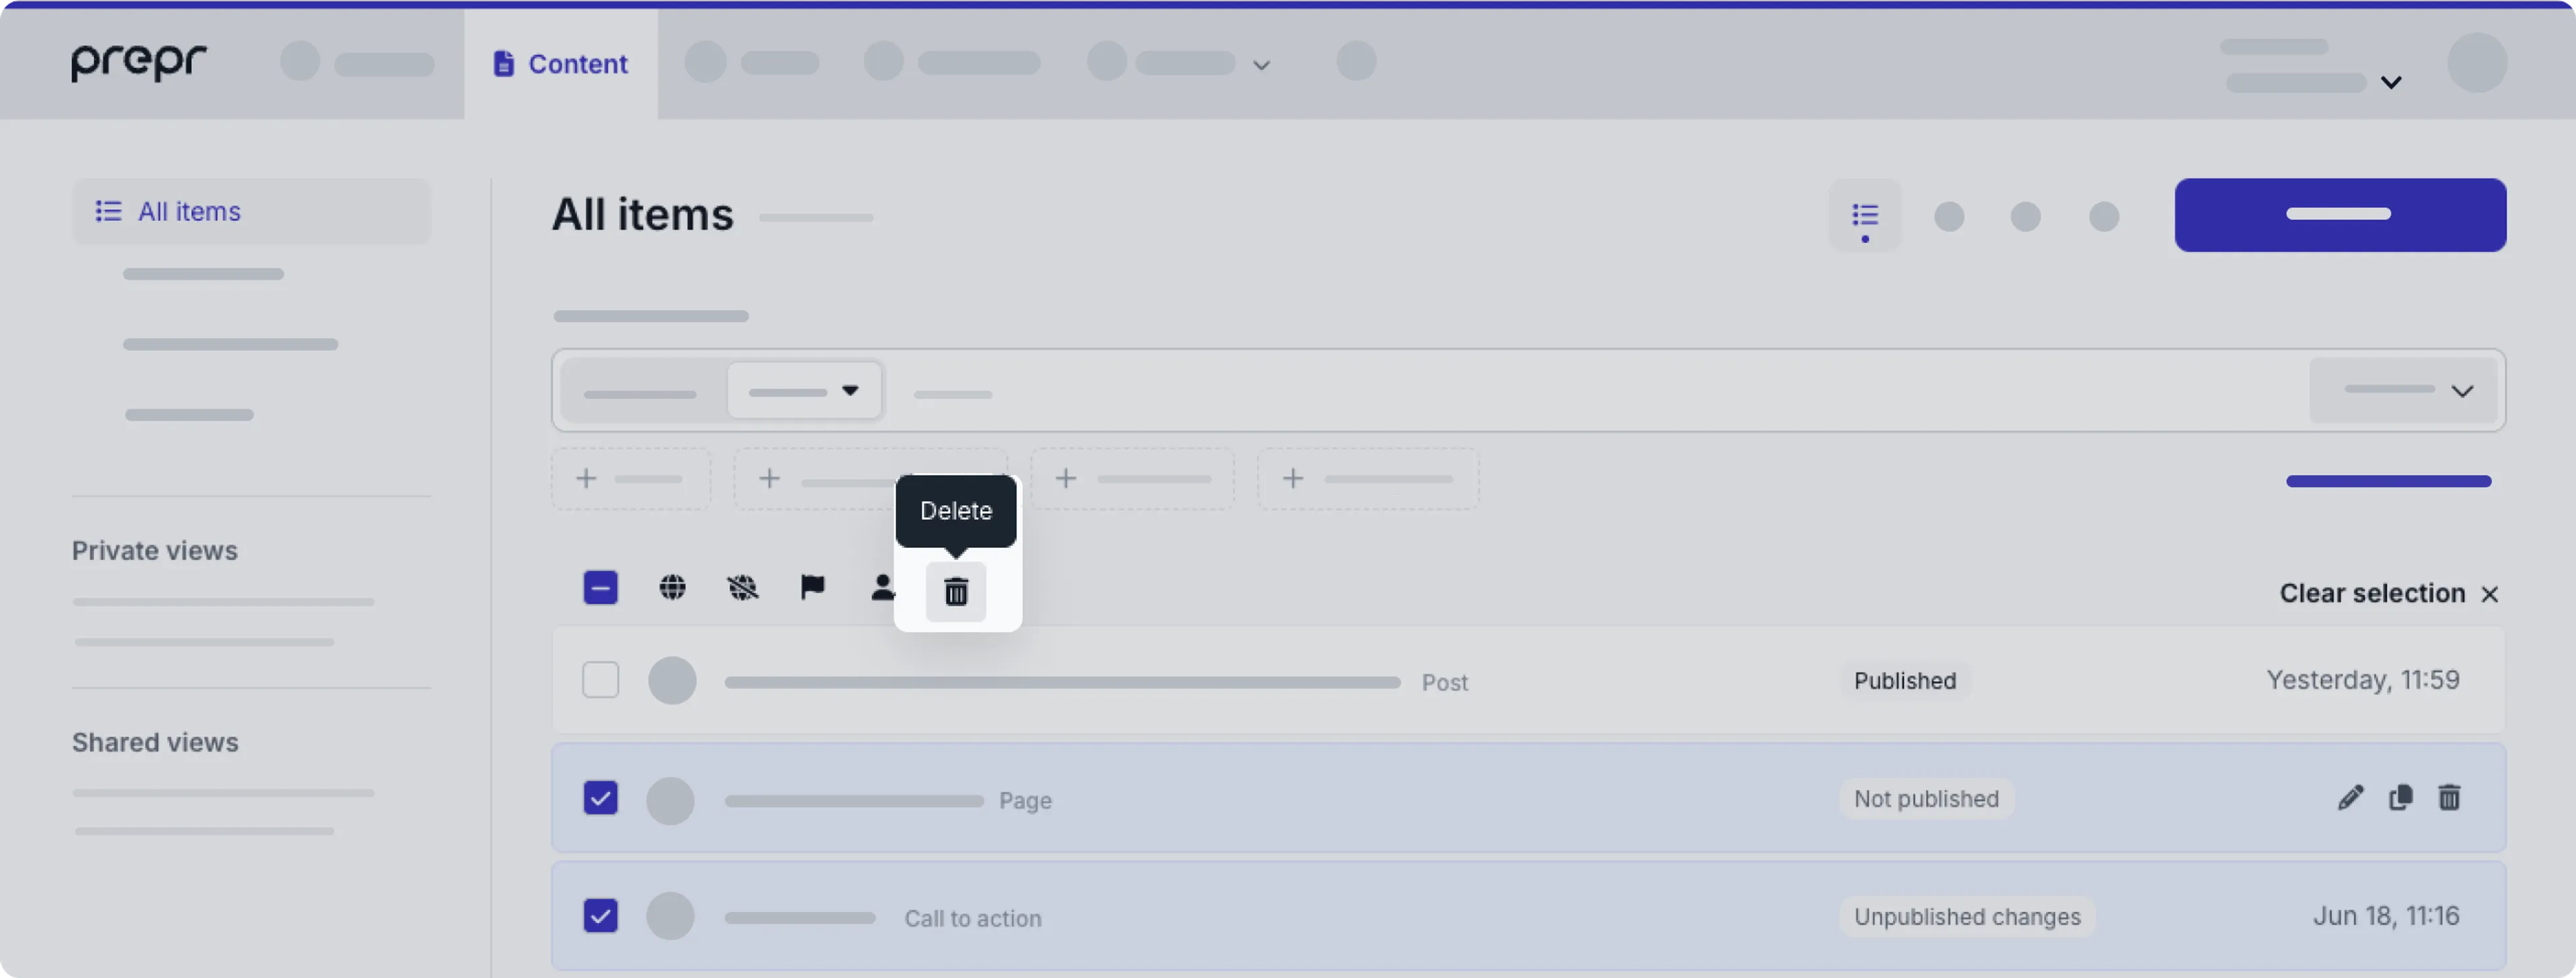
Delete
To delete multiple content items at once follow the steps below.
- Choose the content items you want to delete, by hovering over each content item and clicking each checkbox.
- To select all content items, click the icon at the top of the list.
- Click the icon at the top of the list to delete all the selected content items.
- In the pop-up window, click Delete again to confirm the action.
Find your content items
There are several features listed below to help you find your content items easily.
Layout options
You can use one of the layout options at the top of the Content page to find content items easily depending on your needs.
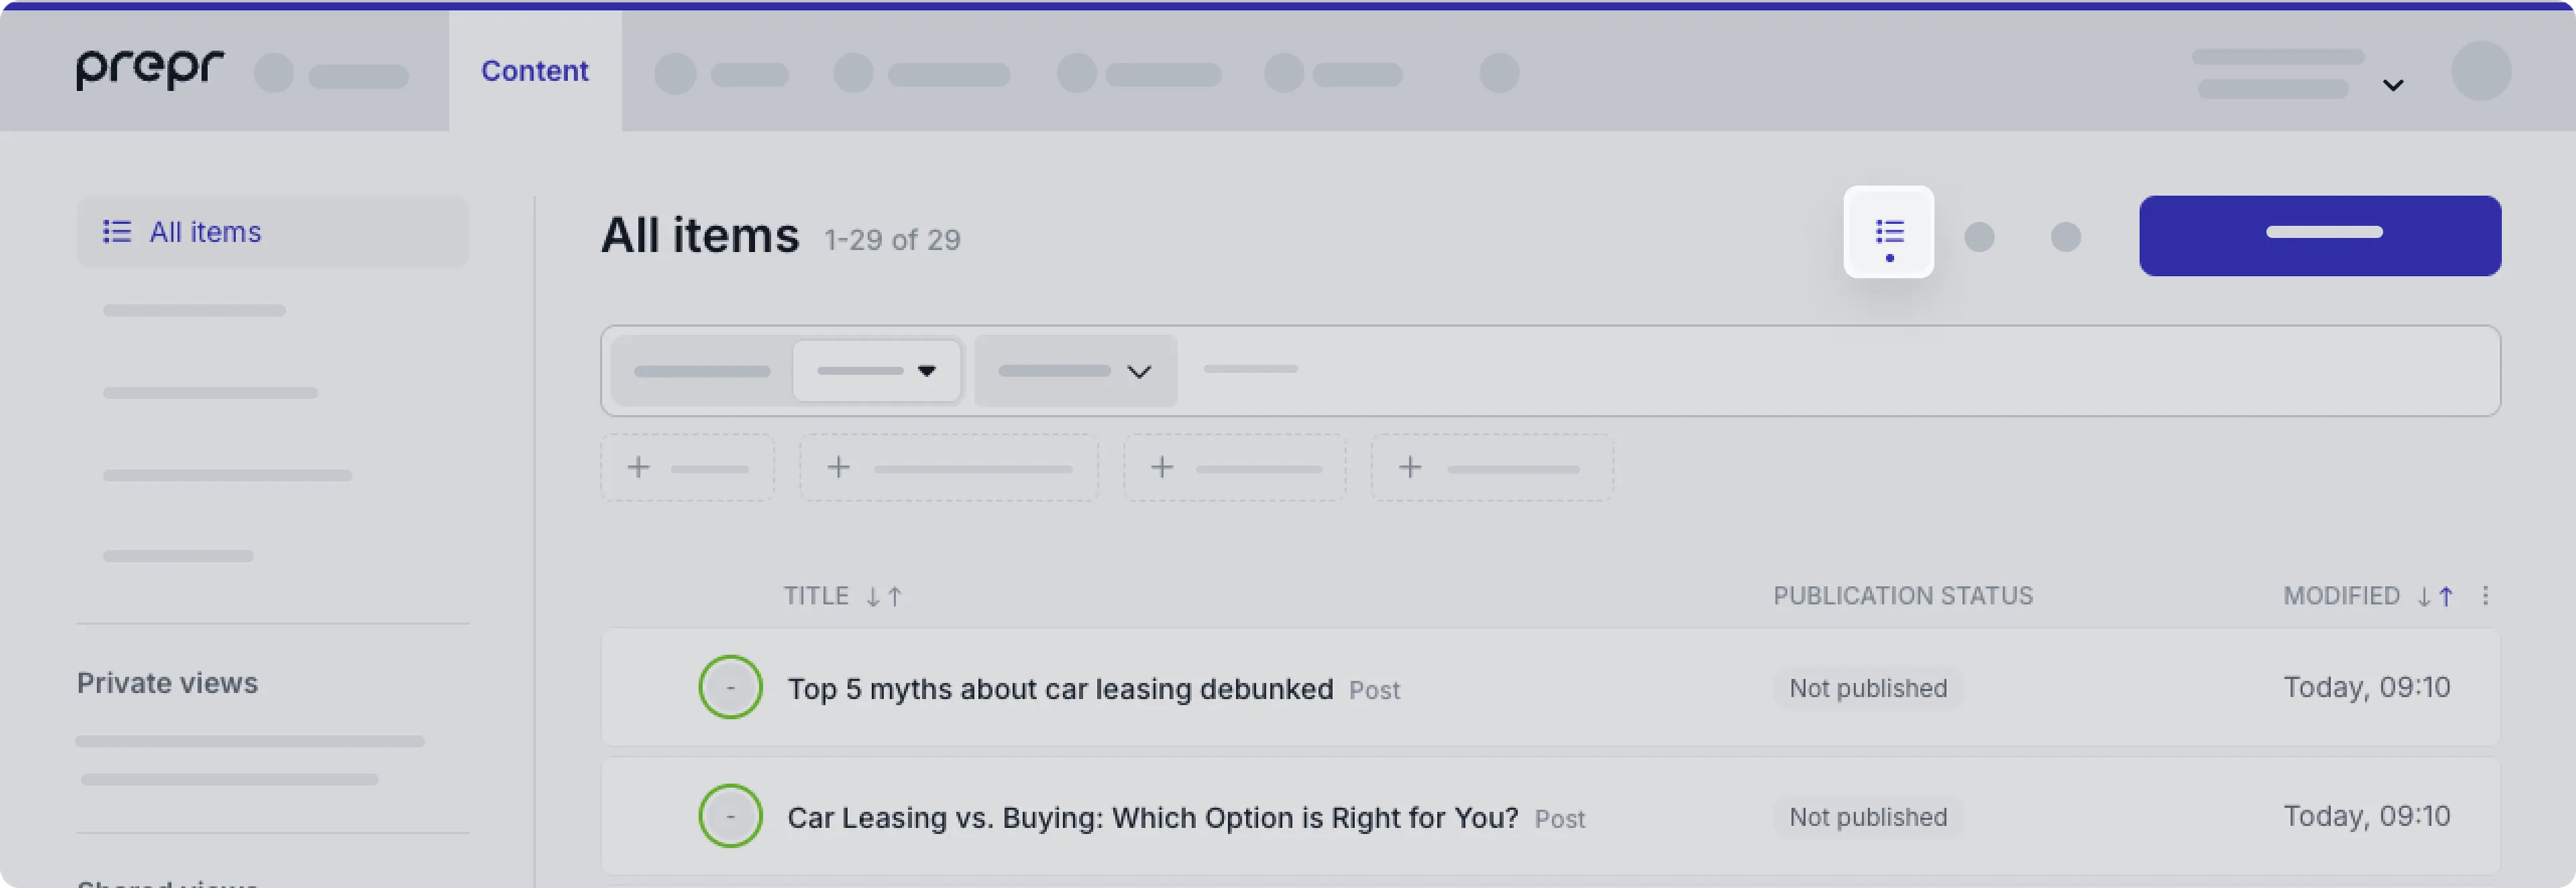
List
When you go to the Content tab, the List layout opens by default to show a complete list of all of your content items. You can filter the content items to narrow down the list.
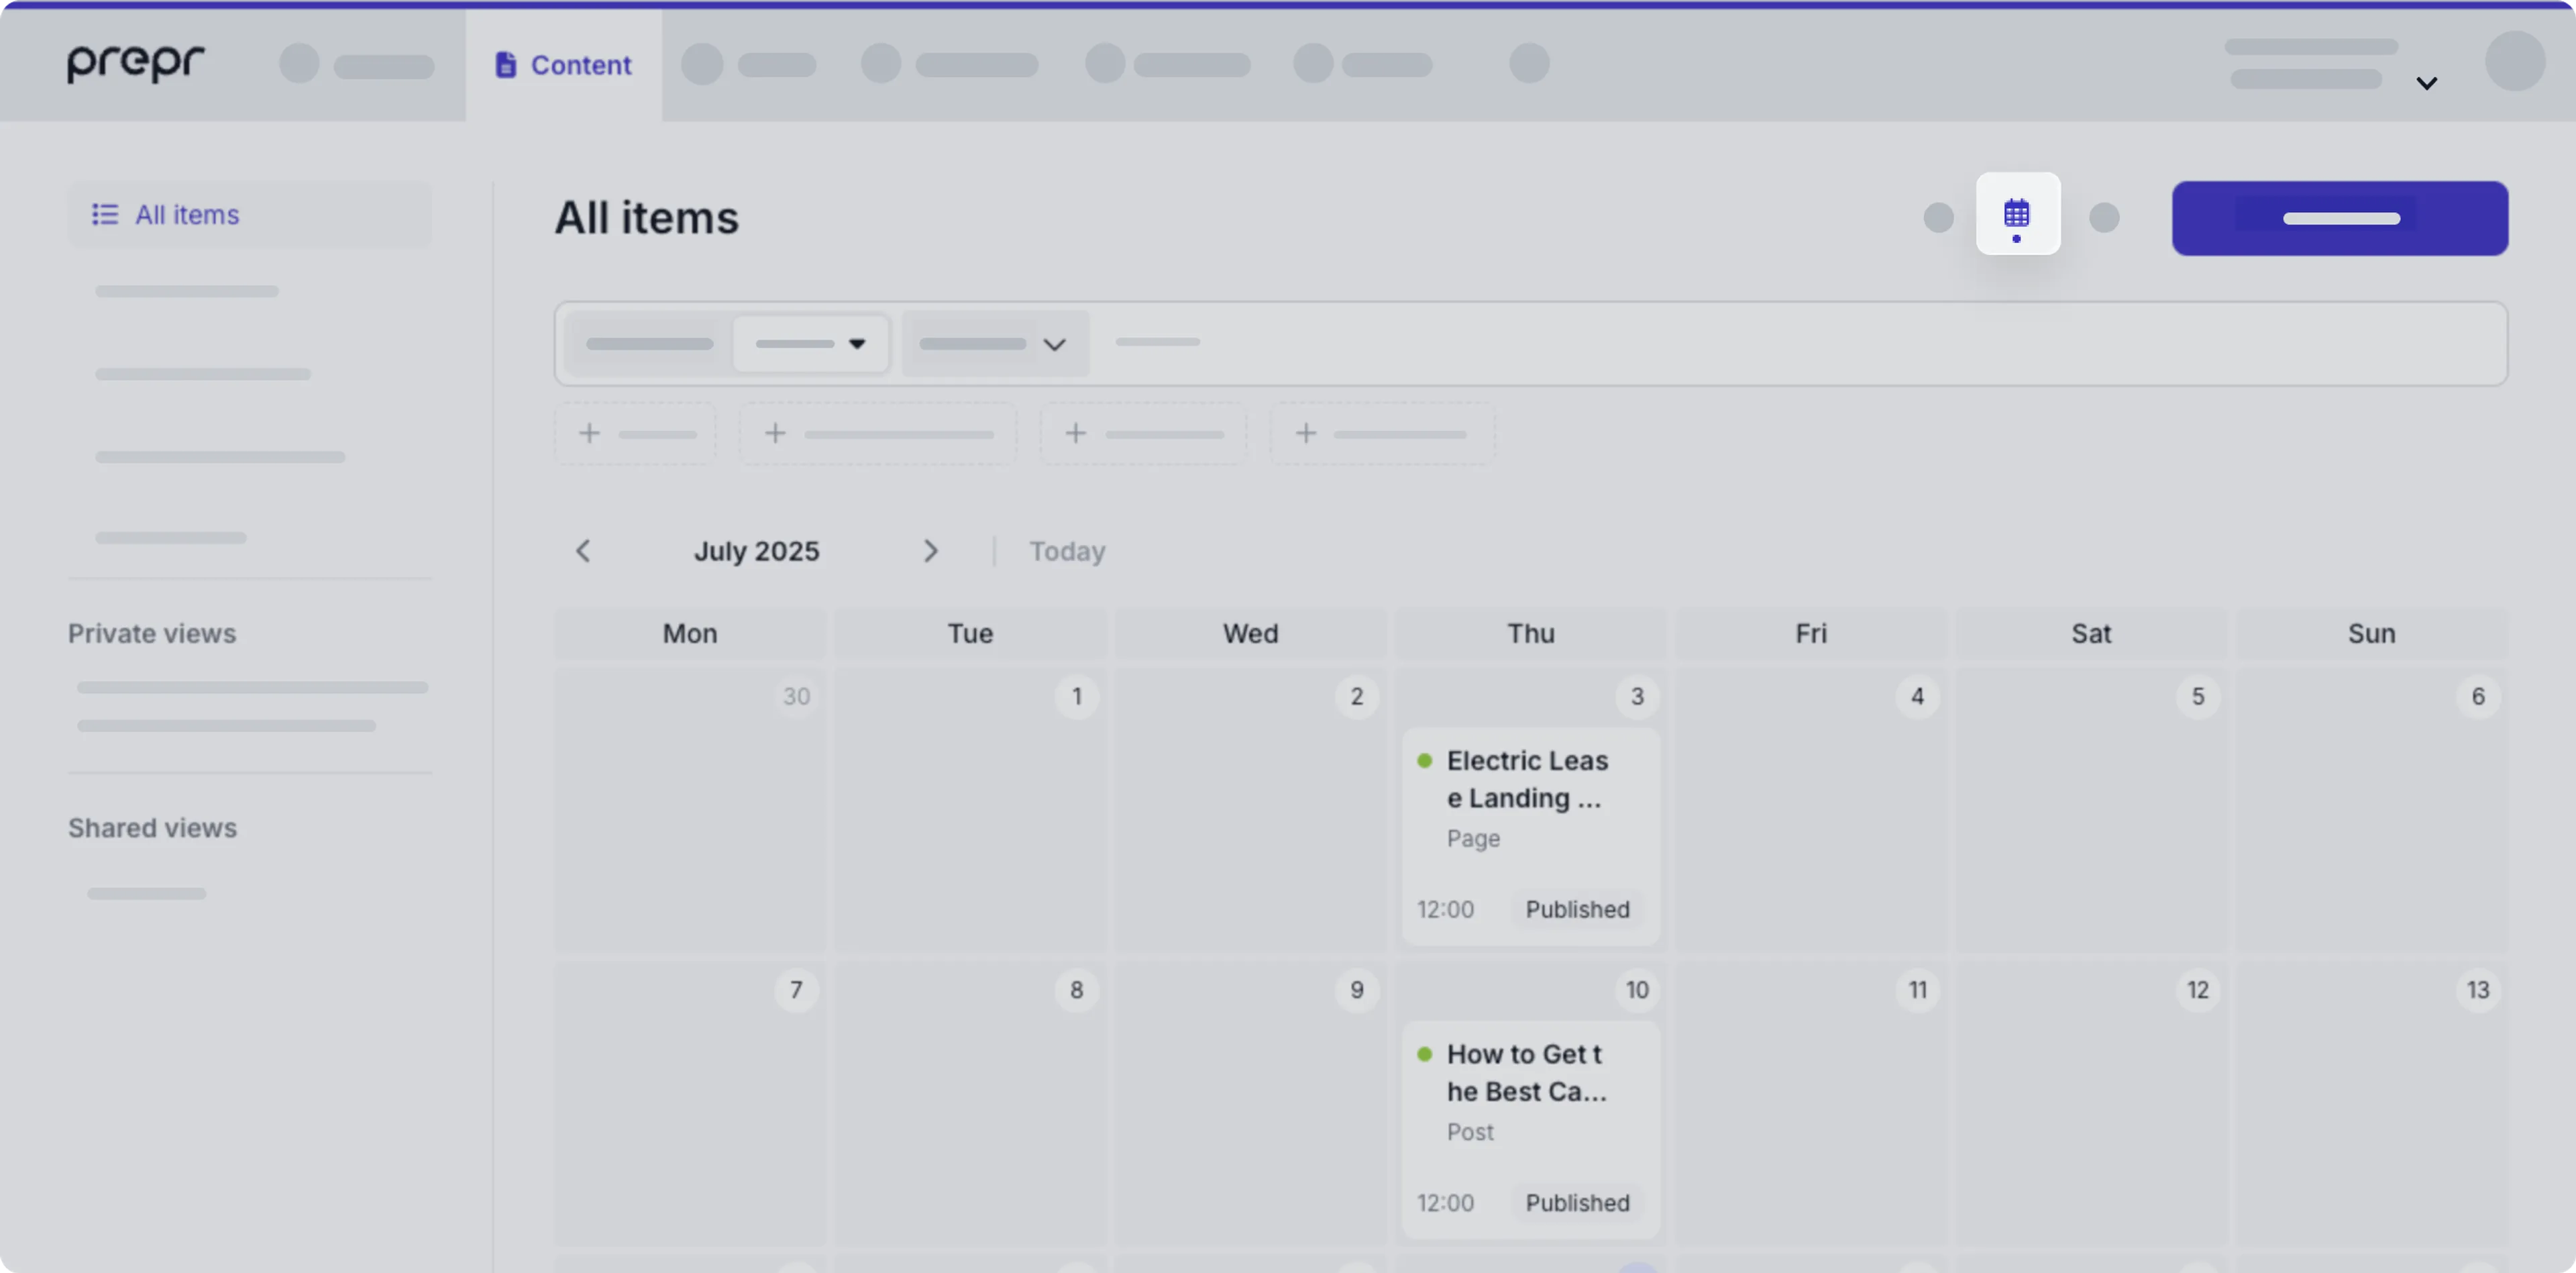
Calendar
Click the Calendar icon to get a clear visual overview of all your scheduled items to help you plan upcoming articles or campaigns to avoid overlap.
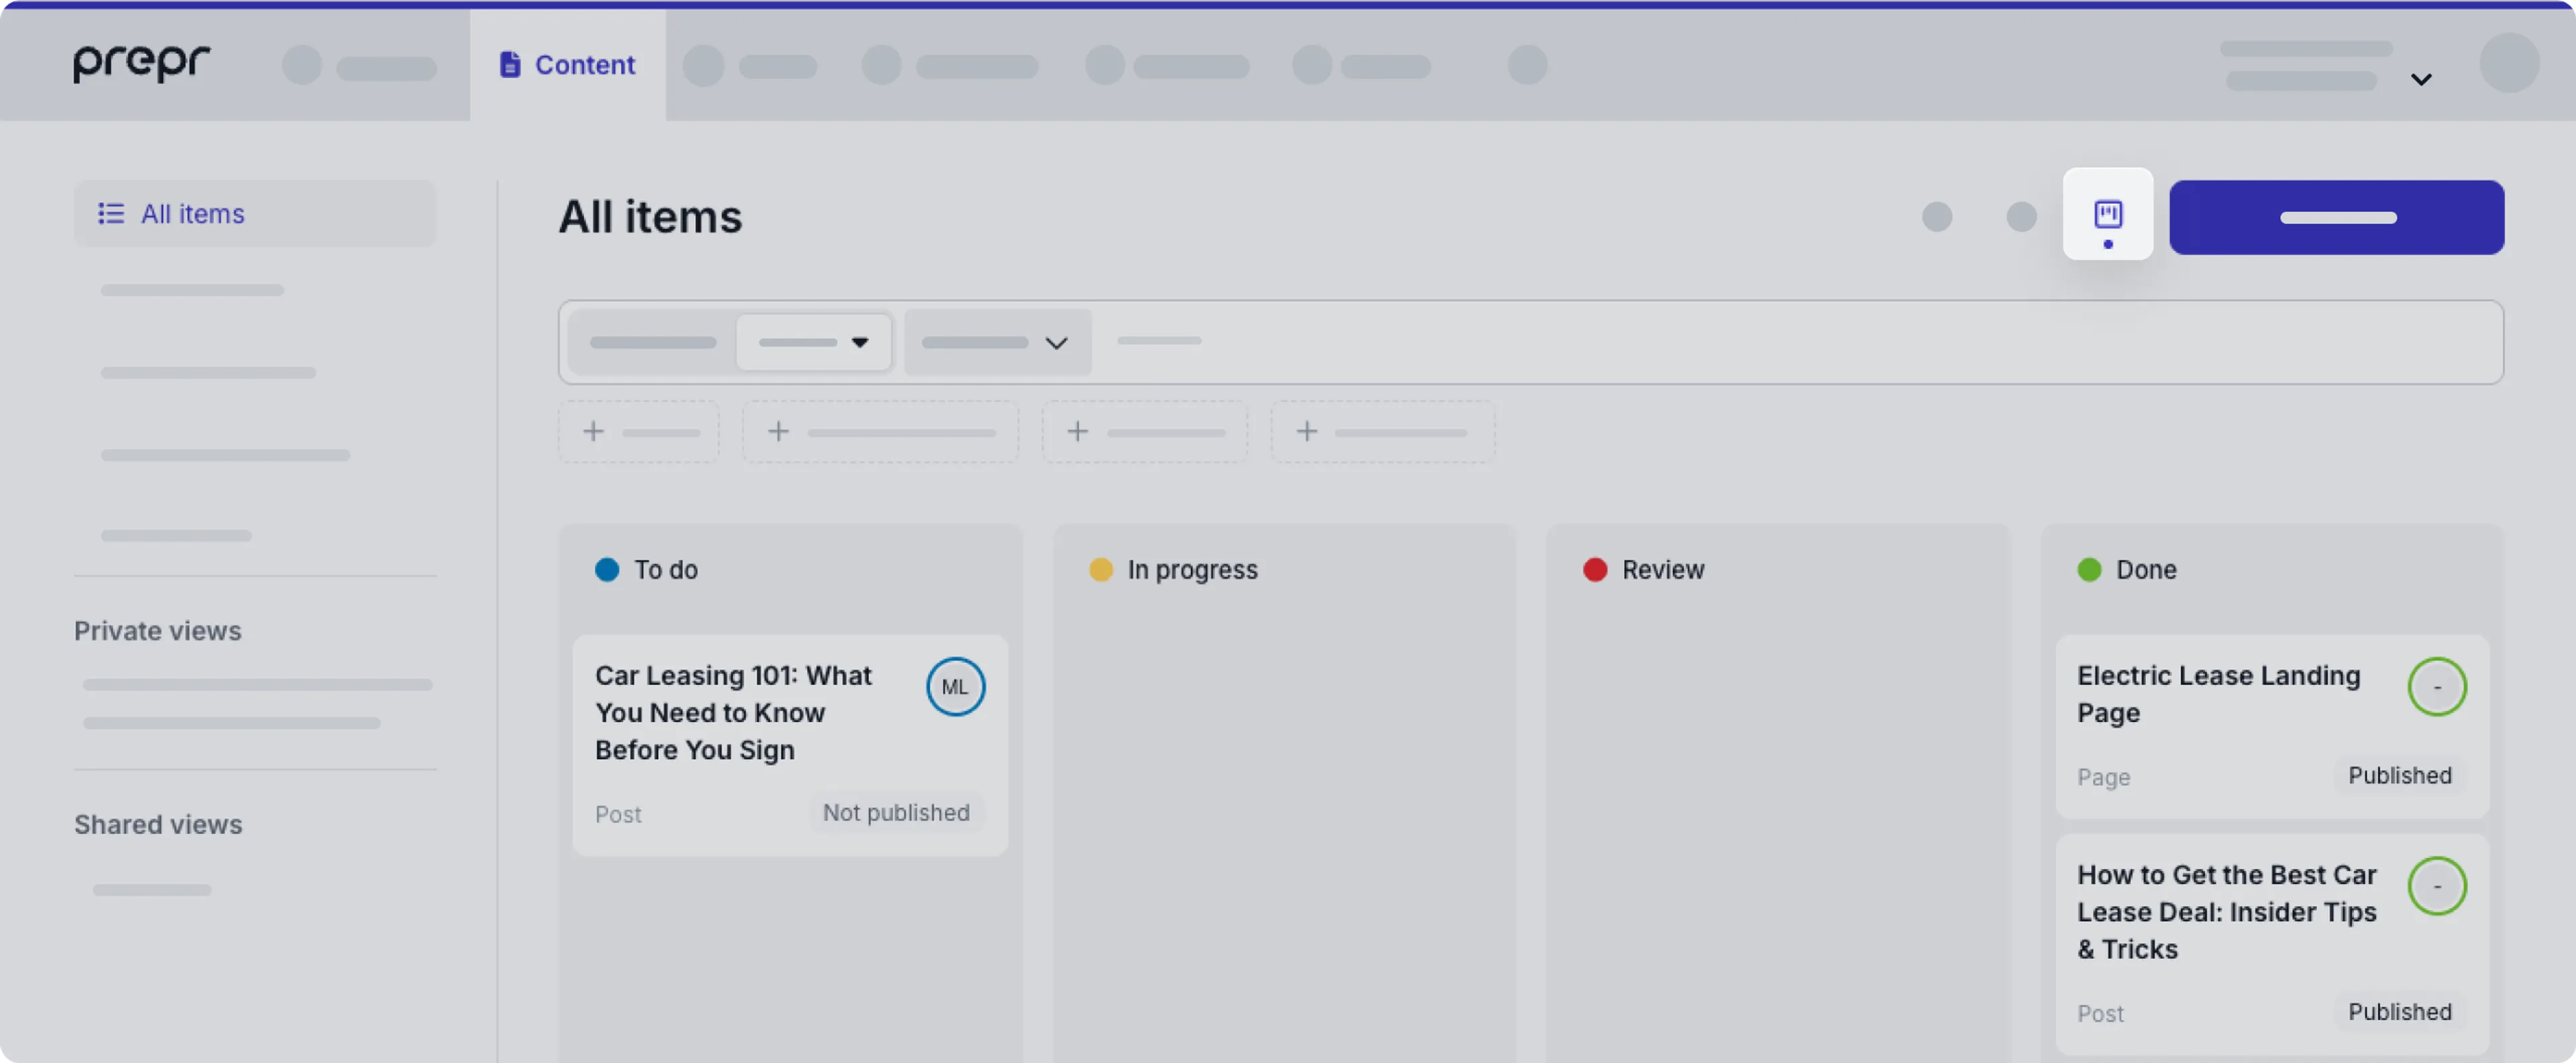
Kanban
Click the Kanban icon when you want to see a clear overview of content items by their status.
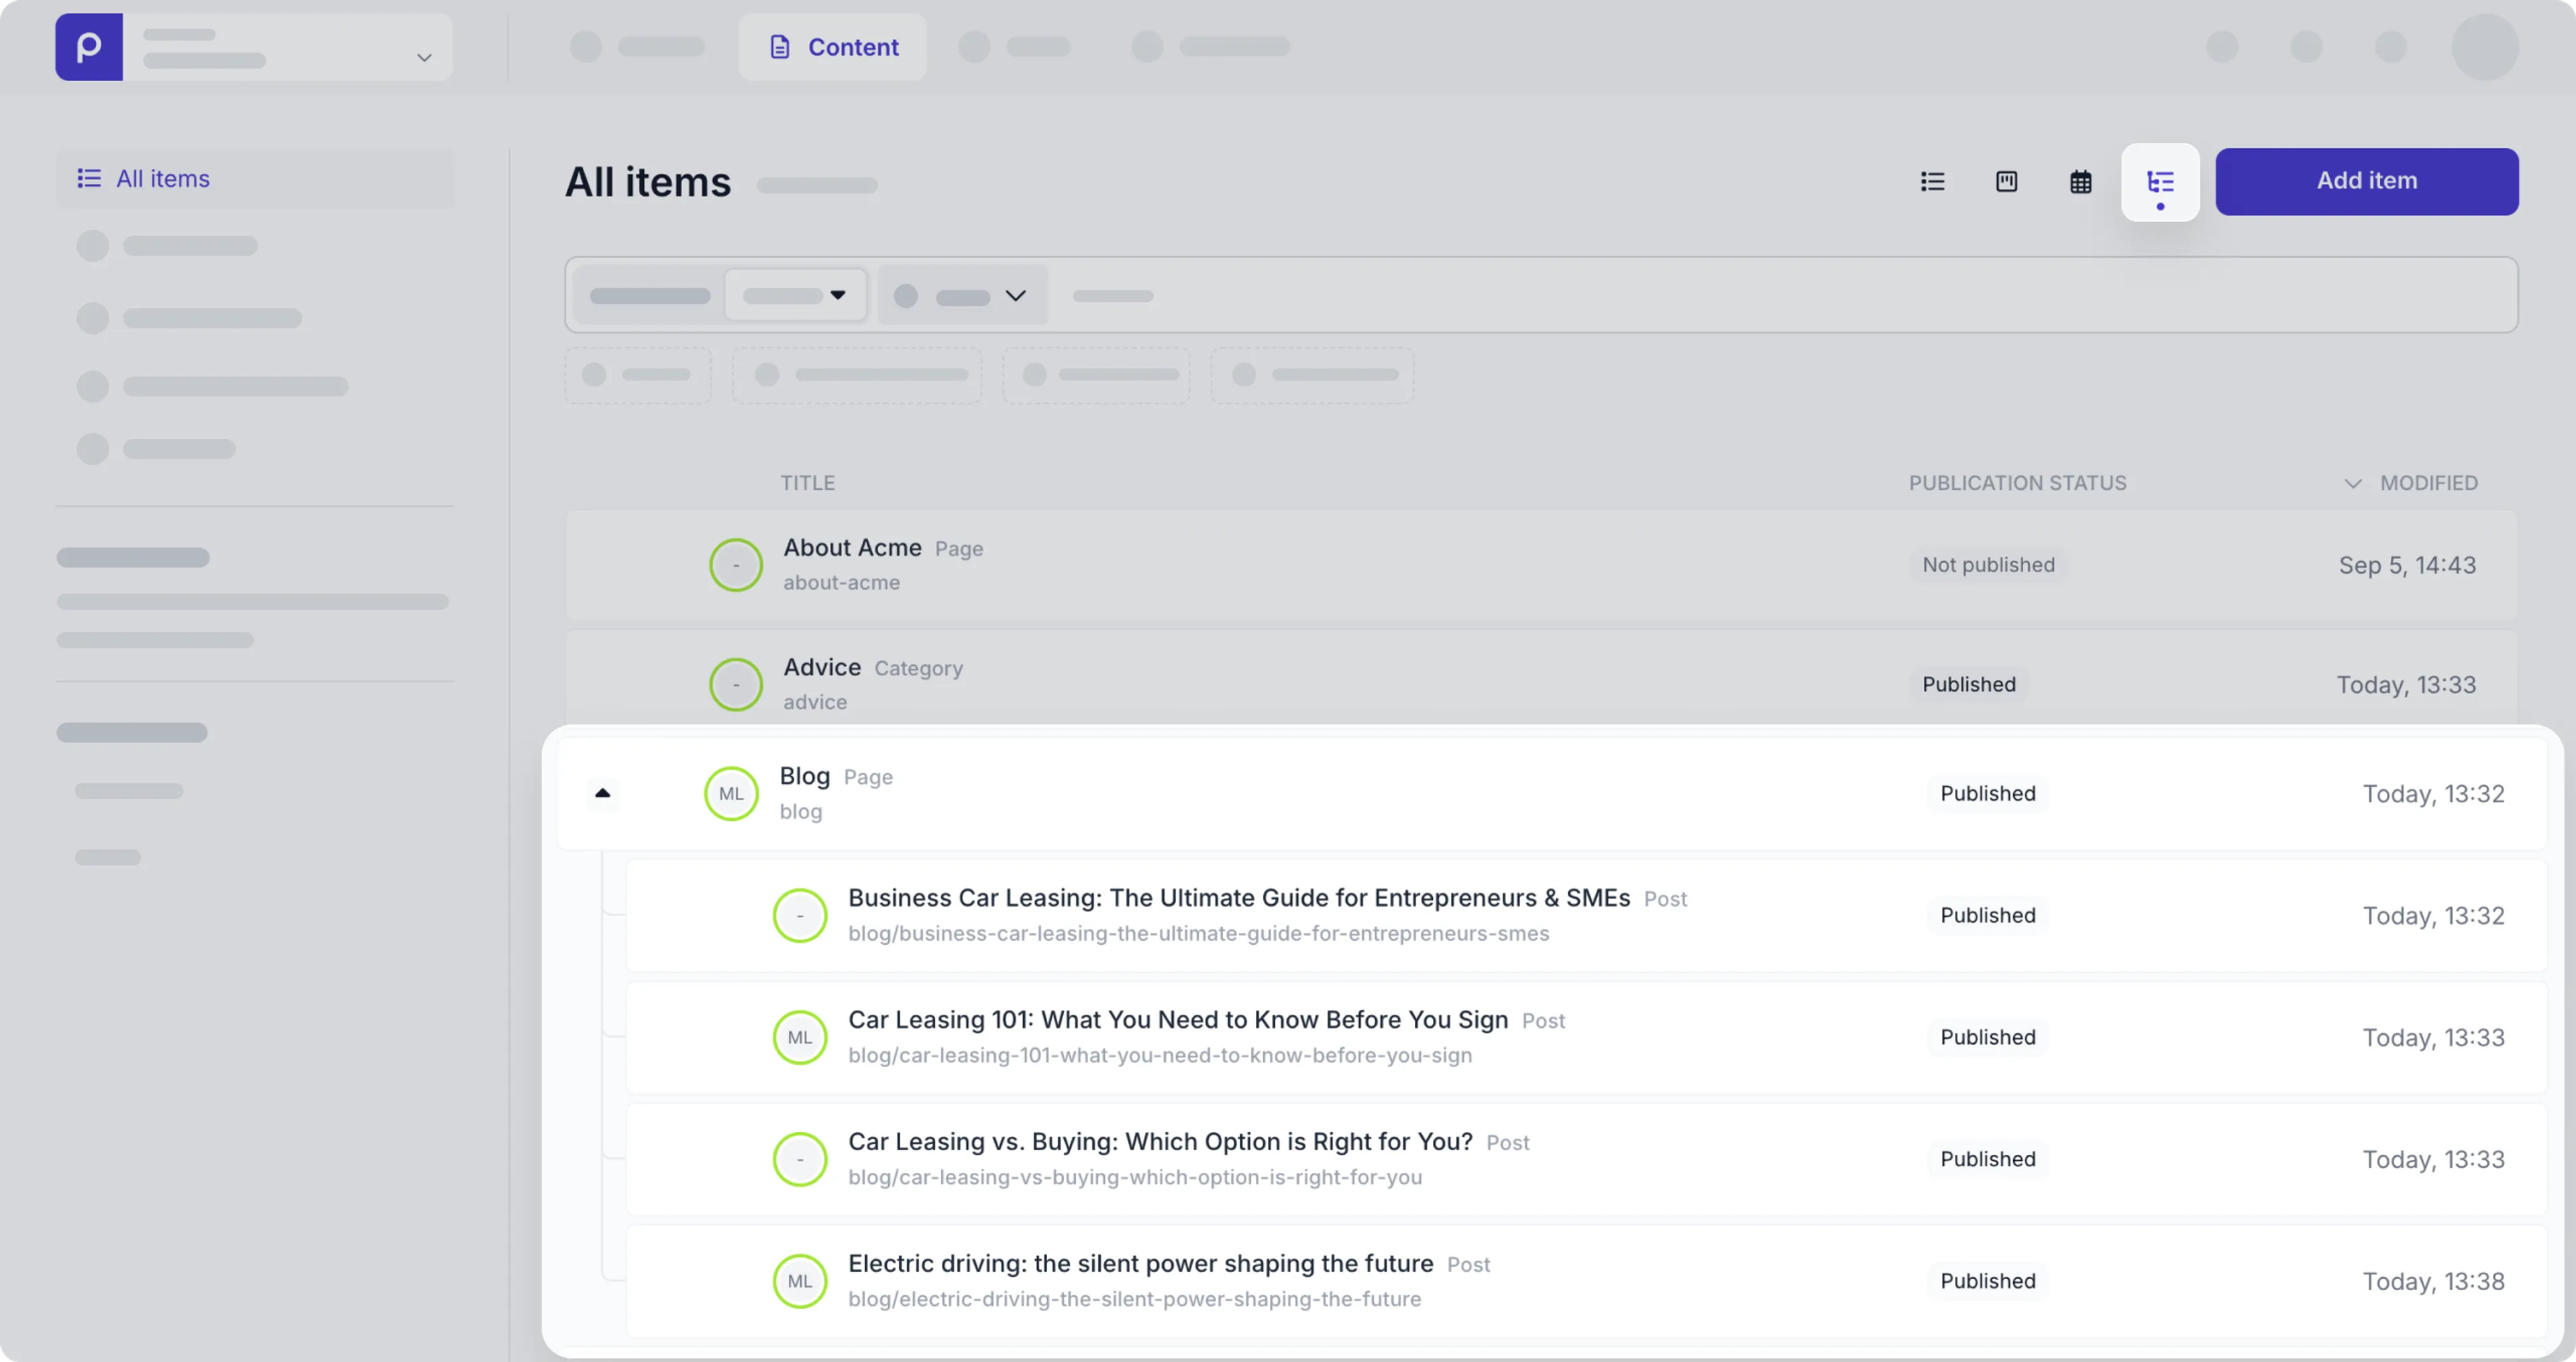
Content tree
Click the Content tree icon when you want to see an overview of the relationship between content items in a tree-like hierarchy. The content tree is based on the slug value of content items.
The content tree is only meaningful when the slugs are defined consistently for all content items.
For example: The blog overview page is a parent content item and has the slug value blog, while all individual blog articles are child items and have slugs like blog/article-name.
If the content tree layout is not visible, request an admin user to define the parent slug format.
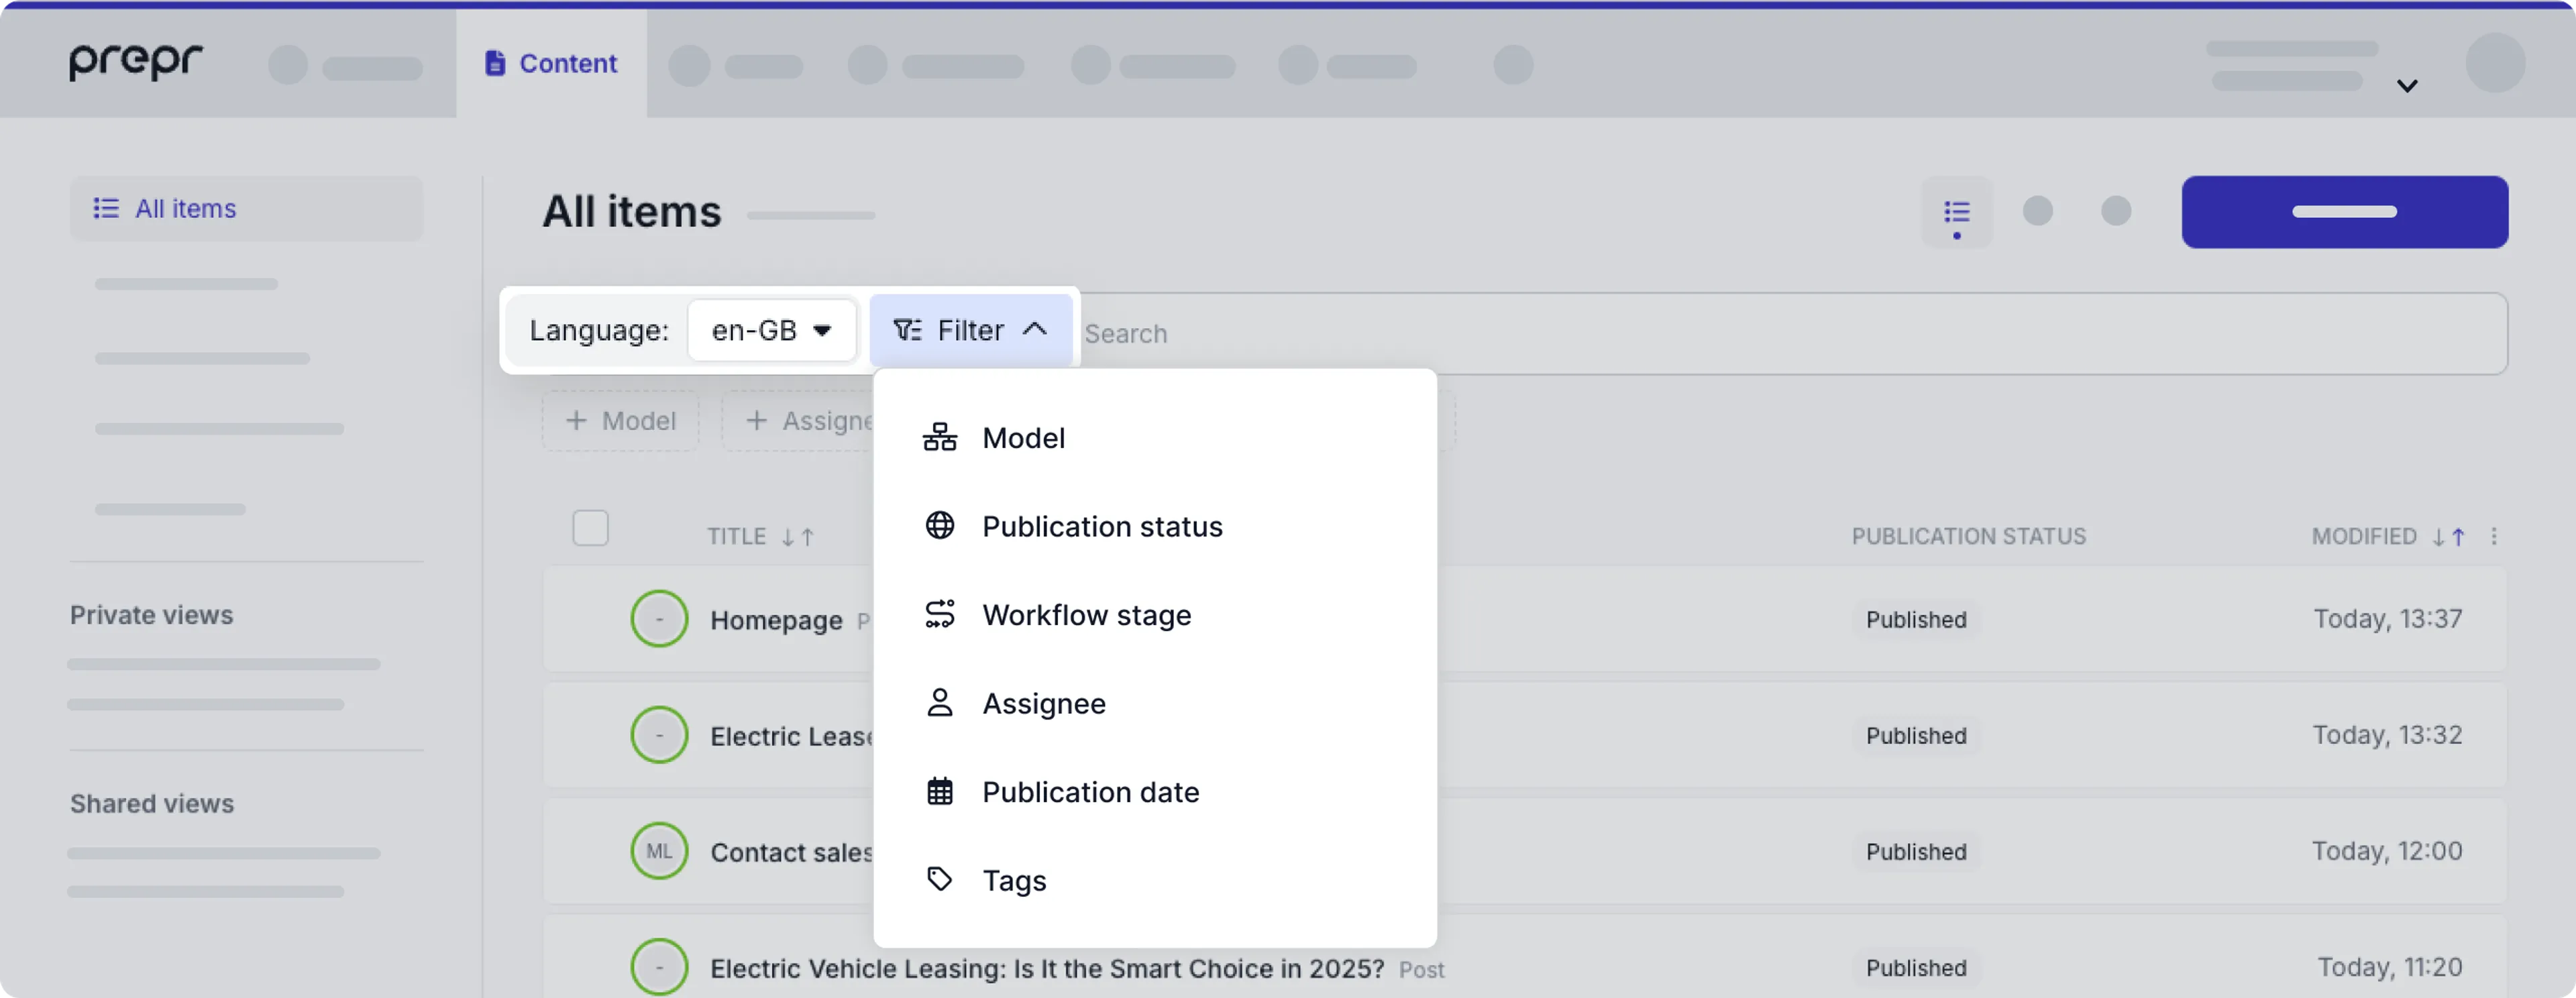
Filter options
Prepr makes it even easier to filter precisely the content you’re looking for with Advanced Content Filters. You can choose multiple filters to narrow down your search for specific content items. See the complete list of filters below.
Locale
You can filter content items by a specific locale, for example, en-US to select the list of American English versions of content.
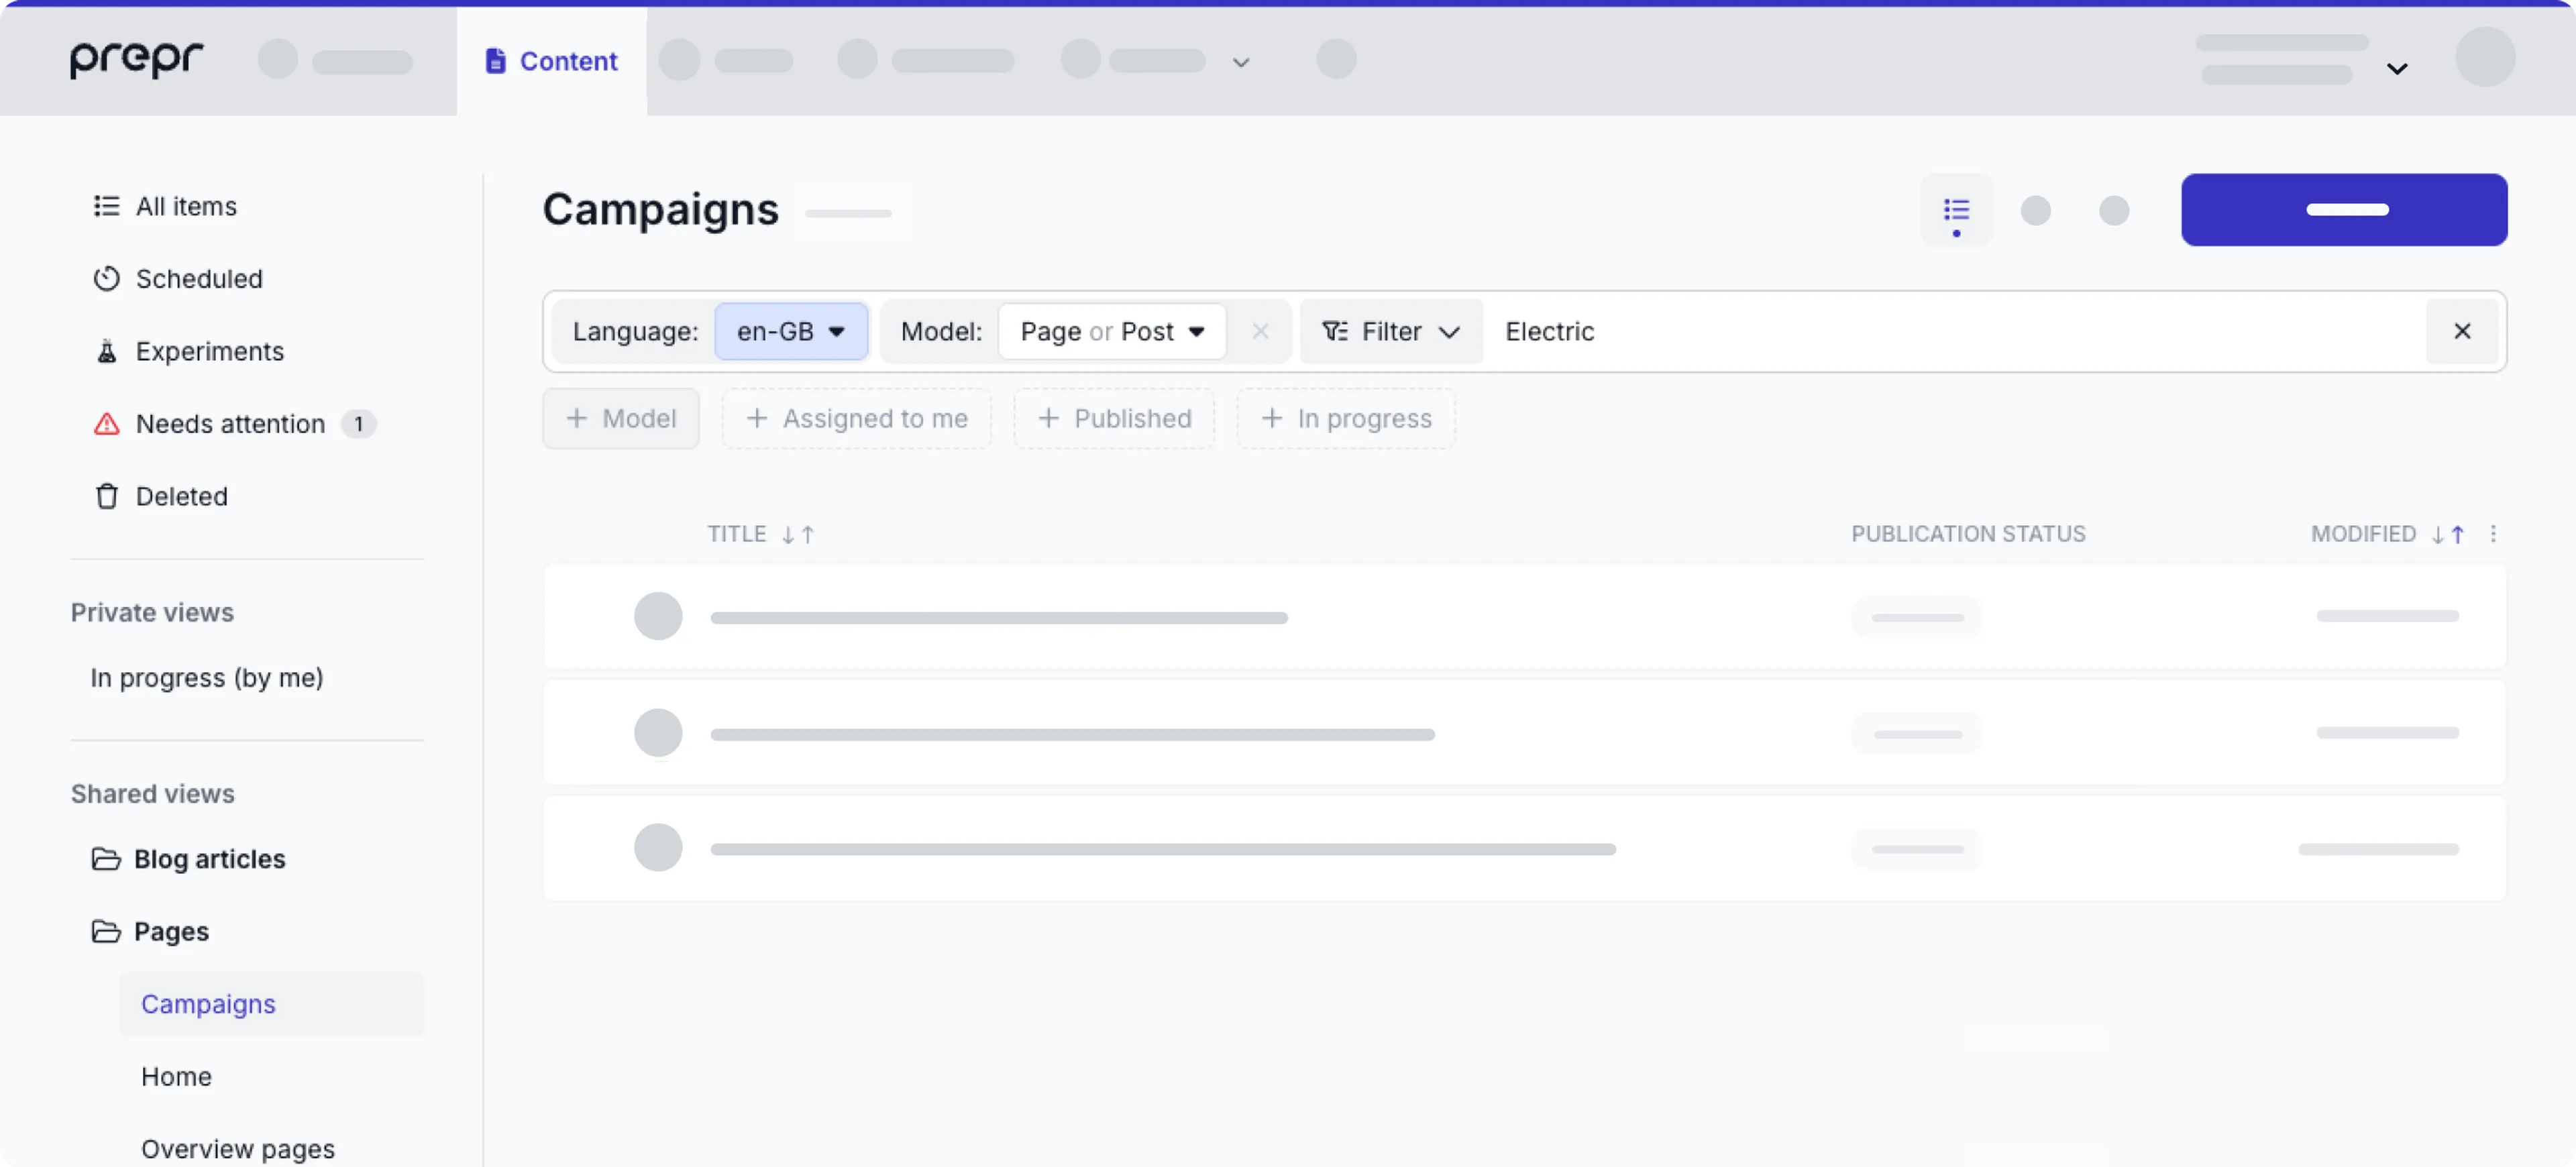
Model
You can filter your content by one or more models. For example, to only list the blog posts or to view a list of pages and blog posts.
- Supporting model - When you choose a model, additional filters are available for all supporting models. You can choose from a list of models that are defined as content references, for example, the Category of the Car model.
- Stack - When you choose a model, additional filters are available for any stack fields defined in the model. The filter name matches the name of the Stack field.
- Enumeration - When you choose a model, additional filters are available for any enumeration used in the model. The filter name matches the enumeration name, for example the Size for the Product model.
The Supporting model, Stack and Enumeration sub-filters are only available when you filter a single model.
Publication status
You can filter your content by one or more publication statuses. For example, to list published and scheduled content items. The possible filter values are Published, Scheduled, Unpublished changes and Not Published.
Workflow stage
You can filter your content by one or more workflow stages. For example, to list the content items that are in To do or In progress. The possible filter values are Done, Review, In progress, To do, and Archived.
Assignee
You can filter your content by one or more assignees.
Publication date
You can filter content items by selecting a date range, including future dates, for example, to filter items scheduled to be published in the future.
Tags
You can filter content items by one or more tags.
Views
You can see the list of views in the left sidebar of the Content page.
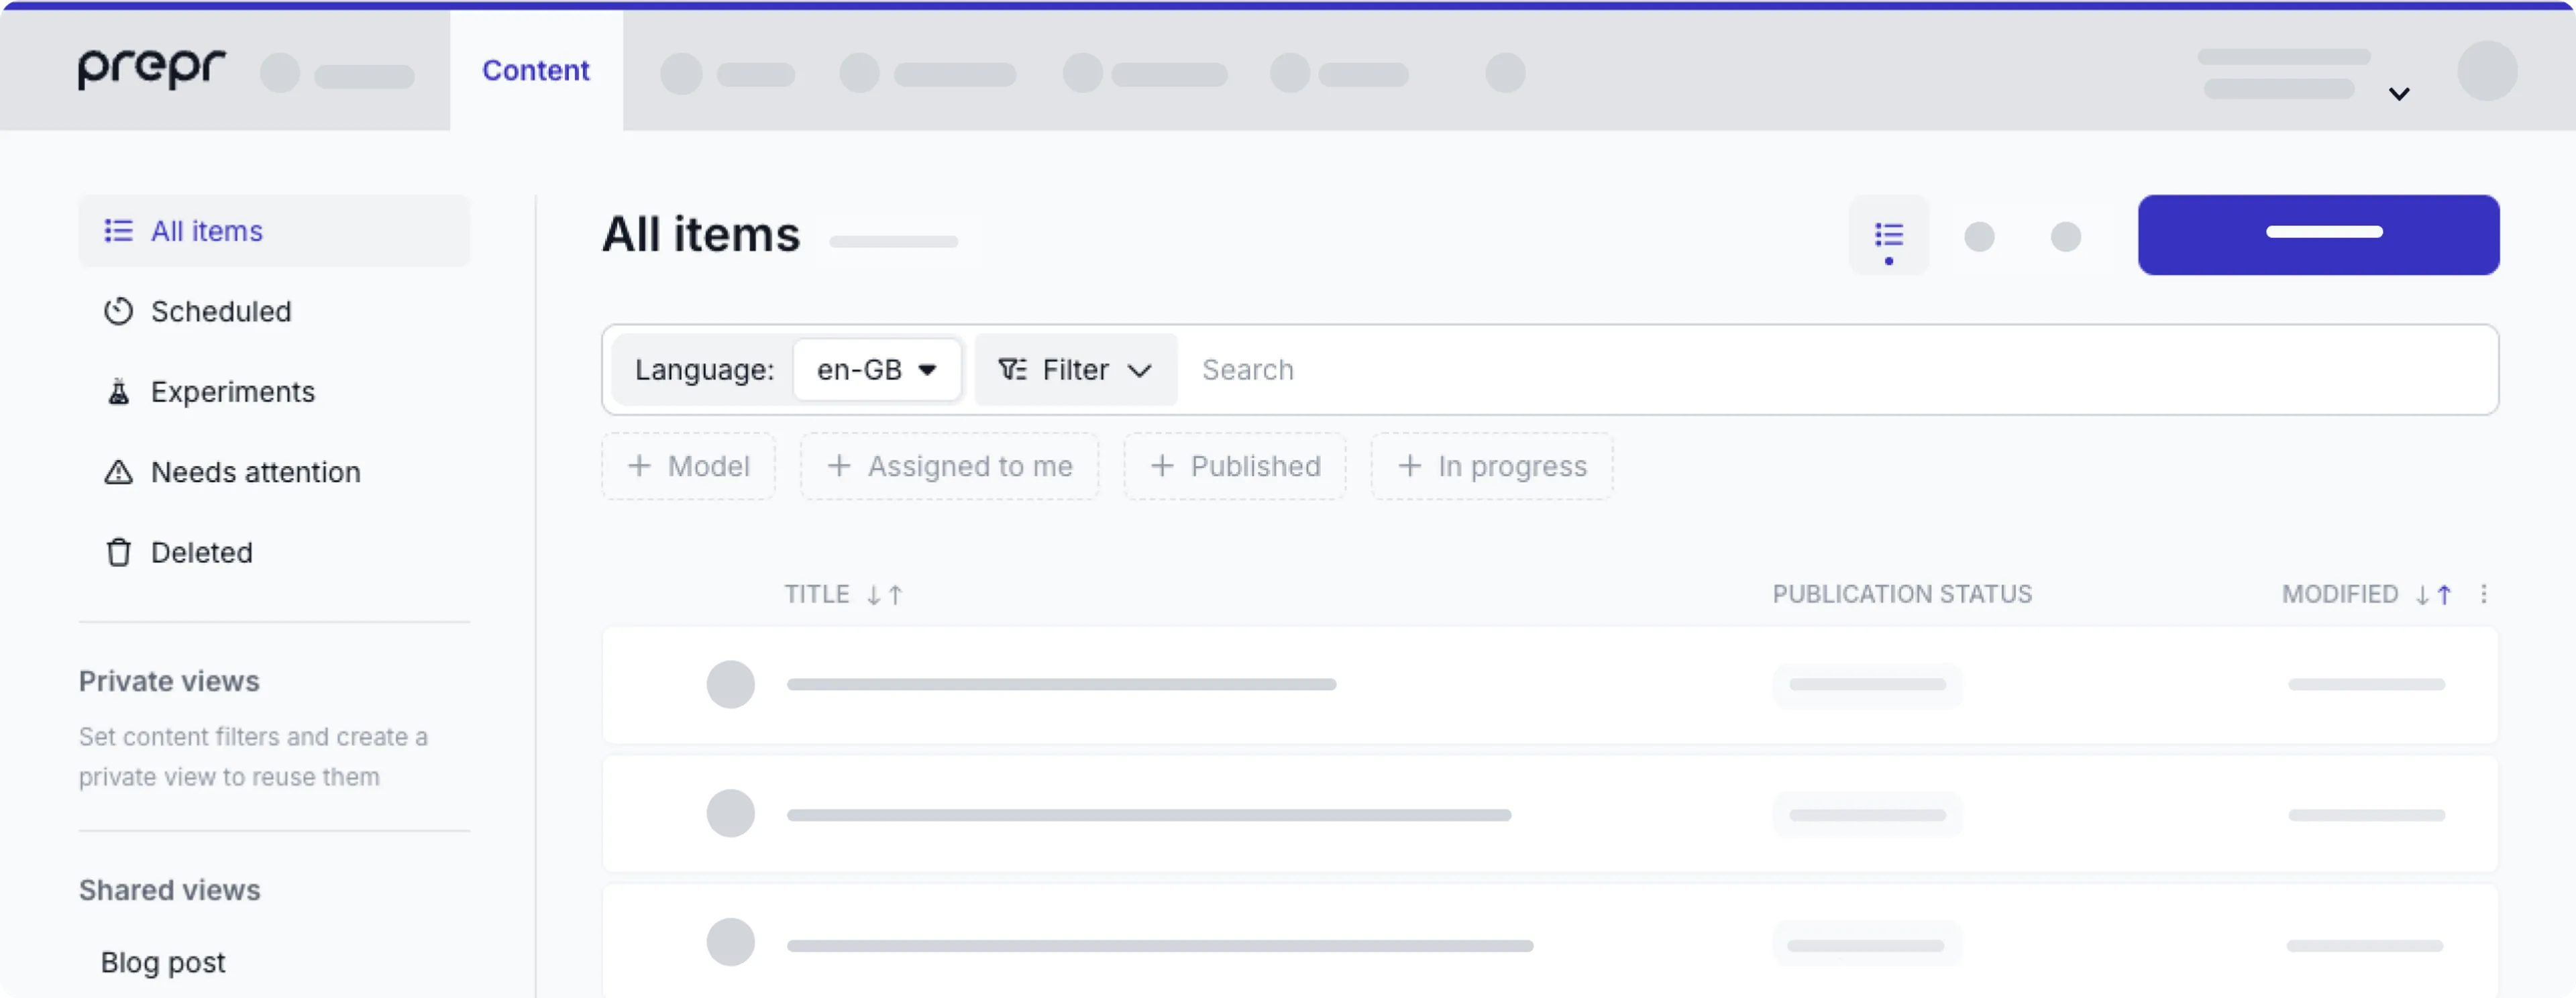
The following views are available out of the box and cannot be updated:
- All items - The default view of all content items without any filter criteria.
- Scheduled - The list of content items that are scheduled for a future date.
- Experiments - A view of all content items with adaptive content and A/B tests, in other words a complete list of all your experiments.
- Needs attention - The list of content items with broken links or could not be published. In this view, you can go to the relevant content
- Deleted - The list of deleted content items. In this view, you can recover content items that were deleted by mistake, for example.
Apart from these views, you can create your own Shared view or Private view. A Private view will only be visible to you, while a Shared view will be visible to all users of this environment.
When you’re viewing all content items and choose some filter criteria, these are retained for a session.
So the next time you visit the overview of the content items, the last selected filters will be active.
If you often use the same filters in your Prepr environment, you can save these as a view. Make the filter selection and click the Save as new view link.
Give the view a name and save it. You can also group similar views by moving them into folders.
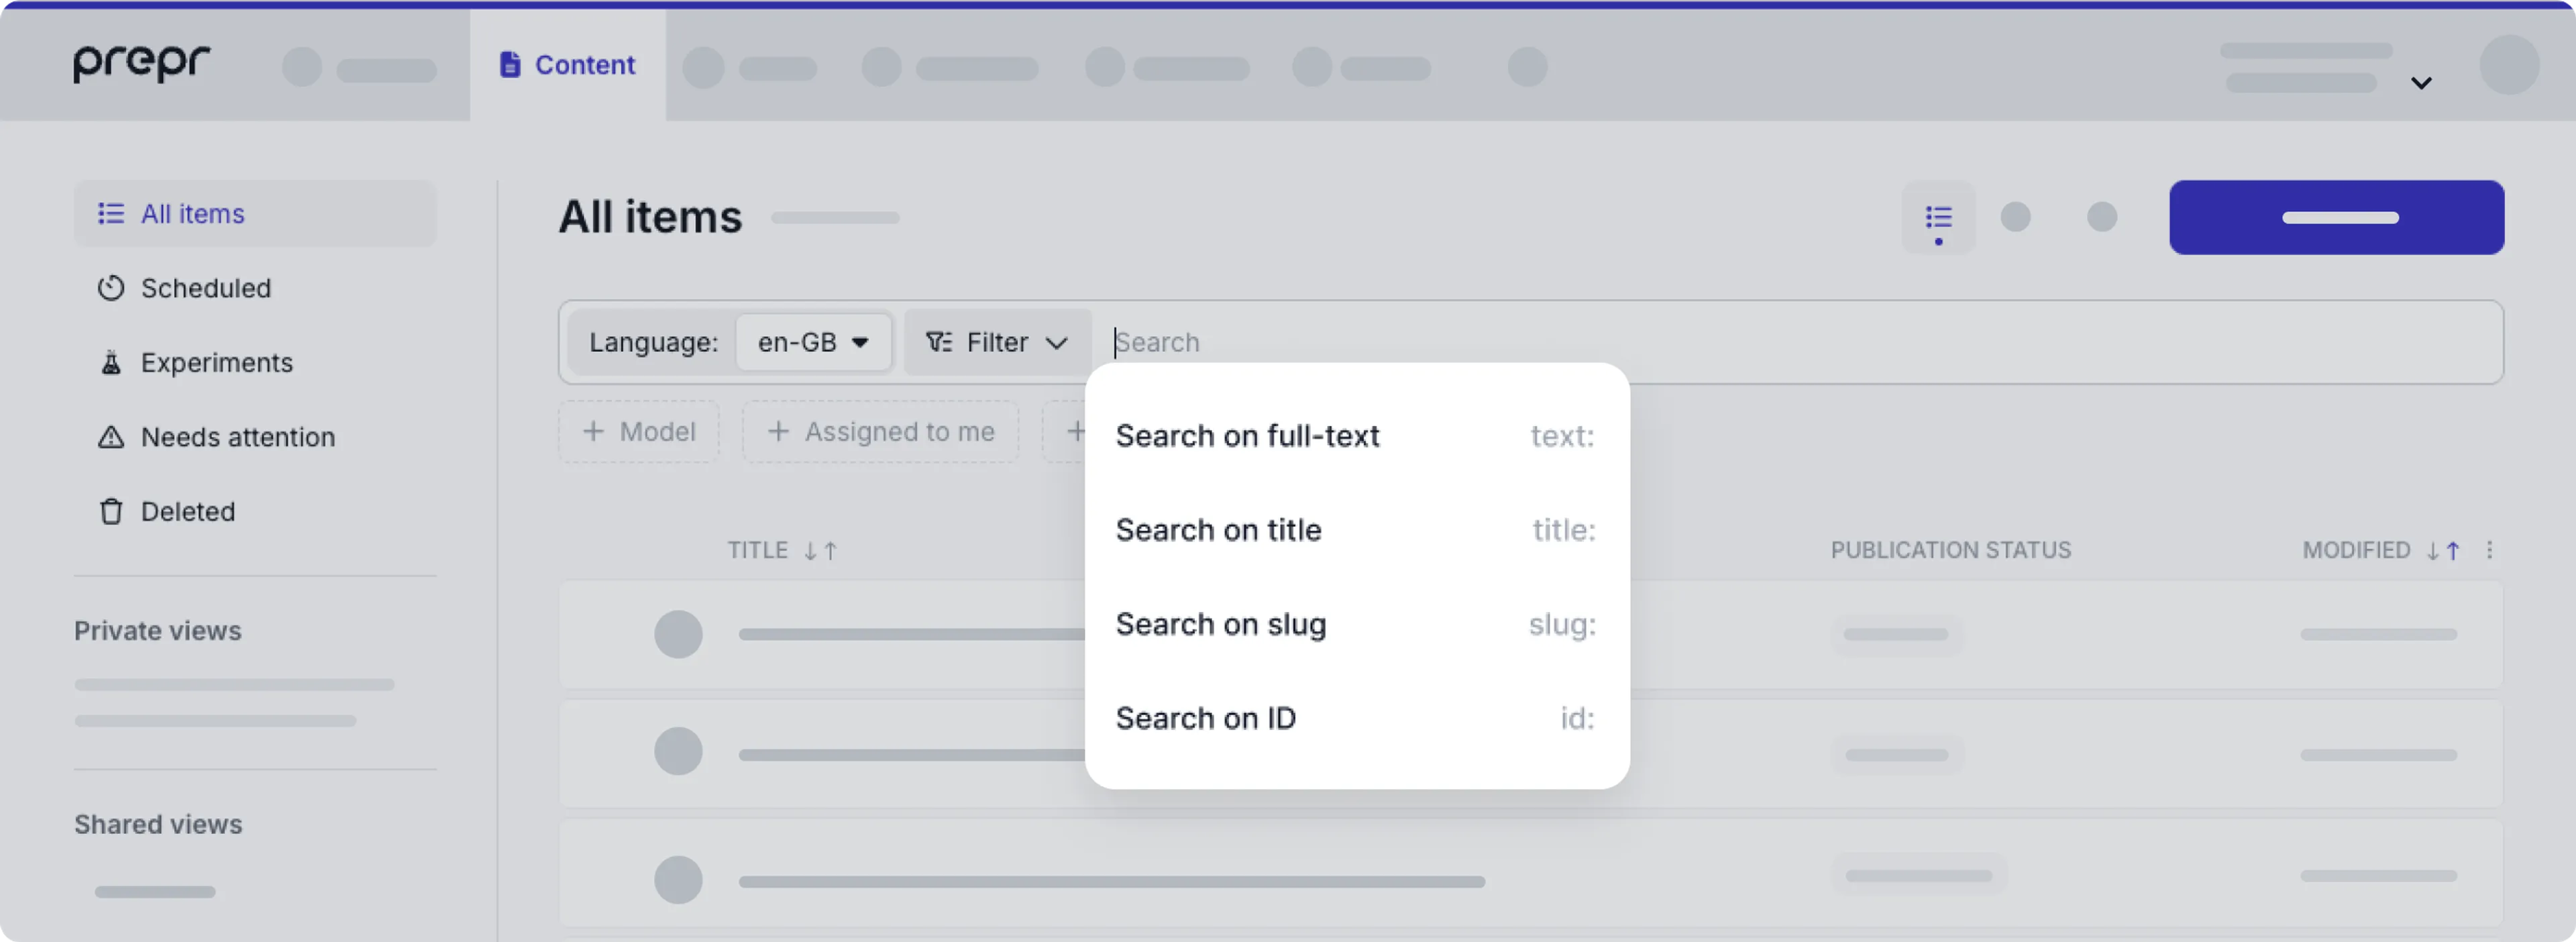
Search content items
When you type any keyword in the search bar, Prepr performs a fuzzy search on the Title field of content items, by default.
When you click the search bar, a drop-down list appears with the following additional search options:
- Search on full-text - Prepr performs a fuzzy search on all text fields and text elements.
- Search on slug - Enter a partial or exact keyword for this fuzzy search on the Slug field.
- Search on ID - Enter the exact ID of the content item you are looking for.
Now that you understand each of the core tasks in more detail, review the handy shortcuts below to manage content.
Manage content items with shortcut keys
You can use a number of shortcut keys to manage content items more efficiently.
Go to the Content tab to view the content item list. From this view, you can use the following shortcuts:
- Add a new content item with
Ctrl + I. If the content item list is filtered by a specific model, this shortcut creates a content item for that model directly. - Select all content items in the list with
Ctrl + A. - Simply press the
esckey to deselect any selected content items. - Delete selected content items from the list by pressing the
backspacekey.
Choose and click a content item in the list to make changes to that content item. From a specific content item, you can use the following shortcuts:
- Publish the content item with
Ctrl + P. - Save the content item with
Ctrl + S. - Close the content item with
Ctrl + L.
From any other page in Prepr, you can press / to open the launchbar. The launchbar allows you to do quick searches on content items or any other page you have access to in your Prepr environment.