Commerce Layer
This article describes how to add the Commerce Layer catalog data to your web application using Prepr.
Introduction
Prepr supports a native integration with Commerce Layer , an API-first commerce platform. This integration allows you to view and search the Commerce Layer catalog directly in Prepr and include products in your web app content.
You can activate the Commerce Layer integration by following the steps below.
Activating Commerce Layer integration
Set up an API Client in Commerce Layer
To use the Commerce Layer API, you need to be authorized first. This means you need the following API credentials:
- Client ID
- Client secret
- Core API endpoint (The base URL)
To generate these API credentials, log in to your Commerce Layer organization dashboard. Create new API credentials for an Integration according to the steps in the Commerce Layer guide .
Prepr requires the Read-only role to retrieve Commerce Layer catalog data.
Once the API client is created, make sure to copy the Client ID, Client Secret, and the Core API endpoint and save them securely.
Connect Prepr to Commerce Layer
Now that you’ve set up your Commerce Layer API Client, you can add Commerce Layer as a remote source in Prepr by following the steps below.
-
Click the icon and choose the Integrations option to view all available integrations. Go to the Commerce Layer card and click the Activate button.
If you do not have access to the Commerce Layer integration yet, click Request activation to contact our Sales team.

-
In the Connect to Commerce Layer dialog box, enter the Commerce Layer credentials you saved in the previous step and click the Save button.
Once the integration is activated, you’ll see the Commerce Layer remote source in the Schema page.
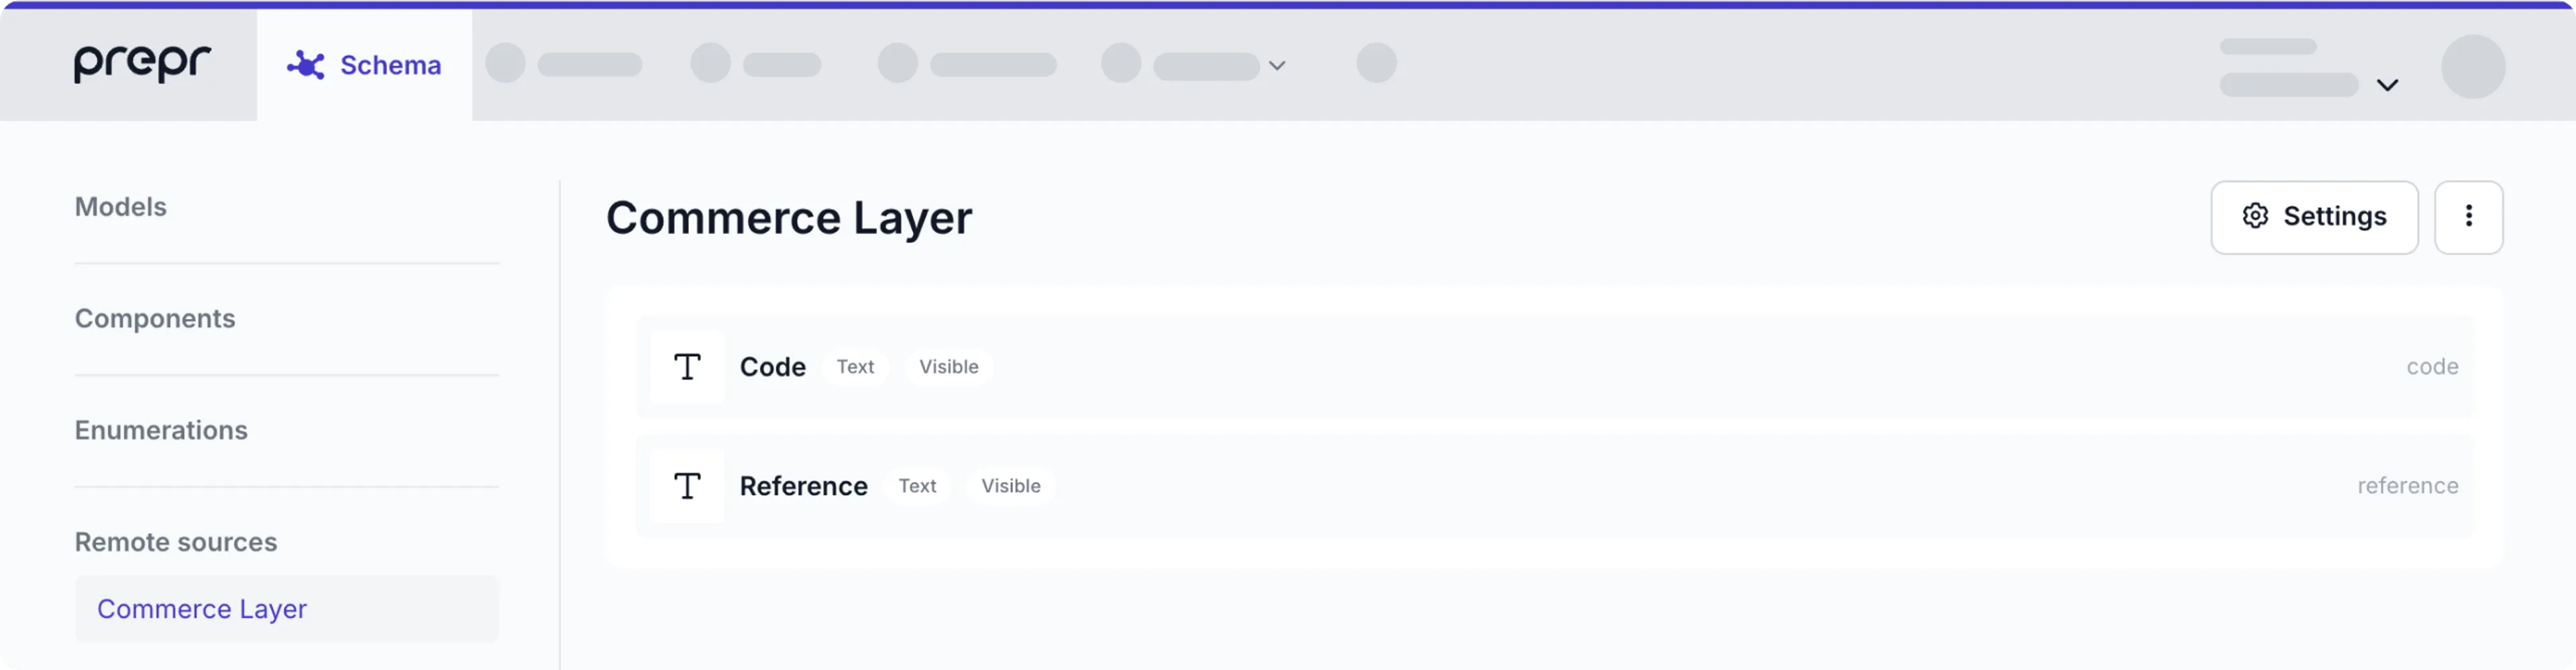
Make catalog data available in content items
Once you’ve connected to Commerce Layer, follow the steps below to allow editors to add Commerce Layer products to content items.
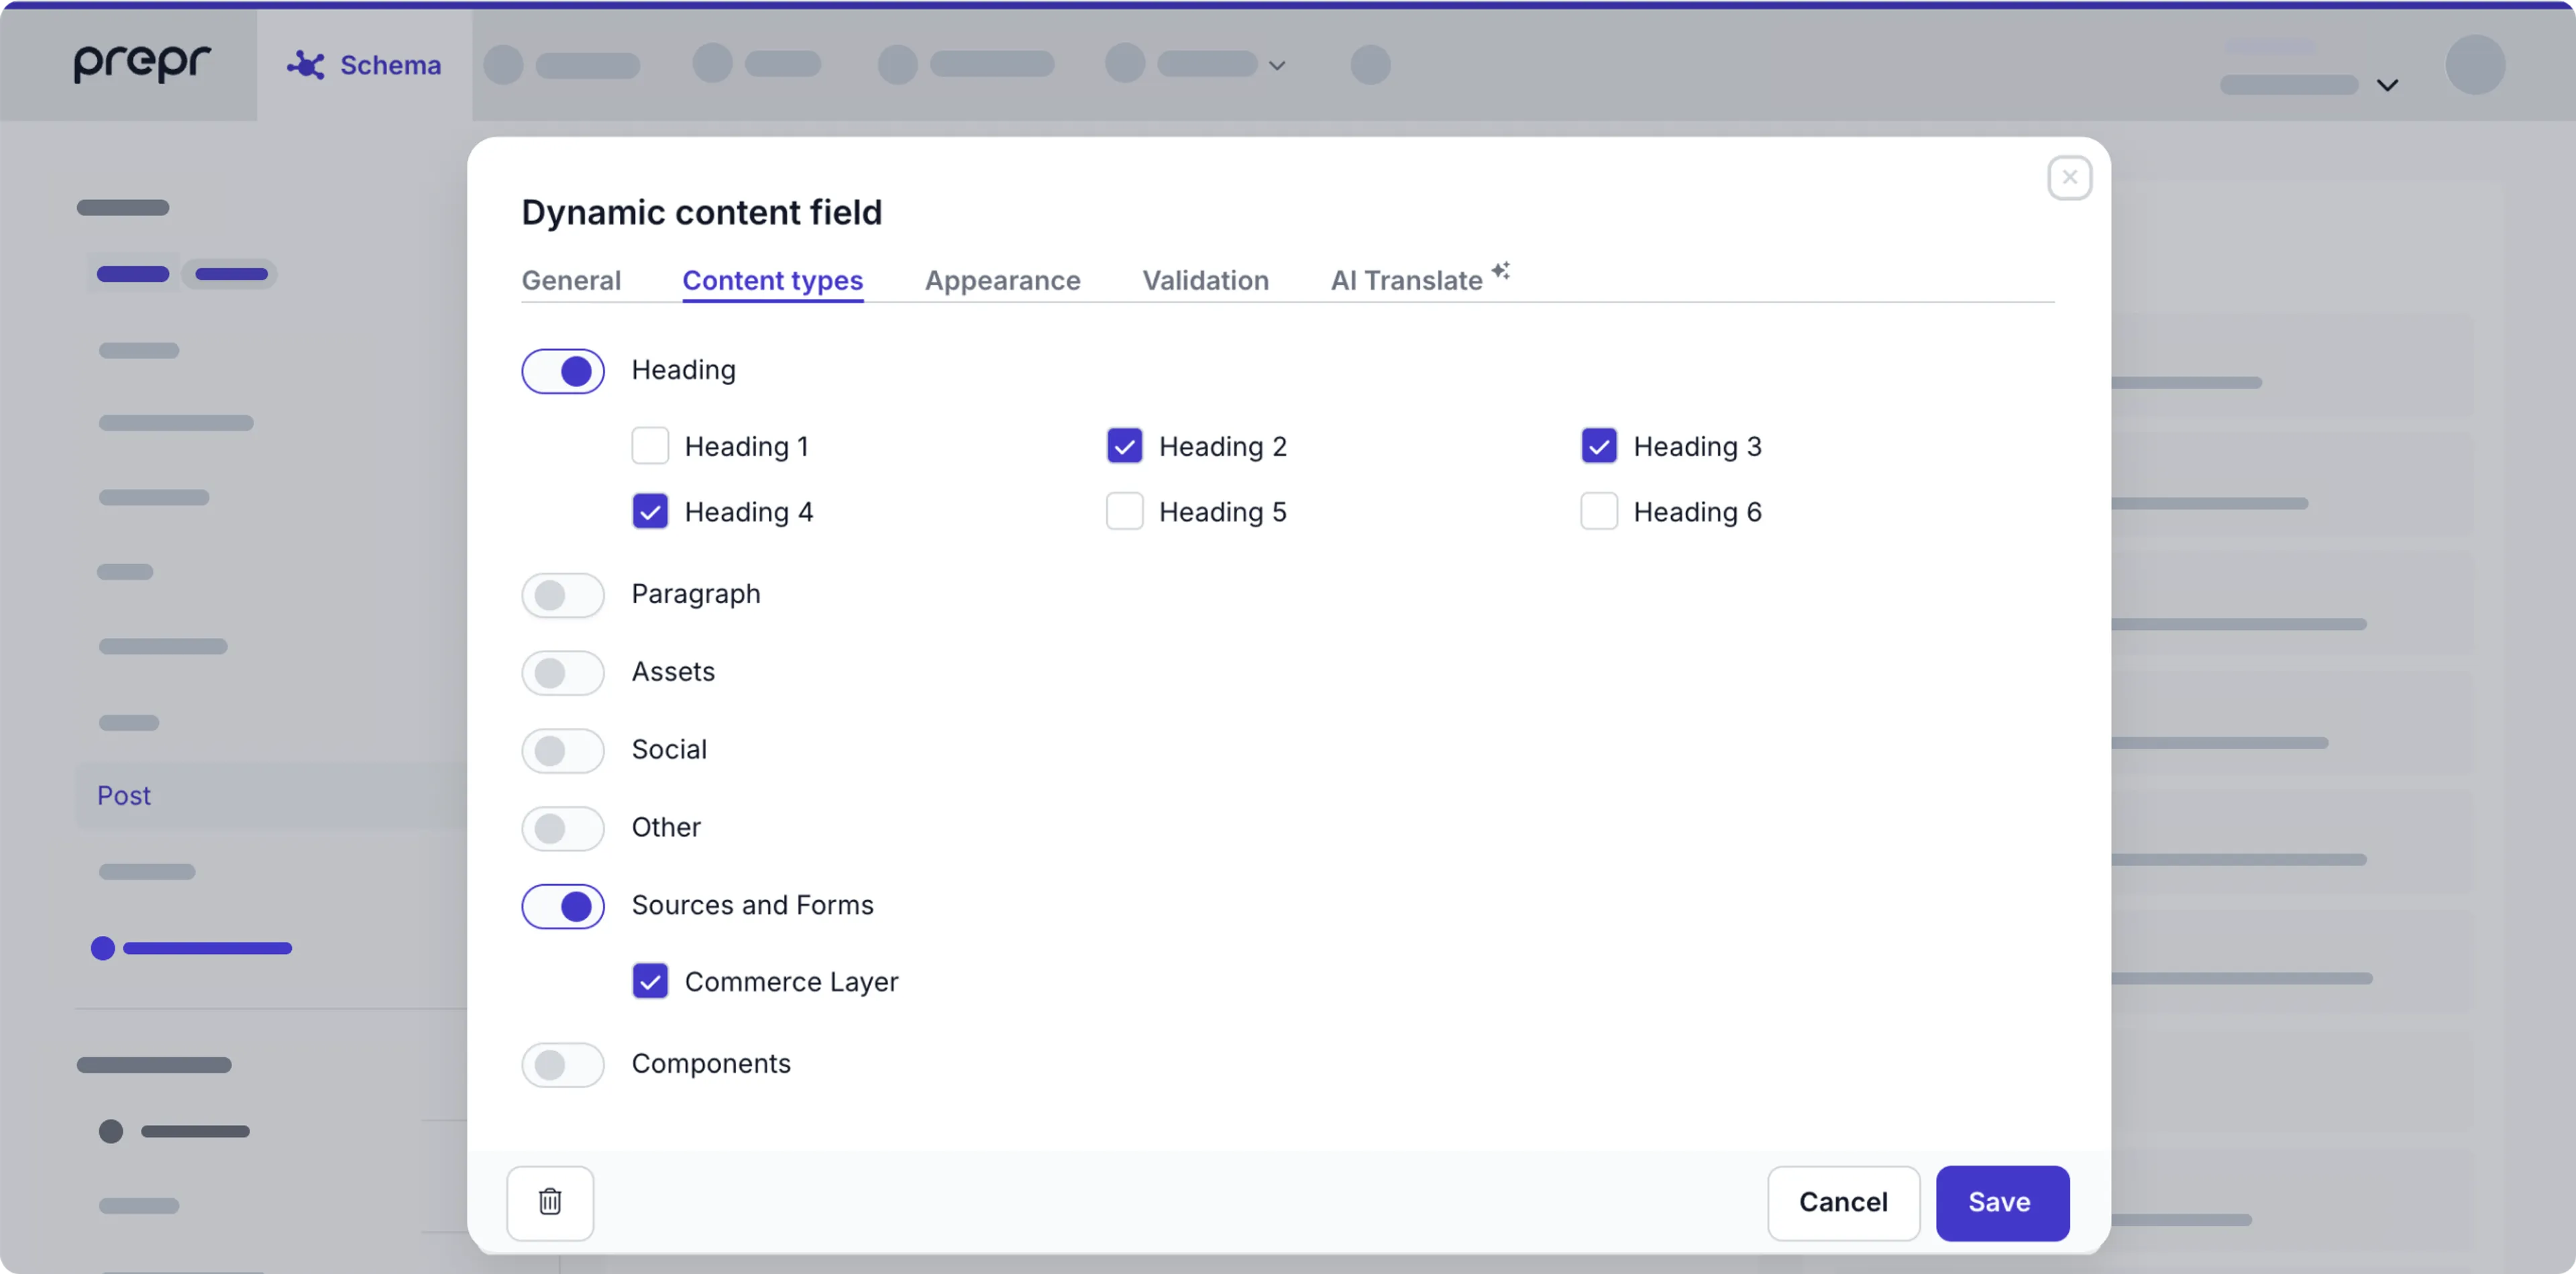
First, go to the relevant model or component and add a Remote content field, or enable the Commerce Layer remote source in a dynamic content field in the model or component.
Once done, editors can add the Commerce Layer data they need to a specific content item.
Retrieve Commerce Layer products using the API
Now that you’ve added products from the Commerce Layer catalog to the content item, you can retrieve the corresponding data using the API. All API calls must be made to the Base endpoint with the appropriate SKU numbers passed in the payload. Check out the example code snippets below:
QUERY
query {
  Posts (
    where : {
      related_product : {
        _id_any : [
          "ZorzSVXdEN"
        ]
      }
    }
  )
  {
    items {
      _id
      title
      related_product {
        _id
        _json
        code
        reference
      }
    }
  }
}That’s it. Now your web page includes content inserts from Commerce Layer. In addition, Prepr will synchronize your remote content automatically to keep it up to date.