Localizing content
Working with localization
Multi-channel content publishing also means managing content in different languages. Prepr offers unlimited locales for your content. Effortlessly localize your content into any language. Assign local versions to different users with a dedicated workflow and scheduling for their location.
Adding a locale
Every Prepr environment contains a default locale. You can recognize this locale by its ISO code (i18n), for example, en-US or de-DE.
Each environment has its own set of locales. To add a new locale, follow the steps below.
-
Click the icon and choose the Locales option. Here, you can select one or more locales for multi-language content items and set a default.
-
Choose the locale value from the drop down to add a new locale to the environment and click the Save button.

Only owners, admin users, and users with the Locales permission can edit the locale settings. Check out the roles and permissions guide for more details.
Adding, removing locales, or changing the default locale may have an effect on existing content items. Please make sure this change is compatible with your front end.
Working with multiple locales
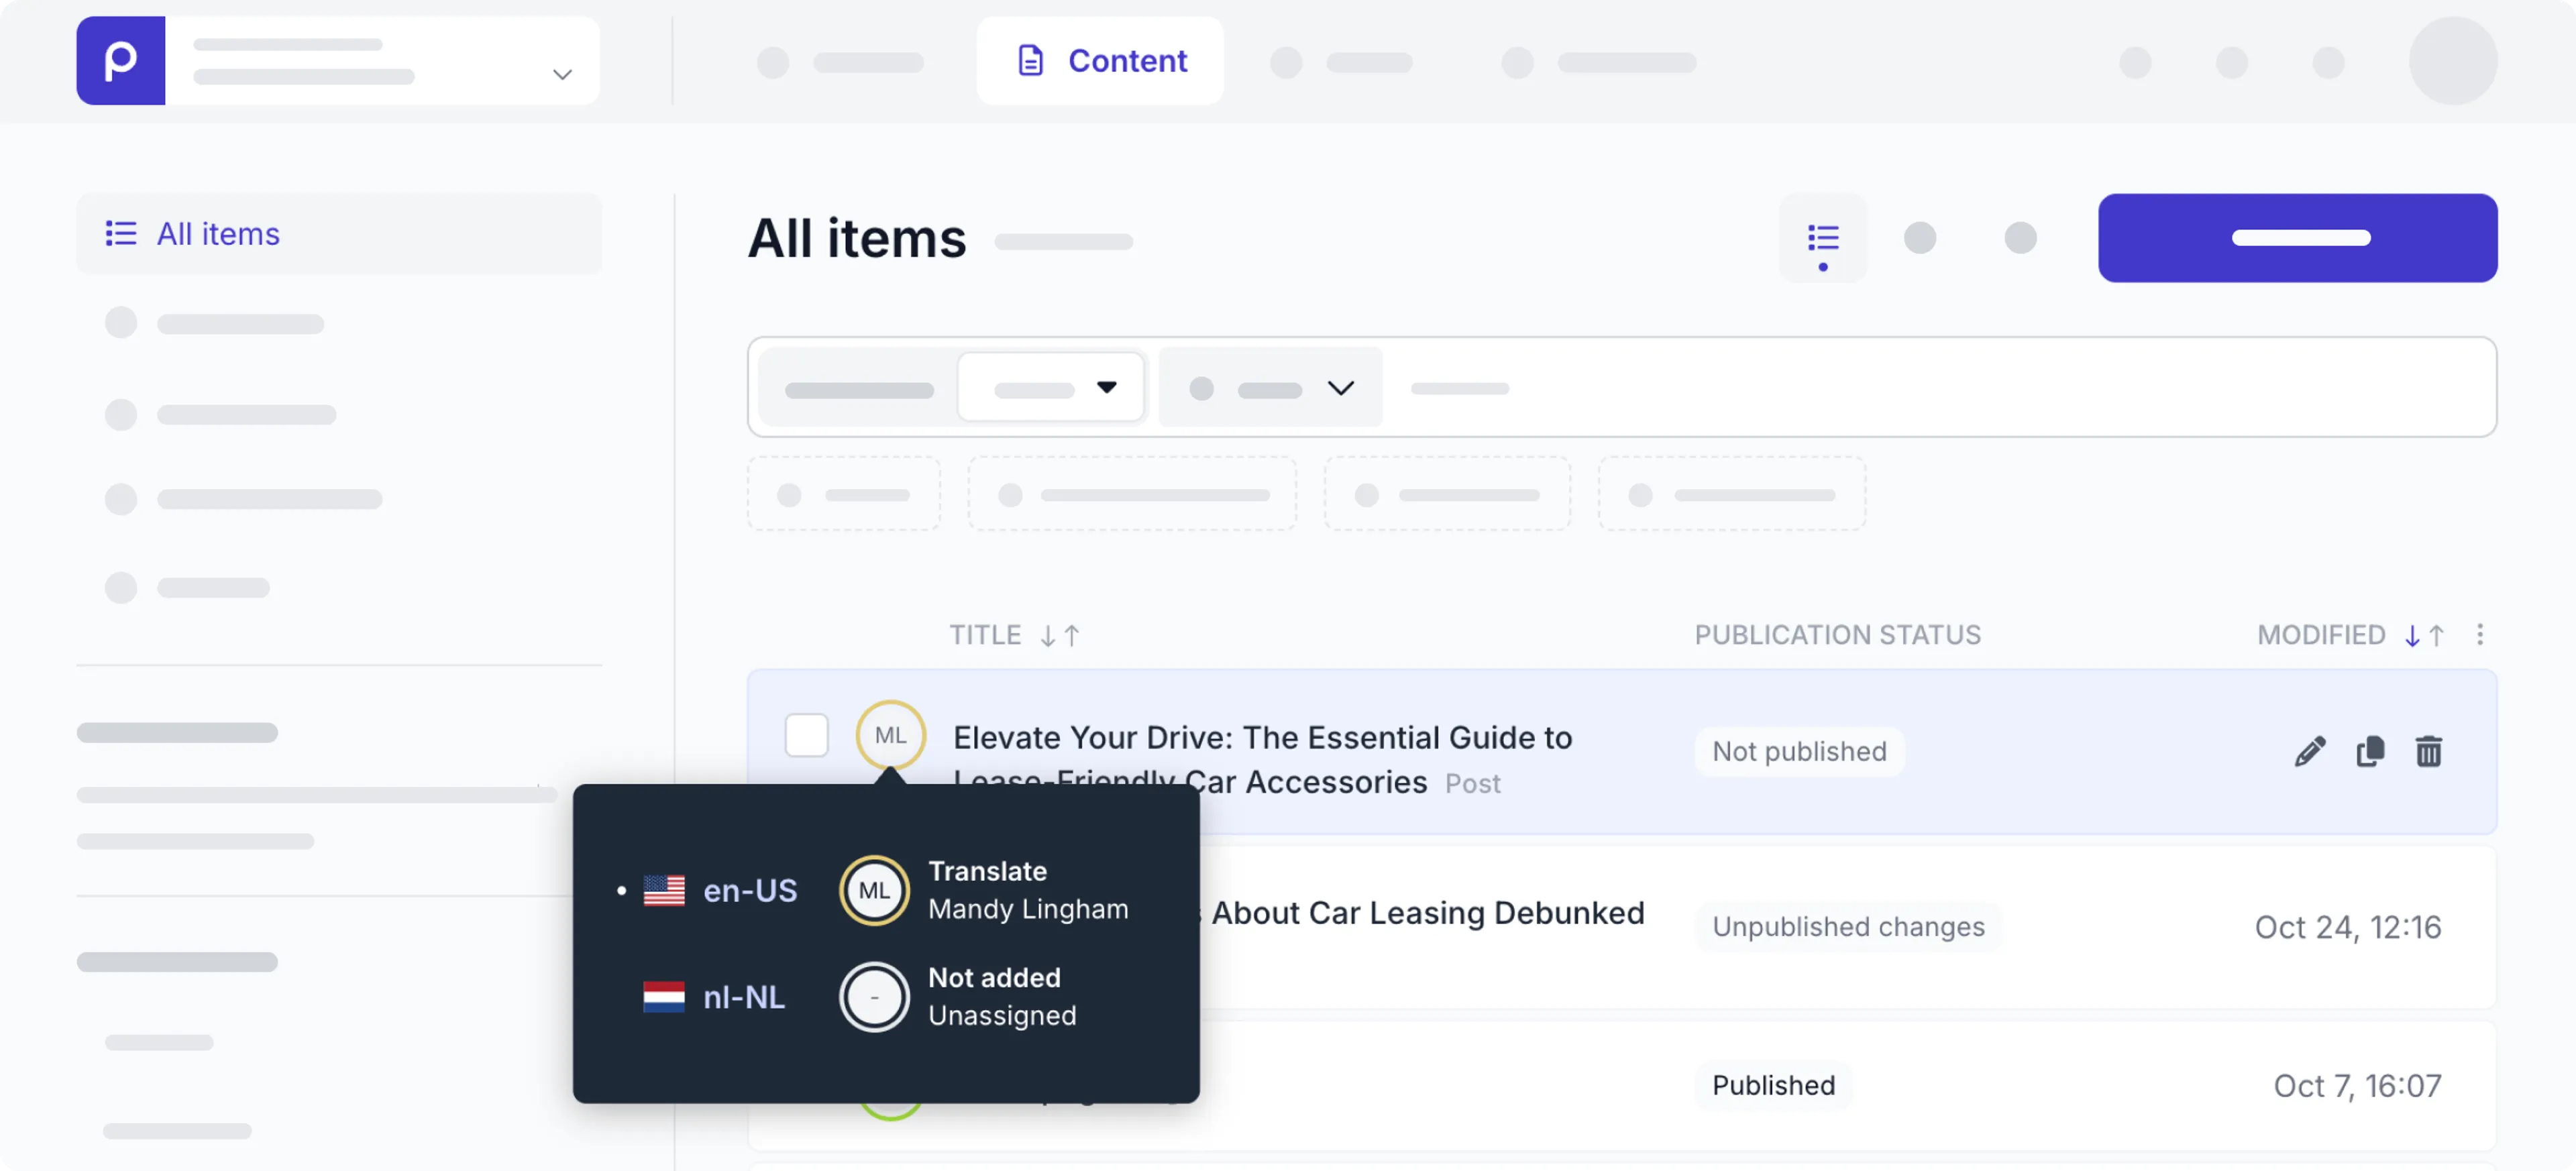
If your Prepr environment is set up with multiple locales, you can see a summary of the locale versions for a content item from the content item list by going to the Content page.
To see the workflow summary for each locale, hover over the user icon of a content item.
To see the status of each locale for a content item, hover over the status info like in the example below.

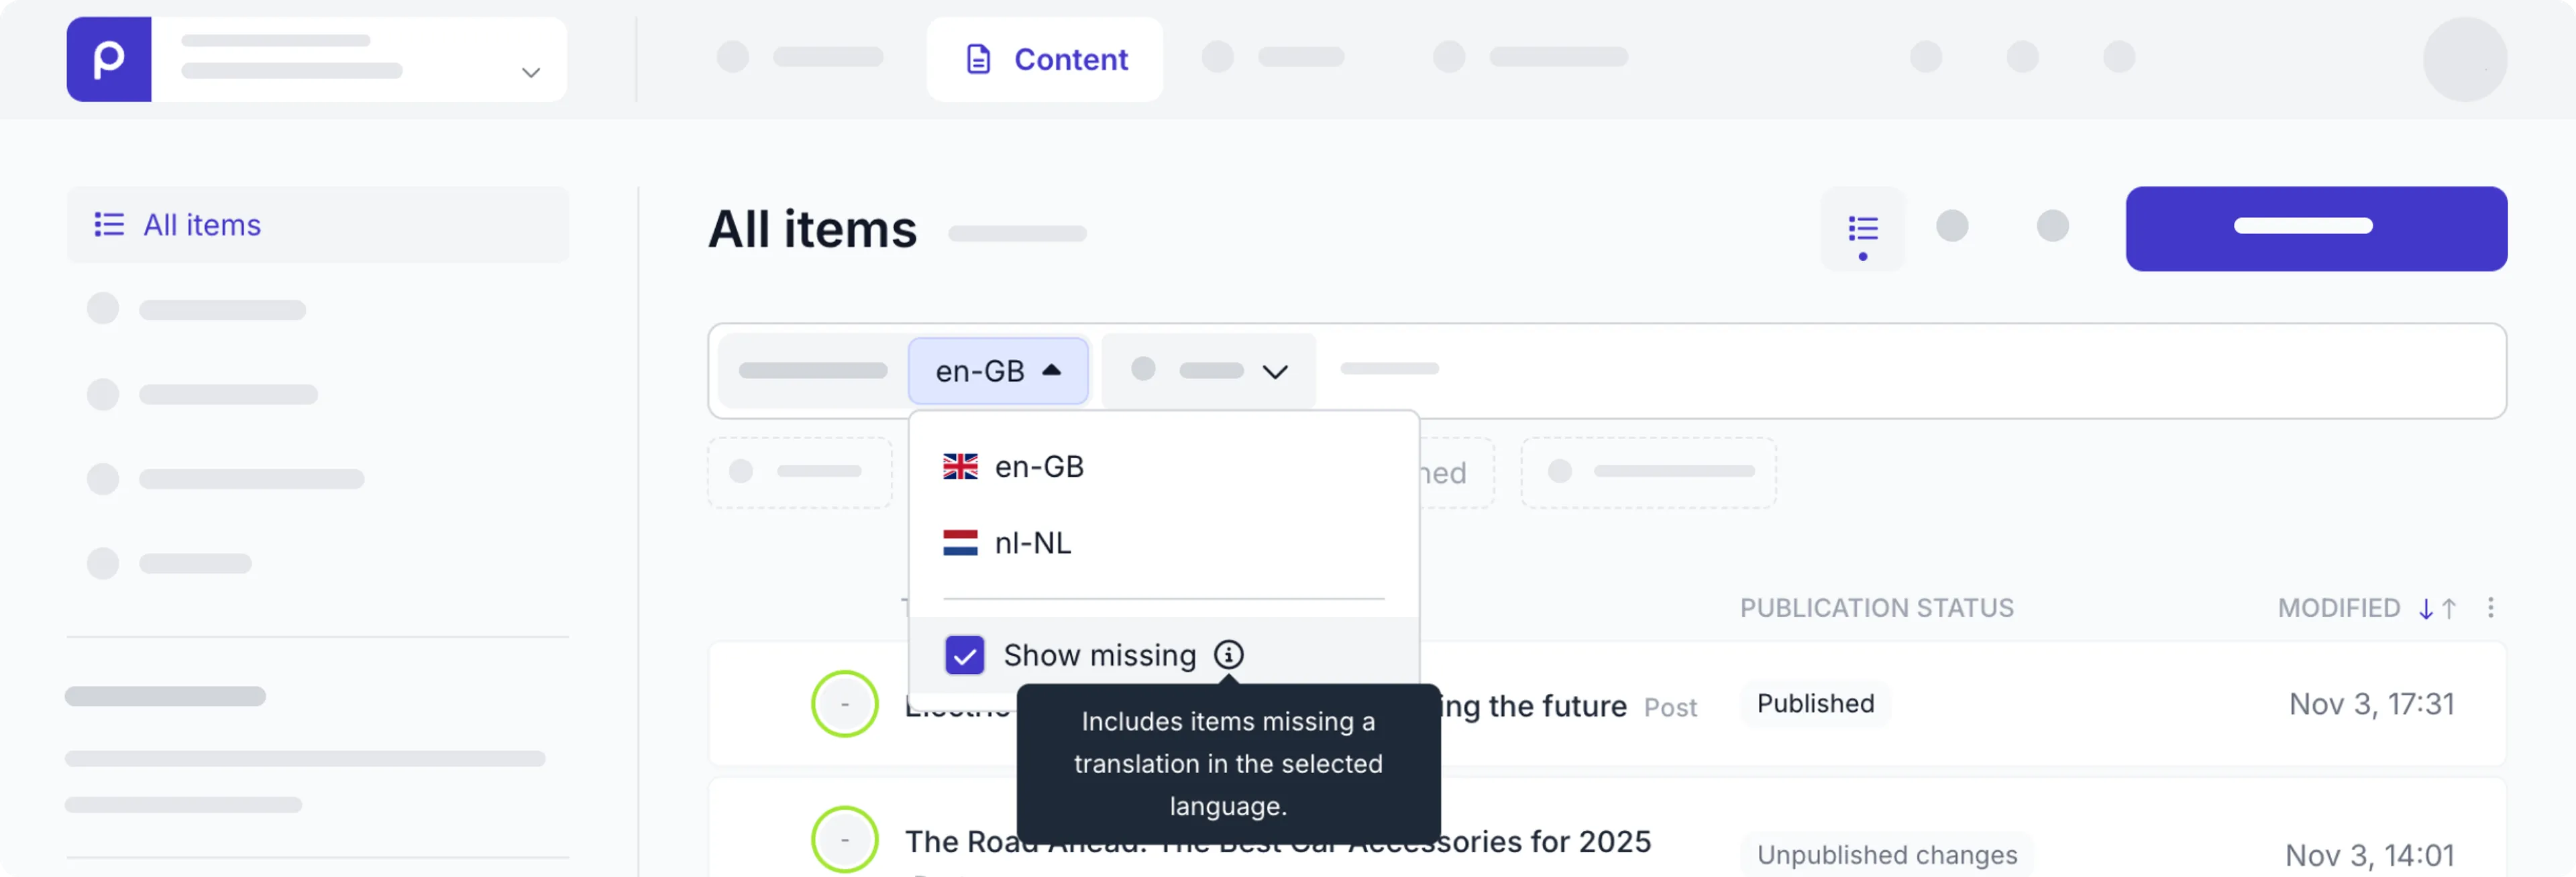
You can also filter your content items by language in the Content page.
Click the Language filter at the top of the content item list with the default locale selected. The content item title in the content item list is the title in the default locale.
Default locale
When you log in to Prepr, the content items are listed in the default locale. When you create a content item, this item also starts in the default locale.
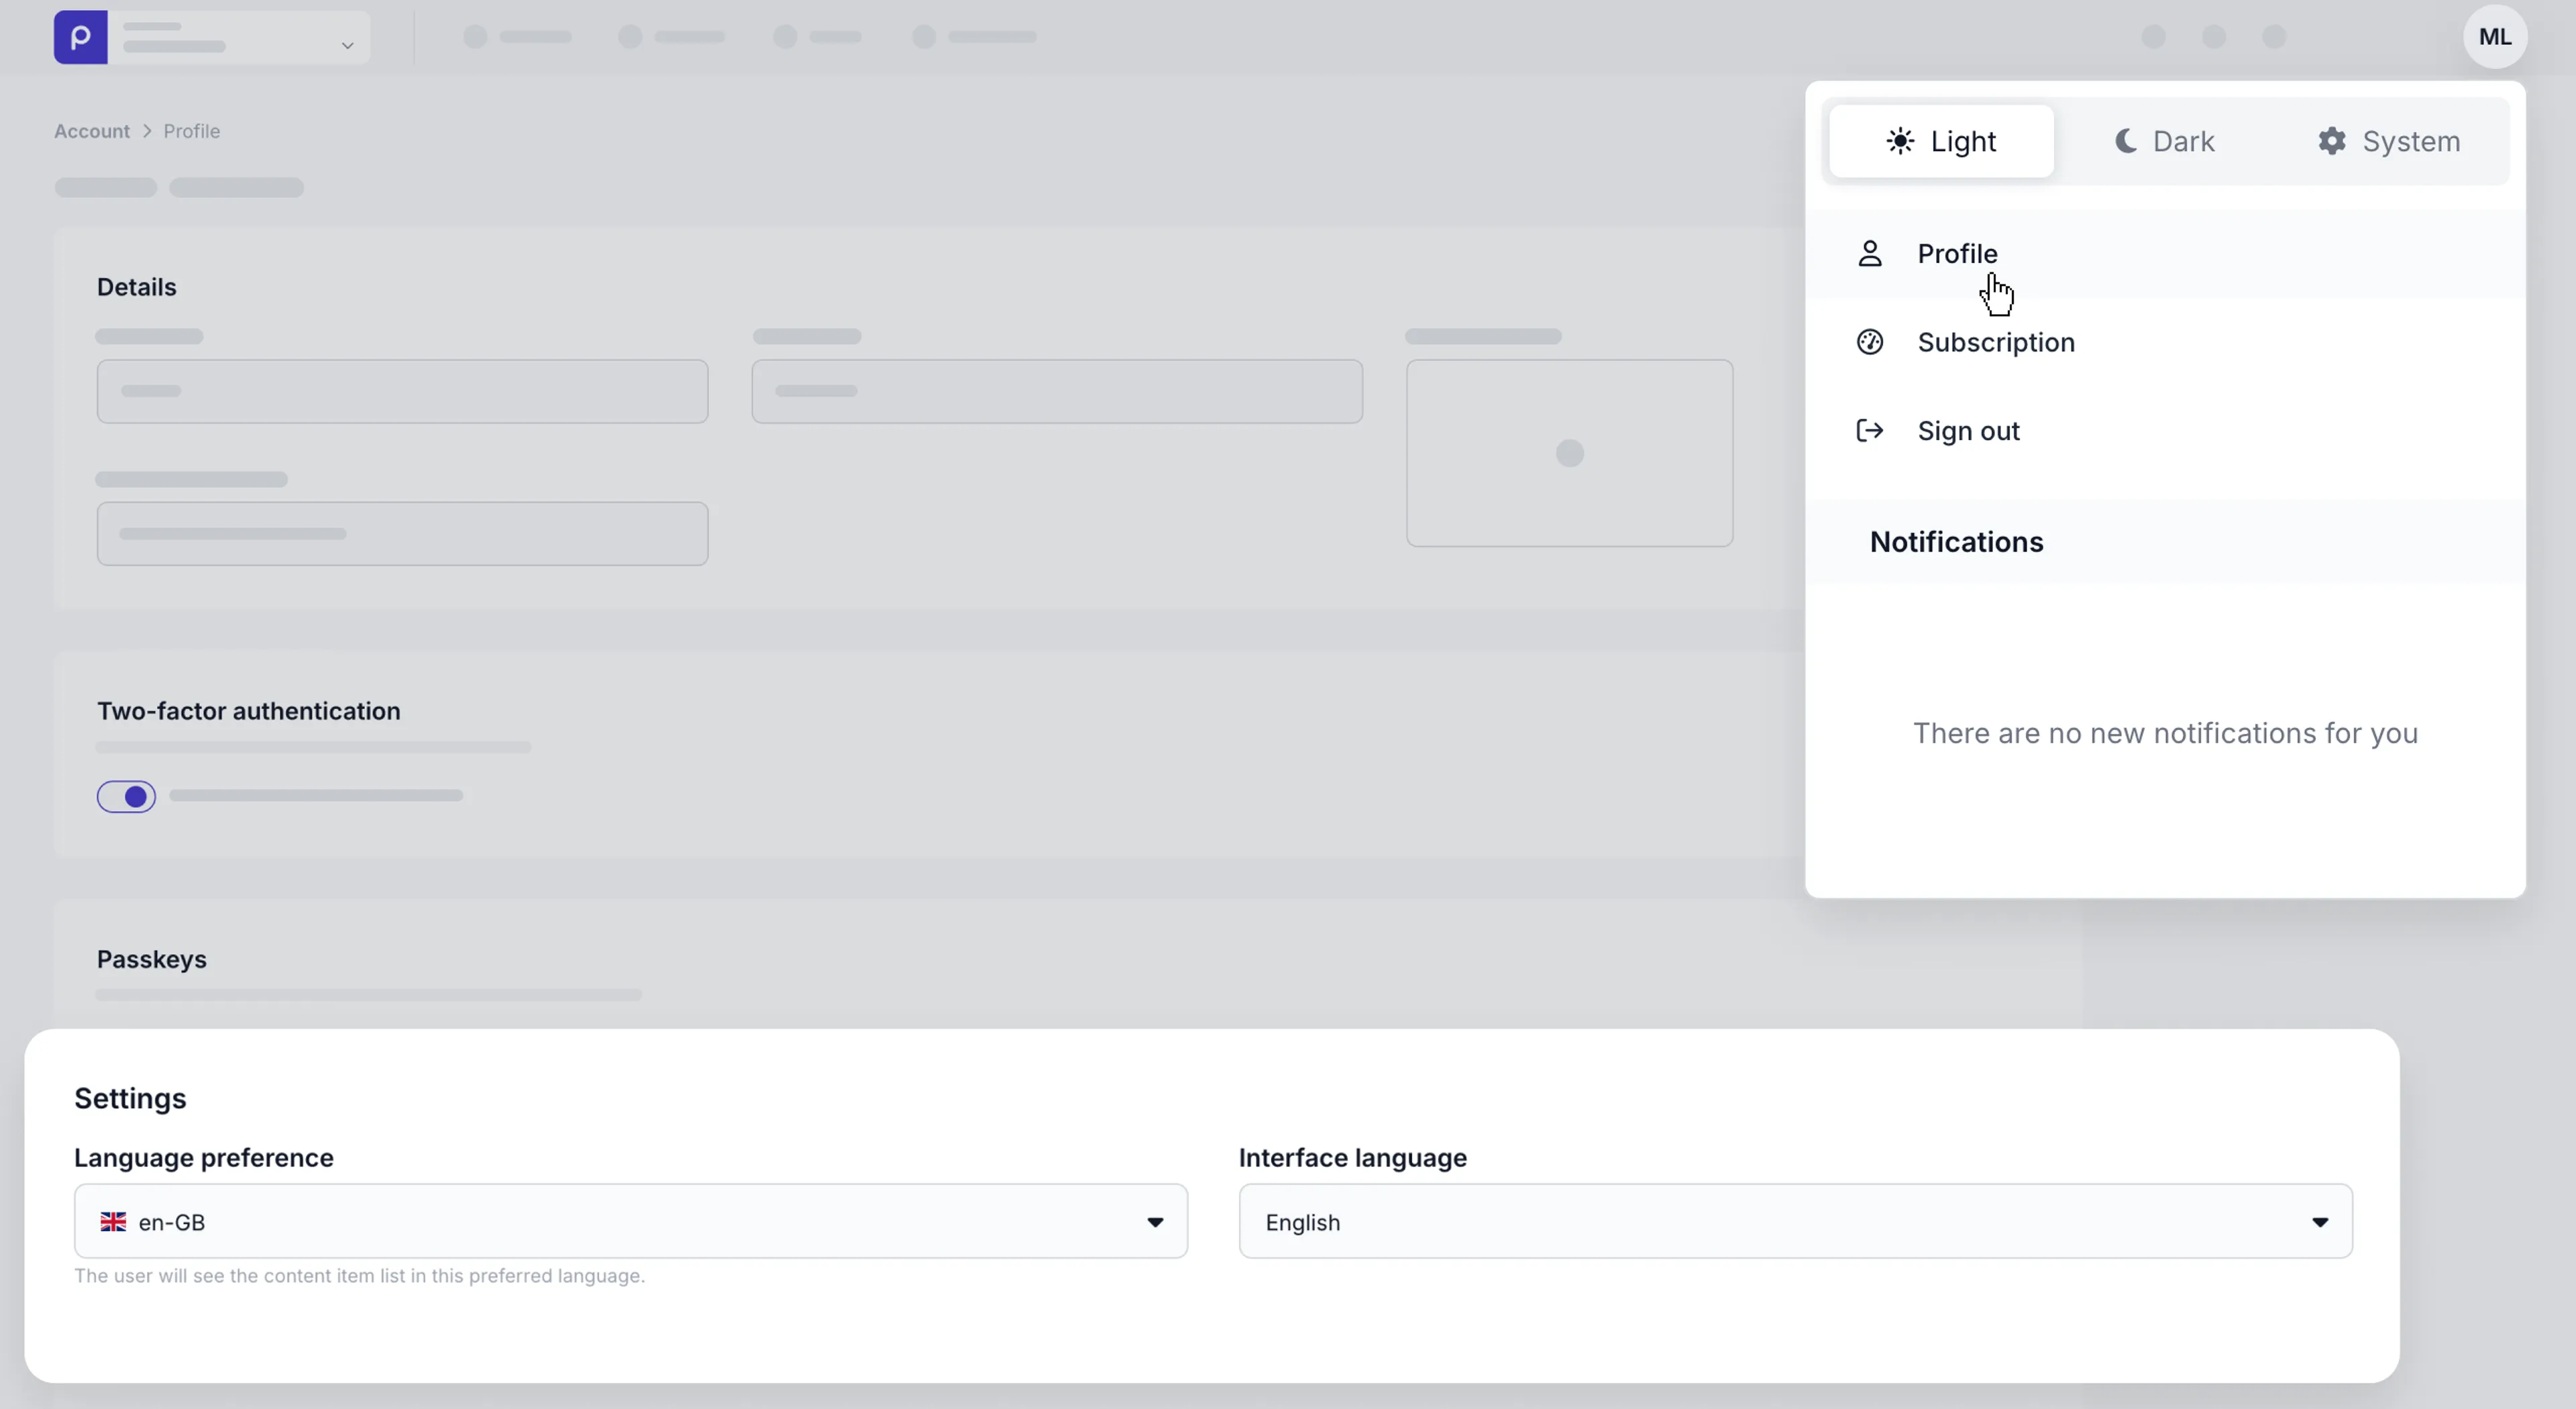
The default locale is set for the environment, but you can override this value by setting a default locale in your profile. To set your own default locale, click your user avatar at the top of the screen and choose the Profile option and update your Language preference in the Settings section. Click the Save button to save your user preferences.
If there’re content items not yet translated into your default locale, you’ll see these in your content item list with the label Not added.
Simply click the content item to trigger the translation process.
Create a language variant
If you want to create another language variant, go to your main content item and choose the language from the drop-down menu in the side bar. In the drop-down menu, you can see the workflow stage of each locale entry, for example, Not created, To do, In progress or Done.
A modal then opens from which you can click one of the following options:
- Translate automatically using AI - Choose the source language if more than one is available and then choose the tone of voice or click the Skip button to start automatic translation. Prepr translates the text and creates the content item entry in your chosen language. You can then update this content item entry to refine the translated text.

Any linked content items in the translated content item will not be automatically translated. You need to translate each of these content items individually and update the links accordingly.
-
Copy content and translate manually - Choose the source language that you want to copy. Prepr creates a copy of the content item with the exact same text. You can then translate the text manually.
-
Start from scratch. - Prepr creates a content item with empty fields. You can then fill the content item from scratch.
When you need to remove unwanted content from only one locale without affecting the entire web app, click to delete a content item and then choose to delete a specific language variant.
Retranslate a language variant
In some cases you might want to completely replace the text in a language variant with a new translation. For example, when the source language variant has a lot of changes since the first translation.
Instead of deleting the language variant, and redoing the translation from the source language, you can simply use the Retranslate option.
-
From the language variant you want to retranslate, click the icon and choose the Retranslate option.

-
Follow the same process as you would when creating a new language variant.
-
When you choose to Translate automatically using AI, you are given the option to either keep the existing tone of voice of the variant or to change it.
Once done, save or publish your retranslated language variant. If versioning is enabled for the content item, you can restore the previous translation by viewing the version history.
Working with assets in multi-language content items
Do you want to use and describe one asset in different content items? That is facilitated by Prepr: it is possible to add a caption to the asset(s) per content item. In this way, you can have the caption in one content item deviate from the caption in the other content item. This is how you can describe the asset very precisely for your specific content item.
Manage captions in multi-language content items
Do you work with content items in multiple languages? The caption of an asset is language-dependent. This means you can have the caption in one language differ from the description in the other language.
To manage the caption in an asset per language, follow the steps below.
- Go to the Content tab and select the right content item. Hover over the thumbnail of the image you want to edit and click the icon. Choose the Edit caption.
- Enter a caption the matching language and click the Save button.
- Save the content item and switch to another locale.
- Repeat the above steps to edit the caption for the same image in a different language.
- Save the content item to apply the new caption.

You can only edit a caption for an asset in the content item, if the asset field settings in the corresponding model allow captions.