Set up an Astro project
The instructions below will guide you through the first step of the Astro complete guide. These show you how to create an Astro website with static components.
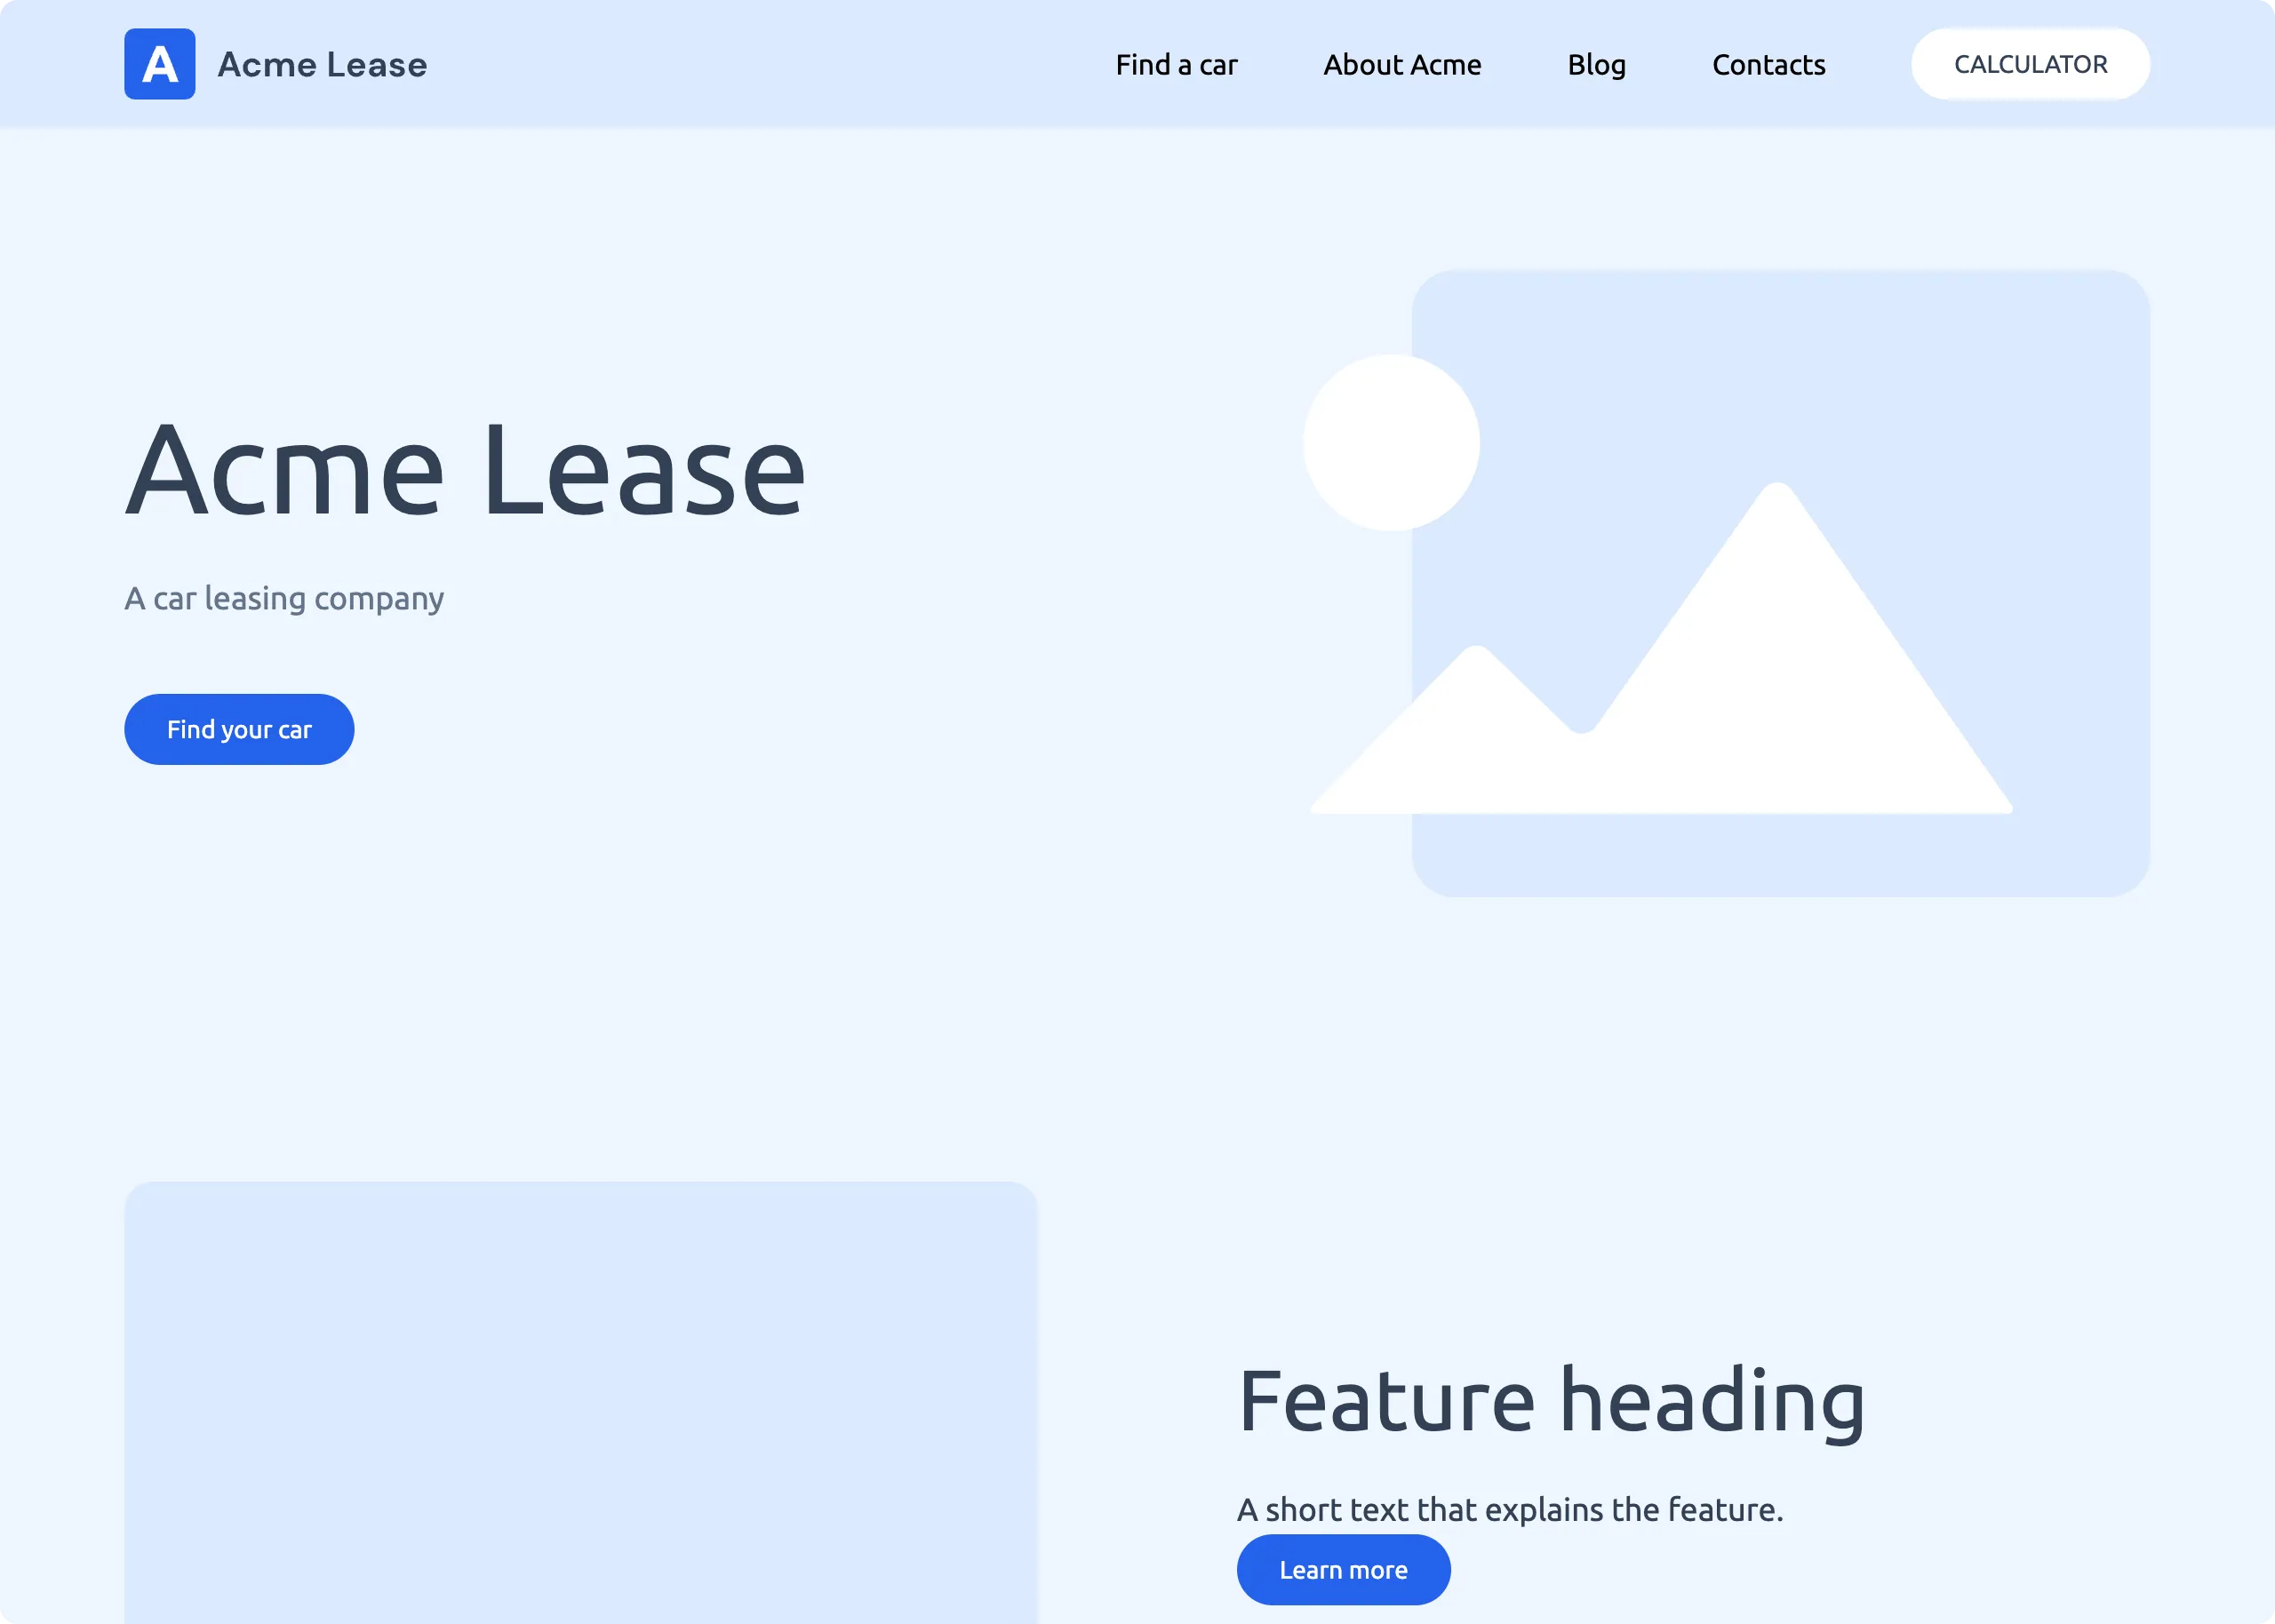
Astro website with static text and images.
Create an Astro website with static components
If you have an existing Astro project then you can skip this section and continue with the next section to make your Astro project dynamic with Prepr content. Otherwise, let’s get started.
Install an Astro project
-
Open a terminal, go to your development projects folder and execute the command below to create a new Astro project called
astro-complete-starter.npm create astro@latest astro-complete-starterChoose the
Use minimal (empty) templateoption and use default options for the remaining prompts. -
When the project is successfully created, go to the
astro-complete-starterfolder, the root directory of the project, and run the project with the following commands in the terminal:cd astro-complete-starternpm run dev -
You should now be able to view your app on your localhost, for example,
http://localhost:4321/.
Set up styling with Tailwind
Follow the steps below to add server-side rendering and some simple styling to the project.
-
In the terminal, stop the server you started in the above step (
CTRL-C) and while in your projectastro-complete-starterdirectory, run the Astro CLI to add the Node adapter (needed to server-render every request later in this guide) and Tailwind CSS:npx astro add node tailwindAccept the prompts to install the packages and update your config.
-
Open the Astro project with your preferred code editor.
-
The
astro add tailwindcommand scaffoldssrc/styles/global.css. Rename the css file toglobals.cssand add colors and spacing highlighted below:./src/styles/globals.css@import "tailwindcss"; @theme { --text-mb-4xl: 2rem; --text-mb-5xl: 2.675rem; --spacing-8xl: 90rem; --container-8xl: 90rem; --container-prose: 50rem; --color-gray-50: #EEEEEE; --color-primary-50: #EFF6FF; --color-primary-100: #DBEAFE; --color-primary-600: #2563EB; --color-primary-700: #1D4ED8; --color-secondary-500: #64748B; --color-secondary-700: #334155; } /* Horizontal page gutter for section containers, matching the Acme Lease demo site. */ @utility p-spacing { @apply px-4 sm:px-6 lg:px-8 xl:px-18 2xl:px-20; }
Add a simple navigation bar
-
Create a
componentsfolder in thesrcdirectory and add the following three components to your Astro project to display a navigation bar at the top of your website.Button
./src/components/Button.astro--- import type { HTMLAttributes } from 'astro/types'; interface Props extends HTMLAttributes<'button'> { buttonStyle?: 'primary' | 'secondary'; } const { buttonStyle = 'primary', class: className, ...attrs } = Astro.props; --- <button class:list={[ 'flex rounded-full text-sm px-6 py-2.5 font-medium', buttonStyle === 'primary' && 'bg-primary-600 hover:bg-primary-700 text-white', buttonStyle === 'secondary' && 'bg-white hover:bg-gray-50 text-secondary-700', className, ]} {...attrs} > <slot /> </button>
Before you can view the navigation bar, you need to include it in the project layout.
Update the project layout
Follow the steps below to update the project layout to include the navigation bar and use Tailwind classes for styling.
-
In
srccreate a new folder,layoutsand add the code below to a newLayout.astrofile, if it doesn’t already exist../src/layouts/Layout.astro--- import { Font } from 'astro:assets'; import NavBar from '../components/NavBar.astro'; import '../styles/globals.css'; --- <!doctype html> <html lang="en"> <head> <meta charset="utf-8" /> <meta name="viewport" content="width=device-width" /> <link rel="icon" href="/favicon.ico" /> <title>Prepr Astro complete starter</title> <meta name="description" content="Showing the power of personalization and A/B testing" /> <Font cssVariable="--font-ubuntu" preload /> <slot name="head" /> </head> <body style="font-family: var(--font-ubuntu)"> <NavBar /> <slot /> </body> </html>The
<Font>component andcssVariablecome from thefontsentry you’ll add toastro.config.mjsin the next step. Astro resolves and self-hosts the Ubuntu font instead of loading it from Google at request time. -
Update
astro.config.mjsto declare the Ubuntu font:./astro.config.mjs// @ts-check import { defineConfig, fontProviders } from 'astro/config'; import node from '@astrojs/node'; import tailwindcss from '@tailwindcss/vite'; export default defineConfig({ // Render every request on the server: personalization and A/B testing // depend on per-visitor request headers. output: 'server', adapter: node({ mode: 'standalone' }), fonts: [ { provider: fontProviders.google(), name: 'Ubuntu', cssVariable: '--font-ubuntu', weights: [400, 700], subsets: ['latin'], }, ], vite: { plugins: [tailwindcss()], }, });
In the src/pages folder, replace the code in the index.astro file with the following code to display your page.
---
import Layout from '../layouts/Layout.astro';
---

<Layout>
  <h1>My home page</h1>
</Layout>-
Restart the localhost server with
npm run devin the terminal and go back to your browser. You should see the navigation bar and your heading text like in the image below.
Once your Astro project is created and working, you can create a static page with components.
Create static components
In this step, you’ll create a static version of the page including two front-end components. One for a Hero section at the top of the page and another for Feature sections to highlight features for the company. Add these components to the front end as follows:
-
Go to the
src/pagesfolder and renameindex.astroto[...slug].astro. This new file name creates a catch-all route to all your pages. -
Refresh your page in the browser to check if your website still works.
-
Replace the code in
[...slug].astrowith the code below to display the components with static data../src/pages/[...slug].astro--- import Layout from '../layouts/Layout.astro'; import Hero from '../components/sections/Hero.astro'; import Feature from '../components/sections/Feature.astro'; --- <Layout> <Hero /> <Feature /> <Feature align="right" /> <Feature /> </Layout>You’ll notice compilation errors in this page because the components don’t exist yet. Continue the next steps to create these components and resolve these errors.
-
In the
src/componentsfolder, create a new folder calledsections. In this new folder, create new files calledHero.astroandFeature.astroand copy the code below to construct these components.Hero section
./src/components/sections/Hero.astro--- import Button from '../Button.astro'; --- <section class="bg-primary-50"> <div class="mx-auto max-w-8xl p-spacing flex flex-col items-center md:flex-row gap-8 py-10 lg:py-20"> <div class="basis-6/12"> <h1 class="text-mb-5xl lg:text-7xl text-secondary-700 font-medium break-words text-balance"> Acme Lease </h1> <p class="text-secondary-500 lg:text-lg mt-4 lg:mt-6 text-balance"> A car leasing company </p> <div class="flex gap-4 mt-8 xl:mt-10"> <div> <a href="#"><Button>Find your car</Button></a> </div> </div> </div> <div class="basis-6/12 relative flex justify-end items-center"> <div class="z-10 flex items-center aspect-[20/17] w-9/12 overflow-hidden justify-center absolute top-1/2 left-1/2 transform -translate-x-1/2 -translate-y-1/2"> <svg viewBox="0 0 402 260" class="w-full max-w-[400px]" fill="none" xmlns="http://www.w3.org/2000/svg"> <path d="M398.251 260H7.15201C4.49222 260 3.14794 256.795 5.01181 254.898L90.6954 167.668C94.5446 163.749 100.834 163.669 104.782 167.487L150.523 211.731C154.934 215.998 162.113 215.321 165.649 210.304L259.838 76.6611C263.834 70.9911 272.249 71.0127 276.216 76.703L400.712 255.284C402.099 257.273 400.676 260 398.251 260Z" fill="white" /> <circle cx="50" cy="50" r="50" fill="white" /> </svg> </div> <div class="w-9/12 aspect-[20/17] bg-primary-100 rounded-3xl right-0 top-0 z-0"></div> </div> </div> </section> -
Restart the localhost server with
npm run devin the terminal and go back to your browser. You should now see something like the image below.
Great work on getting your static web app working! Continue your journey to the next section to make your Astro project dynamic with Prepr content.