Add A/B testing to your Astro website
Prepr CMS enables editors to create A/B tests directly within their content. This means testing different content versions is simple and effective. This chapter of the Astro complete guide demonstrates how to set up A/B testing in Prepr, including testing the display of variants and measuring the results.
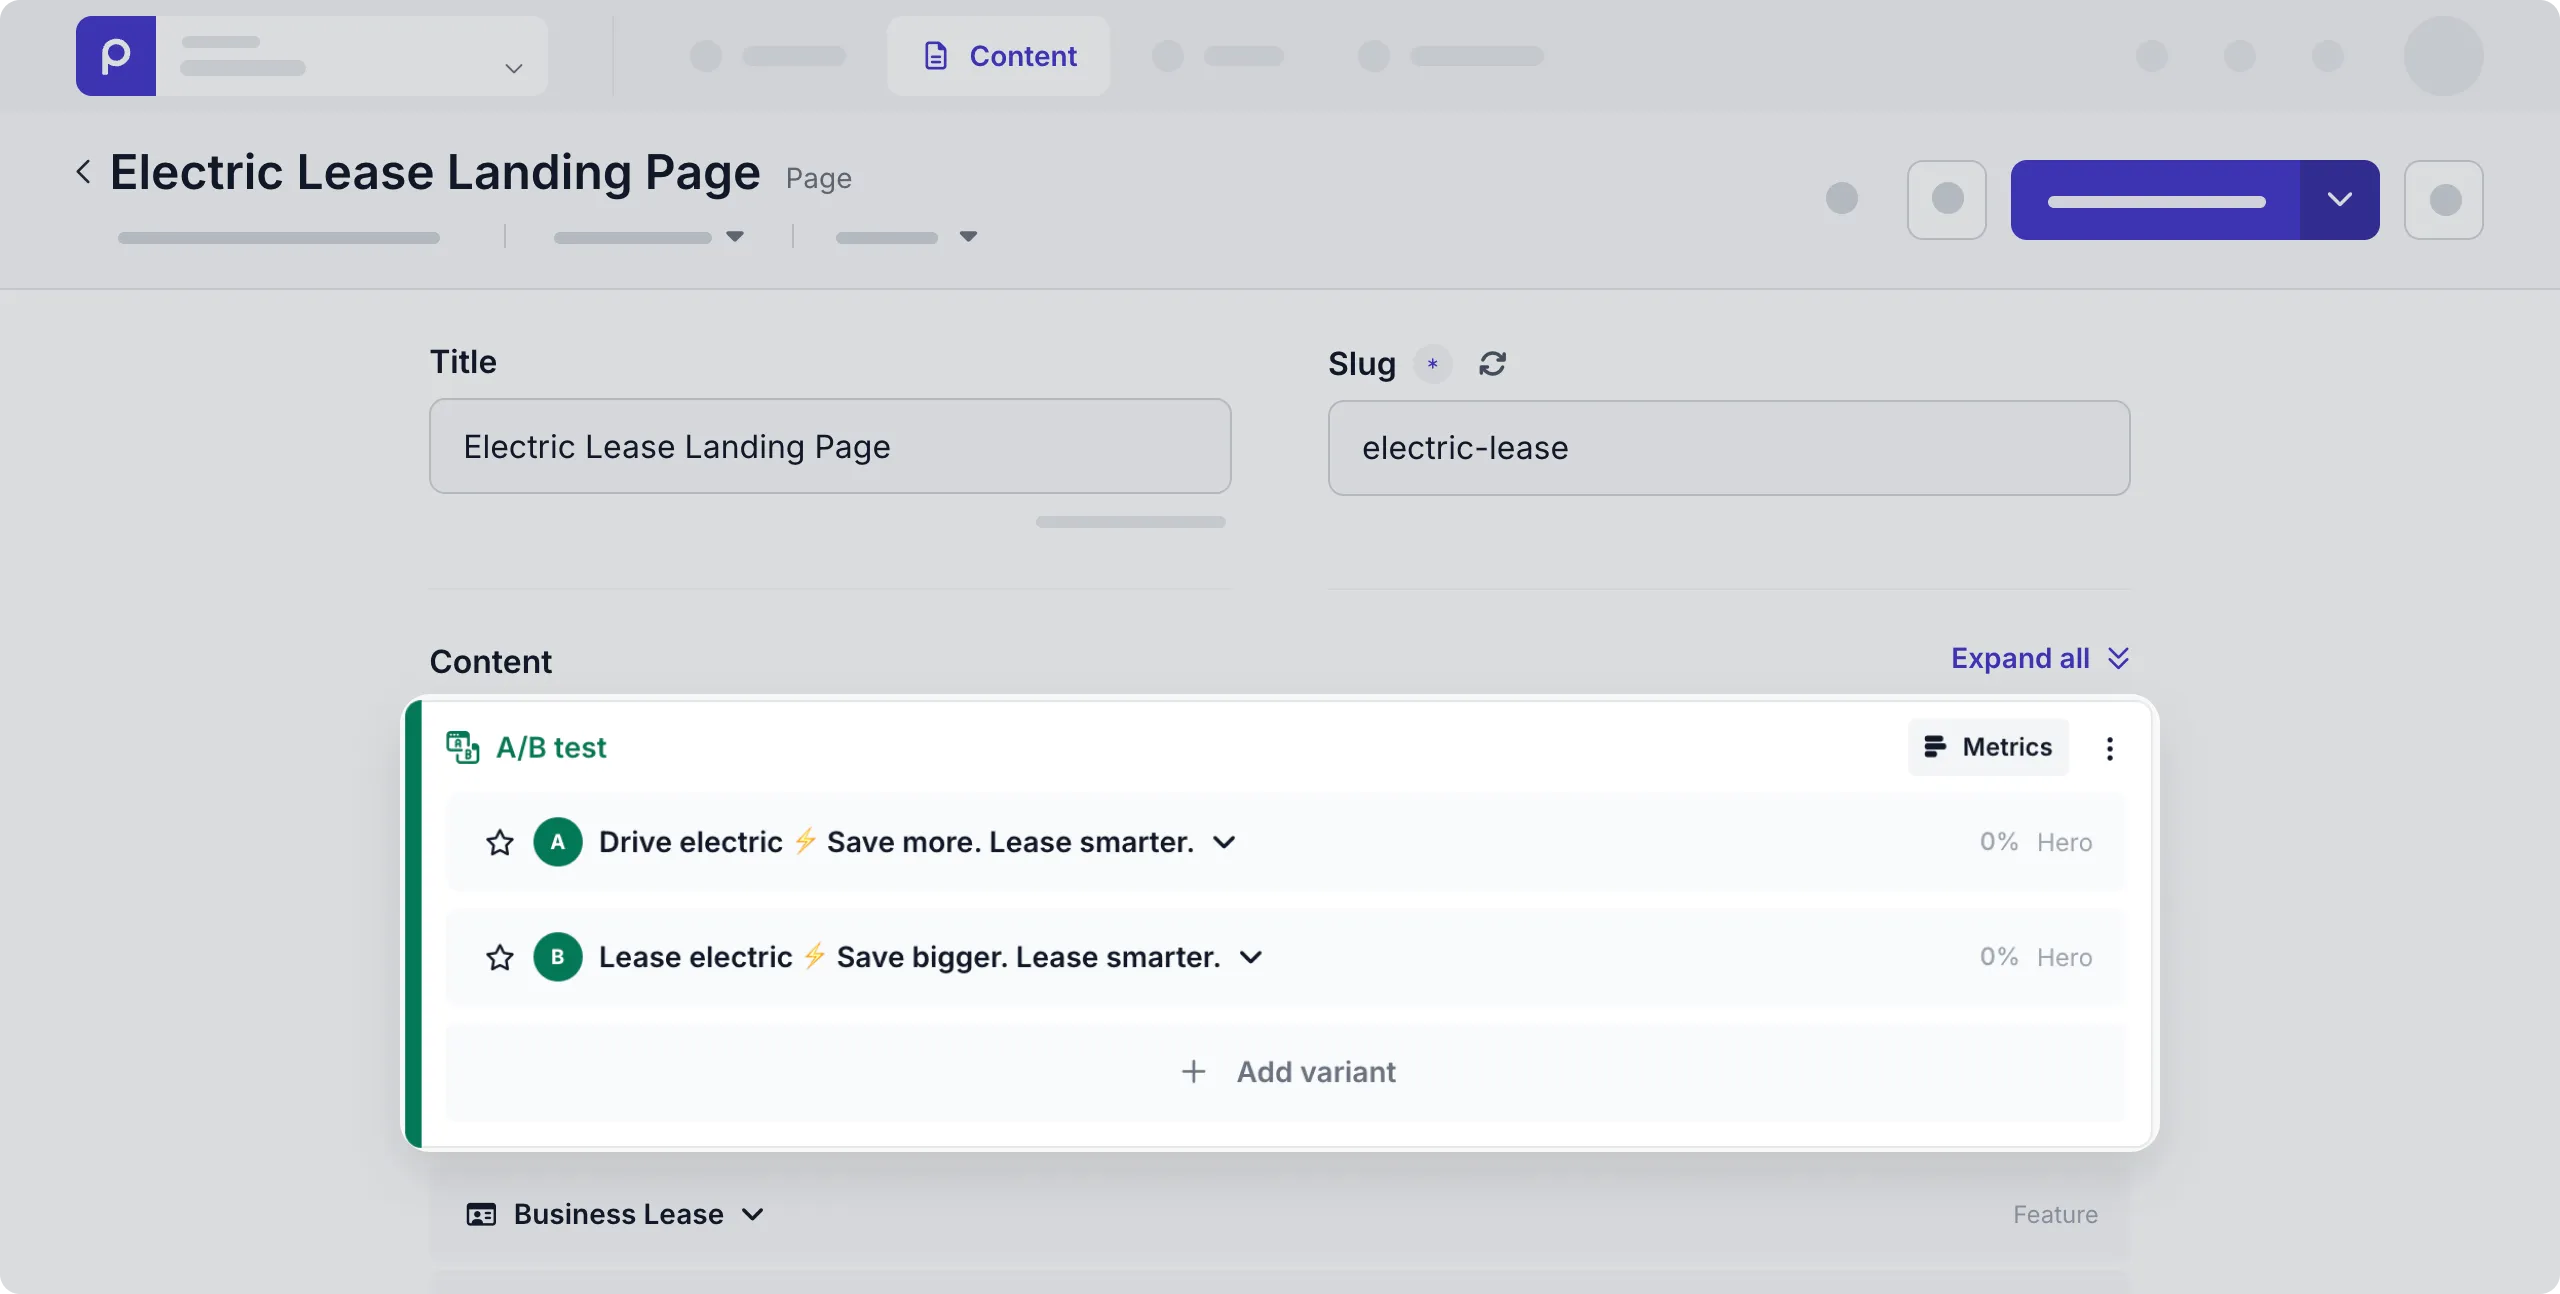
At the end of this section, you’ll see the A and B versions on the Electric Lease Landing Page.

The steps below make use of the A/B test in the Electric Lease Landing Page content item from the Acme Lease demo data.
This chapter continues from the previous section, Set up data collection. If you haven’t yet enabled Prepr tracking in your Astro project, follow the steps in this section first. Otherwise, let’s get started.
Set up A/B testing for the Electric Lease Landing Page
You can run an A/B test on parts of a web page to show two different versions of the content to different visitors and compare which variant is more engaging. To show the right variant to the right visitor:
- Every visitor gets an ID that resolves to an A or a B variant.
- In your front end, you need to send this ID along with the query to retrieve the right variant.
- This is done by setting the value for the API request header,
Prepr-Customer-Id, when you make the API request to retrieve the content.
By installing the Prepr Toolkit in the previous section, you’ve already prepared your API request headers.
Set the API request headers
Now that the Prepr Toolkit is installed, update the helper prepr.ts you created previously by replacing the headers type with the PreprHeaders type from the toolkit.
import { PREPR_GRAPHQL_URL } from 'astro:env/server';
import { print } from 'graphql';
import type { TypedDocumentNode } from '@graphql-typed-document-node/core';
import type { PreprHeaders } from '@preprio/toolkit';

export async function prepr<TResult, TVariables>(
  document: TypedDocumentNode<TResult, TVariables>,
  variables: TVariables,
  headers: PreprHeaders = {},
): Promise<TResult> {
  const response = await fetch(PREPR_GRAPHQL_URL, {
    method: 'POST',
    headers: { 'Content-Type': 'application/json', ...headers },
    body: JSON.stringify({ query: print(document), variables }),
  });
  if (!response.ok) {
    throw new Error(`Prepr GraphQL request failed: ${response.status} ${response.statusText}`);
  }
  const { data, errors } = await response.json();
  if (errors?.length) throw new Error(errors[0].message);
  return data;
}
Since the API request headers are already prepared, you can simply set them for your page.
To set the API request headers, update the [...slug].astro with the highlighted code below:
---
import Layout from '../layouts/Layout.astro';
import Hero from '../components/sections/Hero.astro';
import Feature from '../components/sections/Feature.astro';
import { prepr } from '../lib/prepr';
import { GetPageBySlugDocument } from '../gql/graphql';
import { getPreprHeaders } from '@preprio/toolkit/astro';

// The home page has no slug in the URL; in Prepr its slug is '/'.
const slug = Astro.params.slug ?? '/';

// Prepr uses these headers (visitor ID, segments, A/B variant) to pick the right variant.
const data = await prepr(GetPageBySlugDocument, { slug }, getPreprHeaders(Astro.request.headers));

if (!data.Page) return Astro.rewrite('/404');
const page = data.Page;
---

<Layout>
  <meta slot="head" property="prepr:id" content={page._id} />
  {page.content.map((element) => {
    if (element.__typename === 'Hero') return <Hero item={element} />;
    if (element.__typename === 'Feature') return <Feature item={element} />;
  })}
</Layout>
Test your A/B test
The A/B test is now running in your website. Let’s check the traffic distribution for the A/B test.
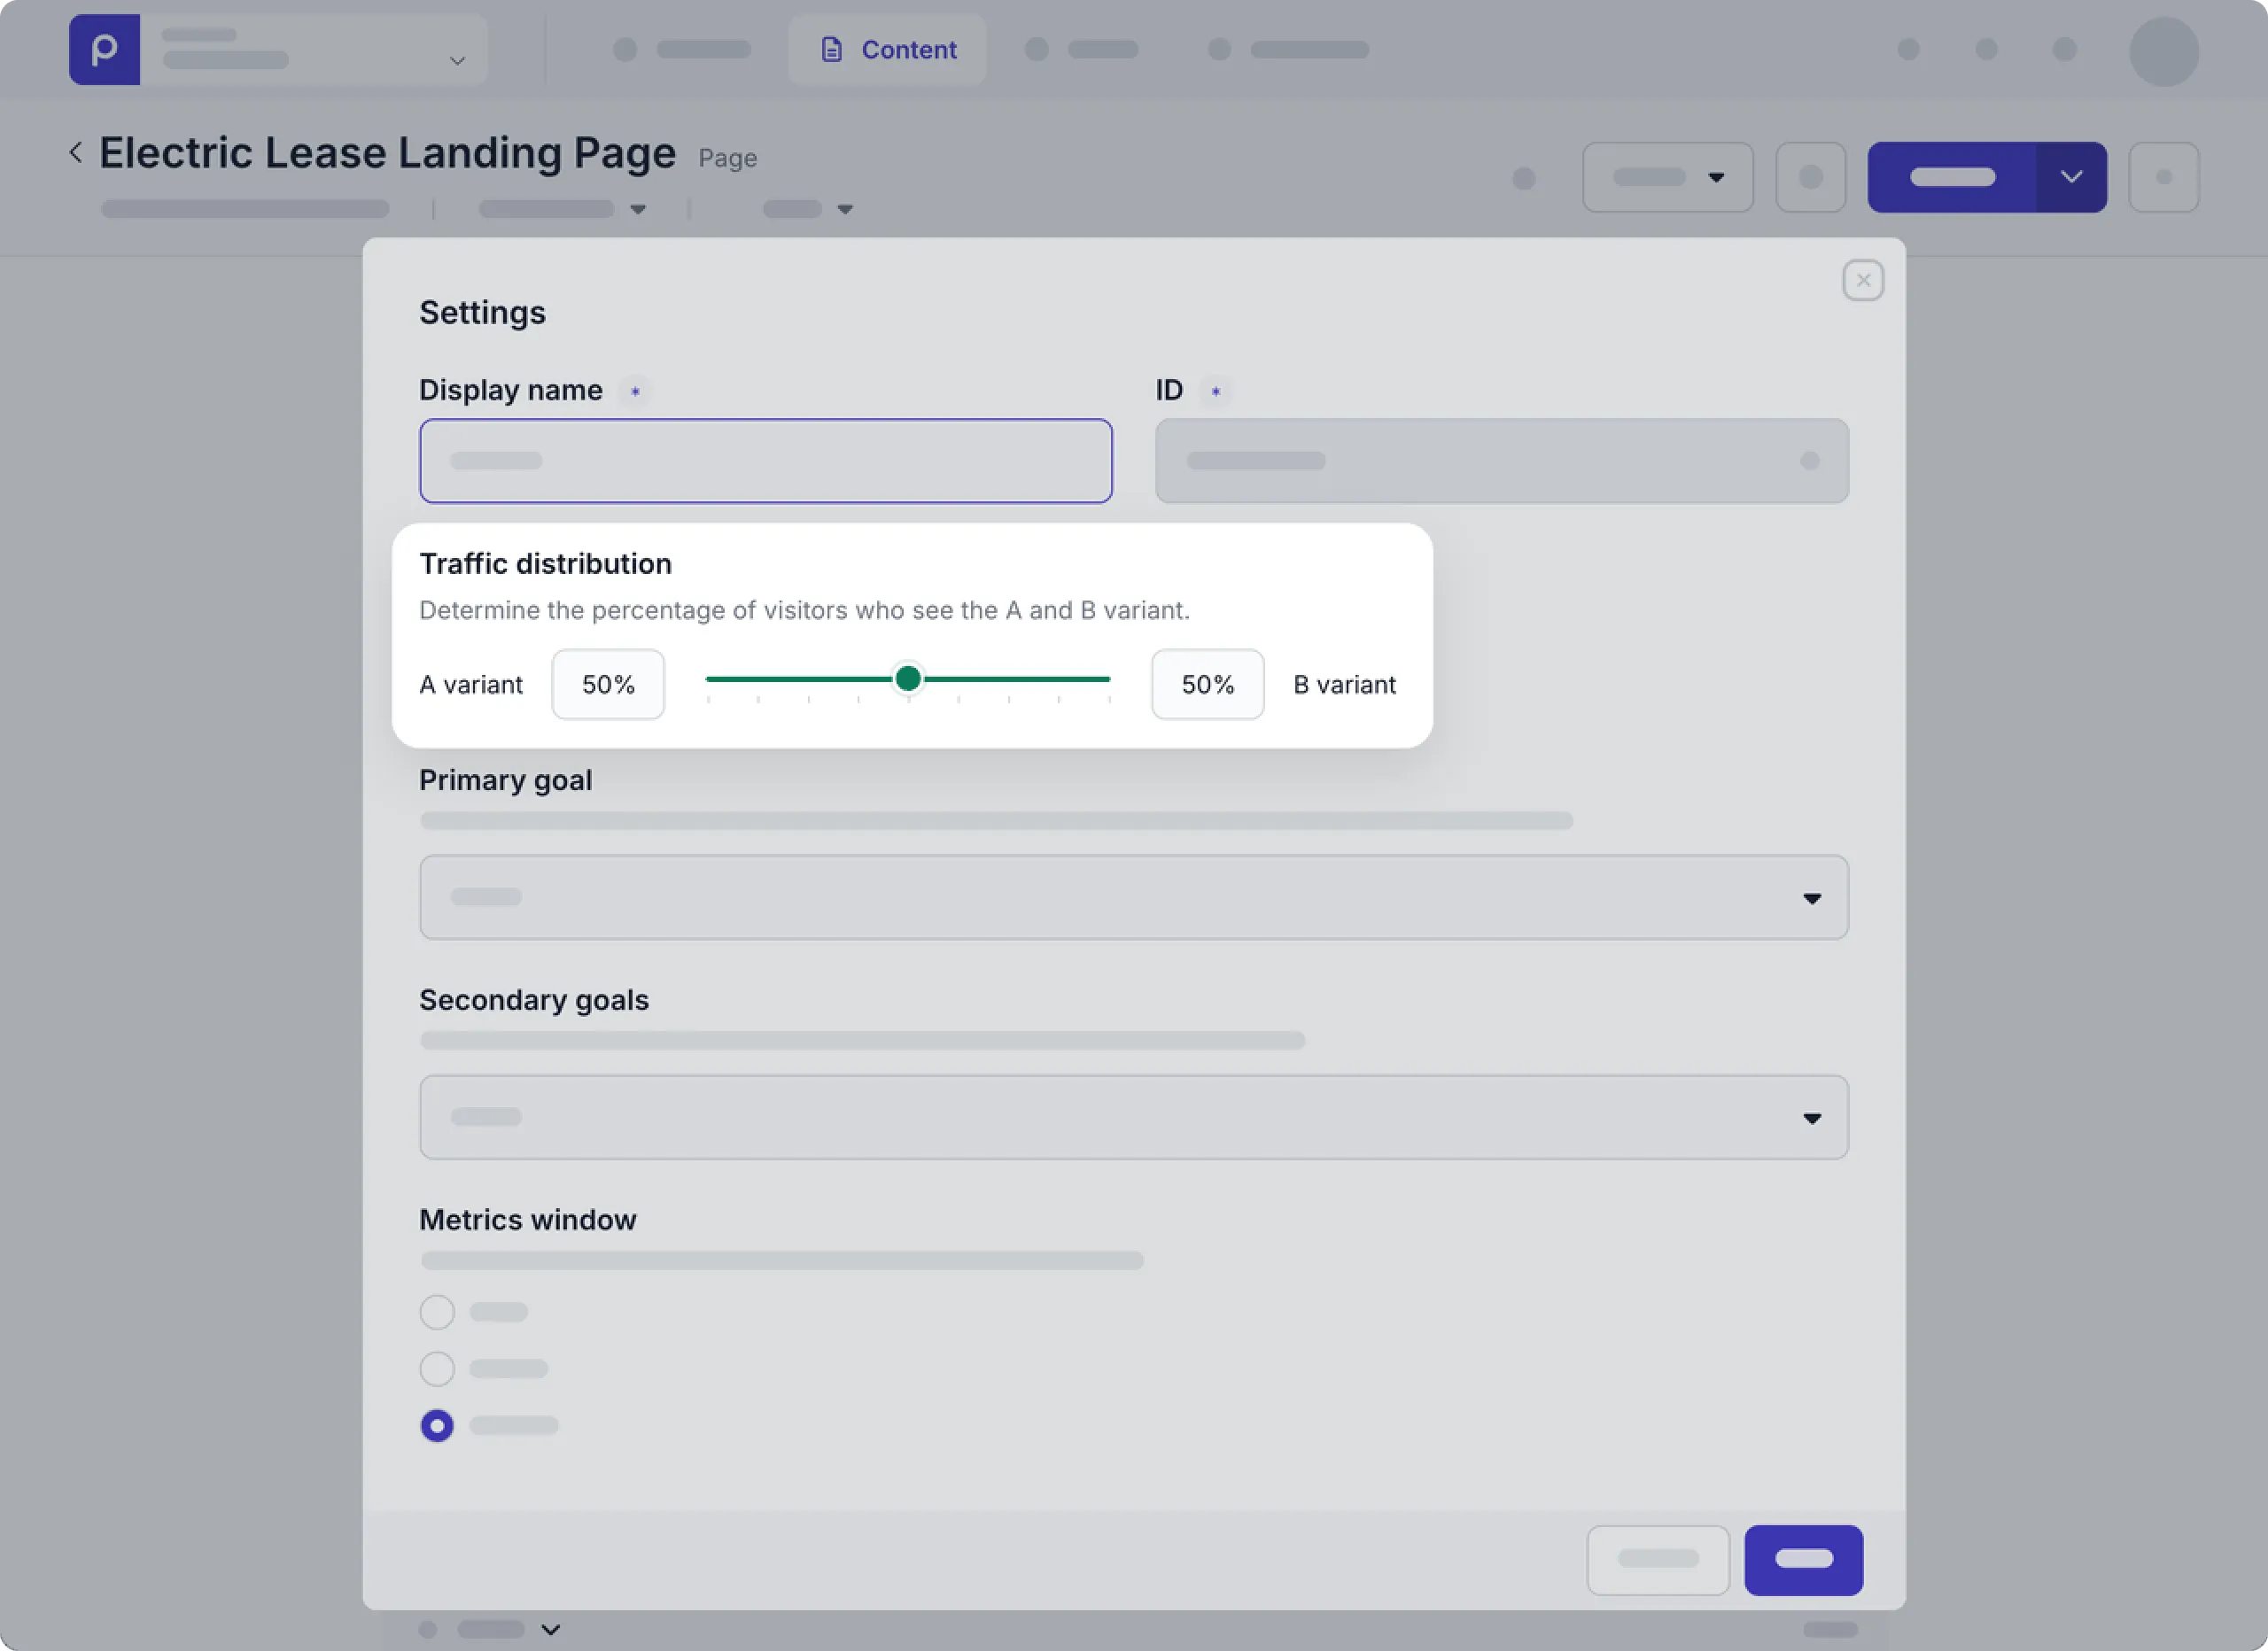
In your Prepr environment, go to the Electric Lease Landing Page content item and click the icon in your A/B test group and choose the Manage settings option. You’ll notice the traffic distribution is set to 50%. This means that about 50% of visitors that visit the electric lease landing page will see variant A and about 50% will see variant B.
To test that the A/B test in the electric lease landing page is showing variant A and variant B to different visitors, you can simulate this in your browser. Follow the steps below to do this simple test.
-
Go to
http://localhost:4321/electric-leaseto open the Electric Lease Landing Page in the browser. Take note of the heading in the top section. The text should read either Drive Electric… (Variant A) or Go Electric… (Variant B). -
Right click the page to Inspect the page, click the Application tab. Under the cookies, click your localhost. You’ll notice the
__prepr_uidcookie in the list. -
Right-click the localhost entry to clear the cookies and refresh the page again. If you still see the same variant, repeat the process. You might see the same variant a couple of times in a row.
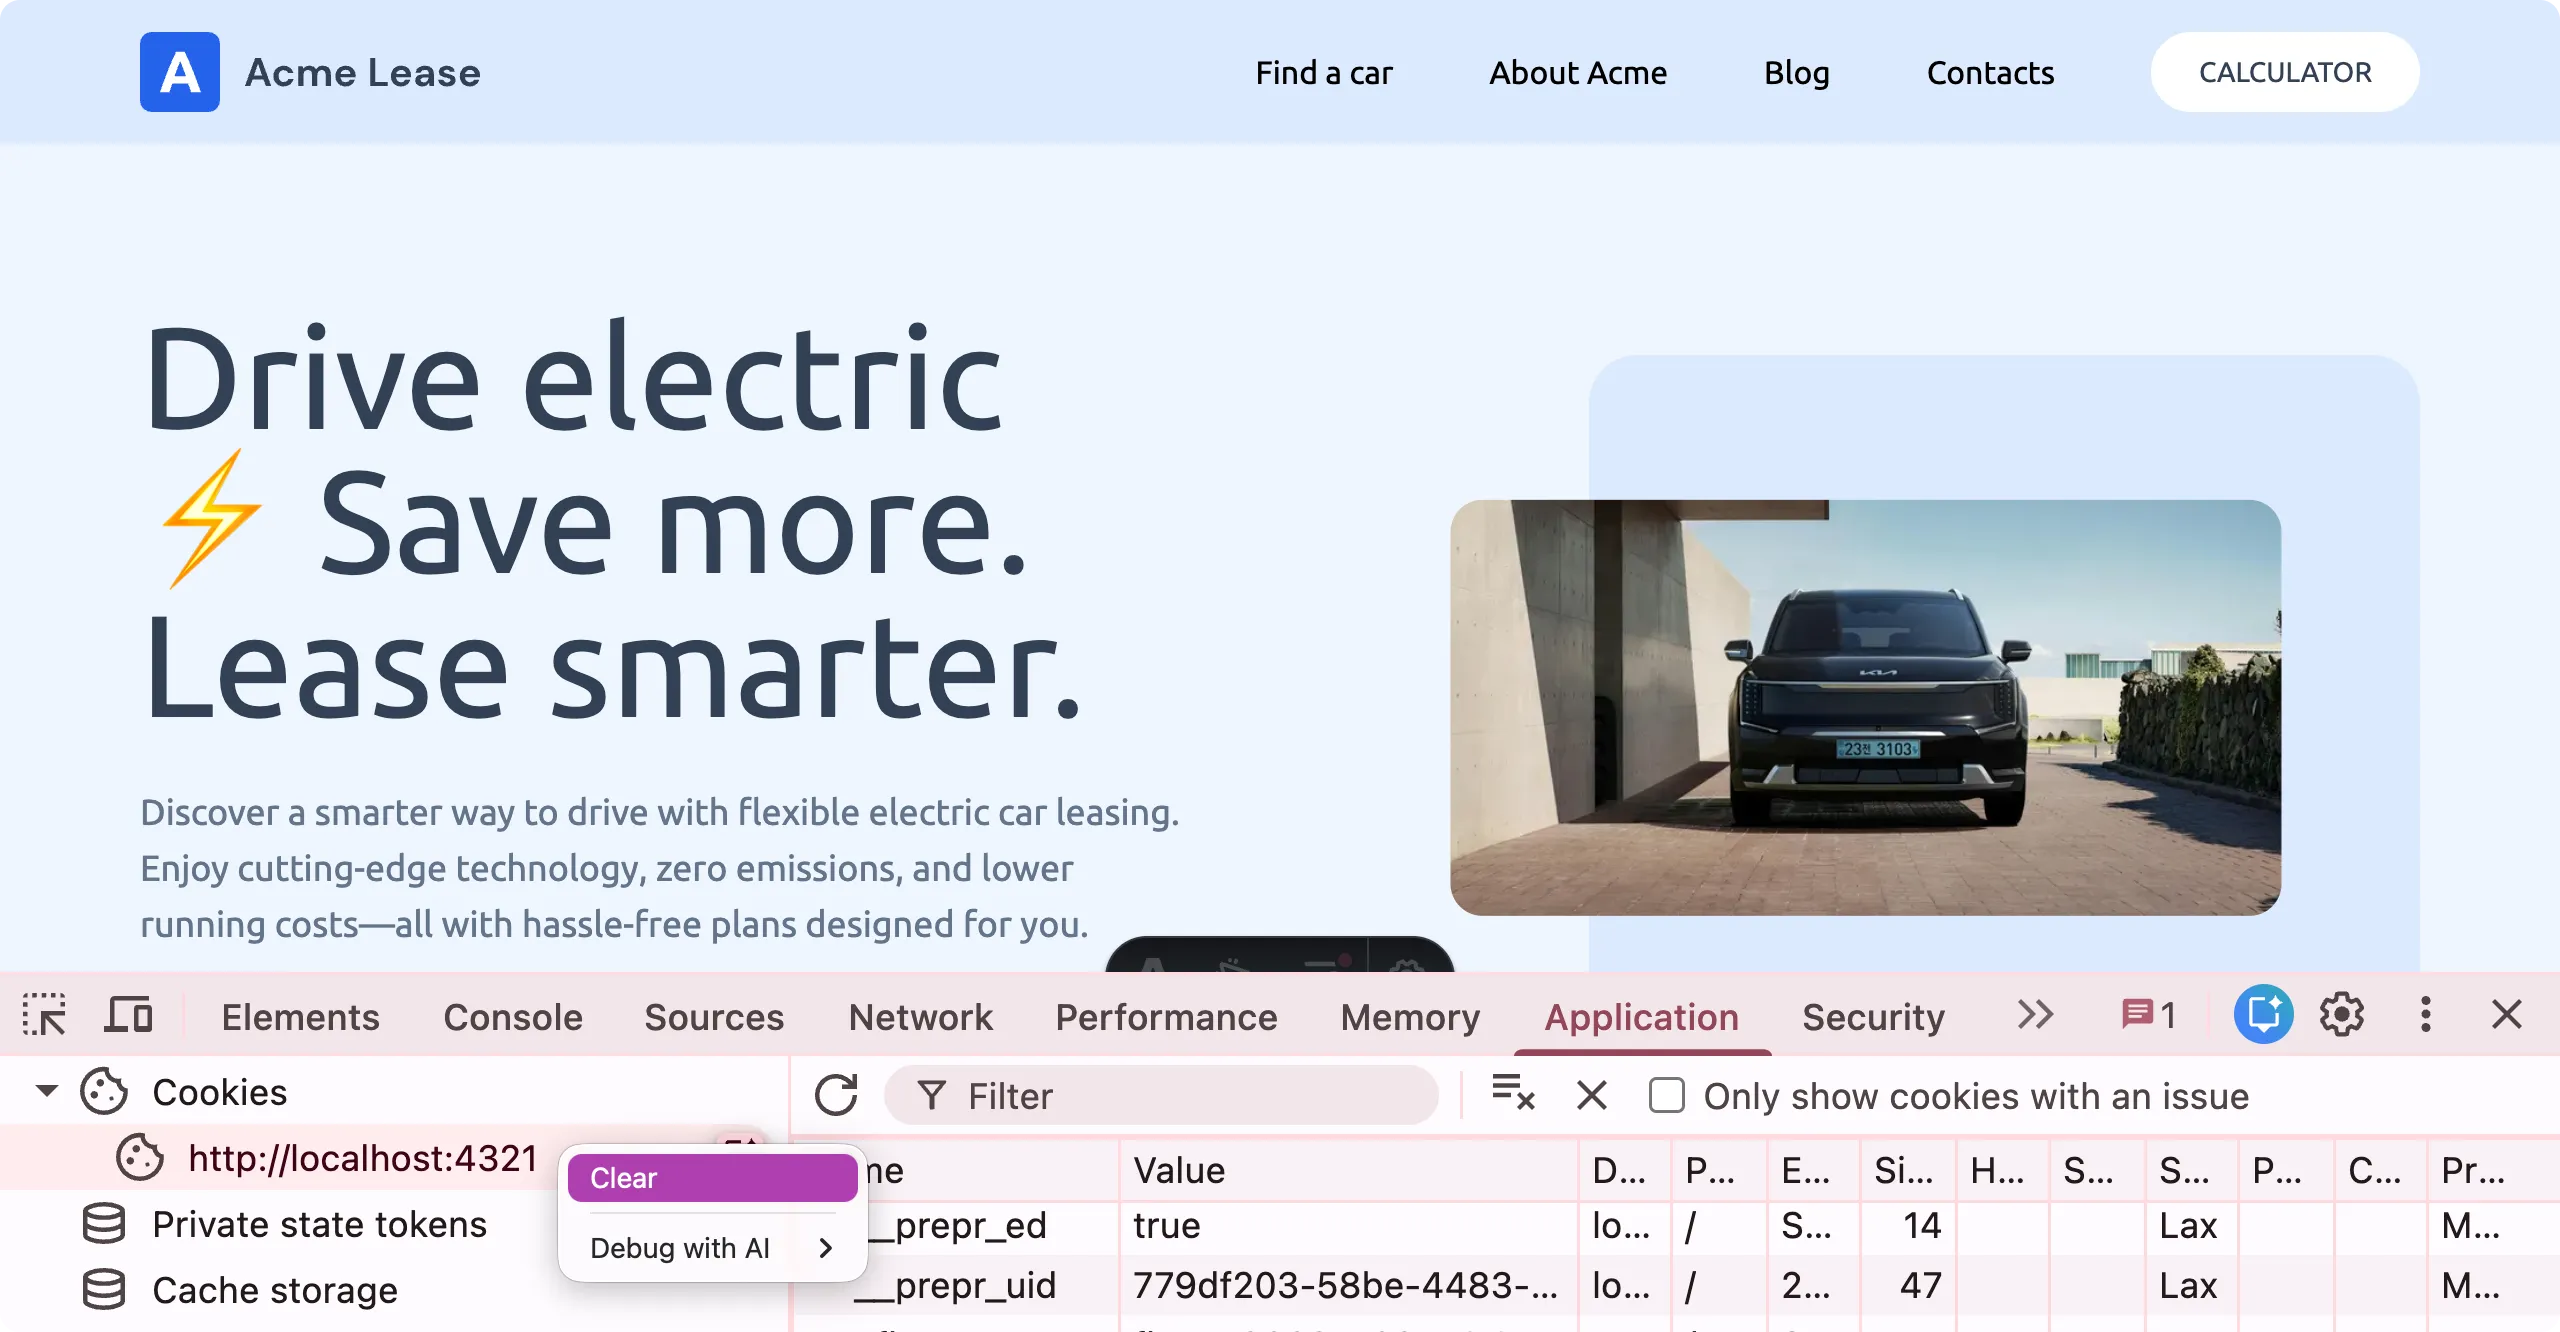
When you see the other variant, you know that the A/B test is running successfully.
There is an easier way to test your A/B test. We’ll explore it in the last chapter of the Astro complete guide when you install the Prepr preview toolbar.
Track impressions and conversion events
Your A/B test is running successfully, however there are no metrics being recorded yet. You can see this with the Awaiting data message at the top of the A/B test in the Electric Lease Landing Page content item.
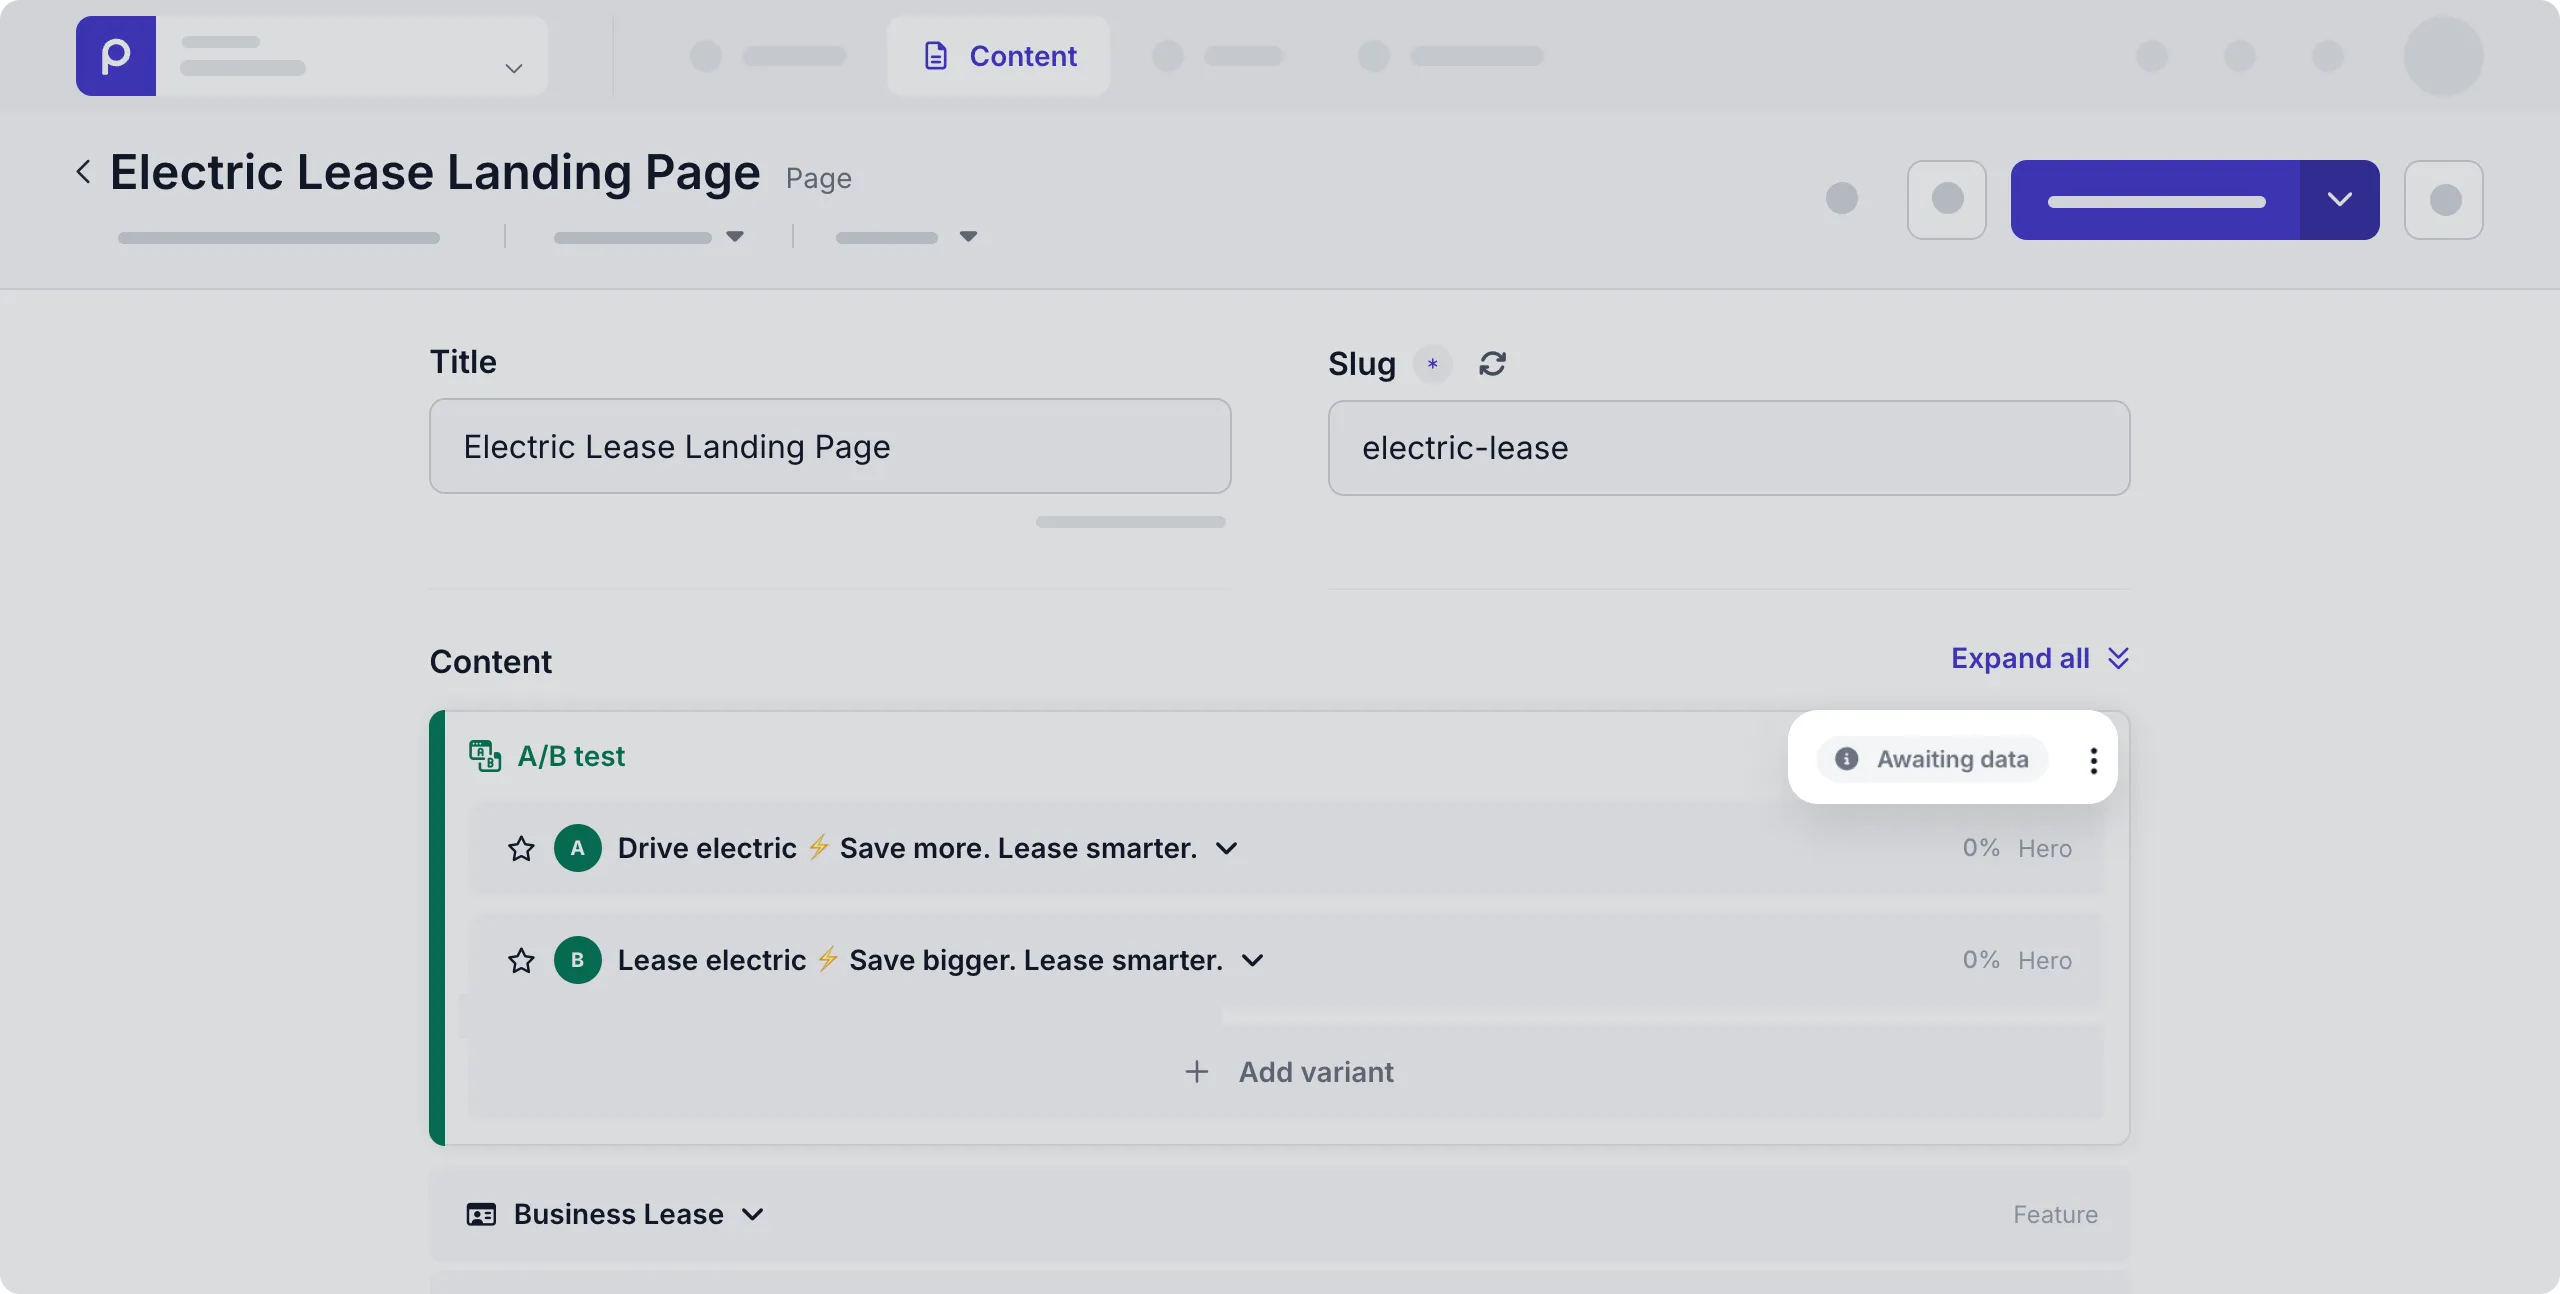
To get Prepr to start showing some metrics data, you need to add HTML attributes to elements in your A/B test. When you add these attributes, the tracking pixel automatically tracks impressions and your chosen conversion events.
-
To start collecting impressions and clicks, add the HTML attributes
data-prepr-variant-keyanddata-prepr-variant-eventto the Hero section as shown in the highlighted code below. The impression is recorded when the Hero element scrolls into view. The click is recorded when the Button element is clicked../src/components/sections/Hero.astro--- import { Image } from 'astro:assets'; import type { HeroFragment } from '../../gql/graphql'; import Button from '../Button.astro'; interface Props { item: HeroFragment; } const { item } = Astro.props; const image = item.image; --- {/* data-prepr-variant-key on the section records an impression for the variant */} <section class="bg-primary-50" data-prepr-variant-key={item._context?.variant_key}> <div class="mx-auto max-w-8xl p-spacing flex flex-col items-center md:flex-row gap-8 py-10 lg:py-20"> <div class="basis-6/12"> <h1 class="text-mb-5xl lg:text-7xl text-secondary-700 font-medium break-words text-balance">{item.heading}</h1> <p class="text-secondary-500 lg:text-lg mt-4 lg:mt-6 text-balance">{item.sub_heading}</p> <div class="flex gap-4 mt-8 xl:mt-10"> <div> {/* data-prepr-variant-event on the link records a click (conversion) */} <a href="#" data-prepr-variant-event><Button>{item.buttons[0]?.text}</Button></a> </div> </div> </div> <div class="basis-6/12 relative flex justify-end items-center"> <div class="z-10 flex items-center aspect-[20/17] w-9/12 overflow-hidden justify-center absolute top-1/2 left-1/2 transform -translate-x-1/2 -translate-y-1/2"> {image?.url && <Image src={image.url} alt="Hero Image" width={720} height={360} class="object-cover rounded-2xl" />} </div> <div class="w-9/12 aspect-[20/17] bg-primary-100 rounded-3xl right-0 top-0 z-0"></div> </div> </div> </section>
If you want to track a conversion other than a click event, e.g. a quote request, then set your data-prepr-variant-event to the custom event.
For example: data-prepr-variant-event="QuoteRequest". Check out the A/B testing doc for more details.
-
To start recording metrics, go to the electric lease landing page in your website, in the top section click the Find your car button.
-
Now when you view the A/B test in your Electric Lease Landing Page content item, you can click the Metrics link and see the number of impressions and clicks like in the image below.
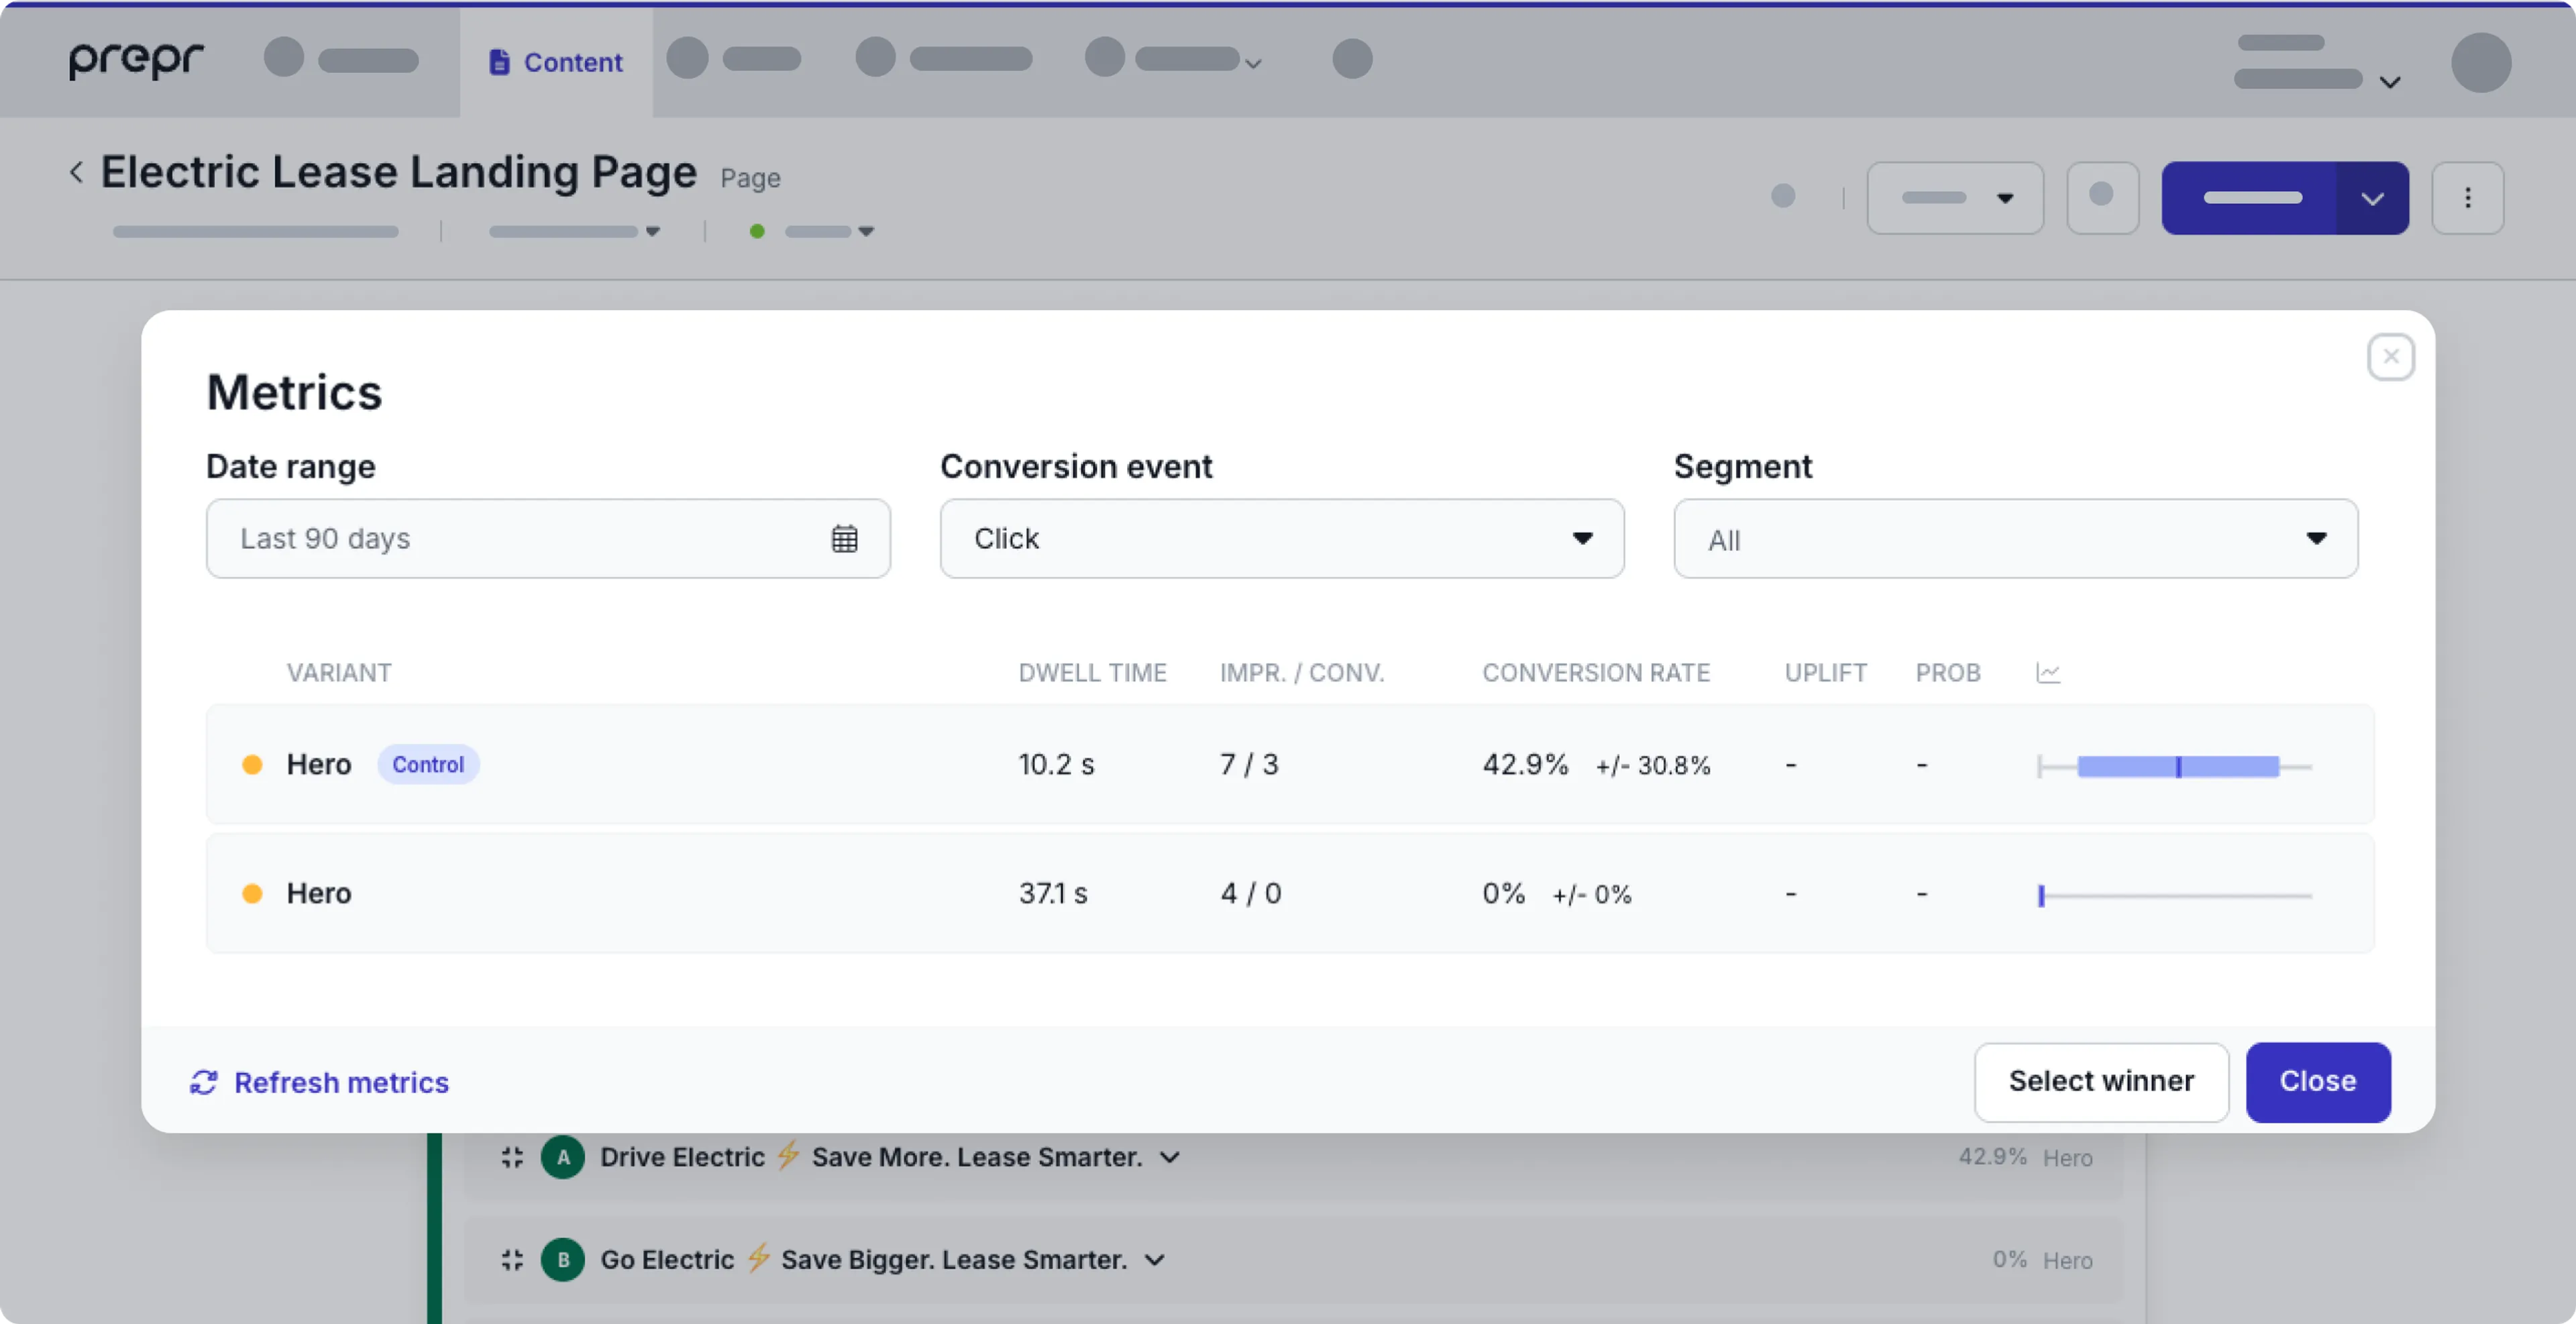
Congratulations! You have a running A/B test with metrics in your Astro website. Now, you can Add personalization to your website.