Set up data collection with tracking and the Prepr Toolkit
Prepr is a CMS that includes built-in A/B testing and personalization features. These capabilities require visitor data to measure your test results and to build segments for personalization. This chapter of the Astro complete guide shows you how to enable tracking to collect this data in your Astro front end and how to simplify this data collection with the Prepr Toolkit.
The steps below continue from the previous section, Make your Astro project dynamic. If you don’t yet have an Astro project connected to Prepr, follow the previous steps listed in the Complete guide overview to create one. Otherwise, let’s get started.
Install the Prepr Toolkit
We developed the Prepr Toolkit to simplify working with event data for A/B testing and personalization.
In the steps below, you’ll enable tracking in your website by adding the Prepr Tracking Code to your front end.
This code generates the __prepr_uid cookie for each website visitor.
This visitor gets stored in Prepr with this unique ID, if they don’t already exist.
This means you can use this __prepr_uid cookie value to set the API request header, Prepr-Customer-Id, when you retrieve the page content for A/B testing and personalization.
The Prepr Toolkit prepares the Prepr-Customer-Id API request header for you, using the __prepr_uid cookie value.
Based on this value, Prepr retrieves the right content as follows:
- A/B testing: Prepr decides which variant, A or B, to return in the content.
- Personalization: Prepr checks the segment that this visitor belongs to and retrieves the matching personalized variant.
To install the Prepr Tookit, follow the steps below.
-
In your Astro project, stop the localhost website server (
CTRL-C) if it’s running and install the package with the following terminal command:npm install @preprio/toolkit
Once done, you need to call a function in the package to prepare the API request headers before the page gets rendered in your website.
-
To do this, go to your project and and create a new file
middleware.tsin thesrcfolder. Then add the following code to perform the package’s preprocessing logic on user requests../src/middleware.tsimport { defineMiddleware } from 'astro:middleware'; import { onPreprRequest } from '@preprio/toolkit/astro'; export const onRequest = defineMiddleware((context, next) => onPreprRequest(context, next, { preview: false }), );
Enable Prepr tracking and collect view events
Enable Prepr tracking
When you enable Prepr tracking in your front end, it captures visitor data and lets you track how they engage with your content.
Follow the steps below to enable Prepr tracking:
-
Go to the
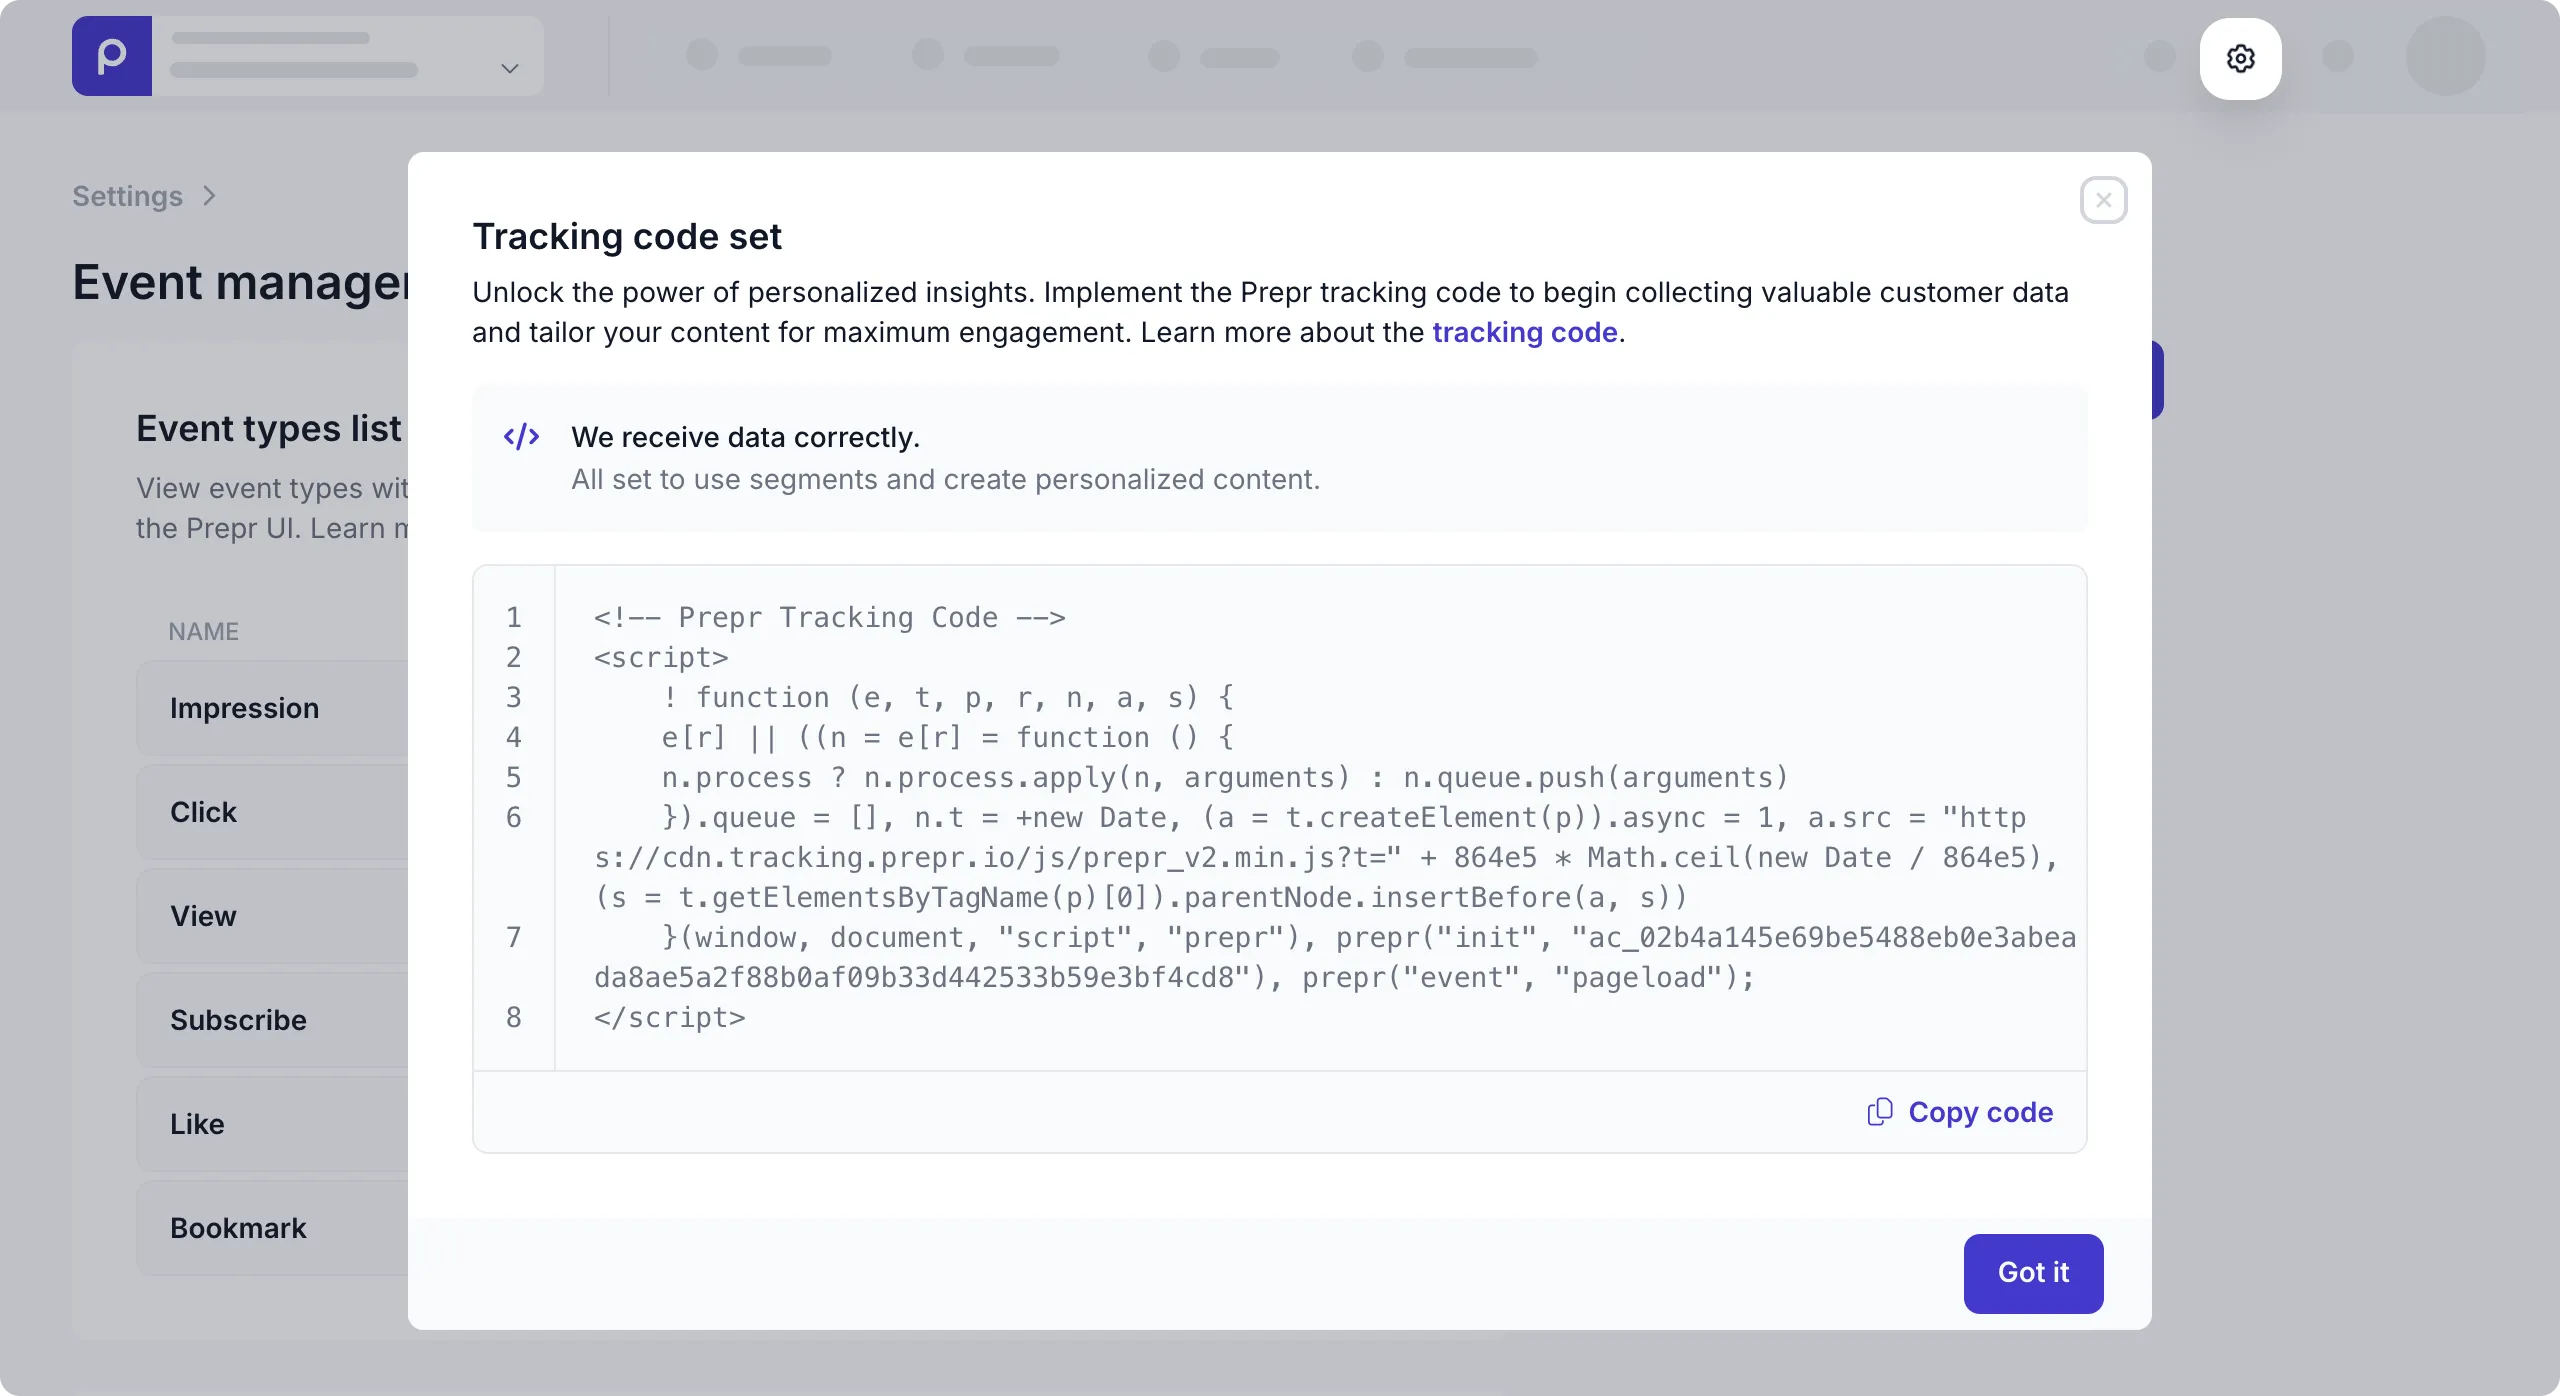
src/layoutsfolder and add the highlighted code below to theLayout.astrofile../src/layouts/Layout.astro--- import { Font } from 'astro:assets'; import NavBar from '../components/NavBar.astro'; import PreprTrackingPixel from '@preprio/toolkit/astro/components/PreprTrackingPixel'; import { extractAccessToken } from '@preprio/toolkit'; import { PREPR_GRAPHQL_URL } from 'astro:env/server'; import '../styles/globals.css'; const accessToken = extractAccessToken(PREPR_GRAPHQL_URL); --- <!doctype html> <html lang="en"> <head> <meta charset="utf-8" /> <meta name="viewport" content="width=device-width" /> <link rel="icon" href="/favicon.ico" /> <title>Prepr Astro complete starter</title> <meta name="description" content="Showing the power of personalization and A/B testing" /> <Font cssVariable="--font-ubuntu" preload /> {accessToken && <PreprTrackingPixel id={accessToken} />} <slot name="head" /> </head> <body style="font-family: var(--font-ubuntu)"> <NavBar /> <slot /> </body> </html>To see the tracking pixel value, in your Prepr environment, click the icon and choose the Event management option. Click the Get tracking code link to view the Prepr Tracking Code.
Track page view events
For the subsequent A/B testing and personalization sections in this guide, we want to track page view events.
To do this, add a content item meta property to the [...slug].astro file like in the highlighted code below.
The tracking pixel automatically recognizes this property and records the view event in Prepr.
Check out the data collection events docs for more details.
---
import Layout from '../layouts/Layout.astro';
import Hero from '../components/sections/Hero.astro';
import Feature from '../components/sections/Feature.astro';
import { prepr } from '../lib/prepr';
import { GetPageBySlugDocument } from '../gql/graphql';

// The home page has no slug in the URL; in Prepr its slug is '/'.
const slug = Astro.params.slug ?? '/';
const data = await prepr(GetPageBySlugDocument, { slug });

if (!data.Page) return Astro.rewrite('/404');
const page = data.Page;
---

<Layout>
  <meta slot="head" property="prepr:id" content={page._id} />
  {page.content.map((element) => {
    if (element.__typename === 'Hero') return <Hero item={element} />;
    if (element.__typename === 'Feature') return <Feature item={element} />;
  })}
</Layout>
For more details on how to track other types of events, check out the data collection docs.
Test data collection
You can easily check if the data collection is successful with the following steps.
-
Execute the following command to restart the server and refresh your page in the browser.
npm run dev -
In your Prepr environment, go to the Segments page.
-
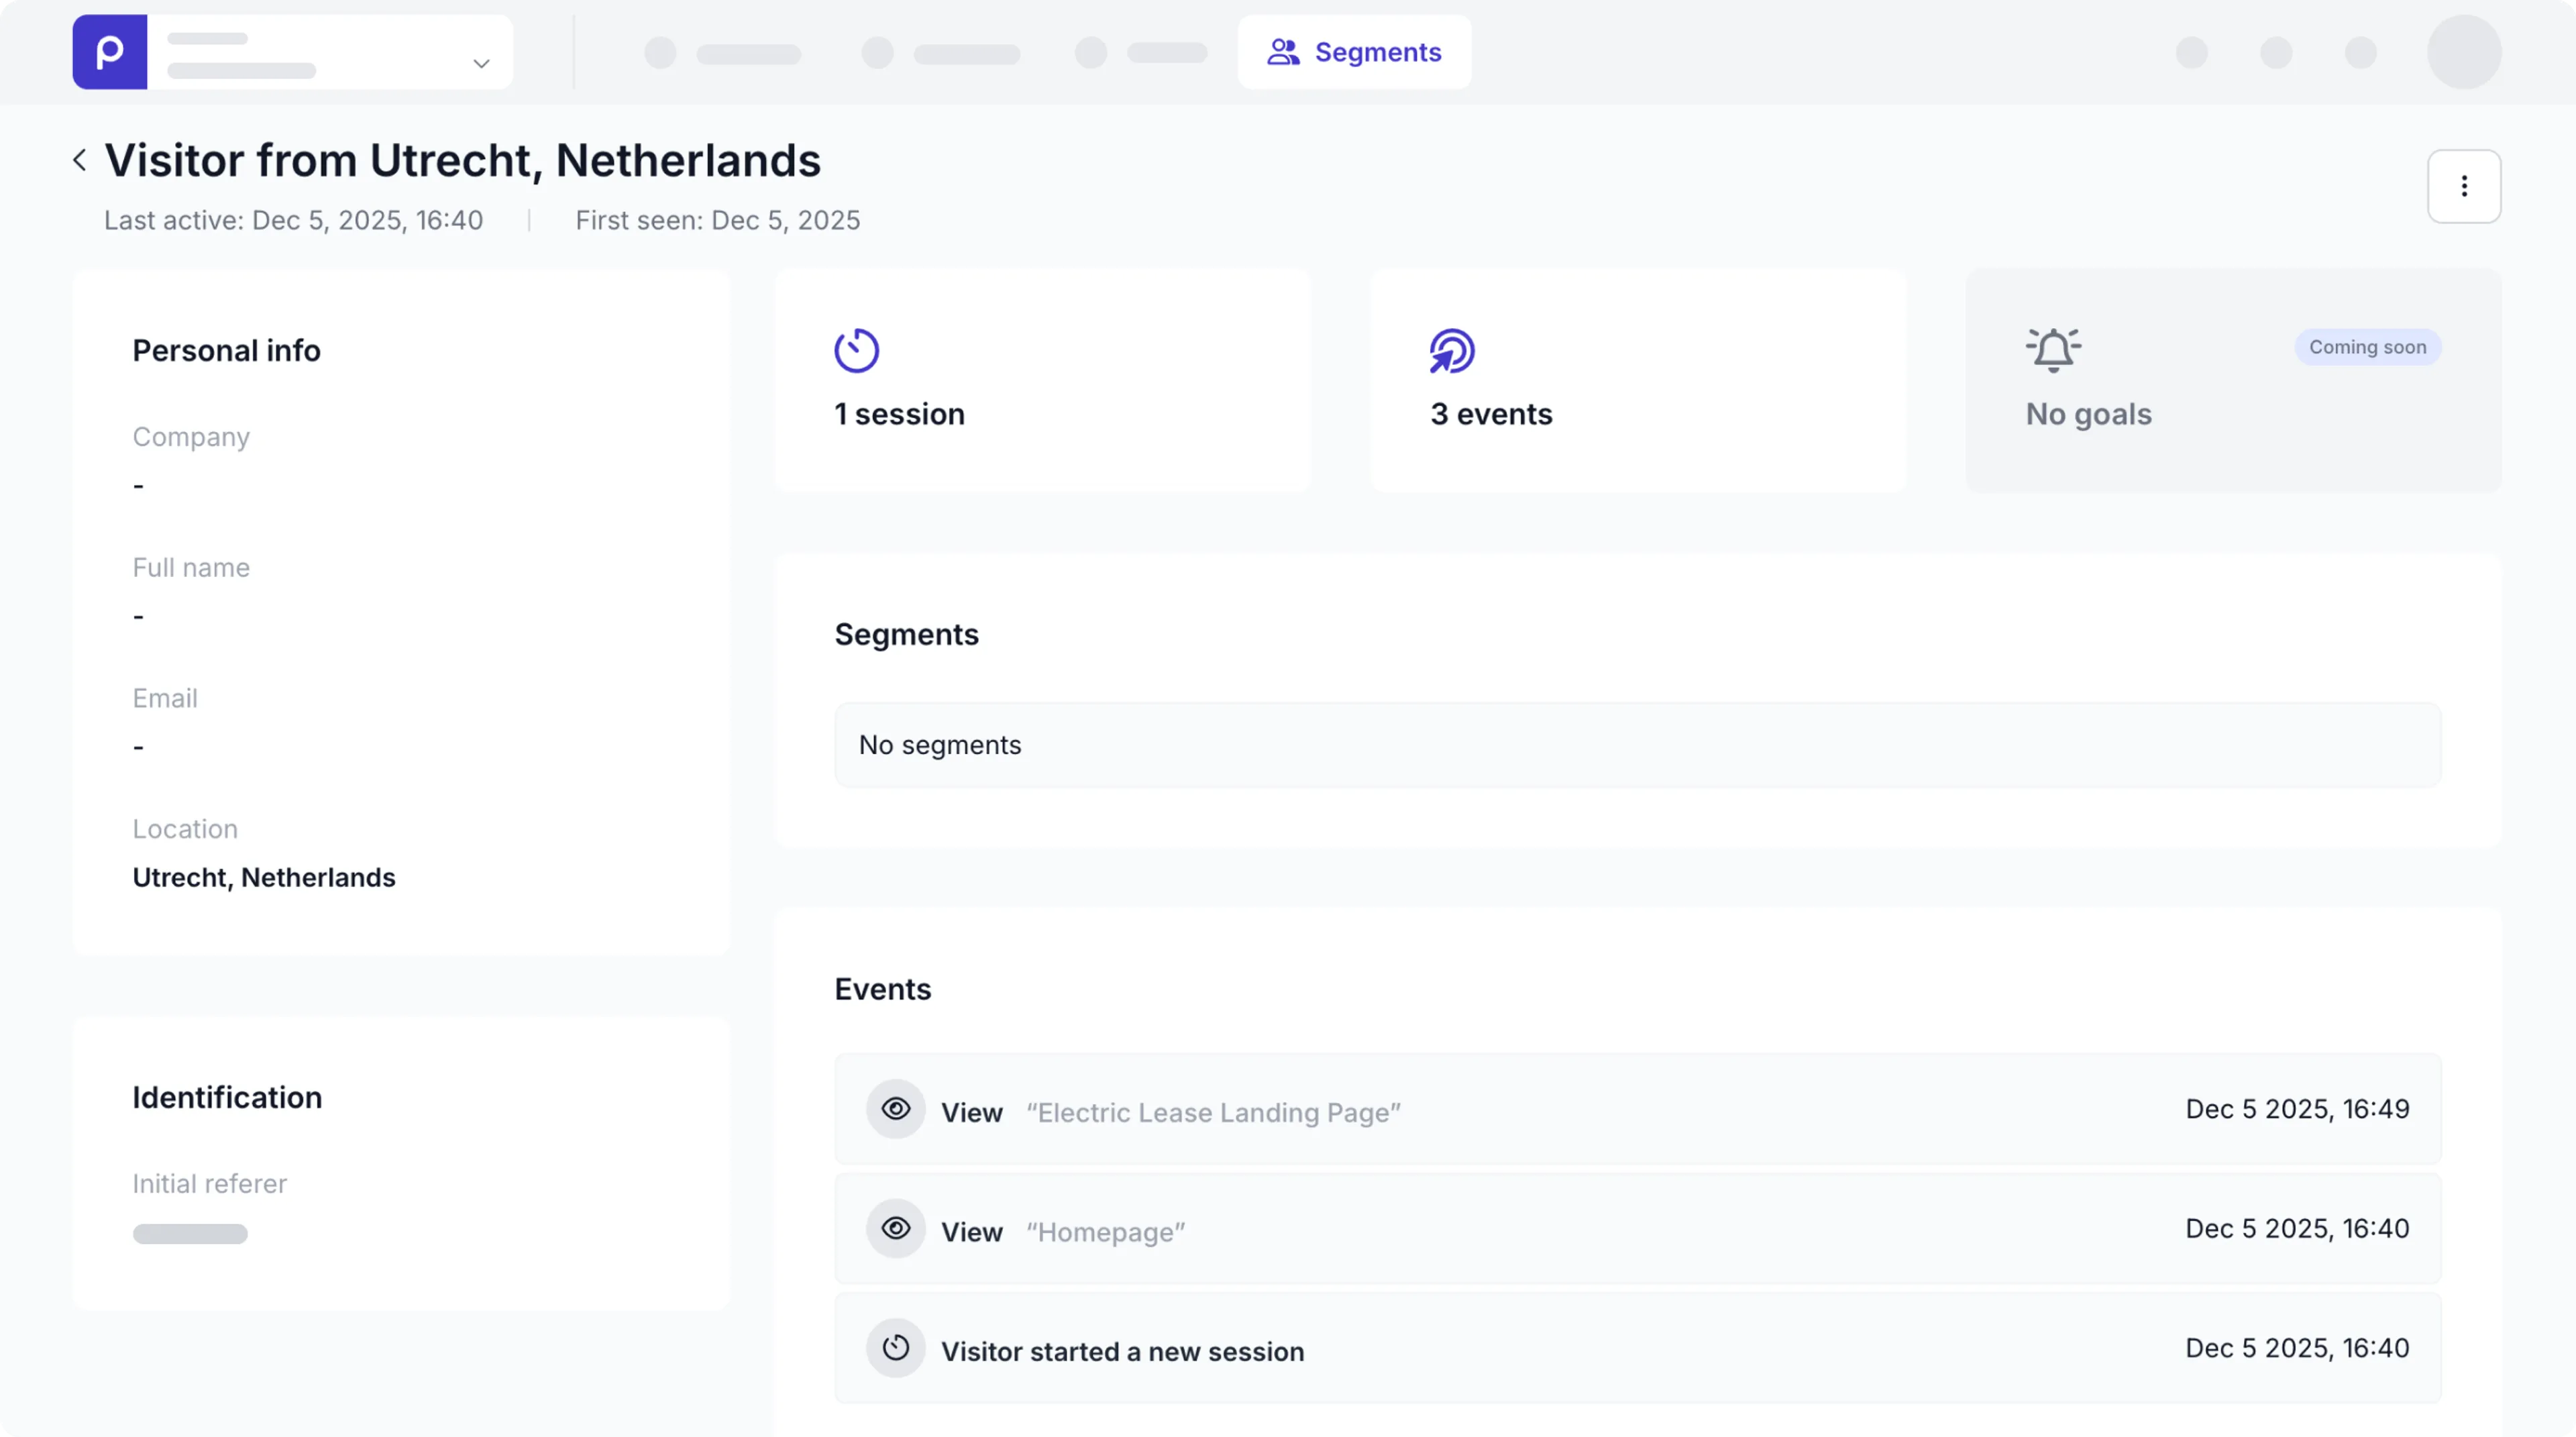
If the page view is recorded successfully you’ll see a recent visitor in the All visitors list.
-
Click to open this visitor and you should see the View event on the Homepage similar to the image below.
Congratulations! You’ve successfully enabled Prepr tracking in your Astro front end, started collecting page view events, and installed the Prepr Toolkit for A/B testing and personalization. Now, you’re ready to add A/B testing and personalization to your website.